
Shower Arm Replacement: A Step-by-Step DIY Guide
About This Project
This DIY guide explains how to replace a shower arm. It involves five steps: First, turn off the water supply to the shower to prevent leaks. Second, remove the old shower arm and showerhead, using penetrating oil if necessary to loosen them. Third, prepare the new shower arm by cleaning the threads and wrapping Teflon tape around them for a watertight seal. Fourth, install the new shower arm by screwing it onto the pipe fitting and tightening it with a wrench. Fifth, test for leaks by turning the water back on slowly and checking all connections and if needed, re-wrap the threads with Teflon tape.
Best for homeowners and DIY enthusiasts.
Tools & Materials
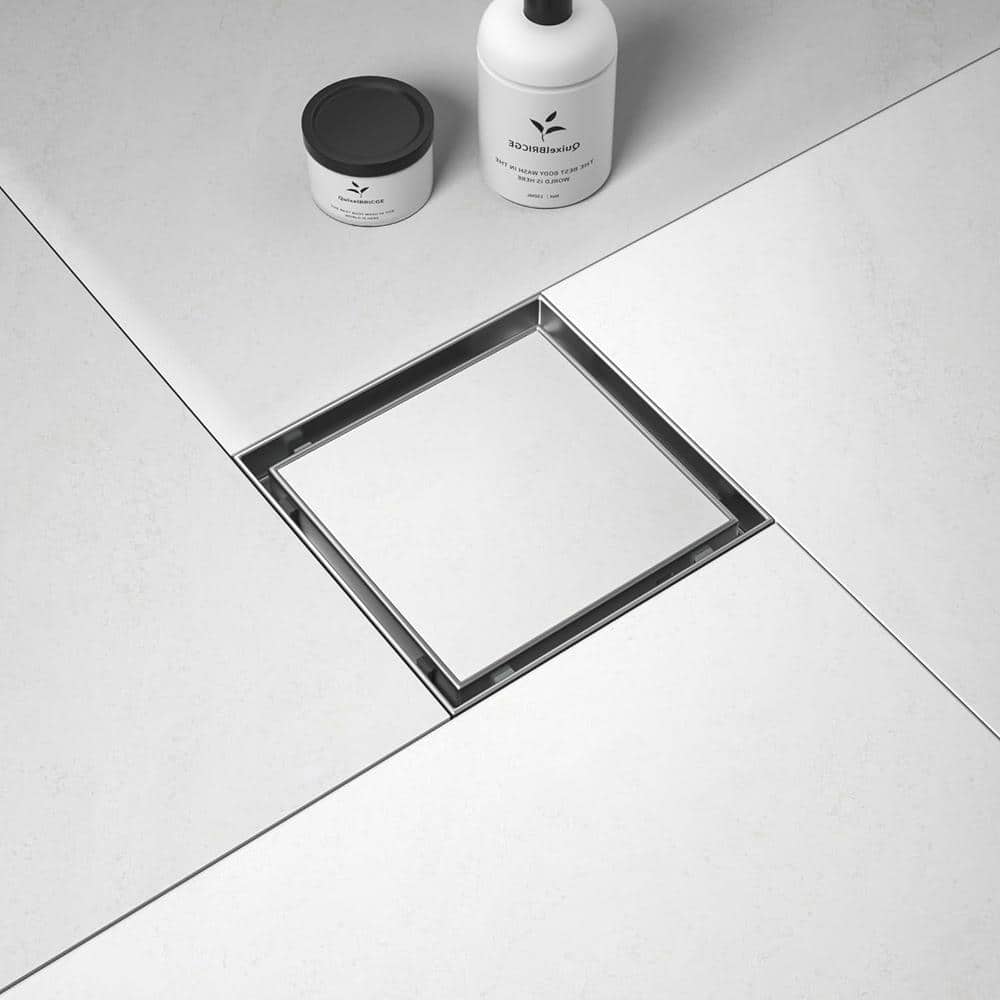
BWE 6 in. Square Stainless Steel Shower Drain with Slot Pattern Drain Cover with Removable Grille Cover In Brushed Nickel A-9FD05-N
Blaster 11 oz. PB Penetrating Oil 16-PB-DS
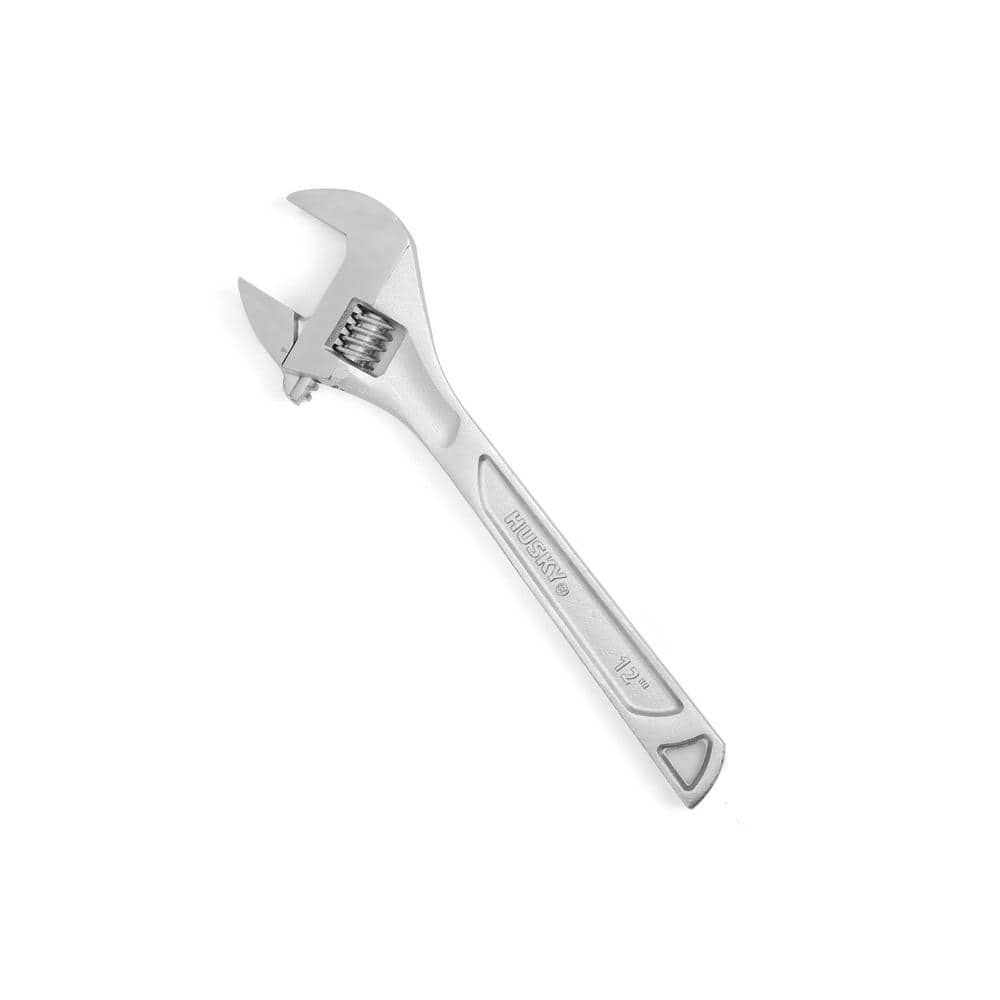
Husky 12 in. Adjustable Wrench 90130
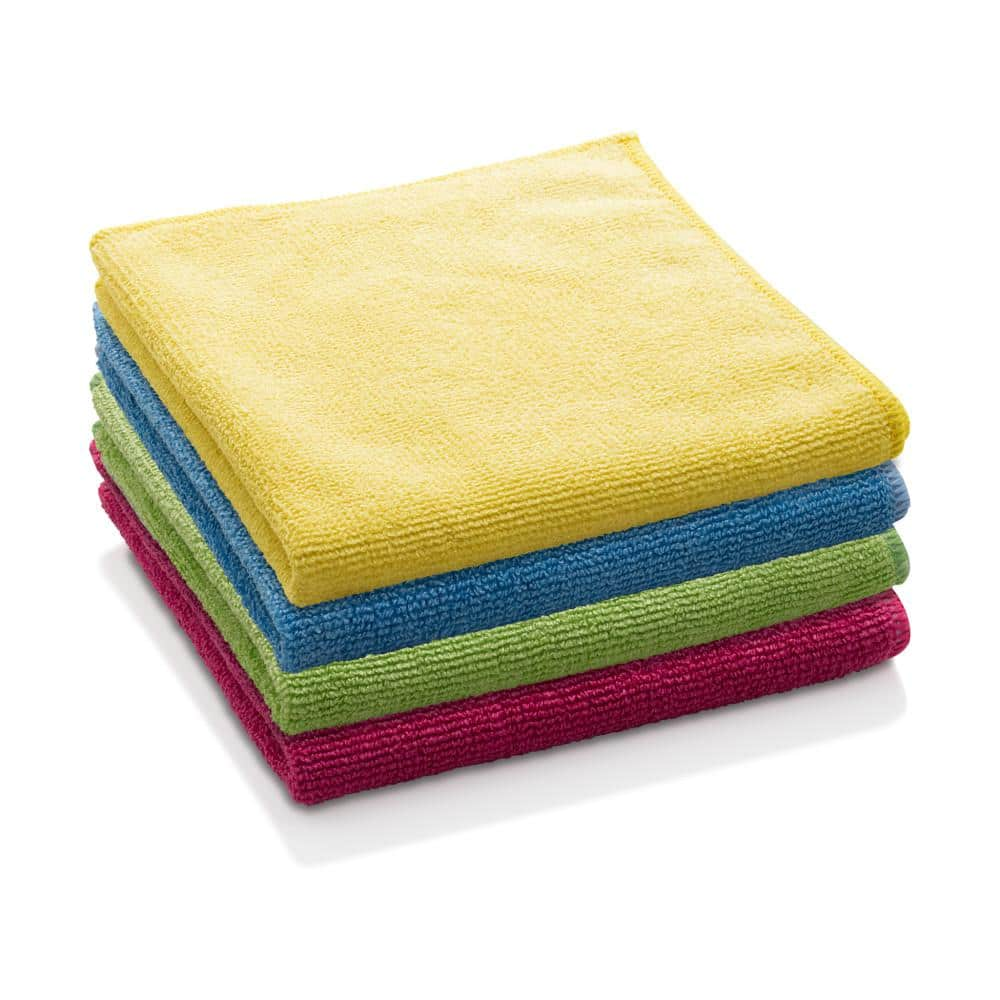
E-Cloth Microfiber General Purpose Cloths - Assorted Colors - 4 Pack 10902M

Husky 12 in. Adjustable Wrench 90933
Teflon Tape
BWE 6 in. Square Stainless Steel Shower Drain with Slot Pattern Drain Cover with Removable Grille Cover In Brushed Nickel A-9FD05-N
The square format of Stainless Steel Grid Shower Drain offers a decorative solution to standard shower plumbing fixtures. With a sleek, sophisticated profile that maximizes both form and function, the
Blaster 11 oz. PB Penetrating Oil 16-PB-DS
The #1-selling penetrant since 1957, PB B'laster, is back with the new and improved B'laster ProStraw. The same legacy formula that quickly loosens rusted or frozen parts now offers Control Flow Technology.
Husky 12 in. Adjustable Wrench 90130
The Husky 12-in. Adjustable Wrench features a durable, comfortable handle. A large knurl allows for easy adjustment and a tight-fitting hex jaw design reduces slippage and tightly grips the fastener for
E-Cloth Microfiber General Purpose Cloths - Assorted Colors - 4 Pack 10902M
Always up for some good clean fun, E-Cloth General Purpose Cloths tackle nearly every household cleaning task on your list. Masses of precision-engineered microfibers attract and trap grease, grime, fingerprints,
Husky 12 in. Adjustable Wrench 90933
The Husky 12 in. Adjustable Wrench features a durable, comfortable handle. A large knurl allows for easy adjustment and a tight-fitting hex jaw design reduces slippage and tightly grips the fastener for
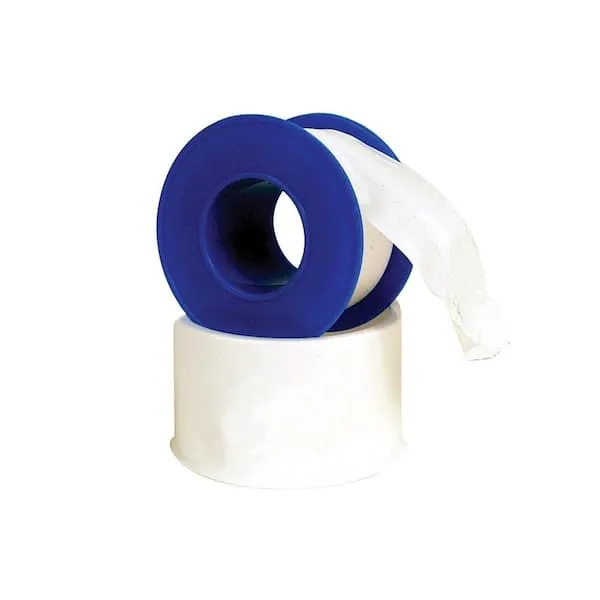
Teflon Tape
Seals pipe threads without leaks.
Steps
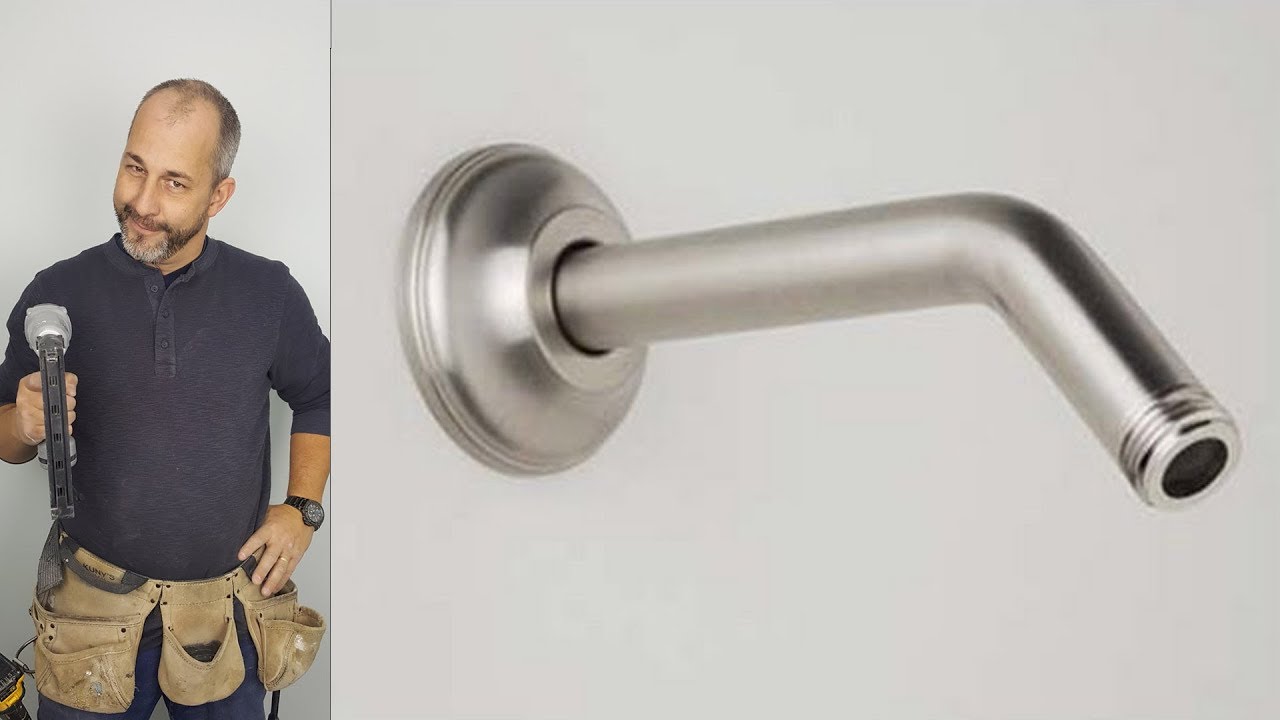
Remove the Old Shower Arm and Showerhead
15 minsProtect your drain by covering it to prevent losing small parts. Apply penetrating oil to the shower arm threads to loosen any mineral deposits or corrosion. Let it sit for 10-15 minutes. Then, using an adjustable wrench (wrapped in cloth to avoid scratches), carefully unscrew the showerhead counterclockwise. Next, remove the old shower arm, also turning counterclockwise. A strap wrench can provide extra leverage if needed.
Test for Leaks and Restore Water Supply
5 minsSlowly turn the water supply back on. Carefully check all connections for leaks. If you find any, gently tighten the shower arm or re-wrap the threads with Teflon tape. Once you're confident there are no leaks, reinstall the showerhead (if removed).
Common Problems
If you find a leak, turn off the water supply before attempting to tighten or fix the connection.
Solution: To avoid this issue: Be mindful of this warning and take appropriate precautions.
Persistent leaks after shower arm replacement indicate faulty sealing.
Solution: If a leak persists, you may need to add more thread seal tape or check that the rubber washer is seated correctly.
Handles won't align properly with the faucet body.
Solution: To align the handles correctly, put the handle on, turn the water on a little bit, and then reset the screw.
Shower arm is stuck and risks pipe damage when removed.
Solution: If the showerhead is stuck, you may need to apply more force or use a penetrating oil, but be careful not to damage the pipe inside the wall.
Plumbing damage inside the wall from twisting the shower arm.
Solution: Hold the shower arm securely to avoid putting stress on the plumbing inside the wall.
Chrome shower arm scratched by tools during replacement.
Solution: Use a rag to protect the chrome finish from being scratched by the tools.
Hold the shower arm firmly with pliers to prevent it from twisting or breaking inside the wall.
Solution: To avoid this issue: Be mindful of this warning and take appropriate precautions.
Frequently Asked Questions
What should I do if the old shower arm is stuck and won't unscrew?
If your old shower arm is stubborn, apply a generous amount of penetrating oil (like Blaster 11 oz. PB Penetrating Oil) to the threads where it meets the wall. Let it sit for 15-30 minutes to work its magic. Then, use your adjustable wrench to try again, applying steady pressure. If it's still stuck, a longer handled wrench might give you more leverage, but be careful not to damage the wall.
How much Teflon tape do I need to use to prevent leaks effectively?
For a watertight seal, wrap the threads of the new shower arm with Teflon tape 3 to 5 times in a clockwise direction. Ensure the tape covers all the threads and is applied snugly. Wrapping in the direction of tightening helps prevent the tape from unraveling as you screw the arm in.
Is it absolutely necessary to turn off the water for this simple replacement?
Yes, turning off the water supply to your shower, or the entire house if there's no individual shut-off, is crucial. This prevents water from gushing out when you remove the old arm, ensures a dry workspace, and avoids potential leaks or water damage during the installation process. It's a key safety and preventative step.
What's the most common mistake a beginner makes when replacing a shower arm?
The most common mistake is cross-threading the new shower arm into the wall fitting. Always start screwing the new arm in by hand to ensure it's aligned correctly before using a wrench. Another frequent error is not applying enough (or any) Teflon tape, which leads to immediate leaks after installation.
The project lists two 'Husky 12 in. Adjustable Wrench' items. Do I need two wrenches for this job?
While the list specifies two identical wrenches, typically you only need one adjustable wrench for this project. It will be used for both removing the old shower arm and tightening the new one. The redundancy might imply having a backup or simply ensuring you have one available, but a single wrench is usually sufficient.
What should I do if the new shower arm still leaks after installation and re-taping?
If you've re-taped the threads carefully with 3-5 wraps and are still experiencing leaks, first ensure you've tightened the arm snugly without over-tightening. If the leak persists, you might have a damaged pipe thread inside the wall, or the shower arm itself could have a defect. In rare cases, a small amount of thread sealant compound (pipe dope) in addition to Teflon tape can provide an extra layer of sealing.
Can I use thread sealant compound instead of Teflon tape for the seal?
Yes, you can use pipe thread sealant compound, also known as pipe dope, as an alternative to Teflon tape. Apply a thin, even layer directly to the threads of the new shower arm before screwing it into the wall. Some professionals even use both Teflon tape and sealant compound for a doubly secure seal, though Teflon tape alone is generally sufficient for this application.