Fix Low Shower Pressure: Easy Steps & Best Shower Heads
About This Project
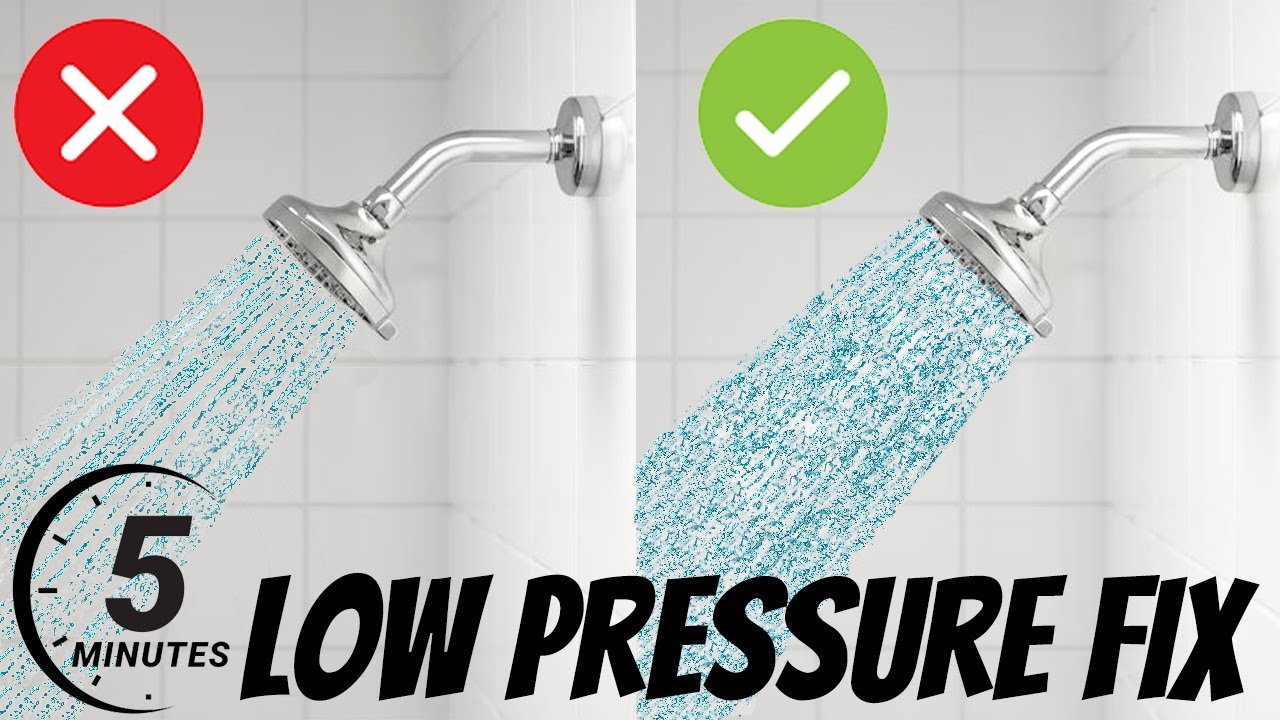
This project outlines how to fix low shower water pressure. The first step involves cleaning the shower head by soaking it in a vinegar solution or using a commercial cleaner like CLR. Next, the shower's shut-off valve should be checked to ensure it's fully open. If the problem persists, installing a new low-pressure shower head designed for optimal performance is the final solution. When choosing a new shower head, consider factors such as budget and desired shower experience.
Best for experienced DIYers and homeowners with some experience.
Tools & Materials
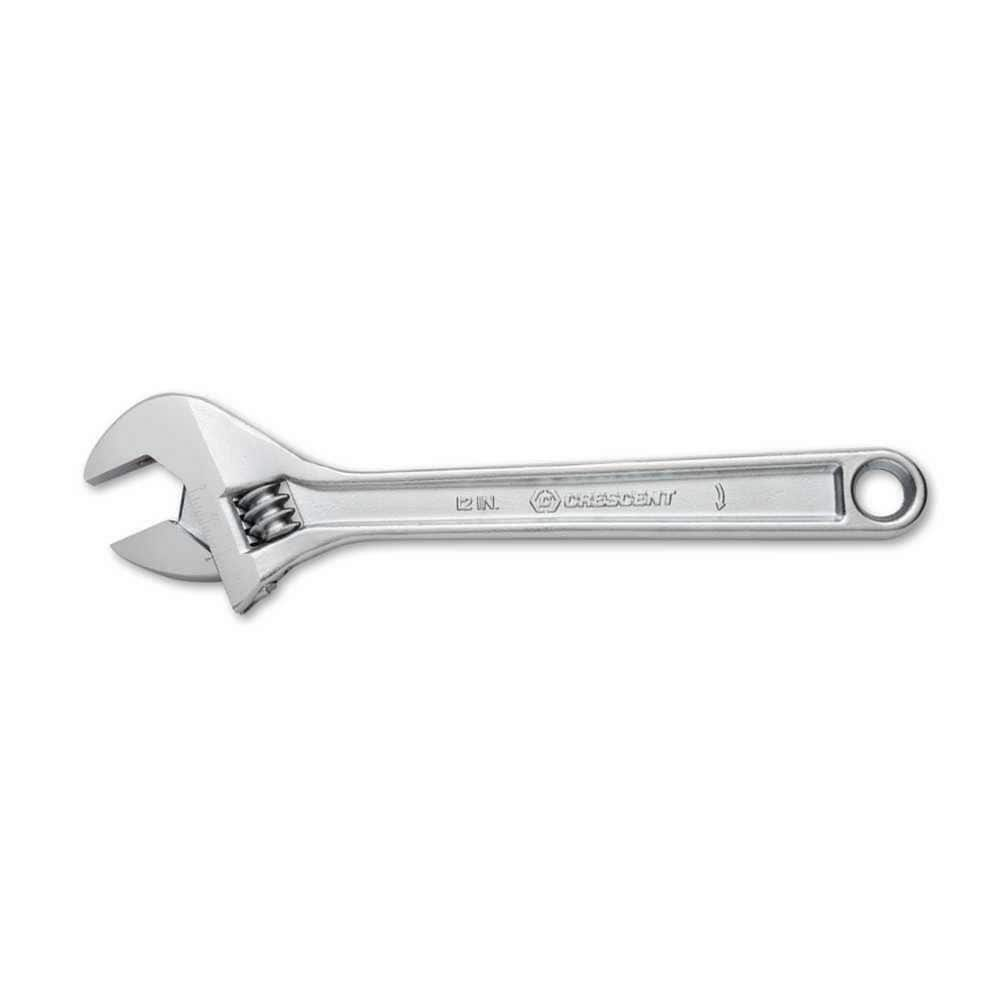
Crescent 12 in. Chrome Adjustable Wrench AC212VS
Vinegar
Plumbers Tape
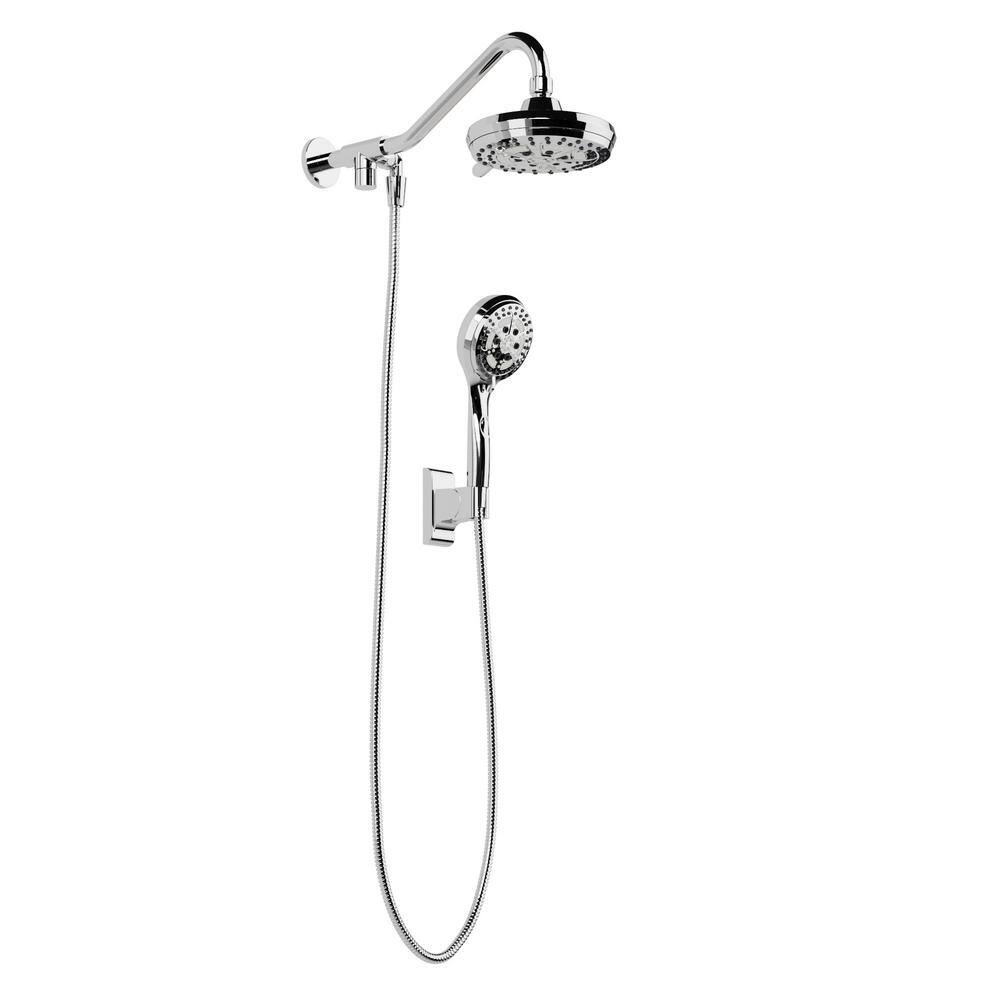
PULSE Showerspas 6-spray 7 in. Dual Shower Head and Handheld Shower Head with Low Flow in Chrome 1053-CH
Crescent 12 in. Chrome Adjustable Wrench AC212VS
Since the introduction of the original Crescent wrench in the early 1900s, the Crescent brand has become synonymous with adjustable wrenches. Crescent Adjustable Wrenches feature a large knurl for easy
Vinegar
Natural cleaner and culinary ingredient.
Plumbers Tape
Ensures leak-proof pipe joints.
PULSE Showerspas 6-spray 7 in. Dual Shower Head and Handheld Shower Head with Low Flow in Chrome 1053-CH
The Oasis Shower System by PULSE ShowerSpas is perfect for an instant shower upgrade. The 8 in. 5-function showerhead and 6-function handshower can be used simultaneously or separately, creating more than 30-possible shower combinations. The convenient trickle button allows you to pause your handshower spray when needed. The handshower mount can be mounted with the included drill-less glue at your desired location. Typical install is less than 1 hour—even for the do it yourselfer. Available in Brushed Nickel and Chrome.
Steps

Clean Your Shower Head to Improve Water Flow
30 minsMineral deposits and debris can significantly restrict water flow. Carefully remove your shower head and soak it in a solution of white vinegar overnight to dissolve buildup. Alternatively, use a commercial cleaner like CLR, following the product instructions carefully.
Watch: Clean Mineral Buildup

Install a Low-Pressure Shower Head for Optimal Performance
15 minsIf the pressure remains low, it’s time for a new shower head. Look for models specifically designed for low water pressure. Features like smaller nozzles or air injection technology can significantly increase the perceived water pressure. Consider your budget and preferred shower experience (rain shower, massage, etc.) when making your selection.
Watch: Test with No Flow RestrictorCommon Problems
Safety concern: Always turn off the water supply before working on any plumbing fixtures.
Solution: Take proper safety precautions. Always turn off the water supply before working on any plumbing fixtures.
Prevention: Always follow safety guidelines before starting the project.
Running a showerhead with no flow restrictor will use the most amount of water and may be against local regulations in some areas.
Solution: To avoid this issue: Be mindful of this warning and take appropriate precautions.
Shower pressure is weak and unsatisfying.
Solution: Oxygenics showerheads input air into the water, making a low water pressure situation feel like a luxury spa.
Scratching or damaging the showerhead when removing the restrictor valve.
Solution: Use a rag or towel to avoid scratching the showerhead when prying off the restrictor valve. Be gentle to avoid damaging the showerhead.
Ensure the o-ring is properly in place to prevent water leaks.
Solution: To avoid this issue: Be mindful of this warning and take appropriate precautions.
Failure to turn off the water can result in flooding.
Solution: To avoid this issue: Be mindful of this warning and take appropriate precautions.
Shower head is clogged, reducing water flow.
Solution: This vinegar soak is a great way to improve water flow without harsh chemicals.
Frequently Asked Questions
What are the essential tools and materials I'll need for this project, beyond just cleaning supplies?
You'll definitely need a Crescent 12 in. Chrome Adjustable Wrench to help remove and install the shower head, and Plumbers Tape to ensure a watertight seal for the new connection. If cleaning doesn't work, plan on purchasing a new low-flow shower head like the PULSE Showerspas model for optimal performance.
Do I need to turn off the main water supply to my house before working on the shower head or valve?
You typically do not need to turn off the main water supply to your house. Instead, locate and close the specific shut-off valve for your shower or bathroom, if available. If no local shut-off exists and you're replacing the entire shower head, turning off the main water supply is a safer precaution to prevent leaks.
How long should I expect each step of this project to take, and what's the approximate cost if I need to buy a new shower head?
Cleaning your shower head usually takes 30 minutes to an hour, including soaking time. Checking the shut-off valve is quick, under 15 minutes. If you replace the shower head, allow another 30-45 minutes. The overall project is estimated at 2 hours, and a new low-flow shower head can range from $30 to over $100, depending on features and brand.
What if I've cleaned my shower head and checked the shut-off valve, but the water pressure is still low?
If cleaning and valve adjustments don't resolve the issue, the next step is to replace your old shower head with a new low-pressure model designed for optimal performance. Older shower heads or those not designed for low-pressure systems can restrict flow even when clean. This is often the most effective solution for persistent low pressure.
I'm having trouble unscrewing my old shower head; what's a common mistake or trick to get it off without damage?
A common mistake is applying too much force without proper leverage. Use your adjustable wrench, ensuring it's tightened securely around the shower head base, and turn counter-clockwise. If it's stuck, try wrapping the connection with a cloth and spraying a penetrating oil like WD-40, letting it sit for a few minutes before trying again. Be careful not to overtighten when reassembling.
Why is plumber's tape (Teflon tape) recommended, and how do I apply it correctly when installing a new shower head?
Plumber's tape is crucial for creating a watertight seal between the shower arm threads and the new shower head, preventing leaks. To apply it correctly, wrap it clockwise (the direction you'll tighten the shower head) around the threads of the shower arm, starting at the end. Use 3-5 layers for a good seal, ensuring it covers all exposed threads.