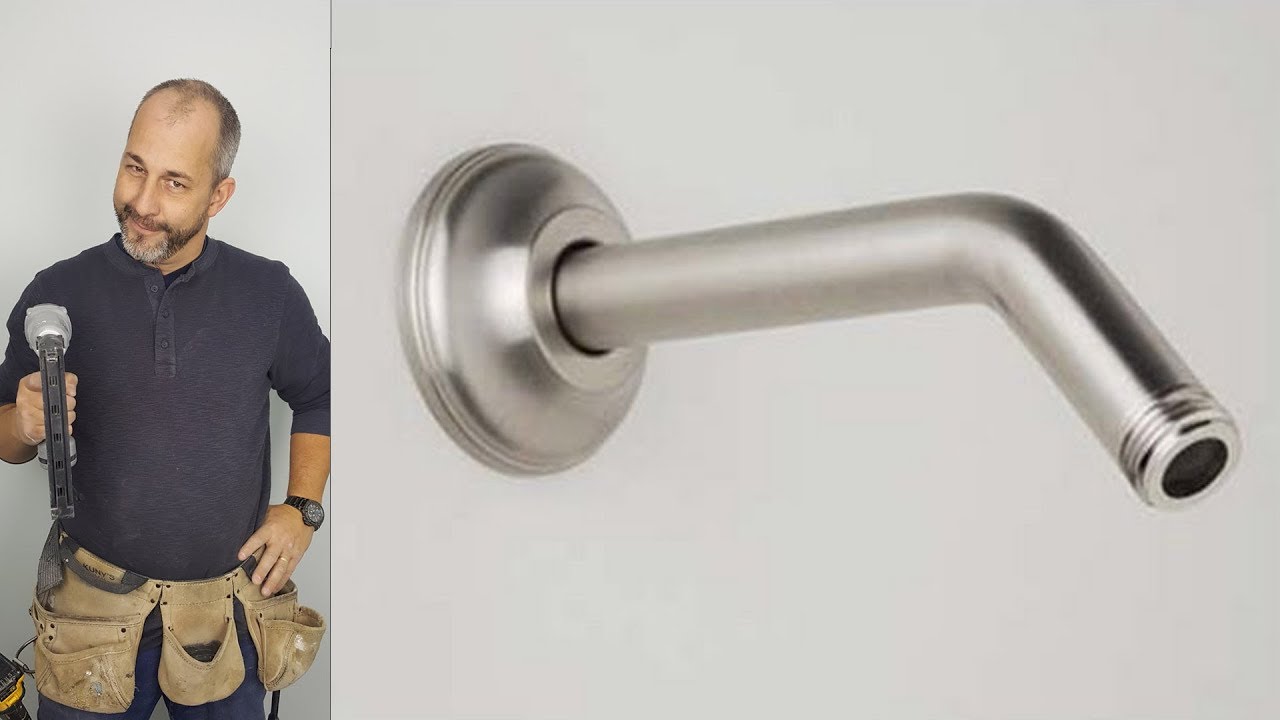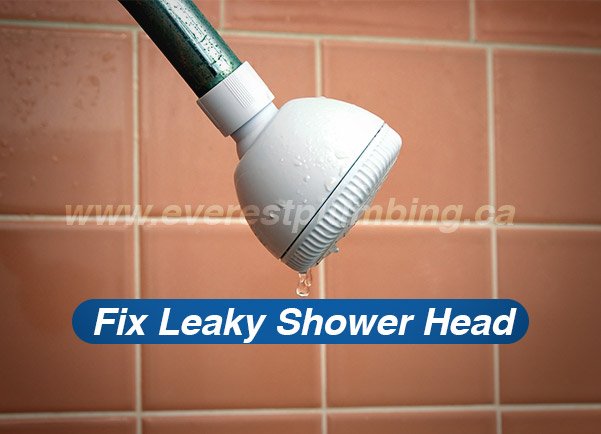
Fix a Leaky Shower Faucet: Stop Dripping Shower Head
About This Project
This DIY guide demonstrates how to fix a leaky shower faucet to stop a dripping shower head. First, turn off the water supply to the shower by locating the shut-off valves, typically under the sink or in the basement for the main water line. Turn the valves clockwise to shut off the water flow. Next, remove the shower faucet handle(s). There's usually a screw on the handle that needs to be removed with a screwdriver. Once the screw is out, the handle can be pulled off. Then, inspect the O-rings, washers, and cartridges inside the faucet for any wear or damage. Using pliers or a cartridge puller, as needed, remove and replace any damaged parts with new ones. After that, reassemble the faucet by reversing the steps you took to disassemble it. Make sure all parts are correctly aligned and securely tightened to prevent further leaks. Finally, turn the water back on slowly to check for leaks. If the dripping continues, double-check your work, making sure all parts are properly seated and tightened. If the problem persists, it may be best to consult a plumber.
Best for experienced DIYers and homeowners with some experience.
Tools & Materials
Screwdriver
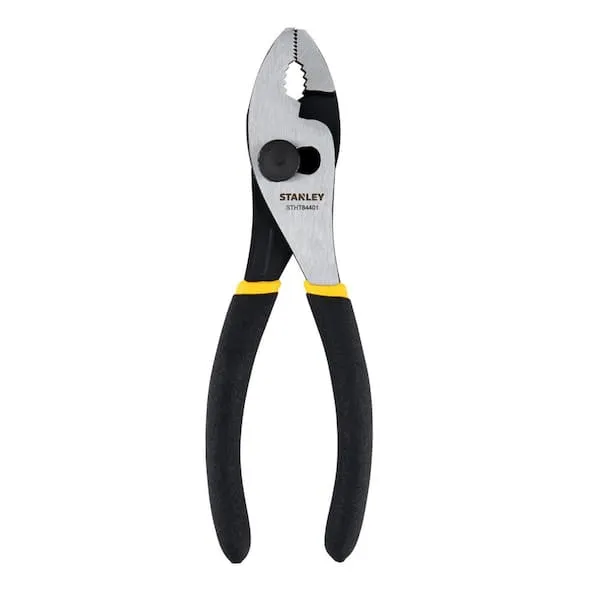
Pliers
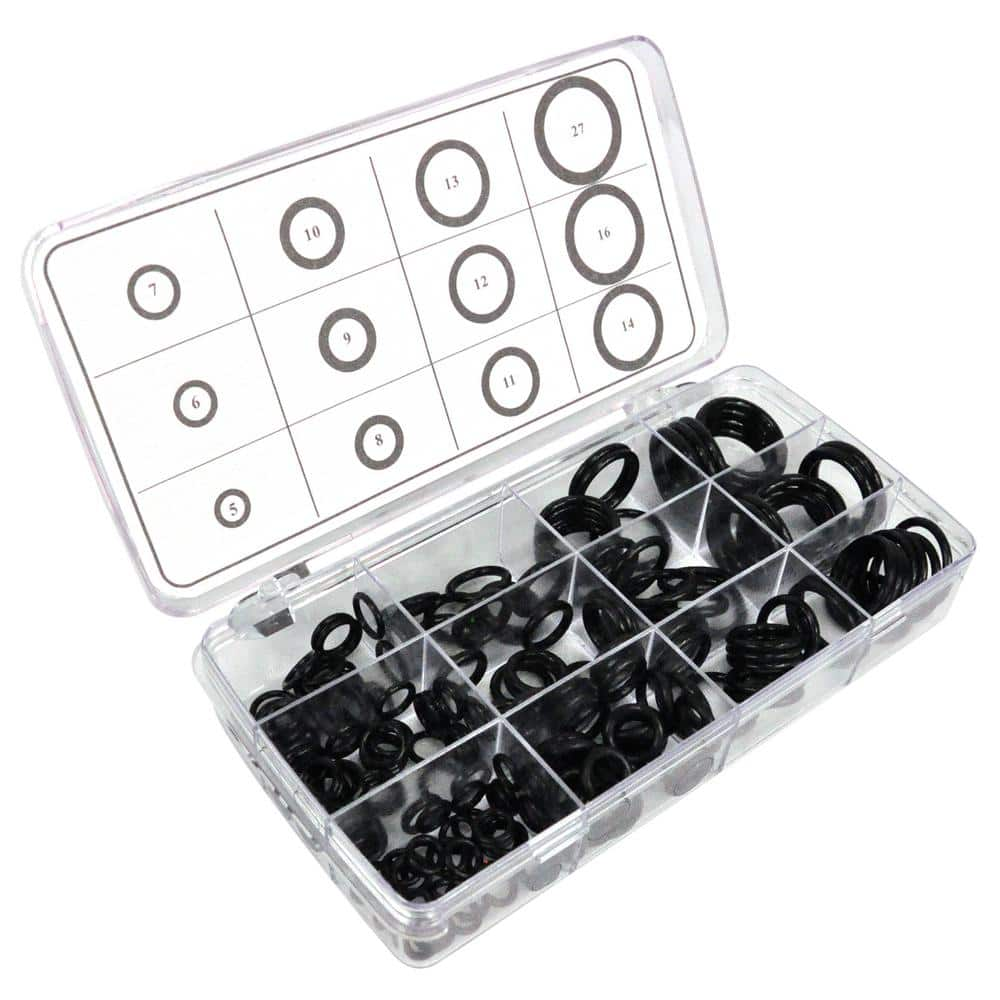
DANCO 200-Piece O-Ring Kit 34443

Deeshe 1.38 cu. ft. Full-Automatic Smart Home Top Load Washer Washing Machine with Drain Pump 17.7 lbs. 10 Wash Program in Grey Deeshe-SQB201A

Carnegy Avenue Black 20 in. W x 30 in. H Bulletin Board CGA-HGW-524929-BL-HD
Arcan Hardened 3 in. Gear Puller AS3GP
Screwdriver
Essential for assembling the cart with screws and installing hardware like gate latches.
Pliers
Grips and manipulates objects.
DANCO 200-Piece O-Ring Kit 34443
O-rings get lost periodically and get warped/worn out over time. A damaged O-ring,(or no faucet O-ring, at all) means a poor seal, leading to a leaky mess. Always have a spare O-ring on hand! Faucet O-rings
Deeshe 1.38 cu. ft. Full-Automatic Smart Home Top Load Washer Washing Machine with Drain Pump 17.7 lbs. 10 Wash Program in Grey Deeshe-SQB201A
This Full-Automatic Washer is a top-of-the-line washing machine designed for modern homes. large capacity to wash all clothes of the whole families, saving you time and energy. Its top-loading design is not only ergonomic but also ensures that clothes are thoroughly cleaned with minimal damage. In addition to its impressive capacity, this washer is equipped with a range of advanced features that make it stand out from other washing machines. For example, it has a delay start function that lets you set the time you want your wash cycle to start. The Full-Automatic Smart Home Top Load Washer also has a child lock feature, which prevents children from accidentally turning it on or off. Moreover, the washer has a digital display that shows the remaining wash time, so you can plan your day accordingly. It also has a number of wash programs to choose from, including a quick wash program that cleans clothes in just 15-minutes. And it has an impressive ENERGY STAR rating, meaning it uses less water and electricity than traditional washing machines. This not only saves you money but also helps to conserve the environment. Overall, the Full-Automatic Smart Home Top Load Washer is a powerful, efficient and convenient washing machine that is perfect for your dormitory, apartment, RV, camping, garage, homestay, etc.
Carnegy Avenue Black 20 in. W x 30 in. H Bulletin Board CGA-HGW-524929-BL-HD
Add a bit of rustic charm and functionality to your home, office or classroom with this Rustic Wall Mount Cork Board. With its black solid pine wood frame, it not only provides a stylish touch but is also sturdy and durable. Use the included wood push pins to secure your notes, photos, or artwork, or let it stand alone as a piece of decorative wall art. The cork board is easy to hang, either vertically or horizontally with the inlayed hanging hardware. This makes it a versatile addition to any space, providing an easily accessible place for communication or showcasing sentimental items. Whether it's a shopping list, a reminder, or a child's masterpiece, this board is perfect for displaying it in style.
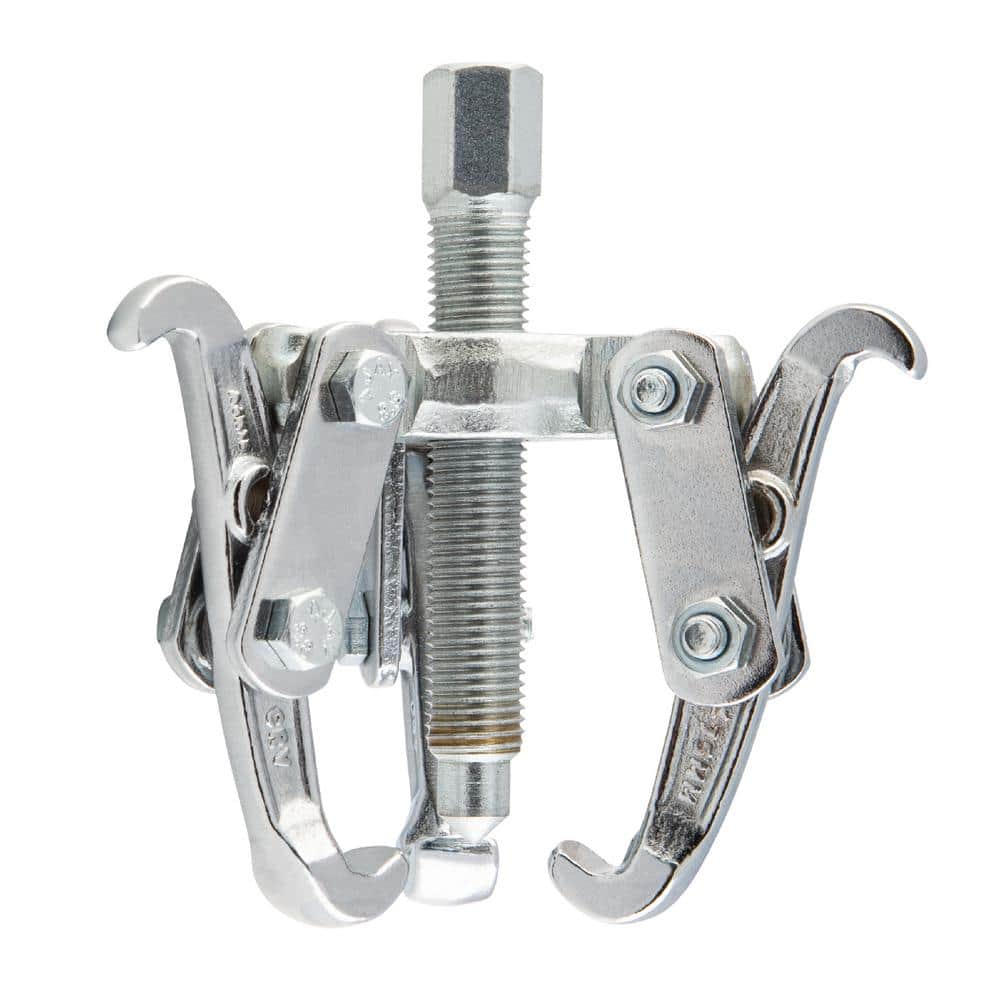
Arcan Hardened 3 in. Gear Puller AS3GP
The Arcan AS3GP Hardened 3 in. Gear Puller has reversible jaws with 8-adjustable positions that allow for inside and outside grip. Made from heat treated chrome vanadium steel, these gear pullers have
Steps

Inspect and Replace Worn Faucet Parts
30 minsInspect the internal components of your faucet, such as O-rings, washers, and cartridges. Replace any worn or damaged parts. You might need pliers or a cartridge puller depending on your faucet type. Refer to your faucet's manual for specific instructions.


Common Problems
Sudden water pressure can cause new leaks at weak points in the faucet.
Solution: Turn the water on slowly to allow the pressure to build gradually, which can help prevent sudden leaks at weak points.
Sudden water pressure can dislodge seals, causing leaks.
Solution: Turn the water on slowly to allow the system to pressurize gradually, which can help prevent pressure shocks that might dislodge a seal.
Do not bury the pipe until you are 100% certain the leak is fixed, or you will have to dig it up again.
Solution: To avoid this issue: Be mindful of this warning and take appropriate precautions.
Ensure the rubber washer is seated correctly before tightening to prevent leaks.
Solution: To avoid this issue: Be mindful of this warning and take appropriate precautions.
Overtightening screws can strip threads or crack faucet components.
Solution: Don't overtighten the screws, as this could damage the faucet.
Corrosion on valve stem threads causes future leaks and makes disassembly difficult.
Solution: Apply a small amount of plumber's grease to the valve stem threads to prevent future corrosion.
Be careful not to scratch the faucet finish when removing the handle. Use metric Allen wrenches if standard sizes don't fit.
Solution: To avoid this issue: Be mindful of this warning and take appropriate precautions.
Frequently Asked Questions
What should I do if I can't find the main water shut-off valve or if it doesn't work properly?
If you cannot locate your home's main water shut-off valve, look for an exterior spigot or contact your water utility for guidance on its location. If the valve is stuck or doesn't fully stop the water flow, avoid forcing it to prevent damage. In such cases, it's best to consult a plumber to ensure the water supply is safely and completely shut off before proceeding with repairs.
How do I ensure I purchase the correct replacement O-rings, washers, or cartridge for my specific faucet model?
Before buying replacement parts, disassemble the faucet and remove the old components. Bring the worn O-rings, washers, or the entire cartridge to a hardware store to ensure an exact match. Knowing your faucet's brand and model number can also greatly assist store associates in finding the correct parts.
My shower faucet is still dripping after I replaced the parts. What are the common troubleshooting steps?
First, double-check that all new components, especially O-rings and washers, are correctly seated and securely tightened without over-tightening. Ensure the cartridge is fully engaged and aligned properly. Sometimes, the valve seat itself might be corroded or damaged, requiring specific tools for replacement, or the new parts might be faulty.
How much money can I expect to save by fixing a leaky shower faucet myself compared to hiring a plumber?
DIY repair costs are usually limited to new O-rings, washers, or a cartridge, typically ranging from $5 to $30 depending on your faucet type. Hiring a professional plumber for this specific repair can cost anywhere from $100 to $300 or more, making DIY a significant cost-saving option if you're comfortable with basic plumbing tasks.
Do I need special tools beyond a screwdriver and pliers to fix a leaky shower faucet?
While a screwdriver and pliers are essential for handle removal and general assembly, some faucet types, especially those with cartridges, might require a cartridge puller for removal. Having a set of Allen wrenches and a basin wrench can also be helpful for tight spaces or specific faucet designs. Always review your faucet's manual if available.
What if replacing the O-rings and washers doesn't stop the leak, or if I have a single-handle faucet?
For two-handle faucets, if O-rings and washers don't work, inspect the valve seats for corrosion or damage; these may need specialized tools for replacement. For single-handle faucets, a leaking issue almost always points to a faulty cartridge, which typically needs to be replaced as a whole unit to stop the drip effectively.