Shower Diverter Installation: Switch Water Between Tub & Showerhead
About This Project
1. **Turn Off the Shower Water Supply:** Locate and turn off the shut-off valves to prevent water flow and potential damage. 2. **Remove the Old Shower Diverter Valve:** Access and remove the screws holding the old diverter valve, then remove the valve itself. 3. **Install the New Shower Diverter Valve:** Apply Teflon tape to the new valve's threads, screw it into place securely, and use a wrench or pliers for extra grip if needed. 4. **Reassemble the Shower Trim:** Carefully reattach all trim components, including the faceplate and handle, ensuring proper alignment. 5. **Test for Leaks and Verify Diverter Function:** Turn the water supply back on slowly, checking all connections for leaks. Test the diverter to ensure smooth switching between tub and showerhead. If leaks persist, tighten fittings or reapply Teflon tape.
Best for experienced DIYers and homeowners with some experience.
Tools & Materials
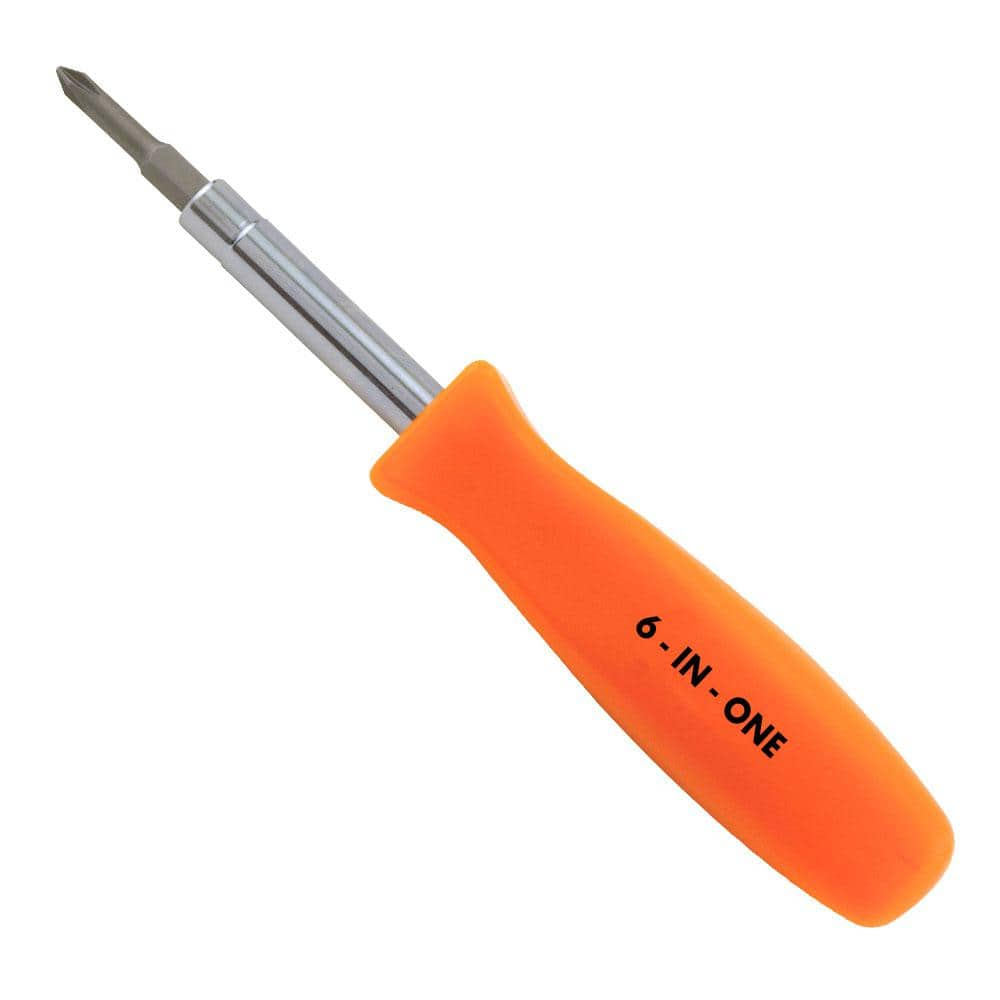
HDX 3-1/4 in. 6-in-1 Screwdriver 120SD12D
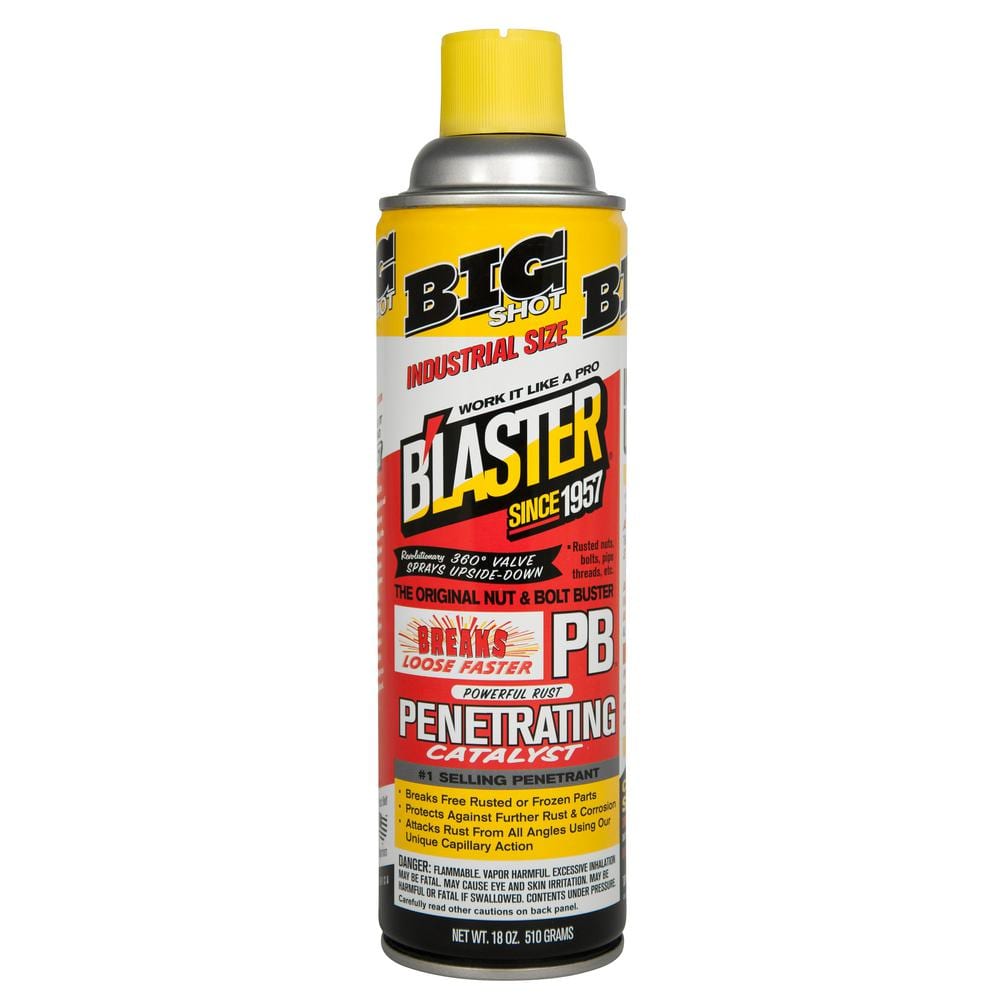
Blaster 18 oz. PB Penetrating Oil 26-PB
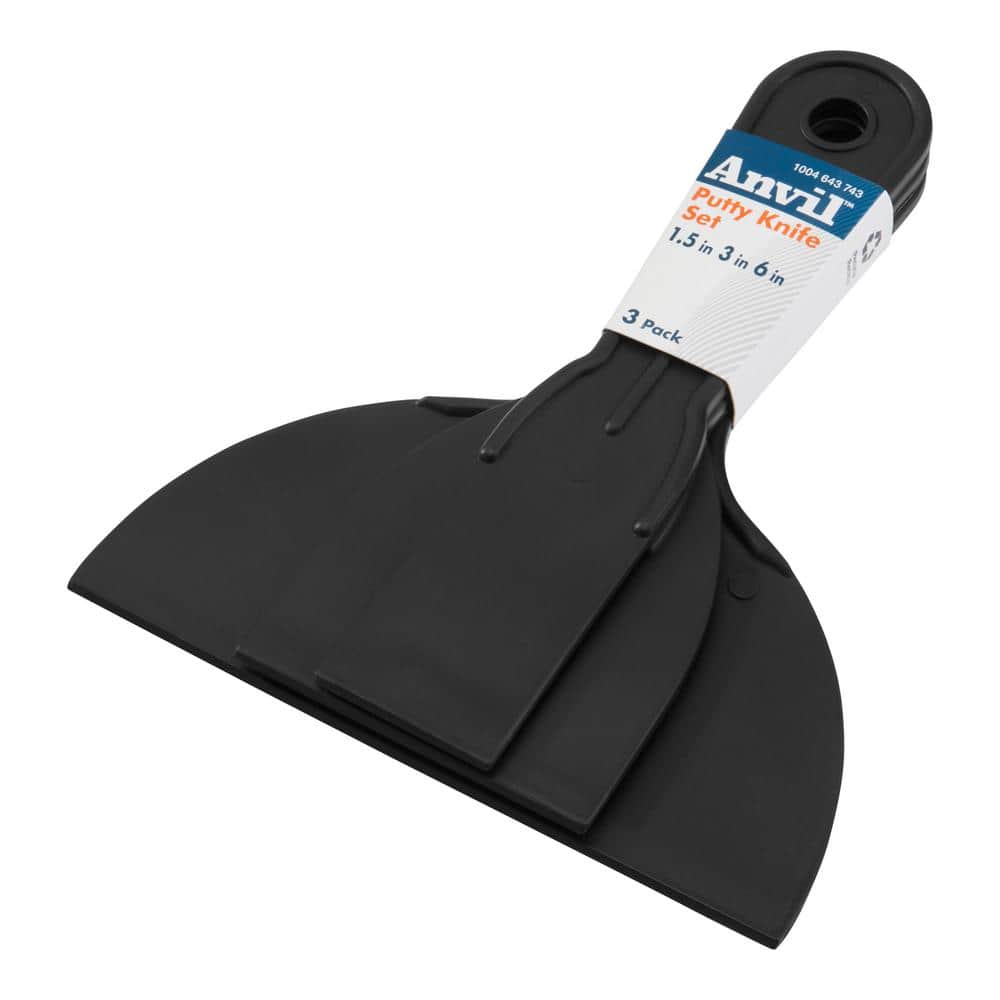
Anvil Plastic Putty Knife Set 18PT0826
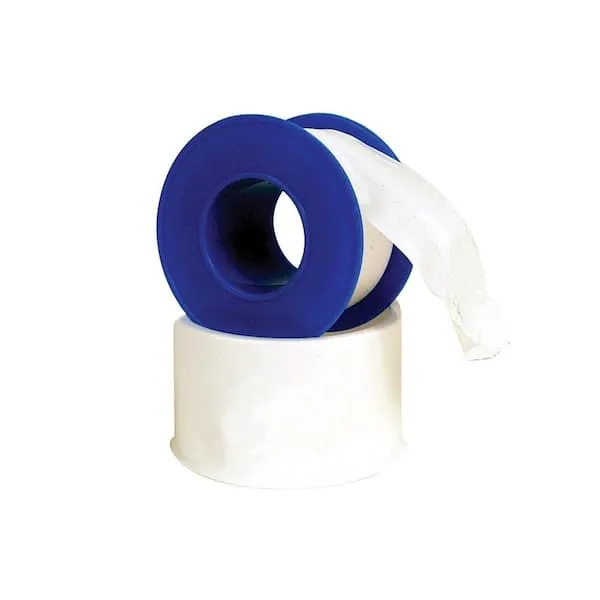
Teflon Tape
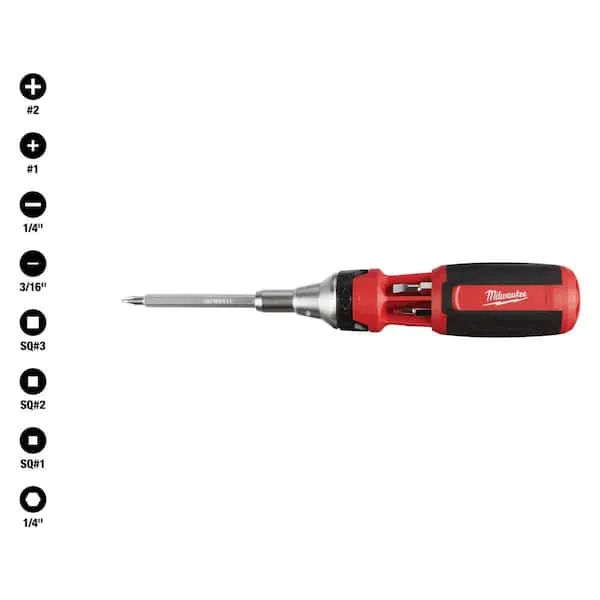
Screwdriver (Multi)
HDX 3-1/4 in. 6-in-1 Screwdriver 120SD12D
The HDX 3-1/4 in. 6-in-1 Screwdriver features double-sided bits with the four most common screwdriver tip styles, including a #1 Phillips bit, a #2 Phillips bit, a 3/16 in. flathead bit and a 1/4 in. flathead bit. Both ends of the shaft can be used as 1/4 in. nut drivers when the bits are removed, offering convenient, versatile use. The high-visibility orange handle makes the handy tool easy to find on a job site or in a toolbox.
Blaster 18 oz. PB Penetrating Oil 26-PB
The #1-selling penetrant since 1957, PB Blaster quickly busts loose rusted or frozen parts caused by rust and corrosion. PB Blaster penetrant also contains a non-evaporating lubricant that protects against
Anvil Plastic Putty Knife Set 18PT0826
The Anvil plastic putty knife set includes 1.5 in., 3 in., and 6 in. plastic putty knives. Use these putty knives to spread joint compound, spackle, or adhesive to repair cracks, holes, and scratches prior to painting. The multi-purpose set allows you to complete all of your jobs and dispose of the tools when done.
Teflon Tape
Seals pipe threads without leaks.
Screwdriver (Multi)
Multiple bits for versatile use.
Steps

Turn Off the Shower Water Supply
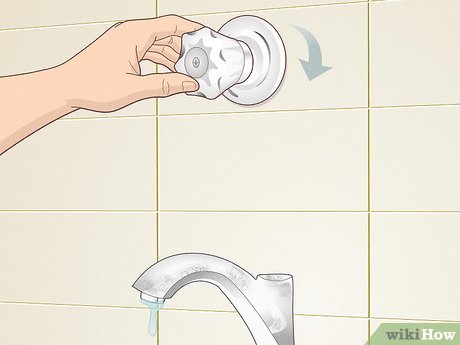
5 minsBefore starting, turn off the water supply to your shower. Locate the shut-off valves—usually near the shower or in your main water panel—and turn them clockwise to shut off the water flow completely. This crucial safety step prevents water damage and potential injury.
Watch: Turn Off the Water Supply

Test for Leaks and Verify Diverter Function
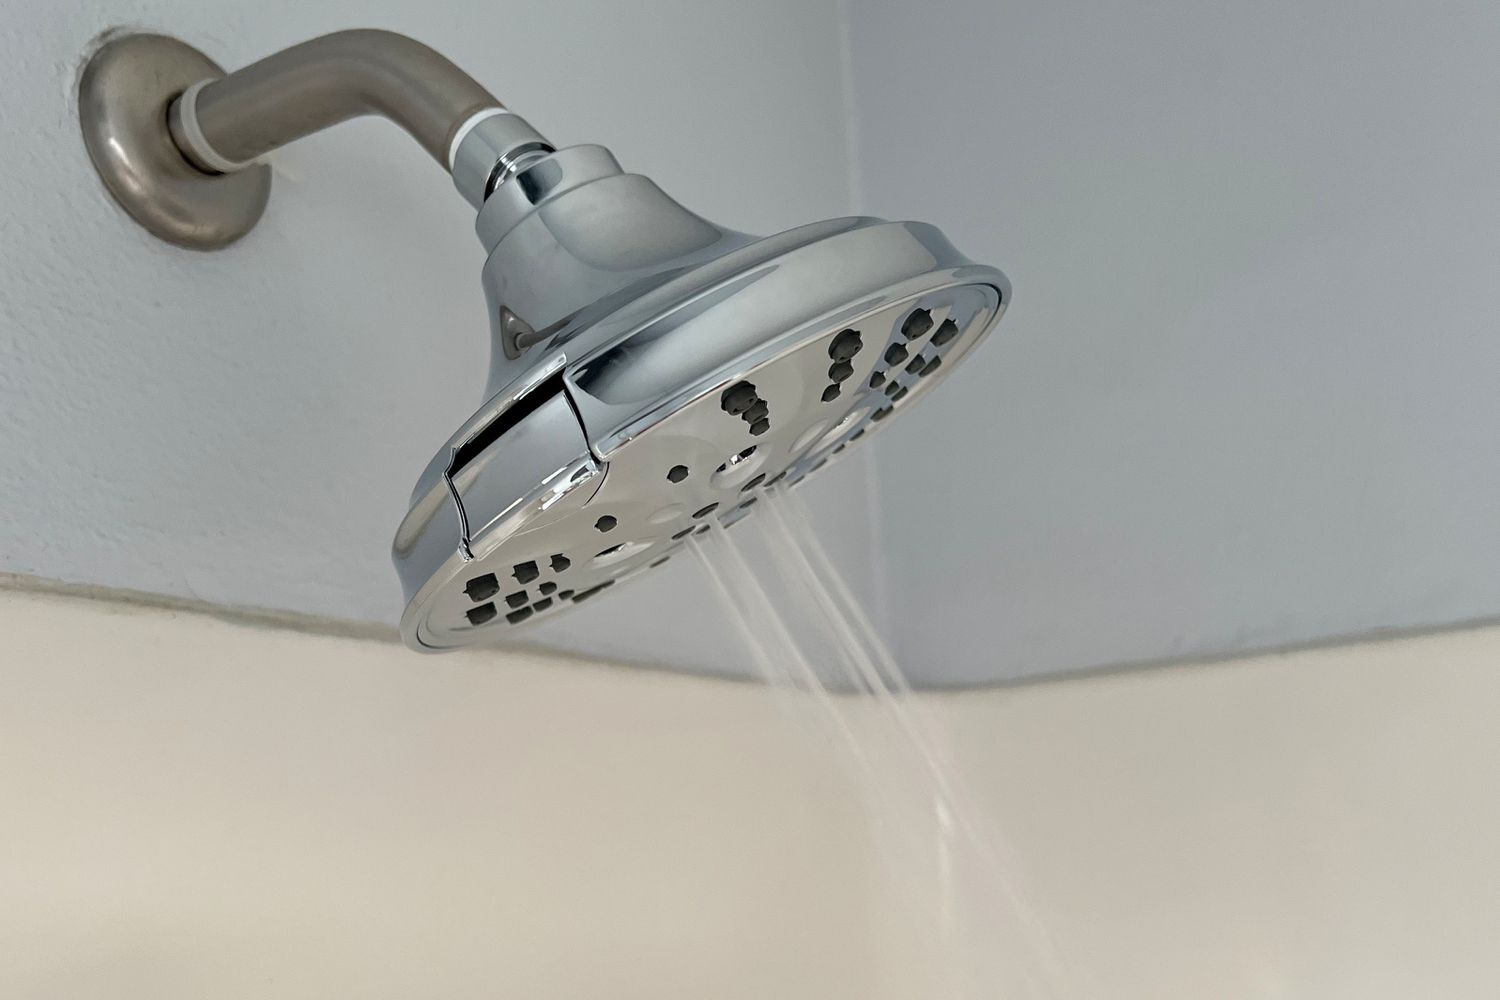
5 minsSlowly restore the water supply. Thoroughly check all connections for leaks. Test the diverter to ensure it smoothly switches the water flow between the tub spout and showerhead. If leaks persist, carefully tighten fittings and retest.
Watch: Test for LeaksCommon Problems
Threads leak if Teflon tape is applied counter-clockwise.
Solution: Wrap the Teflon tape clockwise around the threads.
Be careful not to cross-thread the new valve when installing it.
Solution: To avoid this issue: Be mindful of this warning and take appropriate precautions.
Diverter seizes up, making it impossible to switch between tub and shower.
Solution: The new valve packaging indicates it should be exercised once a year, but doing it once a month can help prevent future issues.
Fittings leak because Teflon tape unwraps during installation.
Solution: Wrap Teflon tape in the same direction you will be tightening the fitting (clockwise) to prevent it from unwrapping.
Be careful not to scratch the shower surround or the faceplate when prying.
Solution: To avoid this issue: Be mindful of this warning and take appropriate precautions.
If you find a leak, turn off the water supply before attempting to tighten or fix the connection.
Solution: To avoid this issue: Be mindful of this warning and take appropriate precautions.
Ignoring small leaks during shower diverter installation can lead to water damage.
Solution: Turn the water on slowly to pressurize the system gradually, which can help identify small leaks before they become major problems.
Frequently Asked Questions
Beyond a screwdriver and Teflon tape, what other tools or materials might I unexpectedly need for this shower diverter installation?
While a multi-screwdriver and Teflon tape are essential, it's wise to have an adjustable wrench or pliers on hand for securely tightening the new diverter. You might also find a utility knife useful for cutting away old caulk, and a flashlight to better see into tight spaces.
What should I do if I can't find the shut-off valves for my shower or entire house?
If you can't locate local shut-off valves for your shower, you'll need to turn off the main water supply to your entire house. This is typically found near your water meter or where the main water line enters your home. Always ensure the water is completely off before starting work to prevent flooding.
I've installed the new diverter, but it's leaking when I turn the water back on. What's the most common reason for this?
The most common cause for leaks after installation is insufficient tightening or improper application of Teflon tape. Ensure you've wrapped the Teflon tape clockwise around the threads 3-5 times, and gently but firmly tighten the diverter valve with a wrench or pliers until snug, without over-tightening.
Is this really a beginner-friendly project, and can I realistically complete it in 3 hours?
Yes, this project is generally beginner-friendly as it primarily involves unscrewing and screwing parts. The 3-hour estimate is reasonable for someone with basic DIY skills, but prepare for potential delays if old parts are stuck or if you need to locate a main water shut-off.
What if the old shower diverter valve is stuck or difficult to remove?
If the old diverter is stuck, try applying a penetrating oil (like WD-40) and letting it sit for 15-30 minutes before attempting to unscrew it again. Use appropriate tools, such as a larger screwdriver or an impact driver if available, but be careful not to strip the screw heads.
Is Teflon tape always necessary, or are there alternatives for sealing the new diverter?
Teflon tape (also known as PTFE tape or plumber's tape) is highly recommended for creating a watertight seal on threaded connections and reducing friction for easier tightening. While some plumbers also use pipe dope (thread sealant compound), Teflon tape alone is sufficient and easier for beginners.
How do I know if my new diverter is properly switching water between the tub and showerhead?
After installation, turn on the water and operate the diverter handle to both positions. Water should flow fully and strongly from the tub spout in one position, and then fully and strongly from the showerhead in the other. If water trickles from both or doesn't switch completely, the diverter might not be fully engaged or could be faulty.