Replace a Delta Shower Faucet with Monitor Series
About This Project
This project demonstrates how to replace a Delta shower faucet with a Delta Monitor series faucet. The steps include: 1. **Shut Off the Water Supply:** Turn off the main water supply to the house and double-check that the water is off at the shower faucet. 2. **Remove the Old Shower Trim:** Carefully remove the handle and escutcheon plate, taking photos as you go to help with reassembly. 3. **Remove the Old Delta Valve:** Remove the old valve, which might involve unscrewing it or cutting it out depending on the type of installation. Use pliers or an adjustable wrench for any retaining nuts or clips. 4. **Install the New Delta Monitor Valve and Trim:** Install the new valve and trim according to the manufacturer's instructions, making sure parts are aligned correctly and replacing washers if needed. 5. **Test for Leaks and Adjust Temperature:** Slowly turn the water supply back on and check all connections for leaks. Adjust the temperature as needed. If leaks continue, double-check the installation, especially the tightness of the fittings.
Best for experienced DIYers and homeowners with some experience.
Tools & Materials
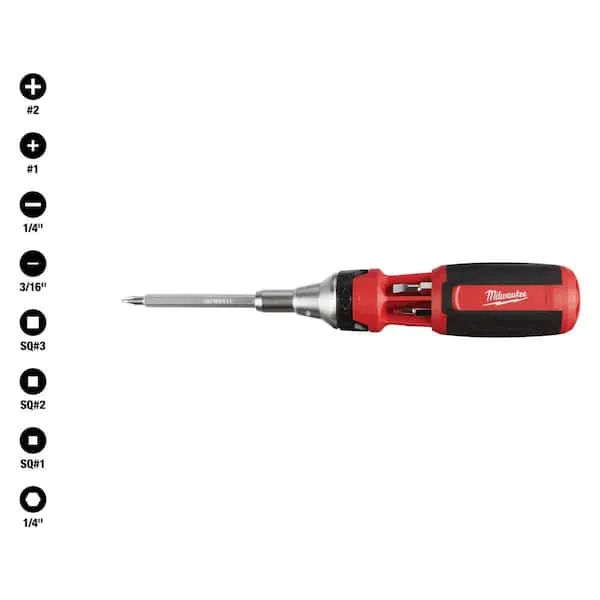
Screwdriver (Multi)
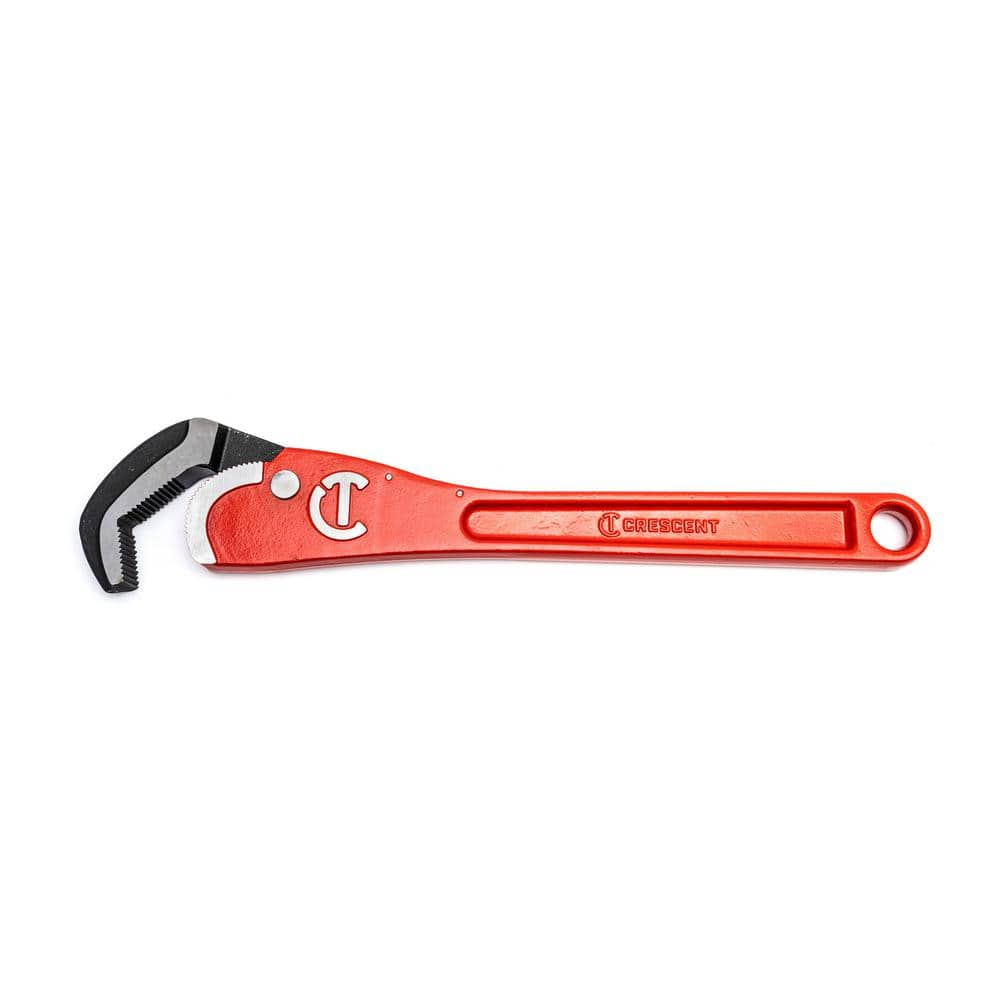
Crescent 16 in. Self Adjusting Pipe Wrench CPW16S
Screwdriver (Multi)
Multiple bits for versatile use.
Crescent 16 in. Self Adjusting Pipe Wrench CPW16S
The Crescent Self-Adjusting Pipe Wrench features a unique head design that instantly grips and releases pipes and other types of fasteners with a fast ratcheting action. It is ideal for most surfaces including black iron, galvanized, PVC, and copper pipes, as well as nuts, bolts, and couplings. The spring-loaded head features a quick-grip and quick-release function that allows the wrench to be used with one hand.
Steps
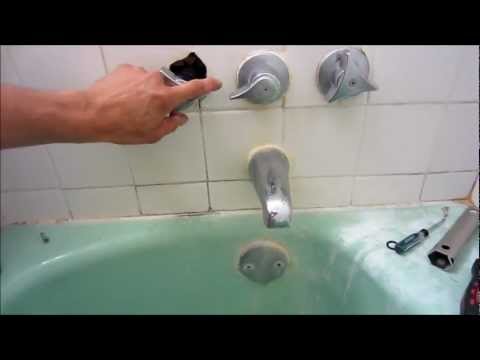
Shut Off the Water Supply: Preventing Leaks
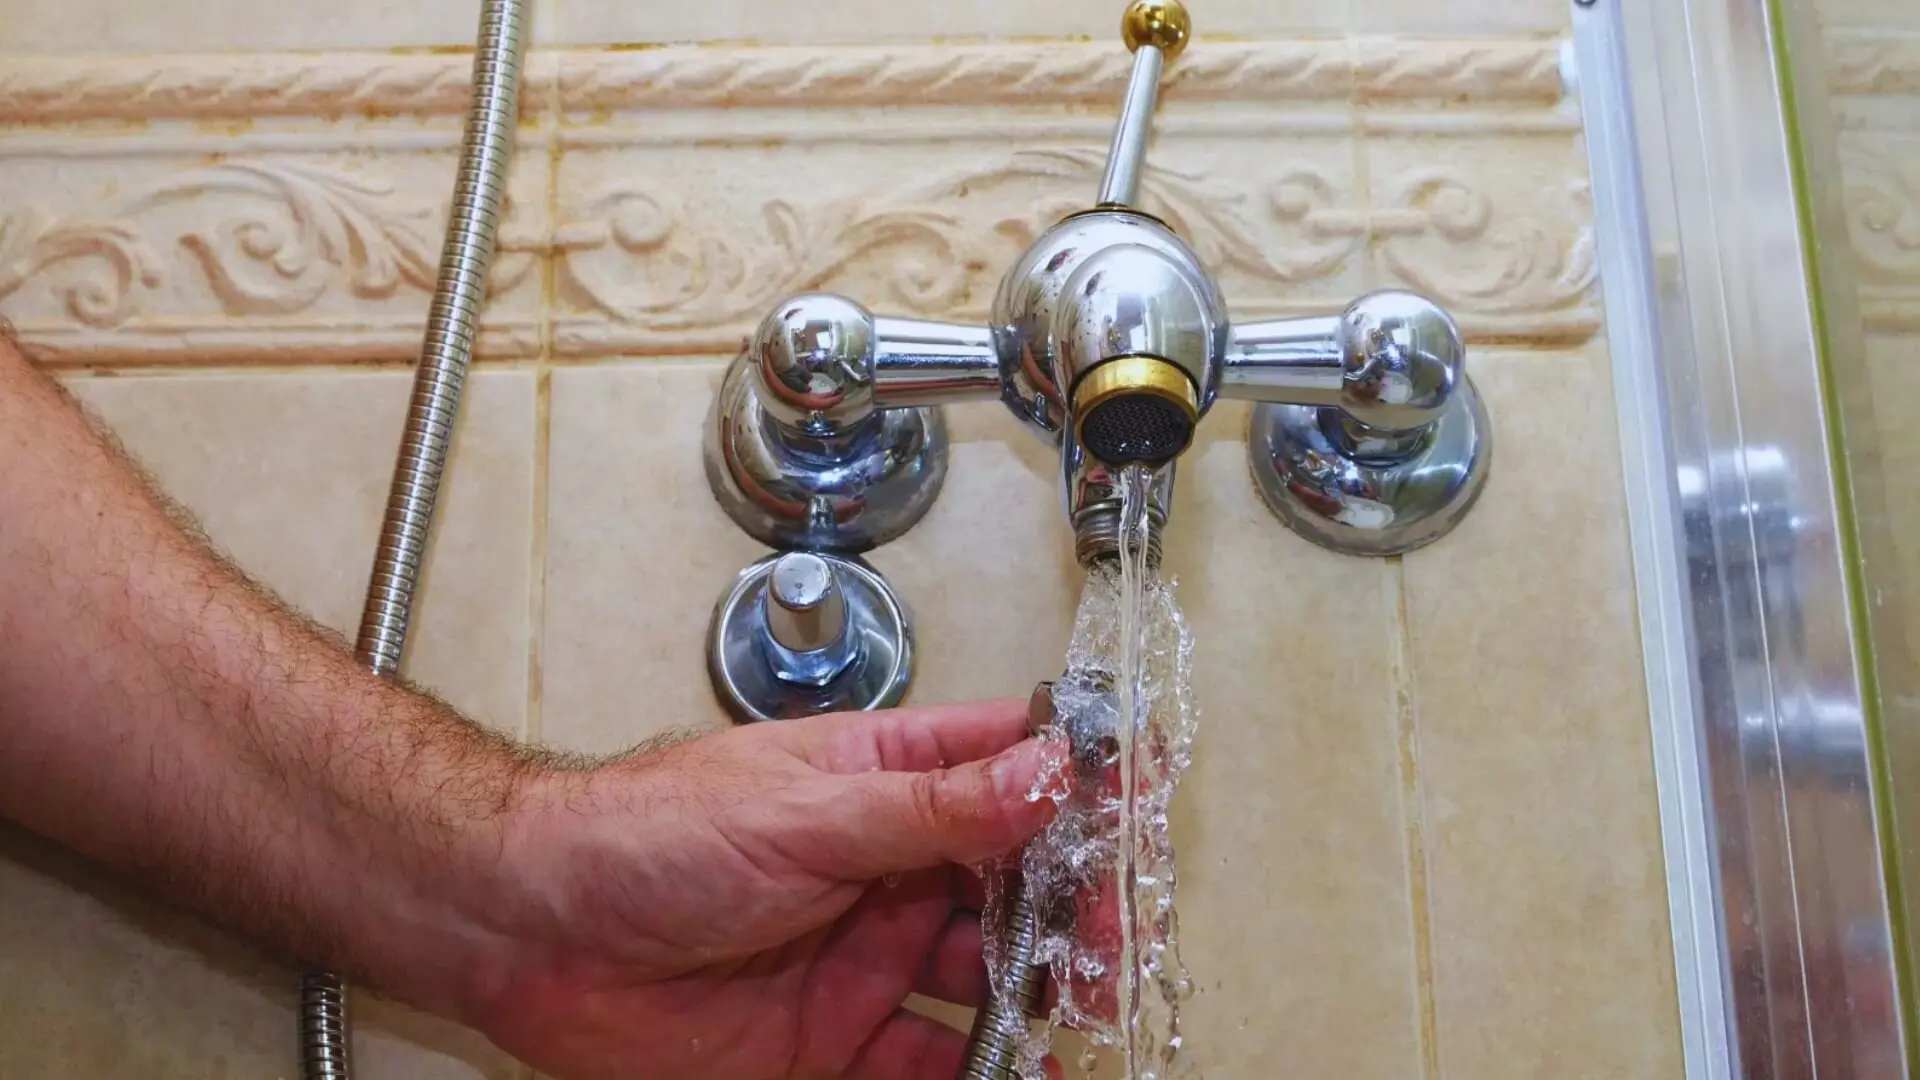
5 minsBefore you begin, completely shut off the main water supply to your house. This is usually near the water meter. Alternatively, locate the shut-off valves for your shower, often found under the sink or in the basement. Turn the valves clockwise until completely closed. Double-check that the water is off by attempting to turn on the shower faucet.
Watch: Turn Off Water Supply
Remove the Old Shower Trim: Accessing the Valve
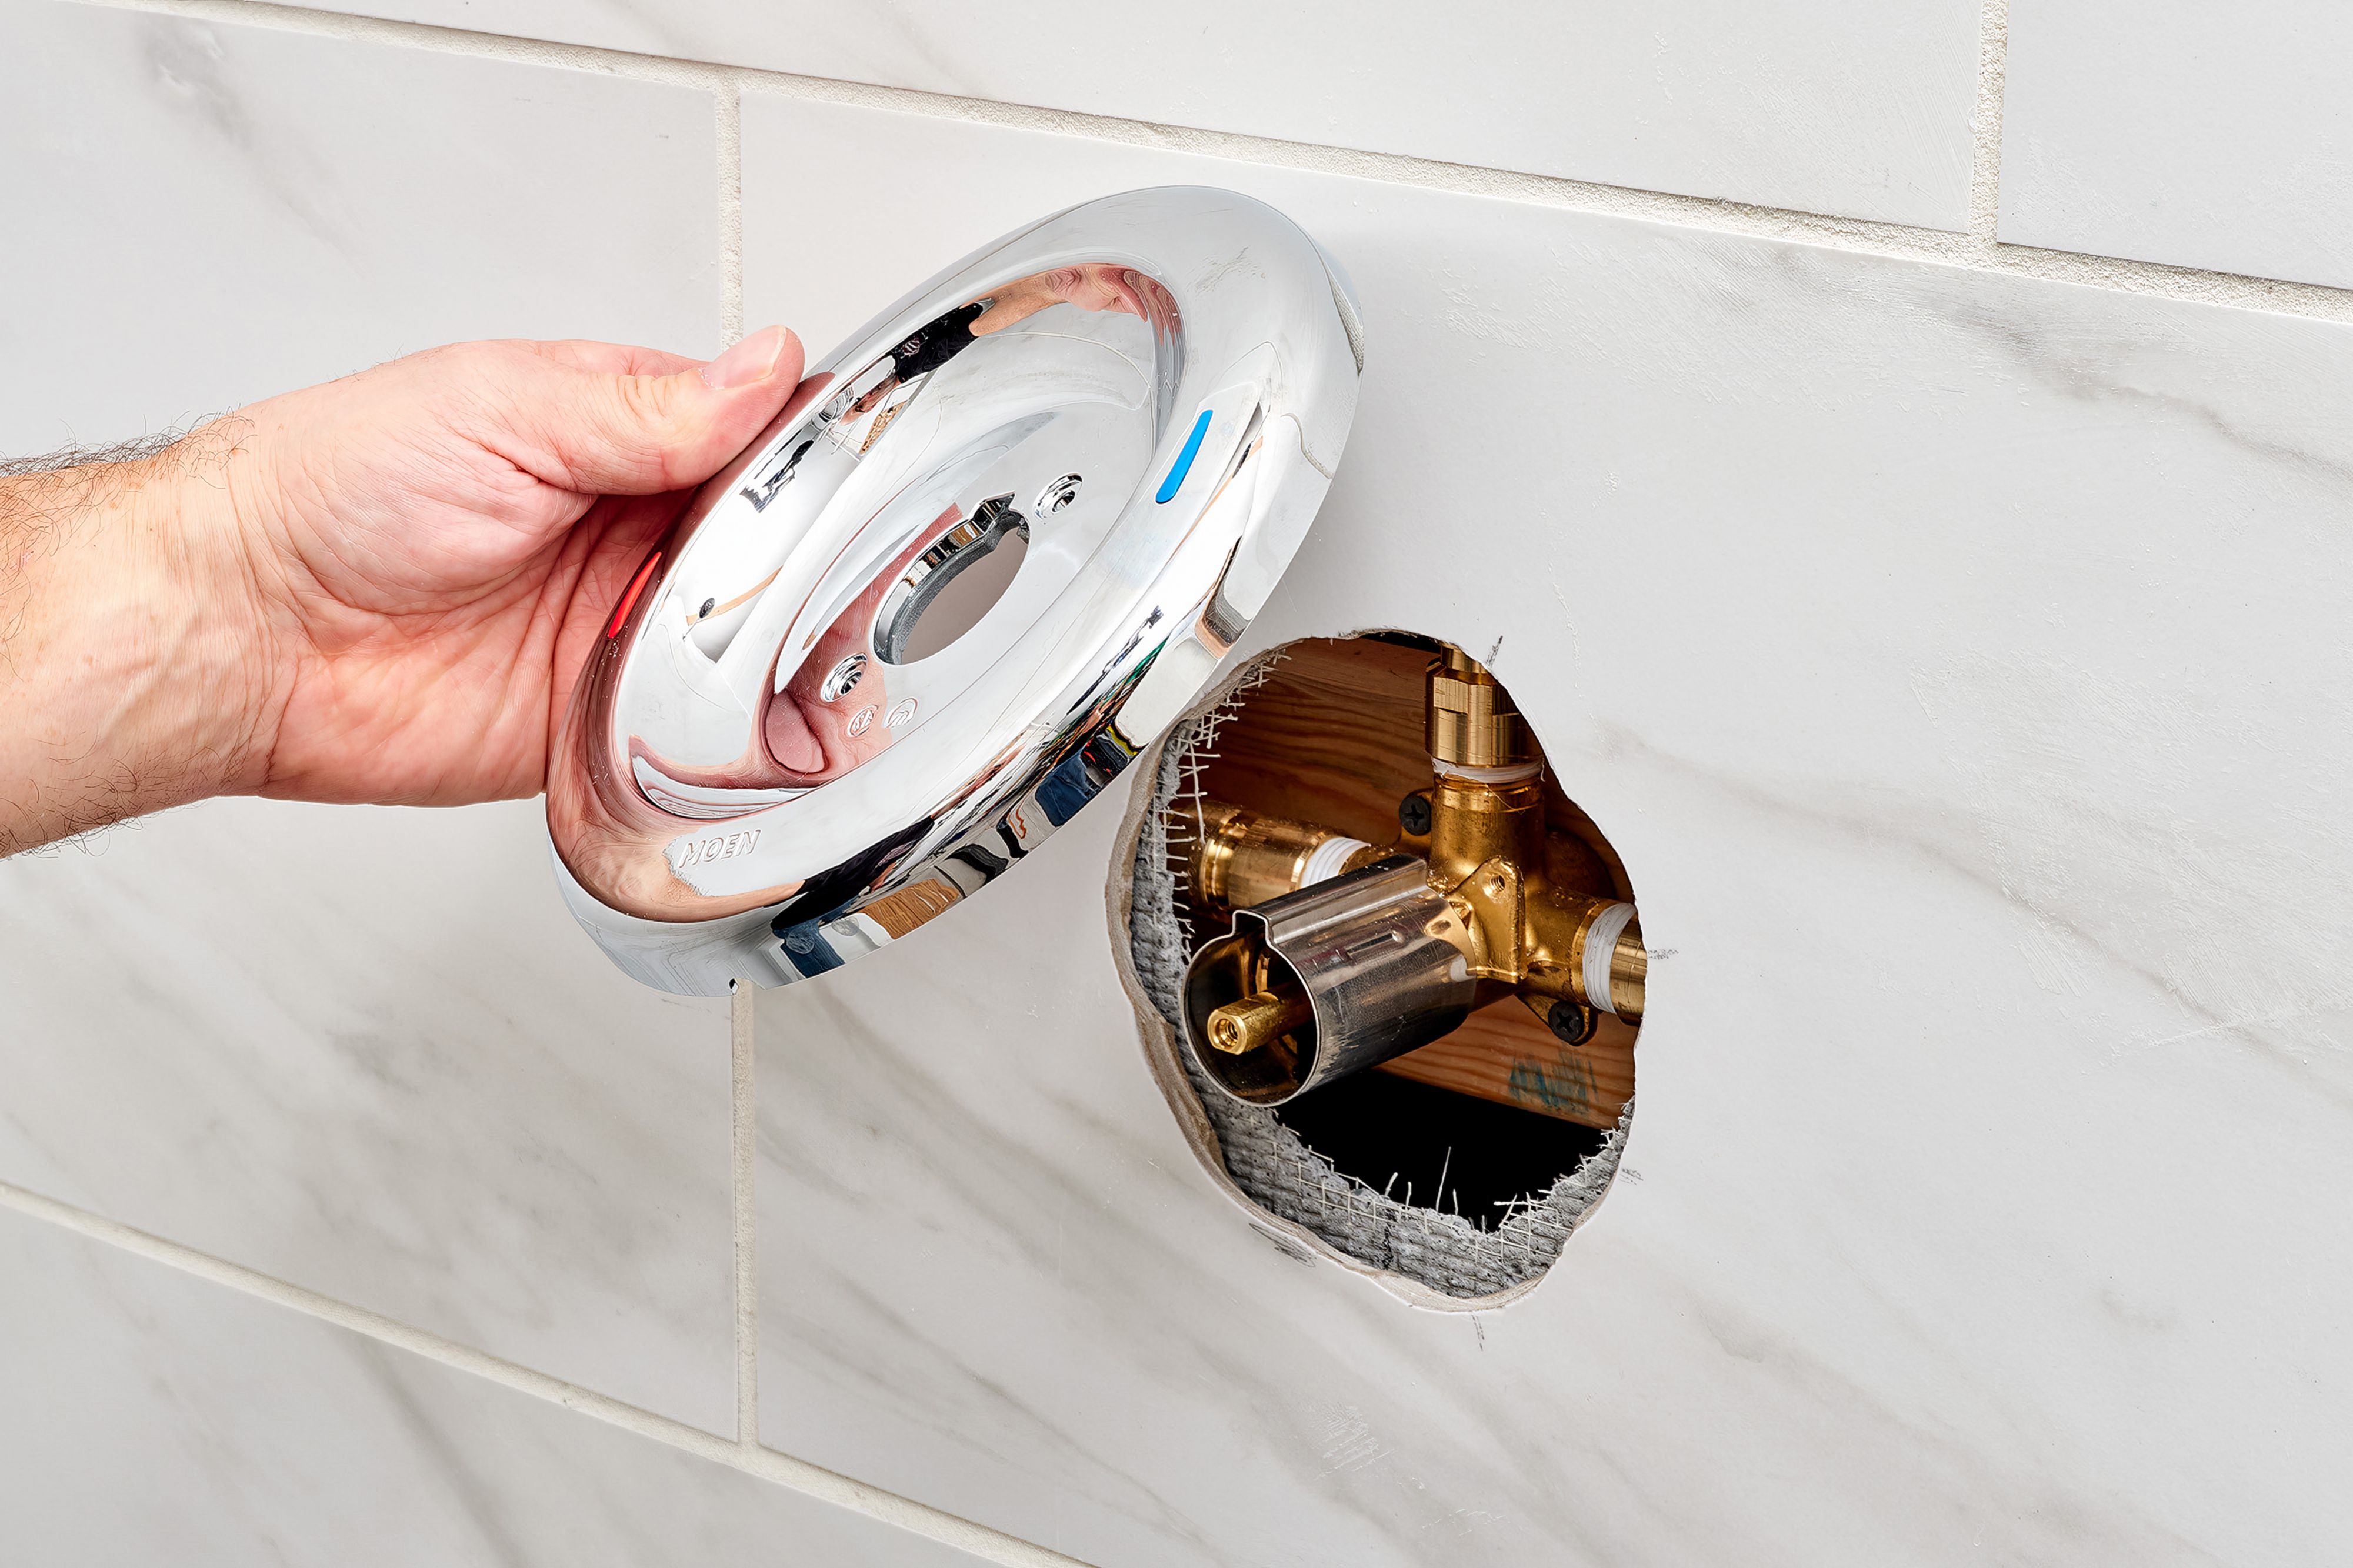
30 minsCarefully remove the existing Delta shower handle and escutcheon plate. This usually involves unscrewing or gently prying off the components. Consult your Delta shower's specific instructions for detailed guidance. Take photos before disassembling to aid reassembly.
Watch: Remove Old Handles and Escutcheons
Remove the Old Delta Valve: Preparing for the New Installation
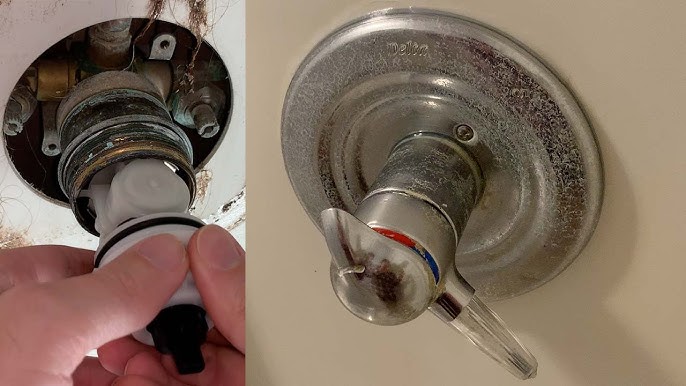
1 minRemove the old Delta valve. This may require unscrewing it or carefully cutting it out depending on its installation. Use appropriate tools like pliers or an adjustable wrench to loosen and remove any retaining nuts or clips.
Watch: Remove the Old Valve
Install the New Delta Monitor Valve and Trim
1 minInstall the new Delta Monitor valve and trim, meticulously following Delta Monitor's specific installation instructions. Pay close attention to the alignment of parts and use appropriate tools. Replacing washers as needed is also important.
Watch: Reassemble valve and reinstall trim
Test for Leaks and Adjust Temperature
15 minsTurn the water supply back on slowly. Thoroughly check all connections for leaks. Adjust the temperature setting as needed. If leaks persist, carefully re-examine the installation process, paying close attention to tightened fittings.
Watch: Turn Water On and Check for LeaksCommon Problems
Scratched tub from dropped tools or parts during faucet replacement.
Solution: Place a towel in the bottom of the tub to prevent dropped tools or parts from scratching the surface.
Use caution with the utility knife to avoid scratching the finish of the plate or the shower surround.
Solution: To avoid this issue: Be mindful of this warning and take appropriate precautions.
Lost screws down the drain during faucet replacement.
Solution: Place a rag over the drain to catch any dropped screws.
Scratched chrome finish on the shower arm during faucet replacement.
Solution: Using a tool handle inside the arm prevents scratching the visible chrome finish.
Losing small parts like the set screw down the drain.
Solution: Placing a rag or towel over the drain before you start can save you from losing the small set screw.
Faucet leaks persist after cartridge replacement due to worn O-rings or valve seat.
Solution: If the faucet still leaks, the problem may be with the O-rings or the valve seat, which may require replacement.
Sudden water pressure can blow off loose connections.
Solution: Turn the water on slowly to allow the system to pressurize gradually, reducing the chance of a connection blowing off.
Frequently Asked Questions
The project is listed as 'beginner' and 4 hours. Is it really that easy/quick for someone new to plumbing?
While installing a new Delta Monitor valve is generally straightforward, removing an old valve can vary in difficulty, especially if it's soldered or significantly corroded. Budget extra time, perhaps 6-8 hours, especially if you're a beginner or encounter unexpected issues like seized fittings or needing to cut pipes. Having all necessary tools and understanding the instructions beforehand can significantly streamline the process.
The project lists a screwdriver and a crescent wrench. Are these the only tools I'll need, or are there others that would be helpful?
While a multi-screwdriver and an adjustable wrench are essential, you'll likely need additional tools. A utility knife might be useful for cutting old caulk, while pliers (slip-joint or channel-lock) and a pipe cutter (if modifications to the existing plumbing are needed) are highly recommended. Don't forget plumber's tape or thread sealant for secure, leak-free connections.
What is the most crucial safety step I should take, besides turning off the water, to avoid damage or injury?
Absolutely confirm the water is completely off at the shower by turning on the faucet handles and letting any residual water drain before proceeding with any removal. Additionally, wear appropriate personal protective equipment like gloves and eye protection to safeguard against sharp edges, splashing water, or debris. Clear the work area of any obstructions and ensure good lighting.
The project mentions testing for leaks. What's the most common reason for leaks after installing a new shower valve, and how can I fix it?
The most common cause of leaks after installation is improperly tightened connections or not using plumber's tape/thread sealant correctly. Ensure all threaded connections are tightened firmly but not overtightened (which can strip threads), and apply plumber's tape or pipe dope to male threads before assembly. If a leak persists, carefully re-tighten the specific connection, or disassemble, reapply sealant, and reassemble.
Can I install a Delta Monitor series faucet if my existing valve is an older Delta model or a different brand entirely?
If you have an existing Delta valve, you might be able to upgrade just the trim kit if the rough-in valve is compatible with Delta's universal trim offerings. However, for a true "Monitor series" functionality and proper fit, replacing the entire valve body is usually necessary. If your existing valve is a different brand, you will almost certainly need to replace the entire rough-in valve body to ensure compatibility with Delta Monitor series trim kits.
What if my old Delta valve is soldered in place instead of being connected with threaded fittings or clips?
If your old Delta valve is soldered, you'll need additional tools like a propane torch, lead-free solder, and flux to desolder the old connections and solder in the new valve. This significantly increases the project's difficulty and required skill. If you're not comfortable with soldering, it's advisable to consider hiring a professional plumber for this specific part of the job to prevent leaks and damage.
Beyond the new faucet, what other potential costs should I budget for this project?
In addition to the new Delta Monitor faucet and trim kit, budget for consumables like plumber's tape, thread sealant, silicone caulk, and potentially new escutcheon screws if the old ones are corroded. You might also need to factor in the cost of renting specialized tools (like a pipe cutter or basin wrench) if you don't own them, or unexpected repairs if existing pipes are old or damaged during removal.