Install the new Delta Monitor valve and trim, meticulously following Delta Monitor's specific installation instructions. Pay close attention to the alignment of parts and use appropriate tools. Replacing washers as needed is also important.
You're viewing a step from: Replace a Delta Shower Faucet with Monitor Series
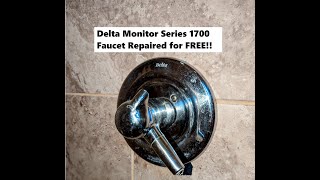
This project demonstrates how to replace a Delta shower faucet with a Delta Monitor series faucet. The steps include: 1. **Shut Off the Water Supply:** Turn off the main water supply to the house and double-check that the water is off at the shower faucet. 2. **Remove the Old Shower Trim:** Carefully remove the handle and escutcheon plate, taking photos as you go to help with reassembly. 3. **Remove the Old Delta Valve:** Remove the old valve, which might involve unscrewing it or cutting it out depending on the type of installation. Use pliers or an adjustable wrench for any retaining nuts or clips. 4. **Install the New Delta Monitor Valve and Trim:** Install the new valve and trim according to the manufacturer's instructions, making sure parts are aligned correctly and replacing washers if needed. 5. **Test for Leaks and Adjust Temperature:** Slowly turn the water supply back on and check all connections for leaks. Adjust the temperature as needed. If leaks continue, double-check the installation, especially the tightness of the fittings.

Replace a Delta Shower Faucet with Monitor Series
View Full ProjectRelated Videos
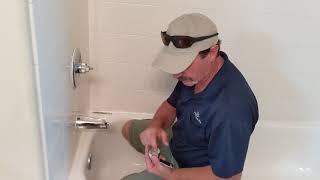
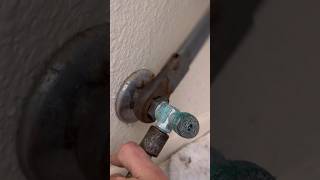
Step 1: Shut Off the Water Supply: Preventing Leaks

Step 1: Shut Off the Water Supply: Preventing Leaks

Step 1: Shut Off the Water Supply: Preventing Leaks
Step 1: Shut Off the Water Supply: Preventing Leaks
Step 1: Shut Off the Water Supply: Preventing Leaks
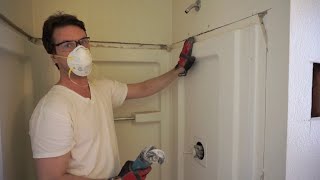
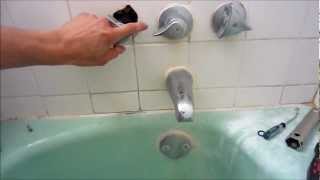
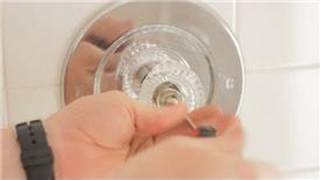
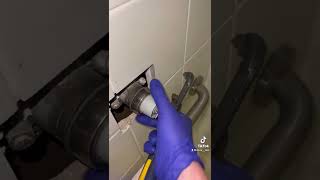
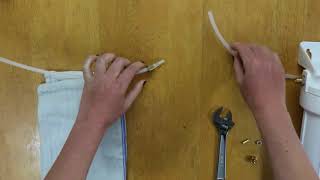
Step 2: Remove the Old Shower Trim: Accessing the Valve

Step 2: Remove the Old Shower Trim: Accessing the Valve
Step 2: Remove the Old Shower Trim: Accessing the Valve
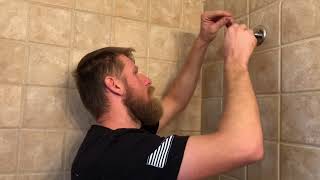
Step 2: Remove the Old Shower Trim: Accessing the Valve
Step 2: Remove the Old Shower Trim: Accessing the Valve
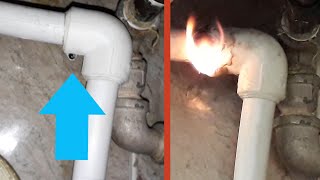
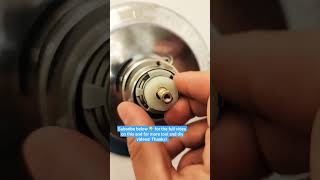
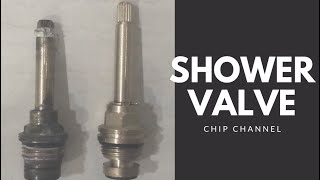
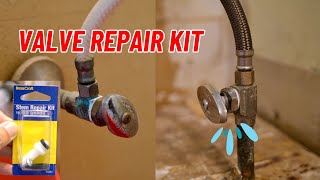
Step 3: Remove the Old Delta Valve: Preparing for the New Installation

Step 3: Remove the Old Delta Valve: Preparing for the New Installation
Step 3: Remove the Old Delta Valve: Preparing for the New Installation
Step 3: Remove the Old Delta Valve: Preparing for the New Installation
Step 3: Remove the Old Delta Valve: Preparing for the New Installation
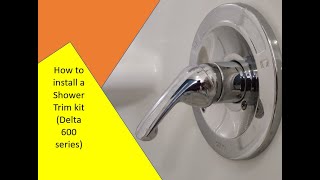
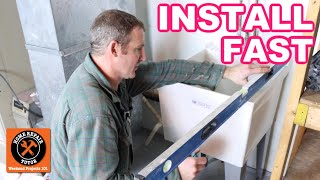
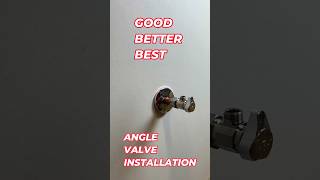
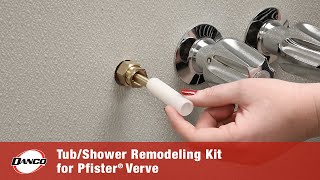
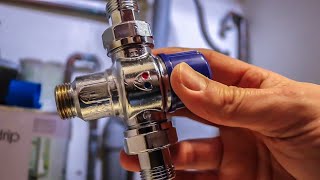
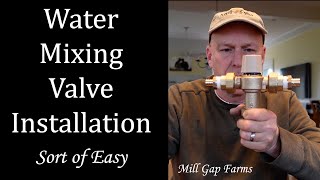
Step 4: Install the New Delta Monitor Valve and Trim
Step 4: Install the New Delta Monitor Valve and Trim
Step 4: Install the New Delta Monitor Valve and Trim
Step 4: Install the New Delta Monitor Valve and Trim
Step 4: Install the New Delta Monitor Valve and Trim
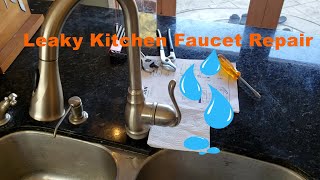
Step 5: Test for Leaks and Adjust Temperature
Step 5: Test for Leaks and Adjust Temperature
Step 5: Test for Leaks and Adjust Temperature
Step 5: Test for Leaks and Adjust Temperature
Step 5: Test for Leaks and Adjust Temperature
Start your project
chat with your ai