Leaky Faucet Handle Repair & Replacement: A Step-by-Step Guide
About This Project
This guide provides steps on how to repair a leaky faucet handle. First, turn off the water supply valves under the sink. Next, remove the faucet handle, which may involve prying off a decorative cap and unscrewing a handle screw. Then, replace the cartridge or O-rings. Inspect the cartridge for damage and replace it if needed; otherwise, inspect and replace any worn O-rings. Finally, reassemble the faucet by reversing the previous steps and test for leaks by turning the water back on slowly.
Best for experienced DIYers and homeowners with some experience.
Tools & Materials
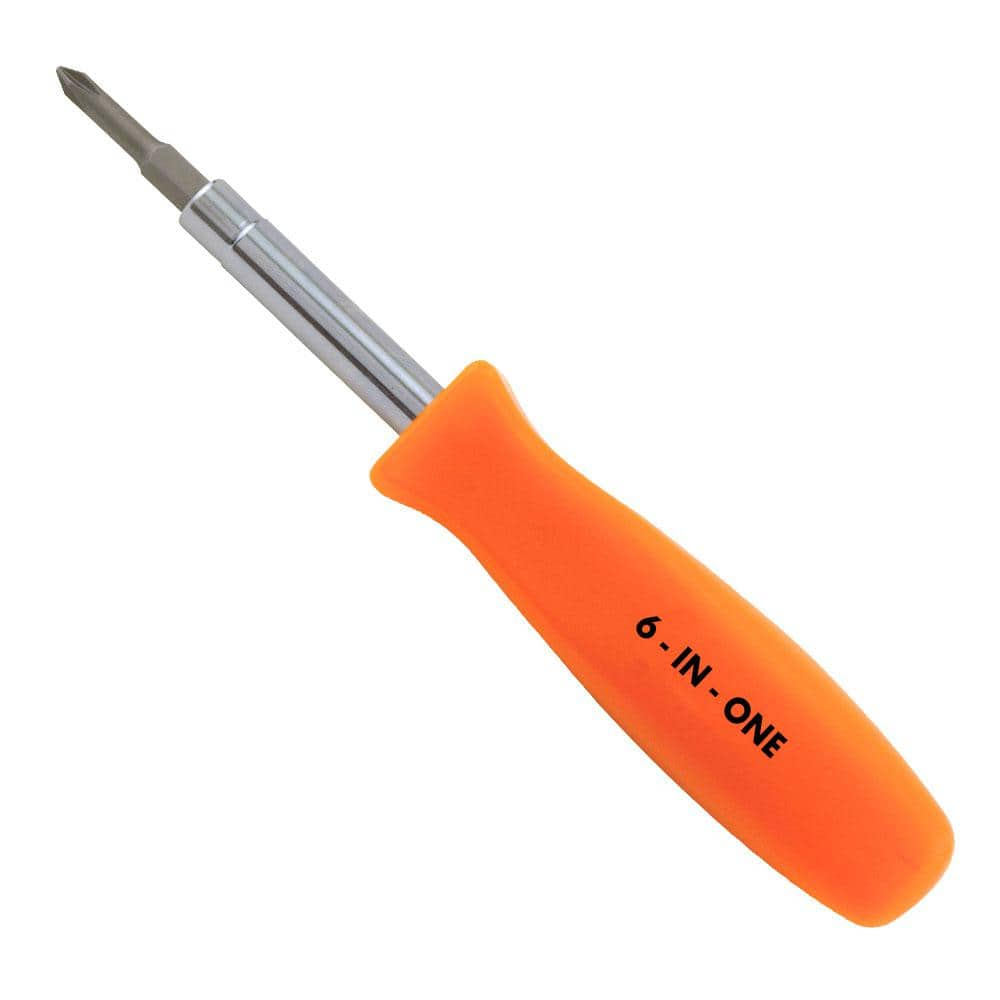
HDX 3-1/4 in. 6-in-1 Screwdriver 120SD12D
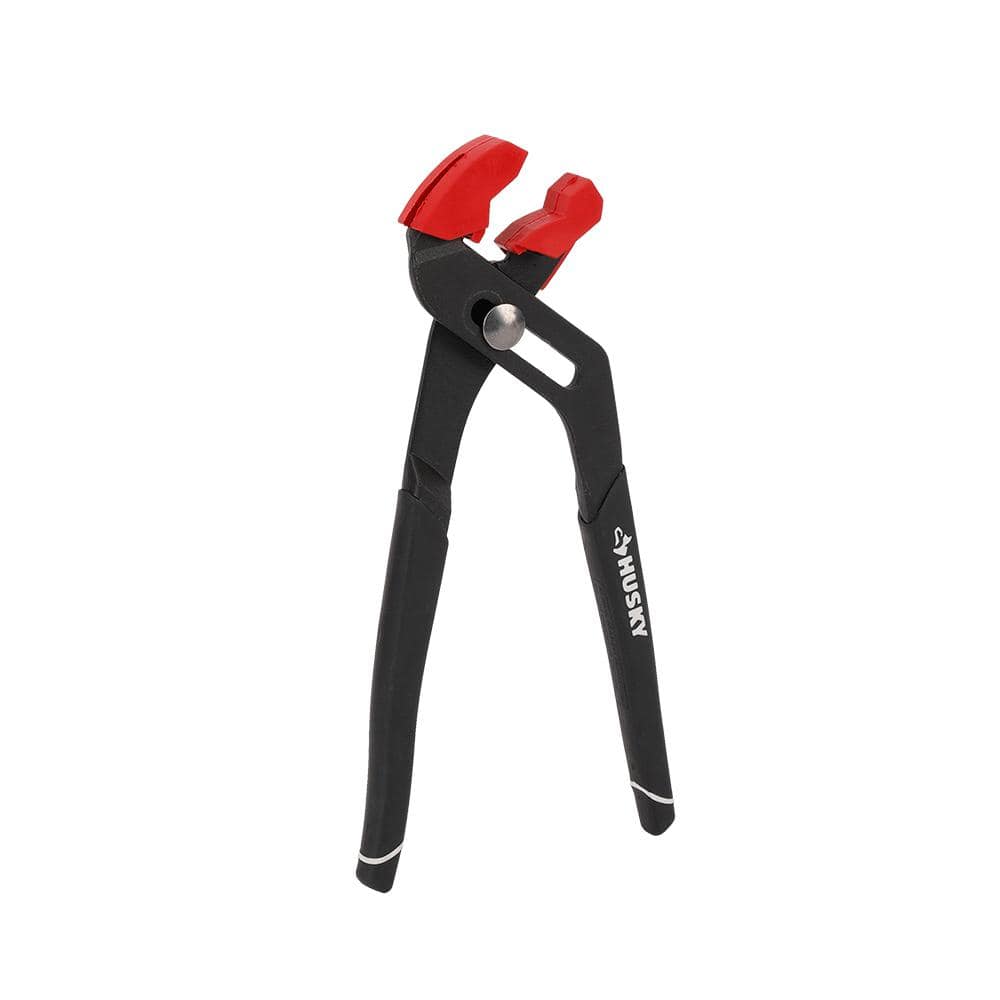
Husky 10 in. Soft Jaw Pliers 17PL0308
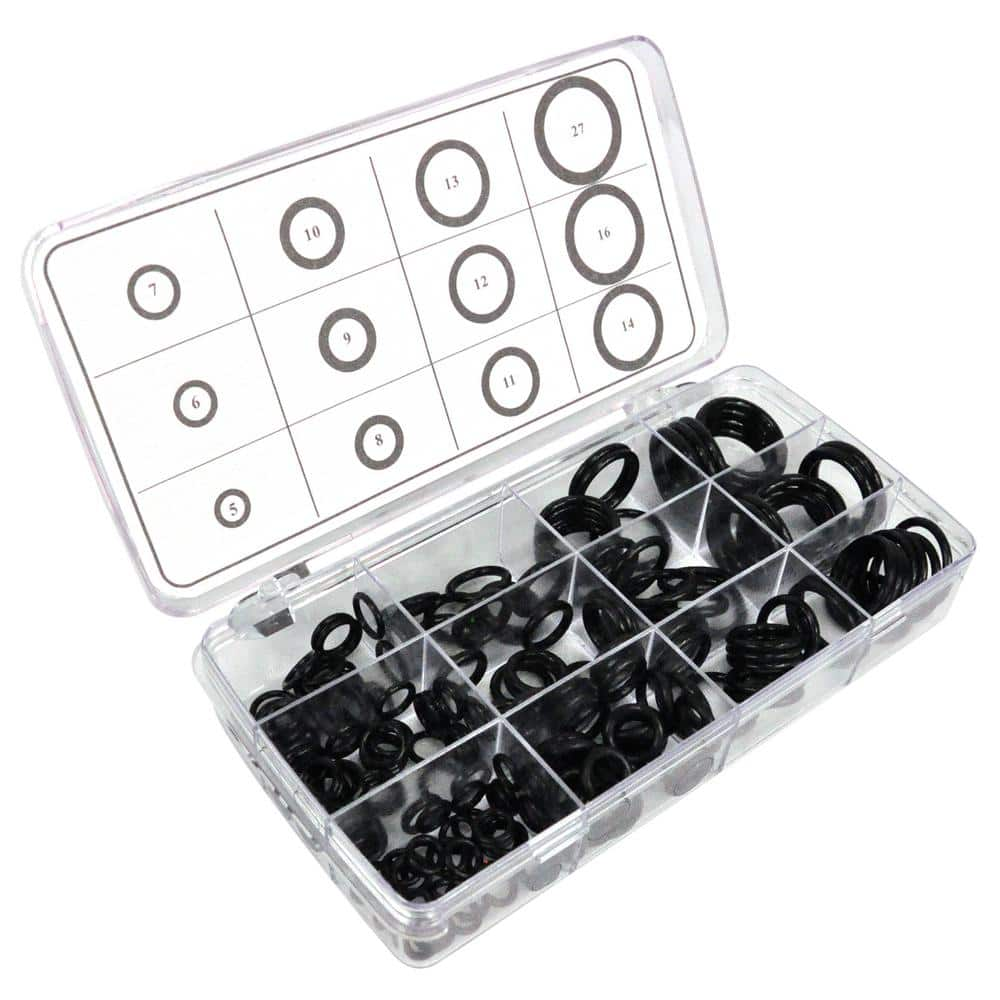
DANCO 200-Piece O-Ring Kit 34443
HDX 3-1/4 in. 6-in-1 Screwdriver 120SD12D
The HDX 3-1/4 in. 6-in-1 Screwdriver features double-sided bits with the four most common screwdriver tip styles, including a #1 Phillips bit, a #2 Phillips bit, a 3/16 in. flathead bit and a 1/4 in. flathead bit. Both ends of the shaft can be used as 1/4 in. nut drivers when the bits are removed, offering convenient, versatile use. The high-visibility orange handle makes the handy tool easy to find on a job site or in a toolbox.
Husky 10 in. Soft Jaw Pliers 17PL0308
Husky's 10 in. Soft Jaw Pliers are equipped with soft jaw caps for use on fashion plumbing fixtures. The plastic caps keep the jaws from marring the surface. They feature dual material handles for comfortable
DANCO 200-Piece O-Ring Kit 34443
O-rings get lost periodically and get warped/worn out over time. A damaged O-ring,(or no faucet O-ring, at all) means a poor seal, leading to a leaky mess. Always have a spare O-ring on hand! Faucet O-rings
Steps

Turn Off the Water Supply
5 minsBefore starting any plumbing work, always prioritize safety. Turn off the water supply valves beneath the sink. These are usually located under the sink and control the hot and cold water lines. Turn on the faucet to release any remaining water pressure.
Watch: Shut Off Water Supply
Remove the Faucet Handle
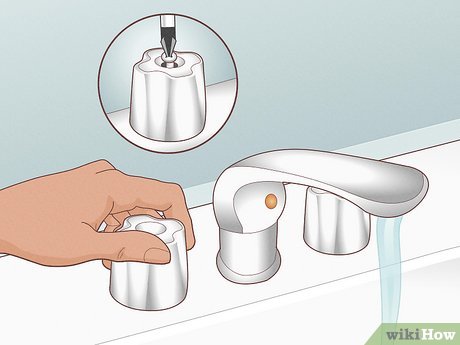
10 minsCarefully remove the faucet handle. Most handles have a small decorative cap that needs to be pried off (using a small flathead screwdriver or similar tool) to reveal the screw securing the handle. Unscrew this with the appropriate screwdriver (usually a Phillips head). Once the screw is removed, gently pull off the handle.
Watch: Remove Handle Cap
Replace the Cartridge or O-rings
30 minsInspect the cartridge for wear. If damaged, replace it with a new one matching the faucet's make and model. If the cartridge is in good condition, examine the O-rings. Replace any damaged or deteriorated O-rings with new ones of the appropriate size. Reassemble carefully ensuring all parts are properly aligned.
Watch: Inspect and Clean the Valve Body
Common Problems
Safety concern: Always turn off the water supply before working on any plumbing fixtures.
Solution: Take proper safety precautions. Always turn off the water supply before working on any plumbing fixtures.
Prevention: Always follow safety guidelines before starting the project.
Forgetting how to reassemble the faucet leads to continued leaks.
Solution: Taking a photo of the plumbing setup before you start is a great way to remember how everything connects.
Lost screws down the drain.
Solution: Closing the sink drain is a simple but crucial step that can prevent a lot of frustration if a small screw is dropped.
Turning the shut-off valve too far can damage it.
Solution: Most modern shut-off valves only require a quarter turn to close. The handle should be perpendicular to the pipe when closed.
Stripped screws or cracked faucet housing from overtightening.
Solution: Don't overtighten the screws, as this could damage the faucet.
Do not overtighten the retaining nut, as this can strip the brass threads and damage the faucet.
Solution: To avoid this issue: Be mindful of this warning and take appropriate precautions.
Buying the wrong faucet parts leads to wasted time and money.
Solution: Take a photo of the exposed valve and cartridge to ensure you purchase the correct replacement parts.
Frequently Asked Questions
What is the most critical safety step I need to take before starting this repair?
Always turn off the hot and cold water supply valves located directly under the sink before you begin. This prevents unexpected water flow and potential flooding, ensuring a safe and mess-free repair.
Do I need the exact tools listed (Husky Pliers, HDX Screwdriver), or can I use alternatives?
The listed tools are recommended for efficiency and proper fit, but a standard adjustable wrench or pliers and a multi-bit screwdriver set can often work. Ensure your tools fit properly to prevent stripping screws or damaging faucet components.
How long does a beginner typically take to complete this repair, and what's the approximate cost of parts?
For a beginner, this repair usually takes 30-60 minutes. Replacement cartridges typically cost $10-$30, and O-ring kits are generally less than $10, making it a very affordable DIY project.
Are all faucet cartridges universal, or do I need to find a specific type for my faucet?
Faucet cartridges are not universal; they are specific to the faucet brand and model. It's crucial to remove your old cartridge first and take it to a hardware store, or use its identifying marks to find the correct replacement.
What should I do if the decorative cap or handle screw is stuck and won't come off easily?
For a stuck decorative cap, try gently prying with a thin, plastic tool or a screwdriver wrapped in cloth to avoid scratches. If the handle screw is corroded, apply a penetrating lubricant and let it sit for 15-30 minutes before attempting to unscrew it again.
My faucet still leaks slightly after I replaced the cartridge/O-rings. What should I troubleshoot?
First, confirm the new cartridge or O-rings are correctly seated and are the exact match for your faucet model. Also, inspect the faucet body for any mineral deposits or small cracks that might be preventing a complete seal.
Is there anything I should be careful not to overtighten during reassembly?
Yes, be careful not to overtighten the handle screw or any nuts securing the cartridge. Overtightening can strip threads, crack plastic components, or damage the new cartridge, potentially leading to future leaks or malfunction.