

How to Replace an Outdoor Spigot Faucet: A Step-by-Step Guide
About This Project
This guide details how to replace an outdoor spigot faucet. It begins by turning off the water supply and draining residual water from the line. Then, remove the mounting nuts to extract the old spigot and clean the pipe opening. After prepping the new spigot, it's installed by reversing the removal process. Finally, test for leaks and slowly restore water supply, tightening connections as needed.
Best for homeowners and DIY enthusiasts.
Tools & Materials
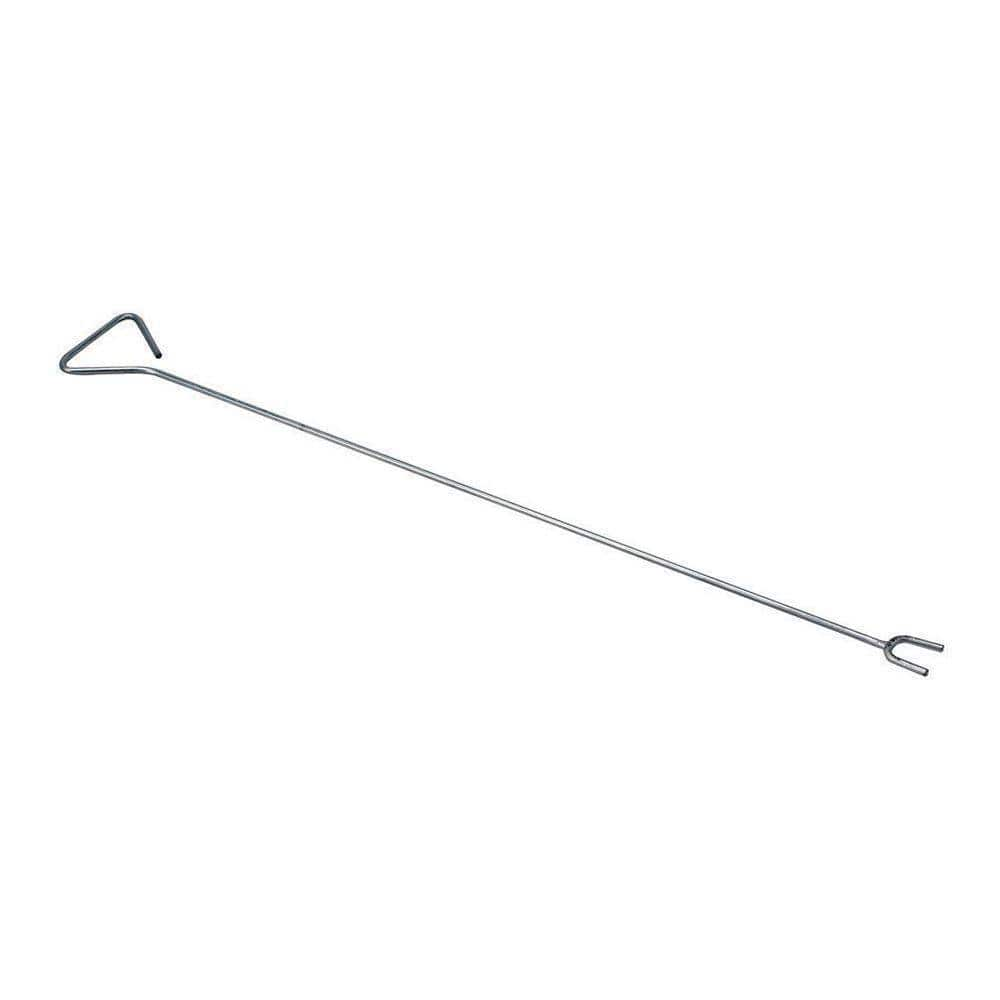
30 in. Steel Sprinkler Valve Key 410-406-0111

Unger 6 Gal. Heavy-Duty Plastic Bucket DB02

Husky 12 in. Adjustable Wrench 90933
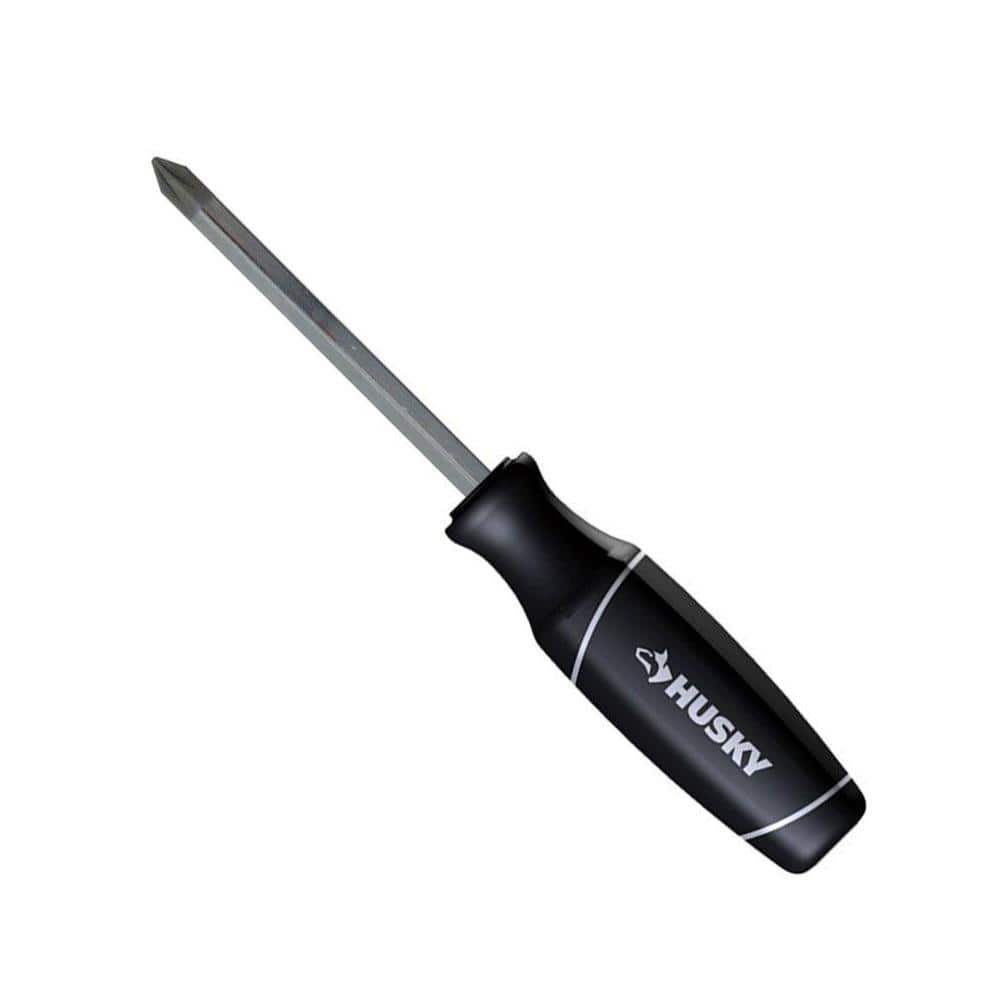
Husky #2 x 4 in. Philips Screwdriver 210504440
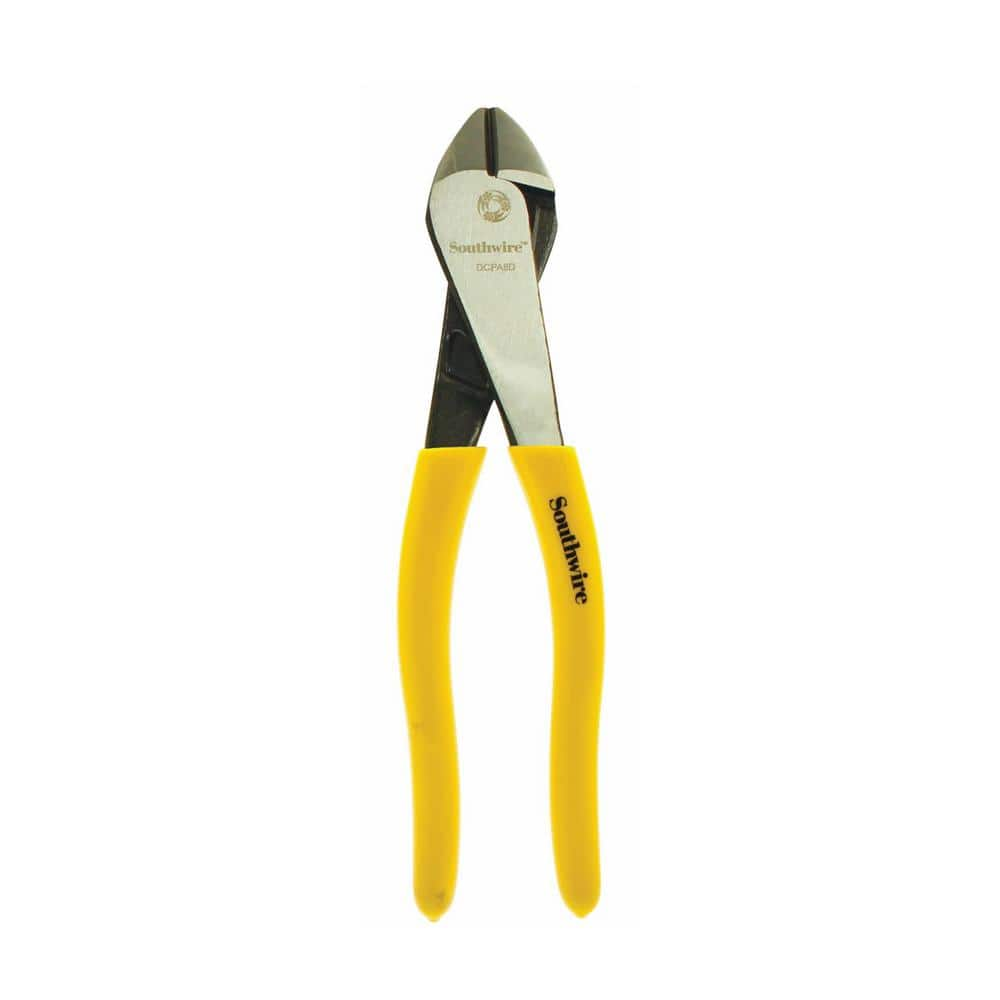
Southwire 8 in. Angled Head High-Leverage Diagonal Cutting Pliers with Dipped Handles 58289540
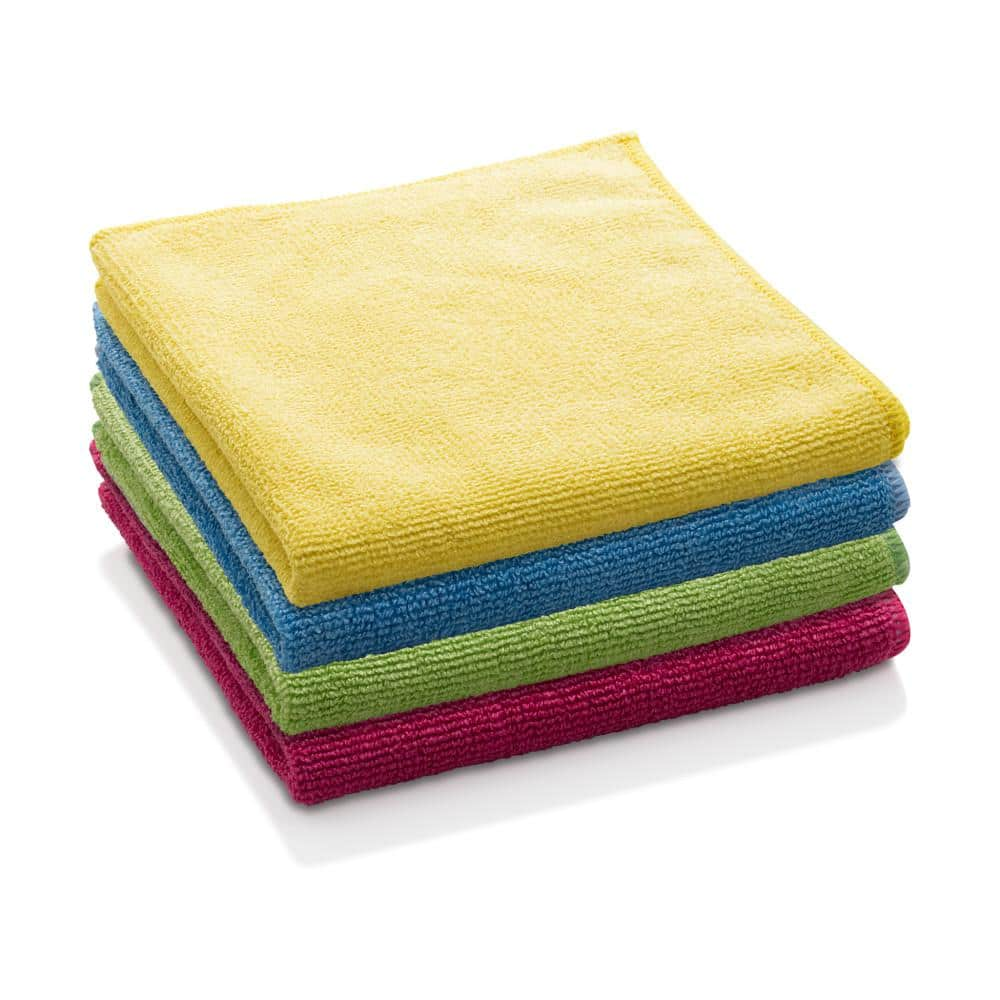
E-Cloth Microfiber General Purpose Cloths - Assorted Colors - 4 Pack 10902M
30 in. Steel Sprinkler Valve Key 410-406-0111
This is a Sprinkler Valve Key Wrench. It is used for turning off and on manual sprinkler control valves. It is most commonly used with in ground lawn sprinkler systems.
Unger 6 Gal. Heavy-Duty Plastic Bucket DB02
The Unger 6-Gallon Heavy-Duty Professional Cleaning Bucket holds more than 6 Gal. of liquid. The bucket can accommodate a scrubber up to 14 in. L. This bucket features measurement marks and 2-pour spouts
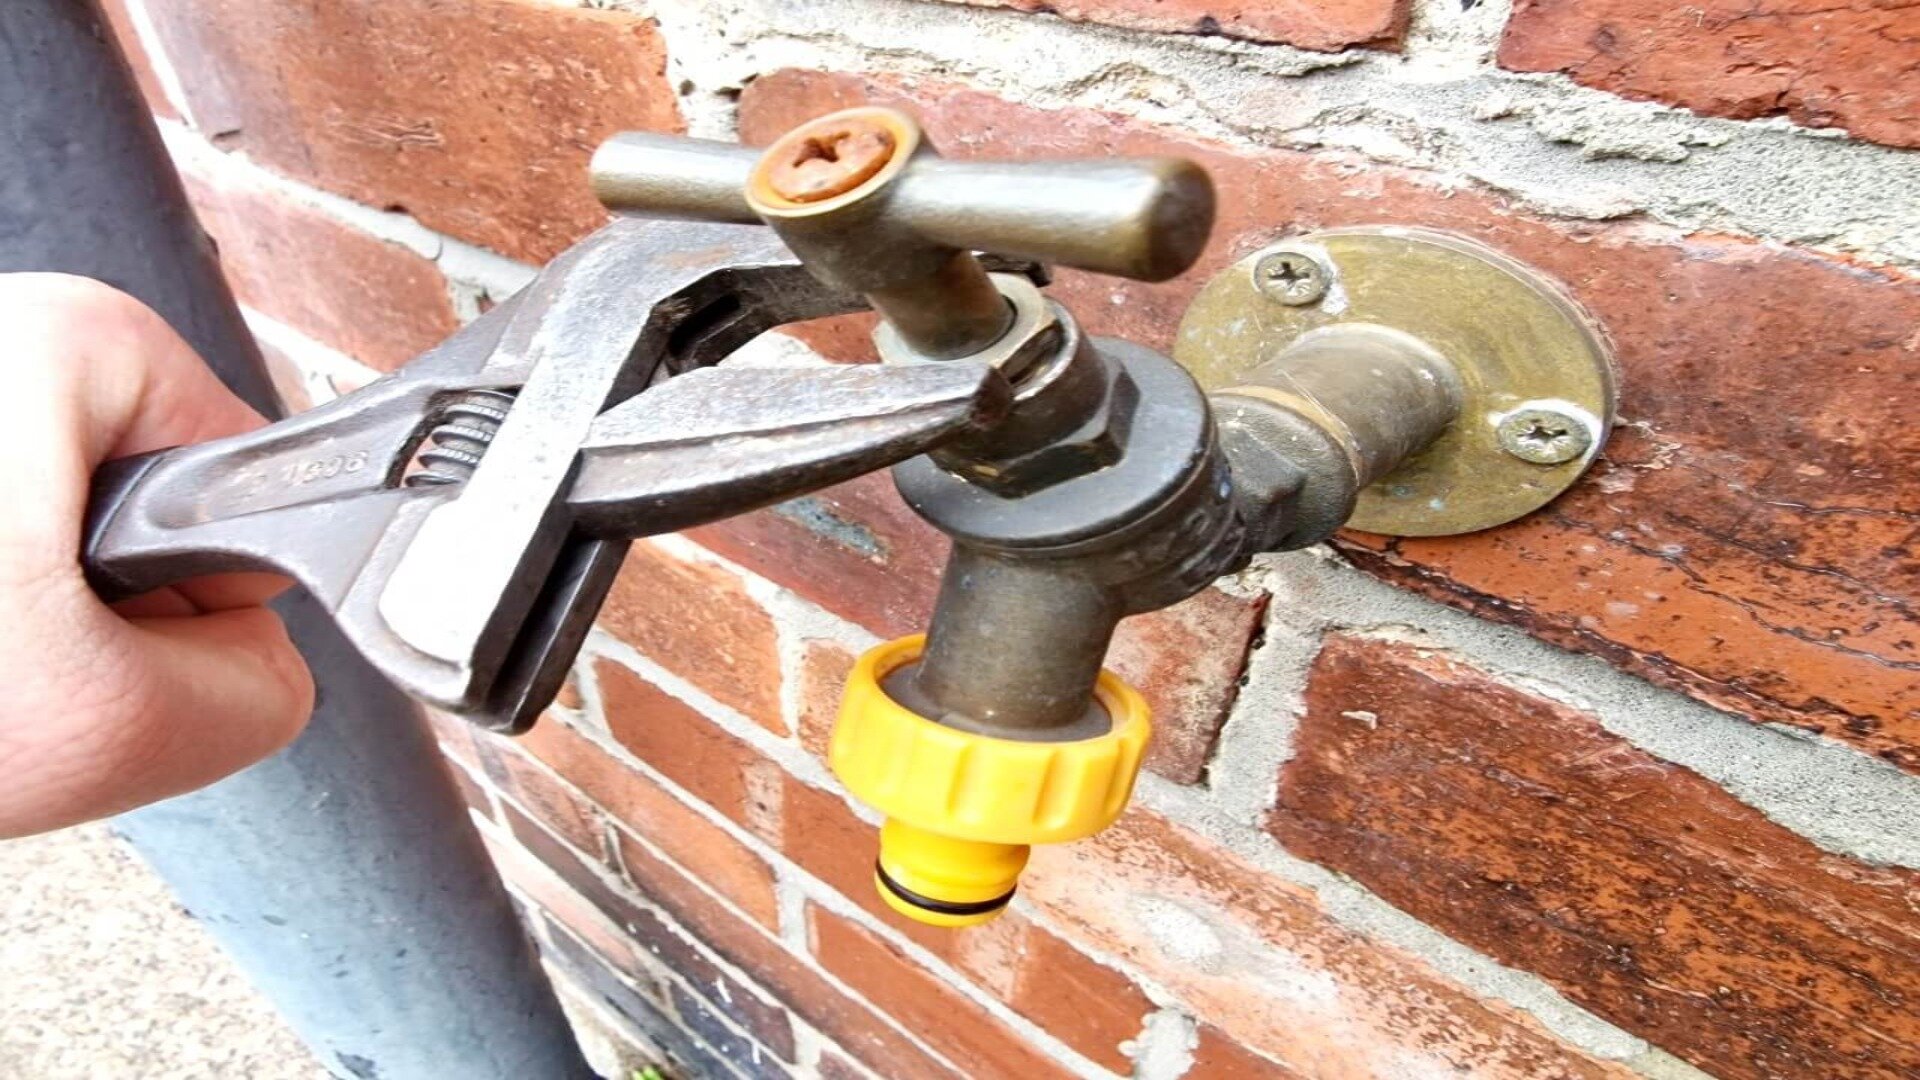
Husky 12 in. Adjustable Wrench 90933
The Husky 12 in. Adjustable Wrench features a durable, comfortable handle. A large knurl allows for easy adjustment and a tight-fitting hex jaw design reduces slippage and tightly grips the fastener for
Husky #2 x 4 in. Philips Screwdriver 210504440
The Husky #2 x 4 in. Philips Screwdriver features a designed pentagonal type handle to provide greater handle torque and more comfort. Unique dual material handle remove grip slippage during high torque
Southwire 8 in. Angled Head High-Leverage Diagonal Cutting Pliers with Dipped Handles 58289540
Made from drop forged steel, these 8 in. angled head diagonal cutting pliers come with plastic dipped handle. The high-leverage, hot-riveted pivot joint ensures smooth action and no handle wobble. The
E-Cloth Microfiber General Purpose Cloths - Assorted Colors - 4 Pack 10902M
Always up for some good clean fun, E-Cloth General Purpose Cloths tackle nearly every household cleaning task on your list. Masses of precision-engineered microfibers attract and trap grease, grime, fingerprints,
Steps
Turn Off the Outdoor Spigot's Water Supply
5 minsBefore beginning any plumbing work, safety is paramount. Locate the shut-off valve for your outdoor spigot, typically found inside your house near where the main water line enters. Turn the valve clockwise to completely shut off the water supply.


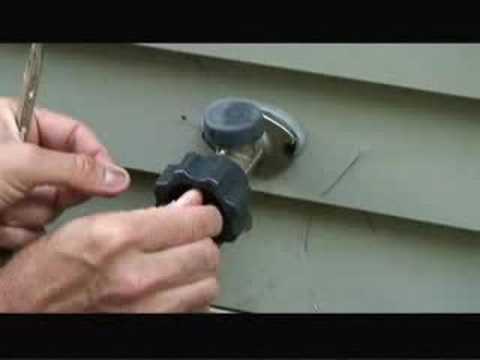
Remove the Mounting Nuts and Old Spigot
15 minsRemove the mounting nuts securing the spigot to the wall or siding. These are usually located inside, behind the wall. Once the nuts are removed, carefully extract the old spigot. Thoroughly clean the area around the pipe opening before proceeding.


Common Problems
Failure to turn off the water supply will result in uncontrolled water flow when you cut the pipe.
Solution: To avoid this issue: Be mindful of this warning and take appropriate precautions.
Even though the water is off, a little water will drain out of the pipes.
Solution: To avoid this issue: Be mindful of this warning and take appropriate precautions.
Be prepared for water to drain from the pipes once the fittings are loosened. Have a bucket and towels ready.
Solution: To avoid this issue: Be mindful of this warning and take appropriate precautions.
Ensure the valve is turned off completely before proceeding to the next steps.
Solution: To avoid this issue: Be mindful of this warning and take appropriate precautions.
Ensure you know where your main water shut-off is located and that it is functioning correctly before proceeding.
Solution: To avoid this issue: Be mindful of this warning and take appropriate precautions.
No individual shut-off valve means flooding the house when replacing the spigot.
Solution: If you can't find an individual shut-off valve for the spigot, you must use the main shut-off for the entire house.
Leaking faucet after replacement due to faulty O-rings or valve seat.
Solution: If the faucet still leaks, the problem may be with the O-rings or the valve seat, which may require replacement.
Frequently Asked Questions
What's the most important safety step when replacing an outdoor spigot?
The absolute most critical step is to completely turn off the main water supply to the spigot or your entire home before starting. This prevents unexpected water flow and potential flooding. Always confirm the water is off by opening the existing spigot and waiting for the water to stop flowing.
Do I need all the specific tools listed, or are there acceptable alternatives for a beginner?
While specific brands are listed, the core tools needed are an adjustable wrench (or two for counter-tightening), a screwdriver, and crucially, Teflon tape. The '30 in. Steel Sprinkler Valve Key' is only essential if your shut-off valve is deep underground or in a box; otherwise, a standard valve can be turned with a regular wrench. Always ensure your wrenches fit the spigot nuts securely to prevent stripping.
My new spigot is still leaking after installation. What should I check first?
First, ensure you applied Teflon tape correctly, wrapping it clockwise 3-5 times around the threads of the new spigot. Then, check that all connections are securely tightened, but avoid overtightening which can strip threads. A slight leak often indicates insufficient tape or a connection that needs a little more snugging with your wrench.
Is 3 hours a realistic estimate for a beginner, or can this project be done faster?
Three hours is a generous and realistic estimate for a beginner, accounting for locating the shut-off valve, gathering tools, and carefully performing each step. An experienced DIYer might complete it in under an hour. Taking your time reduces the chance of mistakes, like leaks, which would require more time for troubleshooting later.
Why is it crucial to fully drain the water line before removing the old spigot?
Draining the water line is crucial to prevent a sudden and messy gush of water when you disconnect the old spigot. It also ensures you're working with a dry pipe, which is essential for properly applying Teflon tape and achieving a watertight seal on the new spigot's threads. This step minimizes mess and improves the quality of your installation.
Can I use pipe thread sealant (pipe dope) instead of Teflon tape?
Yes, pipe thread sealant (often called pipe dope) can be used as an alternative to Teflon tape for sealing threaded connections. It creates a similar seal by filling in the thread imperfections. You should typically use one or the other, not both, as combining them can sometimes prevent a proper seal from forming.
What's the most common mistake beginners make when replacing an outdoor spigot?
The most common mistake is either not applying enough Teflon tape, applying it incorrectly (counter-clockwise), or overtightening the new spigot. Incorrect application leads to leaks, while overtightening can damage threads on either the spigot or the pipe. Always wrap tape clockwise, ensure connections are snug, and avoid forcing them.

:max_bytes(150000):strip_icc()/how-to-fix-leaking-water-heater-2719073-hero-92226a38ab4c484cb1a81cee49f0b258.jpg)