

Fix a Leaky Faucet: Troubleshooting Faulty Water Intake
About This Project
This DIY project, "Fix a Leaky Faucet: Troubleshooting Faulty Water Intake," guides you through the steps of repairing a compression faucet leak. It begins by instructing you to turn off both hot and cold water supply lines under the sink. Next, the faucet is disassembled, starting with removing the handle screws (often under decorative caps) and then the handles themselves, followed by the packing nut and stem. Pictures taken during disassembly will help with reassembly. The project then details replacing any worn O-rings and washers, applying plumber's grease to new O-rings for a proper seal. The faucet is carefully reassembled, reversing the disassembly steps. Finally, the water supply is slowly turned back on and the faucet is checked for any remaining leaks. If leaks persist, connections should be re-tightened or faulty components replaced.
Best for experienced DIYers and homeowners with some experience.
Tools & Materials

Adjustable Wrench
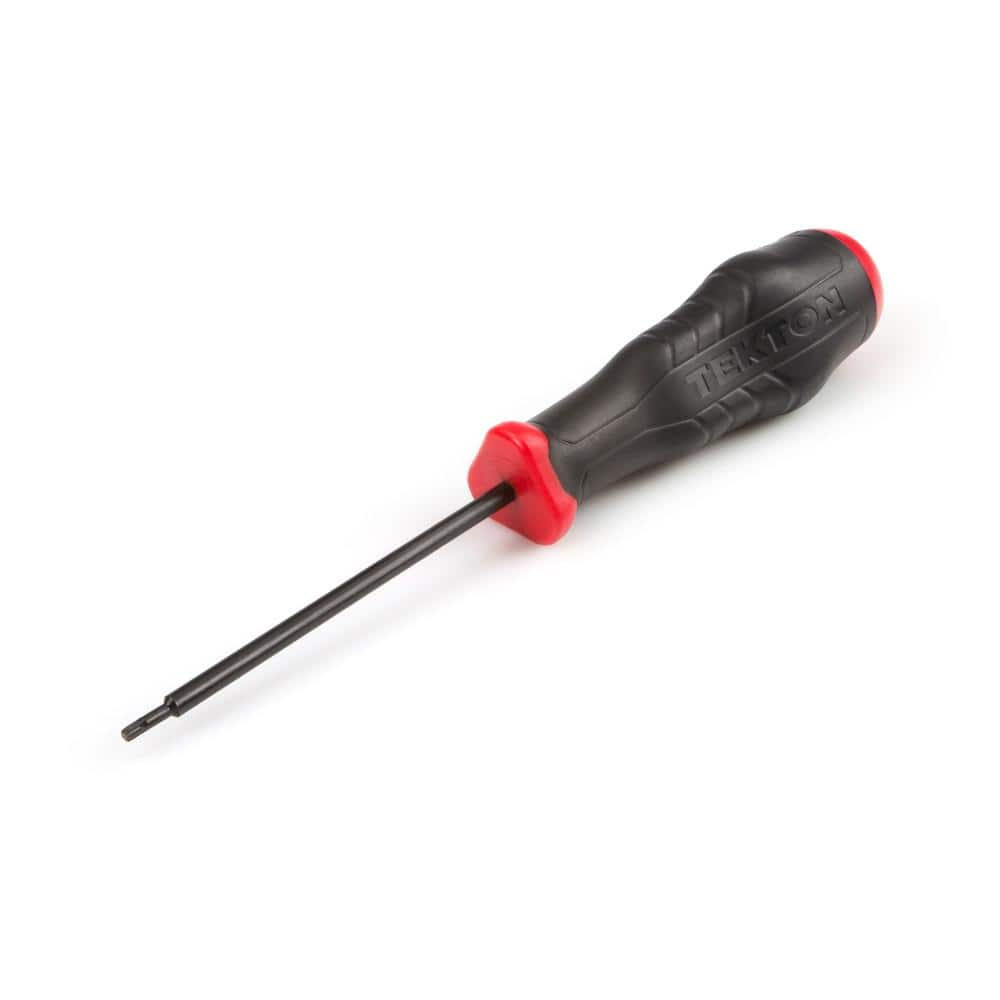
TEKTON T10 x 4 in. Screwdriver 26801
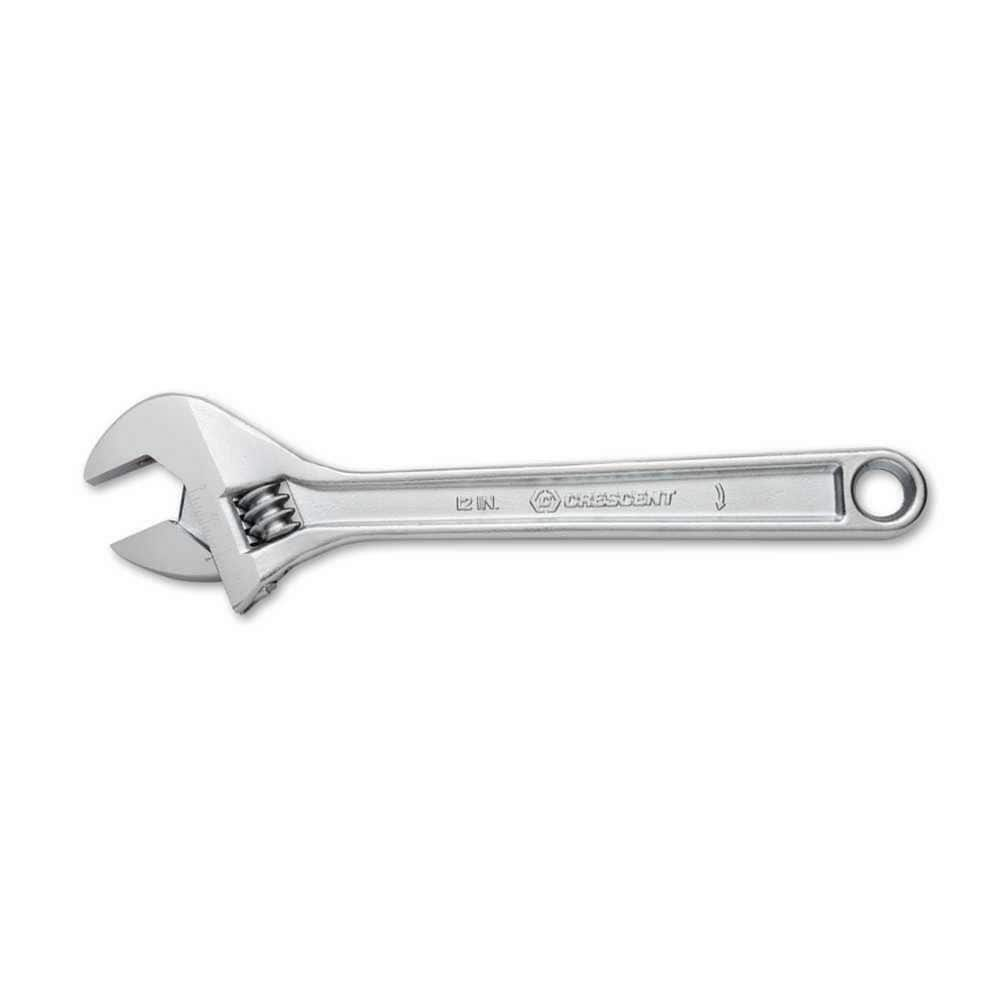
Crescent 12 in. Chrome Adjustable Wrench AC212VS
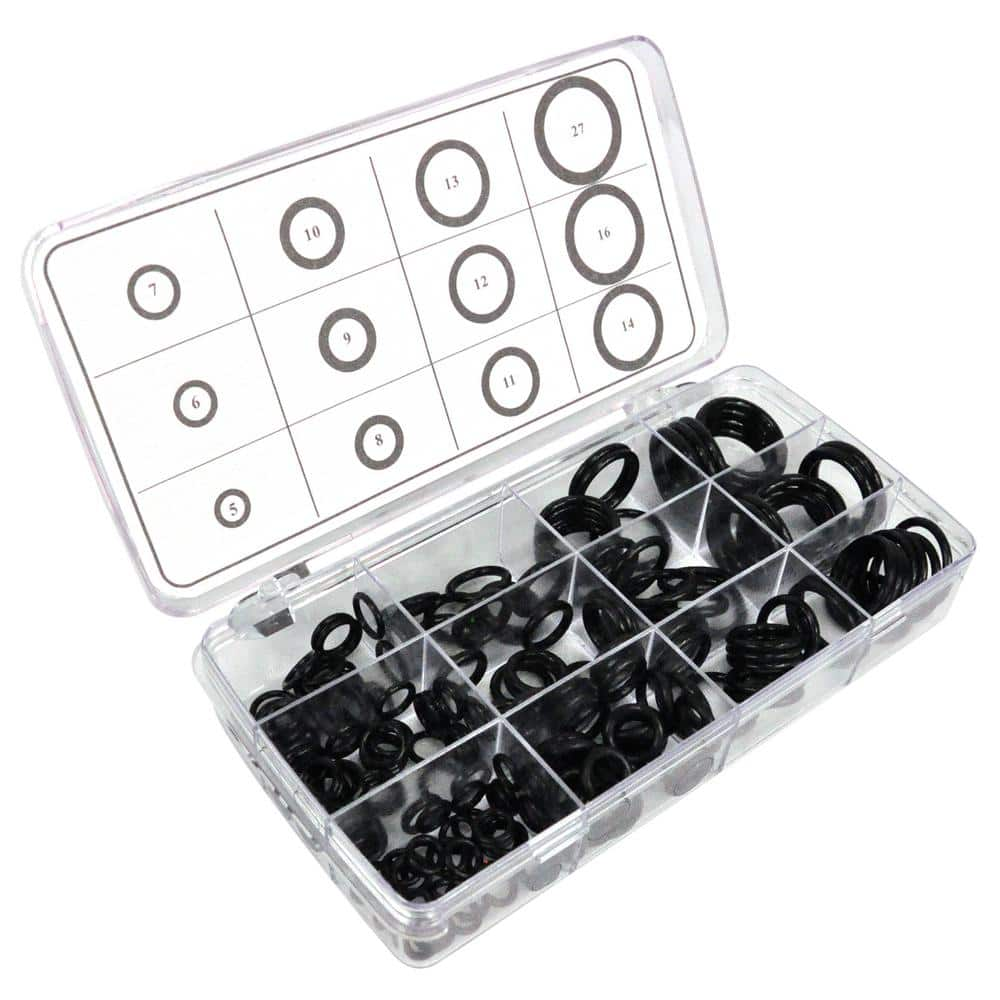
DANCO 200-Piece O-Ring Kit 34443
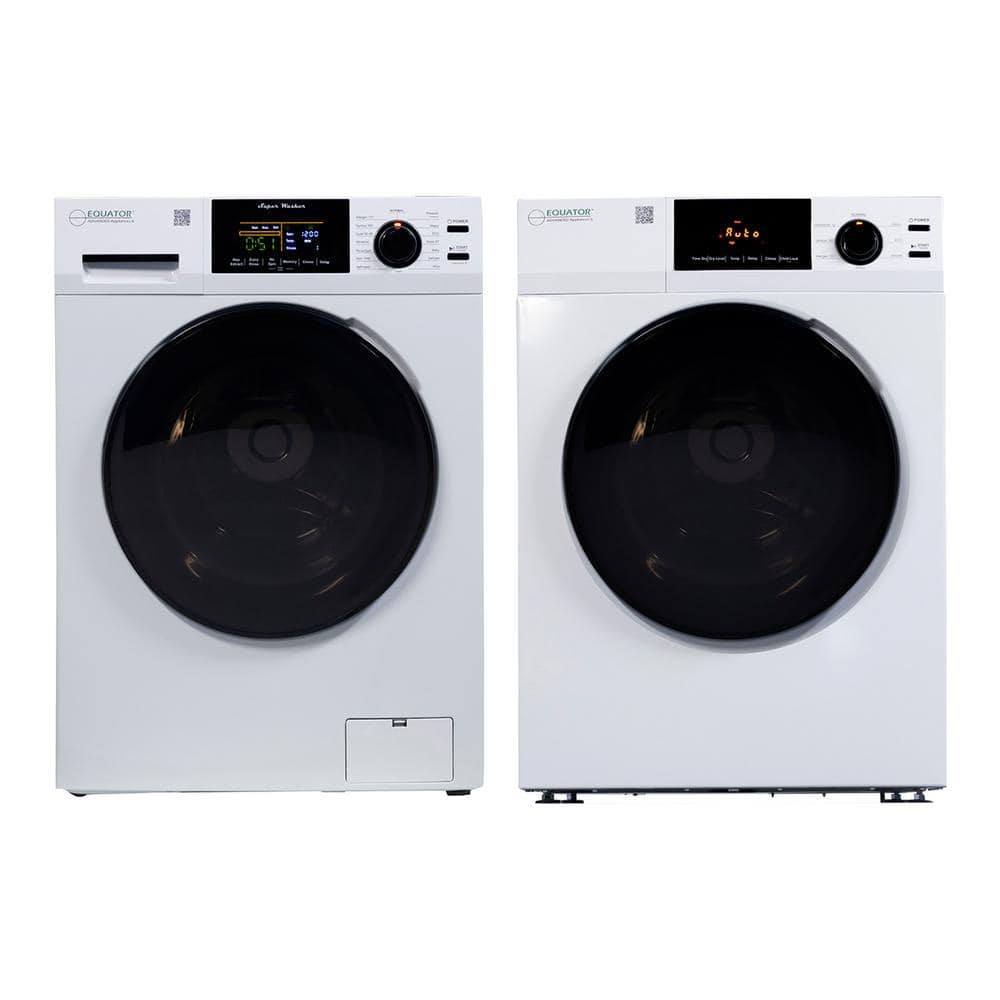
Equator 1.9 cu. ft. Deluxe Laundry Set Sani Washer 110-Volt Vented Dryer 220-Volt in White EW 835 + ED 880
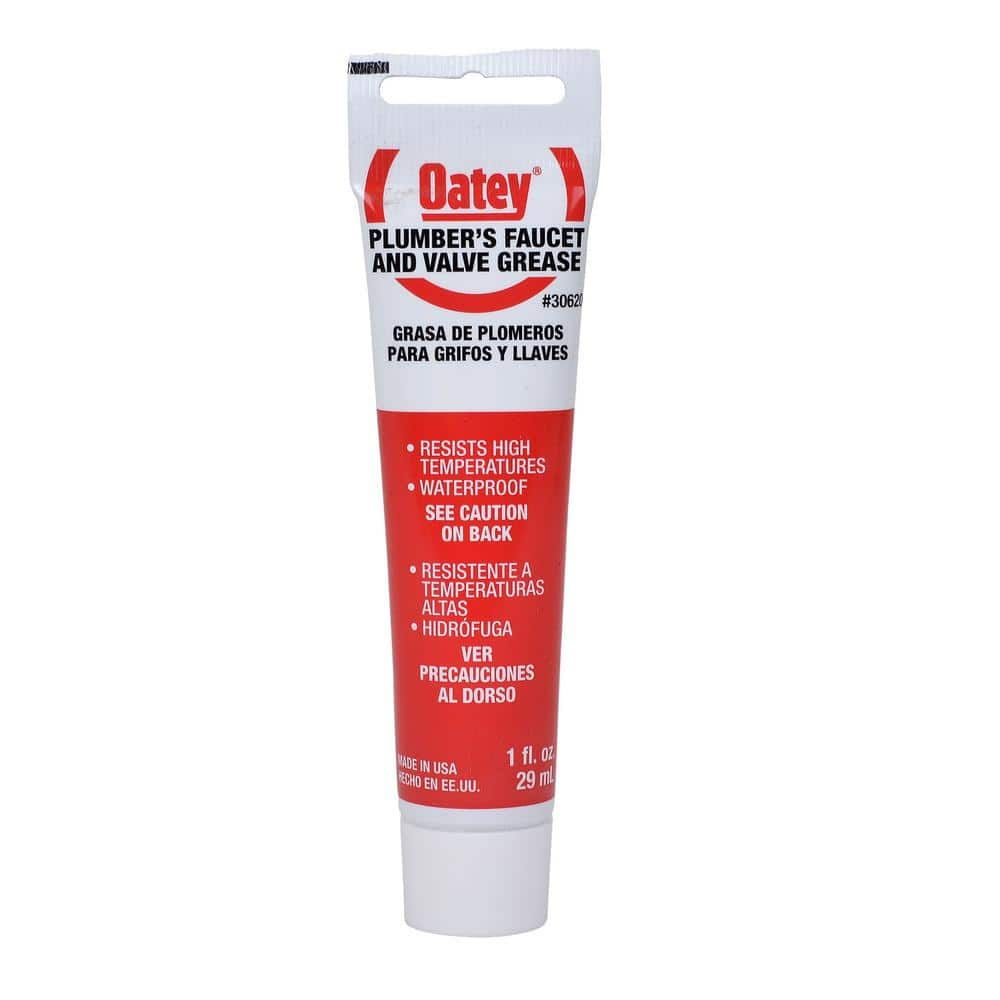
Oatey 1 oz. Plumber's Grease 30620
Adjustable Wrench
Fits various nut and bolt sizes with its adjustable jaw.
TEKTON T10 x 4 in. Screwdriver 26801
Combine power and speed with the unique handle of the TEKTON T10 x 4 in. Screwdriver. The handle relies on three-sided geometry, not just friction against your skin, giving you the comfortable leverage
Crescent 12 in. Chrome Adjustable Wrench AC212VS
Since the introduction of the original Crescent wrench in the early 1900s, the Crescent brand has become synonymous with adjustable wrenches. Crescent Adjustable Wrenches feature a large knurl for easy
DANCO 200-Piece O-Ring Kit 34443
O-rings get lost periodically and get warped/worn out over time. A damaged O-ring,(or no faucet O-ring, at all) means a poor seal, leading to a leaky mess. Always have a spare O-ring on hand! Faucet O-rings
Equator 1.9 cu. ft. Deluxe Laundry Set Sani Washer 110-Volt Vented Dryer 220-Volt in White EW 835 + ED 880
Harness the innovation and complementary features that are built into the Equator 1.9 cu. ft. Super Washer and the Equator 4 cu. ft. 220-Volt Vented Dryer. Equator's laundry center designed to work in
Oatey 1 oz. Plumber's Grease 30620
A special combination of lithium soaps, solvent refined base stocks and additives. Formulated for many plumbing applications. Makes hard turning faucets work smoothly.
Steps


Common Problems
This is a critical step. Failure to shut off the water will result in a much bigger mess.
Solution: To avoid this issue: Be mindful of this warning and take appropriate precautions.
Can't shut off water to faucet without main valve access.
Solution: If there are no local shut-off valves, you will need to shut off the main water supply to the house.
Water sprays unexpectedly when you disassemble the faucet.
Solution: After turning off the valves, open the faucet to drain any remaining water and relieve pressure in the lines.
Failure to shut off the water will result in flooding when you disconnect the faucet lines.
Solution: To avoid this issue: Be mindful of this warning and take appropriate precautions.
Faucet still drips after replacing only the visibly damaged part.
Solution: It's often easiest and most effective to replace the entire cartridge and all associated O-rings, even if only one part looks worn.
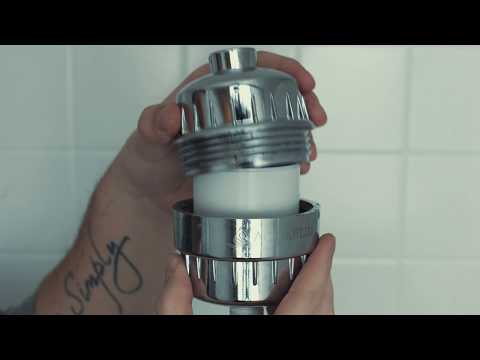
Water leaks occur if the filter cap and groove are not dry.
Solution: Make sure the filter cap and the groove are completely dry before proceeding to the next step.
The faucet continues to drip even after repair due to a faulty washer.
Solution: A displaced or damaged washer is the most frequent reason for leaks. Double-check this before reassembly.
Frequently Asked Questions
What should I do if I can't locate or turn off the hot and cold water supply lines under the sink?
If the shut-off valves under your sink are inaccessible or seized, you must locate and turn off the main water supply to your entire house before proceeding. Never attempt faucet disassembly with the water supply still on, as this can lead to significant flooding and water damage. Once the main supply is off, open a lower-level faucet to drain the remaining water from the pipes.
Are the specified tools (Adjustable Wrench, Phillips head screwdriver) the only ones I'll need, or should I have others on hand?
While the adjustable wrench and Phillips head screwdriver are essential, it's also helpful to have a small flathead screwdriver or utility knife for prying off decorative caps. A set of O-ring picks can make removing old O-rings easier, and a wire brush can be useful for cleaning mineral deposits on internal components. Having a rag or small bucket ready for drips is also a good idea.
My faucet is still leaking after I've followed all the steps and reassembled it. What should I check next?
If the leak persists, carefully re-tighten all connections, ensuring they are snug but not overtightened, which can damage parts. Double-check that the new O-rings and washers are correctly sized, seated properly, and that plumber's grease was applied. Sometimes, the faucet seat itself might be worn or corroded, requiring a specific seat wrench for repair or replacement.
How do I ensure I get the correct replacement O-rings and washers for my specific faucet model?
The best way to get the correct replacement parts is to take the old O-rings and washers with you to a hardware store to match them for size and material. Alternatively, if you know your faucet's brand and model number, you can often find a repair kit or parts list online. Always apply plumber's grease to new O-rings for a better seal and extended life.
What are some common mistakes beginners make during this faucet repair, and how can I avoid them?
A common mistake is forgetting to take pictures during disassembly, which can make reassembly confusing. Another is overtightening components, which can strip threads or crack the faucet body; tighten until snug, then a quarter turn more. Always ensure the water supply is completely off before beginning, and slowly turn it back on while checking for leaks during the final test.
Is this project truly suitable for a beginner, and will it realistically only take about 2 hours?
Yes, repairing a compression faucet leak is considered an excellent beginner DIY project, as it involves straightforward disassembly and part replacement. The 2-hour estimate is generally realistic for most people, assuming you have all necessary tools and replacement parts on hand, and no unforeseen complications like severely corroded or seized components arise.