
How to Fix a Leaky Outdoor Faucet: A Step-by-Step DIY Guide
About This Project
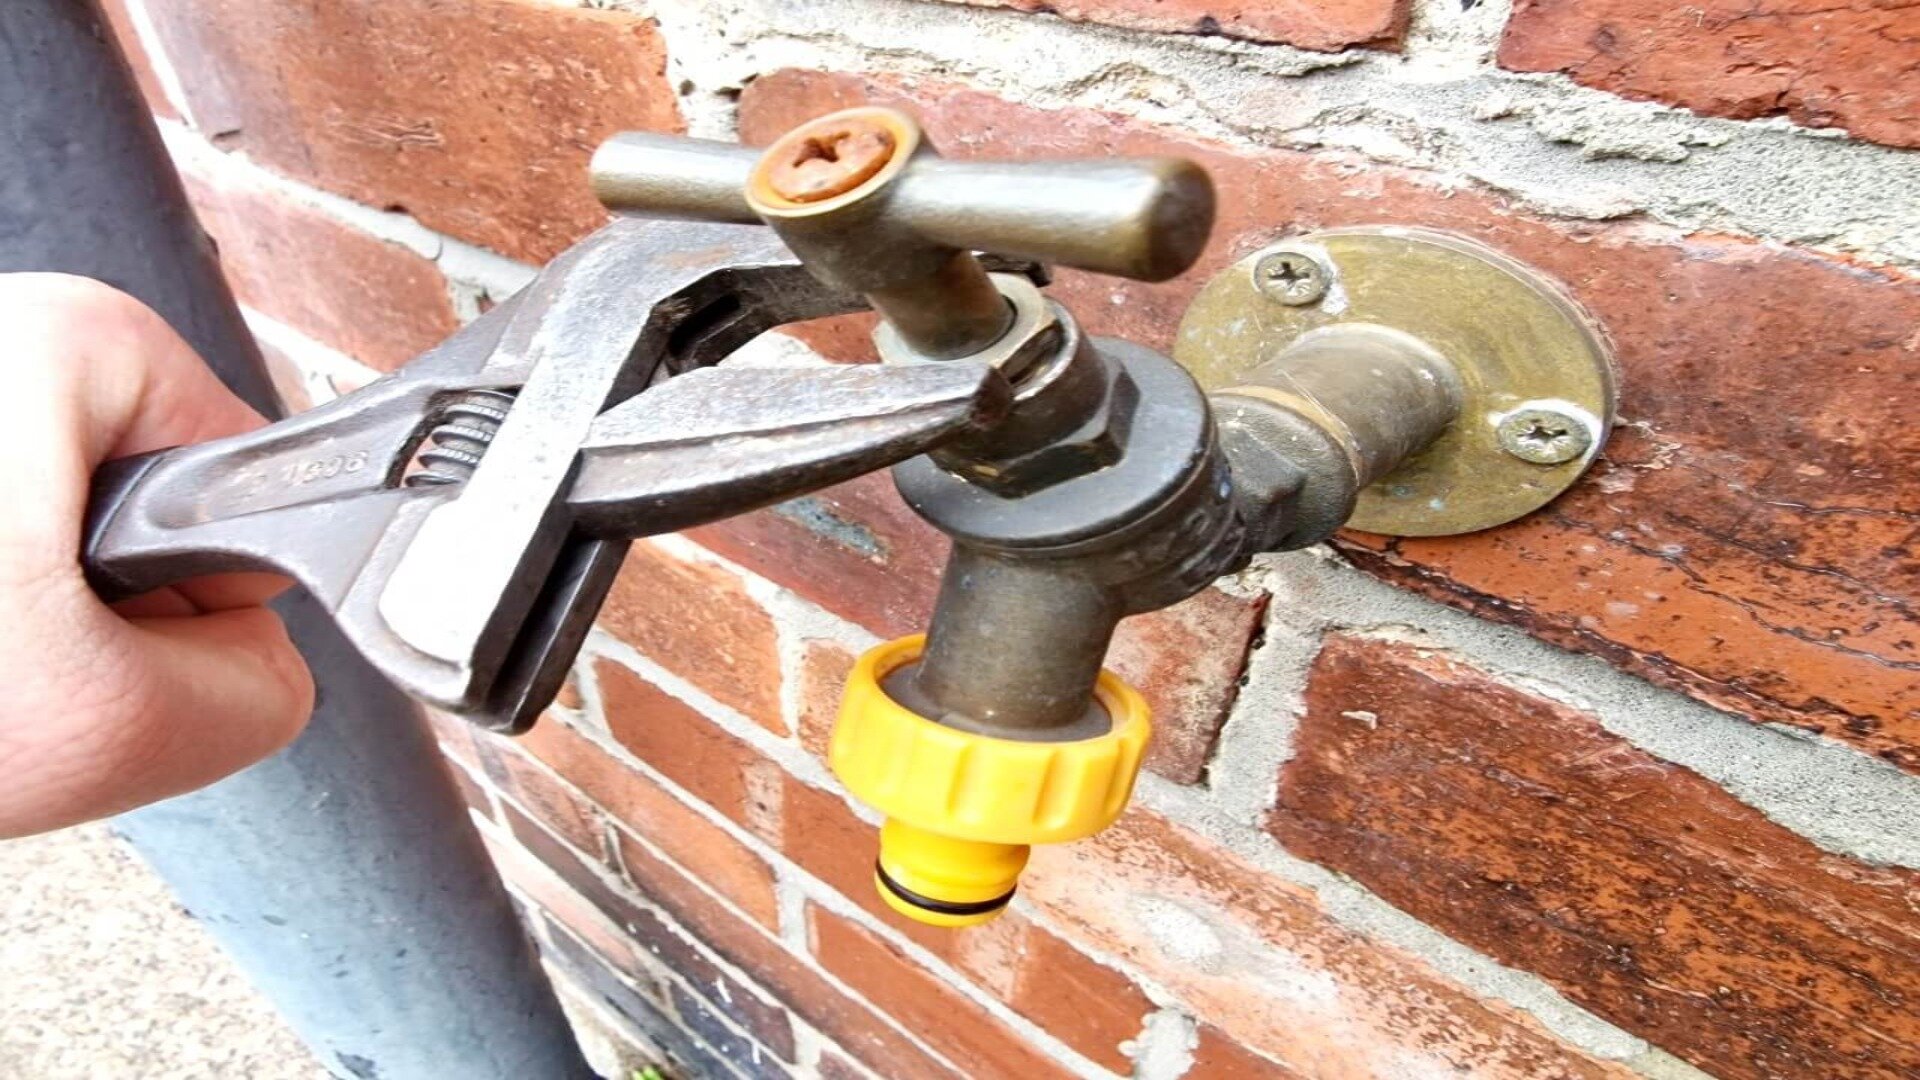
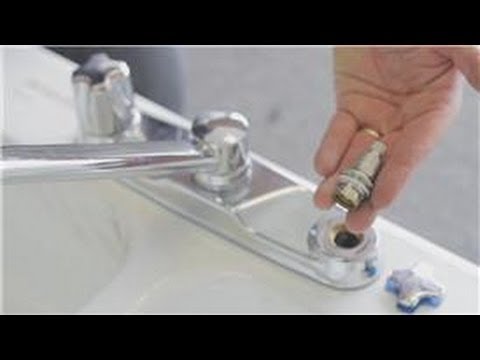
This DIY project demonstrates how to fix a leaky outdoor faucet. The first step is to turn off the water supply to the faucet, located inside the house or at the main water line. Next, remove the faucet handle by unscrewing the screw that holds it in place. After that, loosen and remove the packing nut using an adjustable wrench. Finally, inspect the O-rings, packing washer, and valve stem for any damage. If any of these are damaged, replace them with the new ones from a repair kit. Reassemble the faucet in reverse order of disassembly, turn on the water supply slowly, and check for leaks.
Best for experienced DIYers and homeowners with some experience.
Tools & Materials
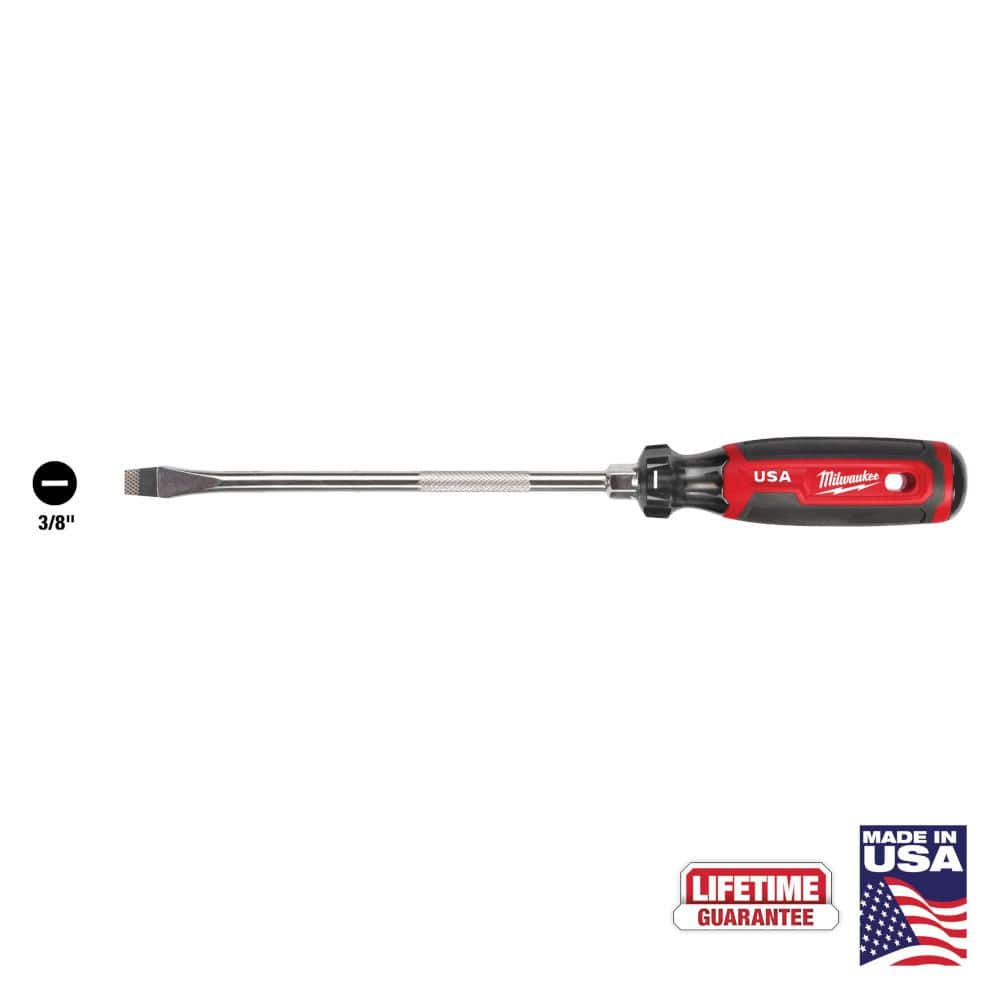
Milwaukee 8 in. x 3/8 in. Slotted Flat Head Screwdriver with Cushion Grip MT209

Adjustable Wrench
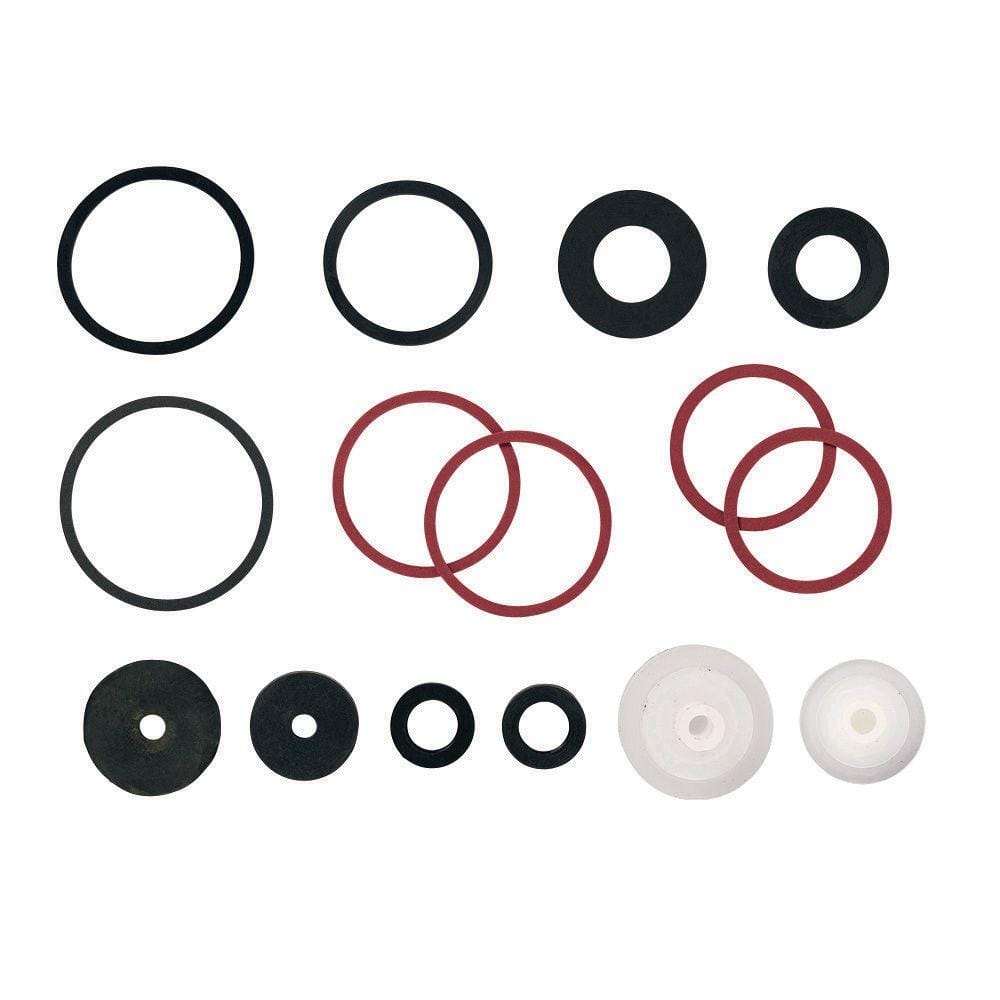
Orbit 3/4 in. and 1 in. Brass Anti-Siphon Repair Kit 53066H
Milwaukee 8 in. x 3/8 in. Slotted Flat Head Screwdriver with Cushion Grip MT209
The Milwaukee® 3/8" Slotted 8" Cushion Grip Screwdrivers (USA) are manufactured to give the professional the best-fitting screwdriver with max grip. These screwdriver tips are custom machined to deliver
Adjustable Wrench
Fits various nut and bolt sizes with its adjustable jaw.
Orbit 3/4 in. and 1 in. Brass Anti-Siphon Repair Kit 53066H
Use this Orbit 3/4 in. and 1 in. Brass Anti-Siphon Repair Kit to rebuild most brass anti-siphon valves (valves sold separately). The kit includes high-quality rebuild components for both 3/4 in. and 1
Steps

Turn Off the Outdoor Faucet's Water Supply
5 minsBefore starting any repairs, always turn off the water supply to the outdoor faucet. Locate the shut-off valve inside your house, usually near where the main water line enters. Turn the valve clockwise until it stops. If you can't find a shut-off valve, you'll need to turn off your home's main water supply.

Replace Worn Faucet Parts
30 minsInspect the O-rings, packing washer, and valve stem for wear and tear. Replace any damaged components with new ones from a repair kit specific to your spigot type. Reassemble the faucet, reversing the disassembly steps. Slowly turn the water back on and check for leaks. If the leak persists, call a plumber.
Common Problems
Safety concern: Always turn off the water supply before starting any plumbing repair.
Solution: Take proper safety precautions. Always turn off the water supply before starting any plumbing repair.
Prevention: Always follow safety guidelines before starting the project.
Faucet handle is stuck and won't budge.
Solution: If the handle is stuck, you may need to gently wiggle it back and forth to loosen it from mineral deposits.
Scratched faucet cap from prying too hard.
Solution: Be gentle when prying off the cap to avoid scratching the plastic or chrome finish.
Stuck faucet handles can prevent proper repair and lead to further damage.
Solution: If the handles are stuck, try using a penetrating oil or gently tapping them with a rubber mallet.
Be gentle when prying off the plug button to avoid scratching the faucet's finish.
Solution: To avoid this issue: Be mindful of this warning and take appropriate precautions.
Do not fully remove the set screw, as it can be difficult to re-thread.
Solution: To avoid this issue: Be mindful of this warning and take appropriate precautions.
Only tighten the nut in small increments, about a quarter-turn at a time, to avoid over-tightening.
Solution: To avoid this issue: Be mindful of this warning and take appropriate precautions.
Frequently Asked Questions
Are the listed tools sufficient, or should I have anything else on hand for this faucet repair?
The adjustable wrench and slotted screwdriver are essential. It's also wise to have a small wire brush for cleaning corroded threads and a pair of pliers for gripping small parts, as well as some plumber's grease for O-rings.
What is the absolute first and most important step to ensure safety and prevent water damage?
Always turn off the water supply to the outdoor faucet completely before beginning any work. This prevents uncontrolled water flow and potential flooding. Double-check that the water is off by briefly turning on the faucet.
How much time should I set aside for this project as a beginner, and what's the typical cost for replacement parts?
As a beginner, plan for about 30-60 minutes. The cost for replacement O-rings, packing washers, and valve stems is usually very low, often under $10-$20 for a standard repair kit, making it a very economical fix.
My faucet still leaks after replacing the O-rings and packing. What else could be wrong?
First, ensure all parts are seated correctly and connections are snug but not overtightened. If the leak persists, the valve seat inside the faucet might be corroded or damaged, which may require a specialized valve seat dresser tool or replacement.
I can't find the water shut-off valve for my outdoor faucet. What should I do?
Look for an indoor shut-off valve on the pipe leading to the outdoor faucet, usually in the basement, crawl space, or utility area. If you can't find a dedicated valve, you will need to turn off your home's main water supply, typically located near the water meter.
When should I consider replacing the entire outdoor faucet instead of just repairing it?
Consider replacing the entire faucet if the body is cracked, heavily corroded, or if the valve stem assembly is too damaged for a simple repair kit. Frequent leaks after multiple repairs also suggest it might be time for a full replacement to avoid ongoing issues.


:max_bytes(150000):strip_icc()/how-to-fix-leaking-water-heater-2719073-hero-92226a38ab4c484cb1a81cee49f0b258.jpg)