:max_bytes(150000):strip_icc()/how-to-fix-leaking-water-heater-2719073-hero-92226a38ab4c484cb1a81cee49f0b258.jpg)
Fix a Leaky Faucet: Repairing Water Intake Leaks
About This Project
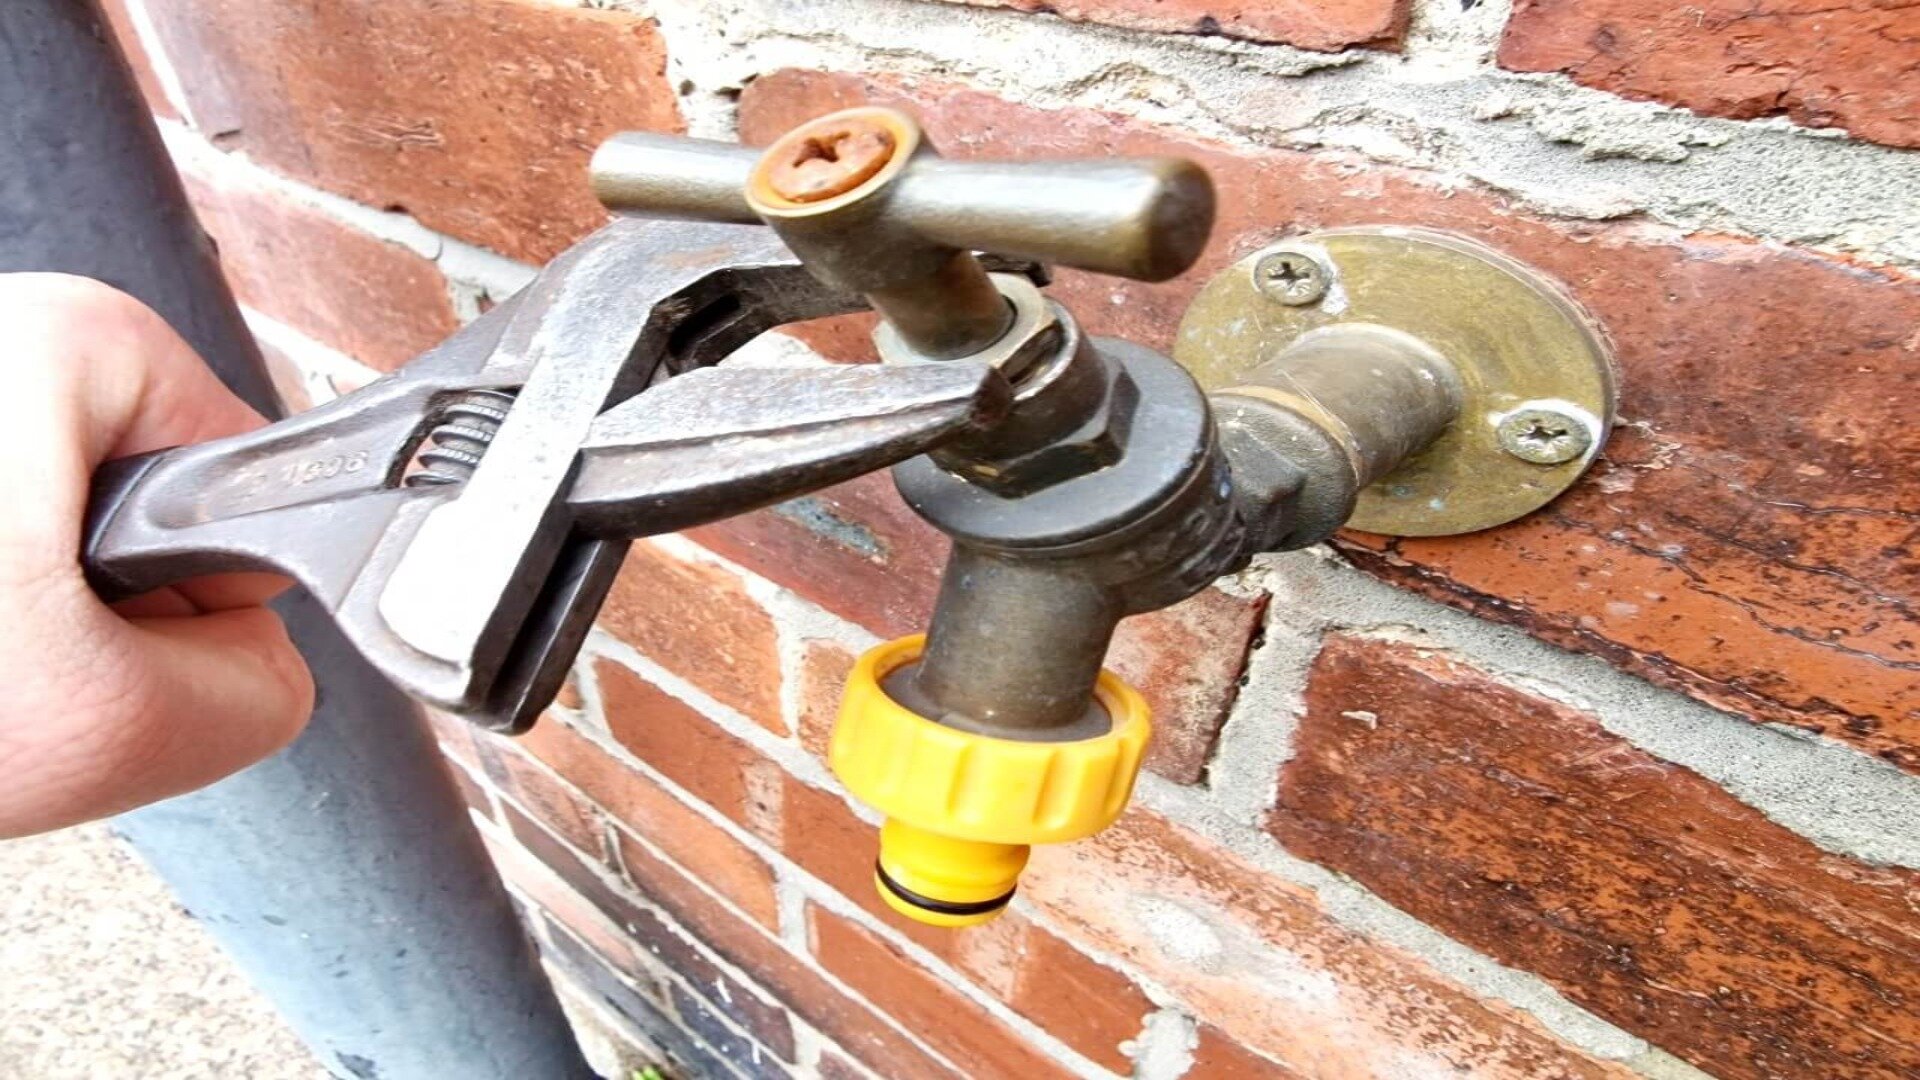
This project details how to fix a leaky faucet caused by a water intake leak. The steps include: 1. **Turning off the water supply:** Turn off both hot and cold water valves under the sink, or the main water supply if necessary. 2. **Preparing the work area:** Place a bucket and towel under the sink to catch any spills. 3. **Disconnecting the water supply lines:** Use an adjustable wrench to carefully disconnect the copper supply lines from the faucet tailpieces. 4. **Inspecting supply lines for damage:** Examine the disconnected supply lines for damage, corrosion, or leaks and replace if necessary. 5. **Reconnecting the water supply lines:** Clean the threads, apply Teflon tape to the faucet tailpieces, reconnect the lines with a wrench, turn the water back on slowly, and check for leaks.
Best for experienced DIYers and homeowners with some experience.
Tools & Materials

Unger 6 Gal. Heavy-Duty Plastic Bucket DB02
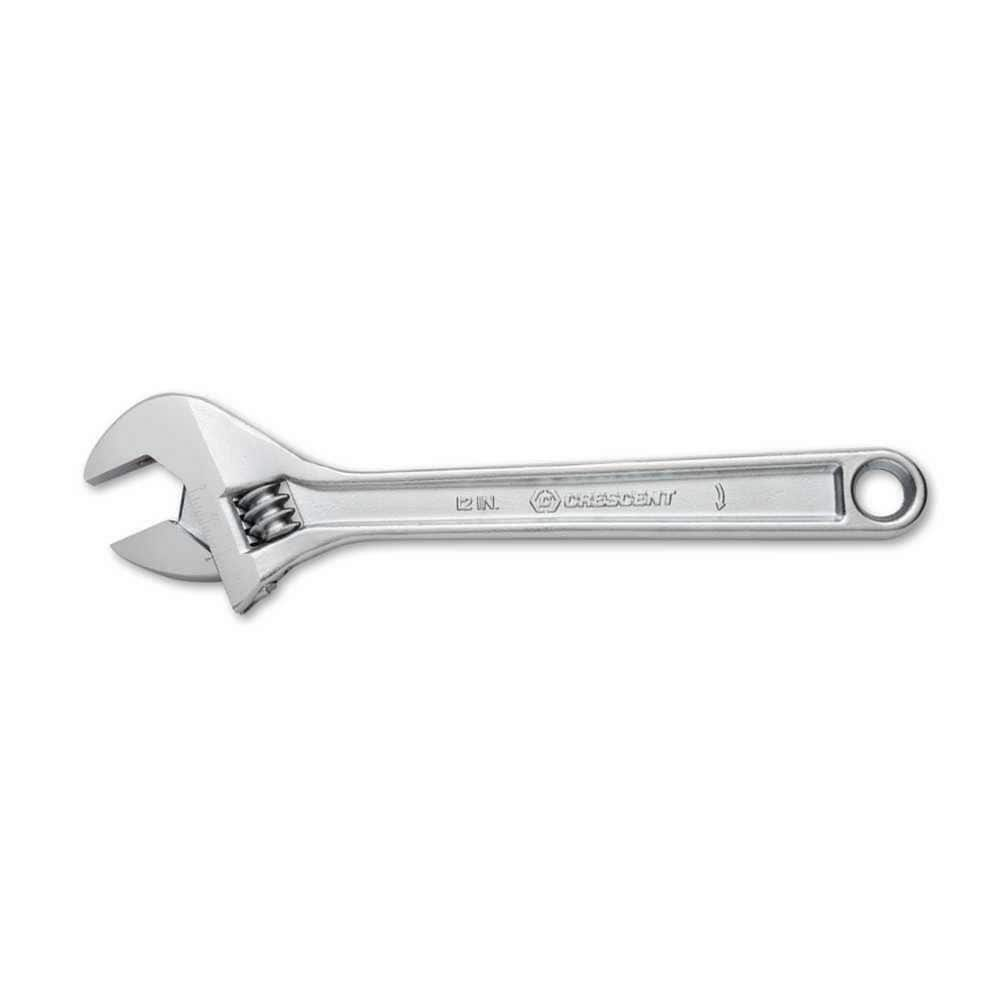
Crescent 12 in. Chrome Adjustable Wrench AC212VS
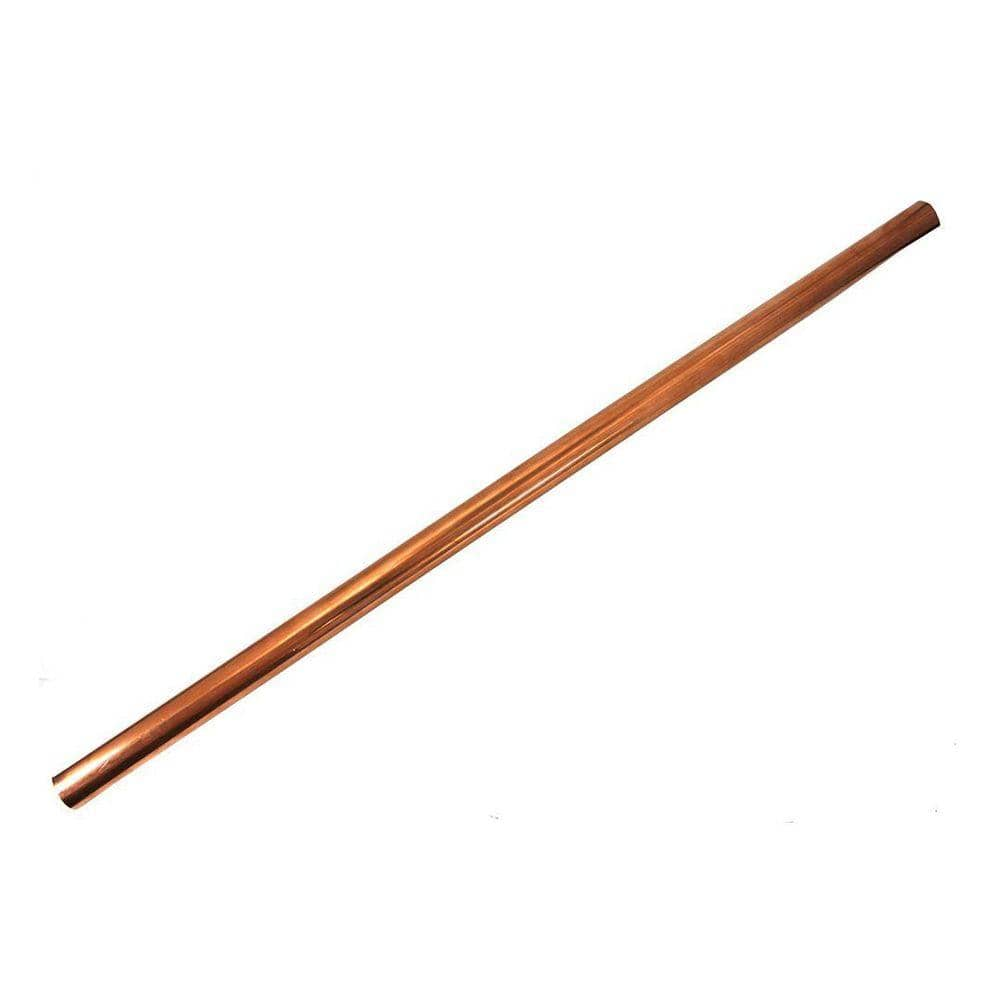
Cerro 1/2 in. x 5 ft. Copper Type L Hard Straight Pipe PSLE-500L005
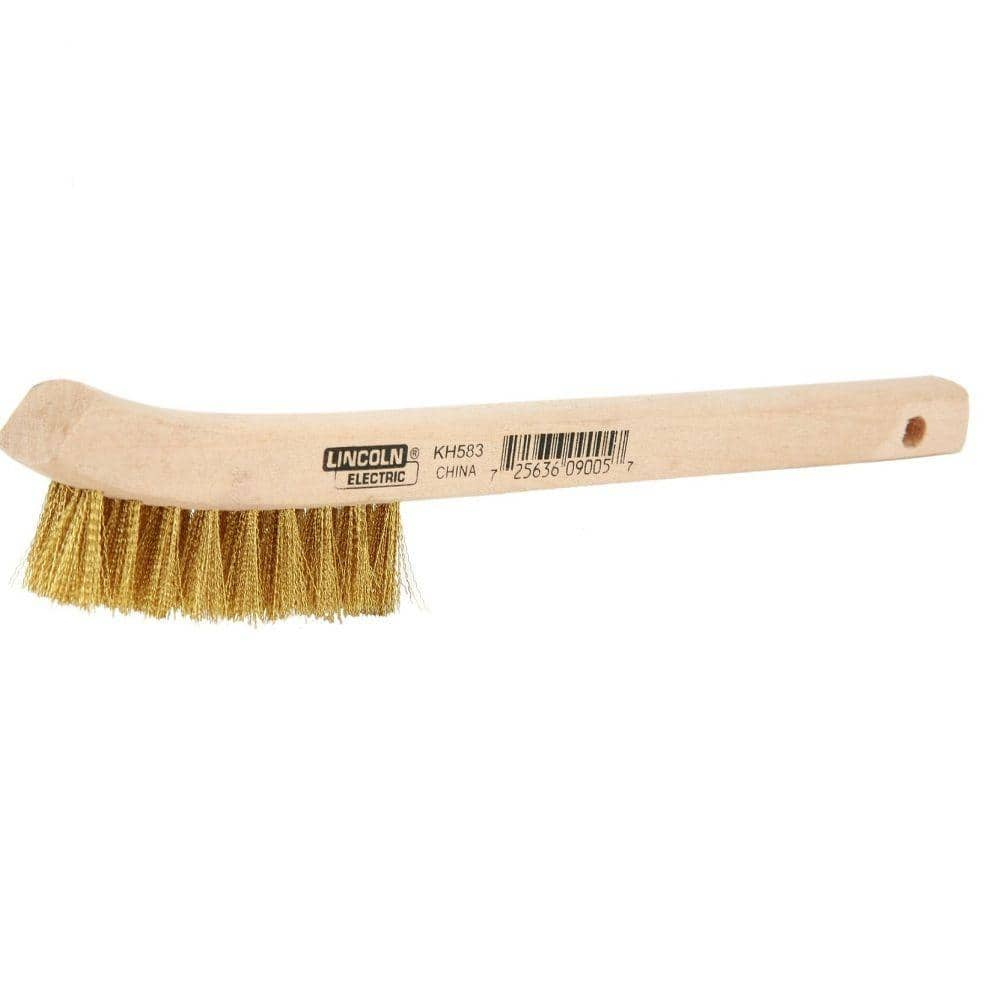
Lincoln Electric 9 in. Long Wooden Handled Brass Welding Wire Brush (.4 in. x 2.6 in. Bristle Area 2 x 9 Row) for Cleaning Aluminum KH583
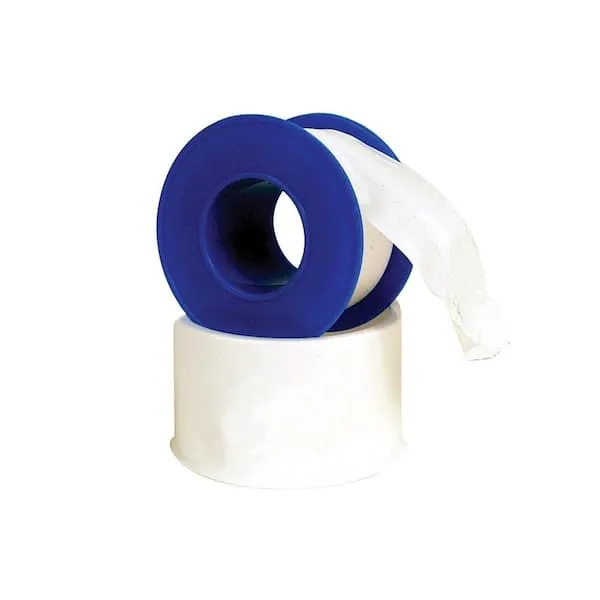
Teflon Tape
Unger 6 Gal. Heavy-Duty Plastic Bucket DB02
The Unger 6-Gallon Heavy-Duty Professional Cleaning Bucket holds more than 6 Gal. of liquid. The bucket can accommodate a scrubber up to 14 in. L. This bucket features measurement marks and 2-pour spouts
Crescent 12 in. Chrome Adjustable Wrench AC212VS
Since the introduction of the original Crescent wrench in the early 1900s, the Crescent brand has become synonymous with adjustable wrenches. Crescent Adjustable Wrenches feature a large knurl for easy
Cerro 1/2 in. x 5 ft. Copper Type L Hard Straight Pipe PSLE-500L005
The Cerro's 1/2 in. x 5 ft. Copper Type L Straight pipe is made of type L copper to be maintenance-free. This type of pipe is corrosion-resistant and noncombustible. It is ideal for general plumbing and
Lincoln Electric 9 in. Long Wooden Handled Brass Welding Wire Brush (.4 in. x 2.6 in. Bristle Area 2 x 9 Row) for Cleaning Aluminum KH583
Lincoln Electric Wood-Handled Brass Bristle Brush is for general-purpose cleaning and welding projects, including delicate or finish work. The brass bristles are durable. The brush measures 8-3/4 in. long. The bristle area is 3/8 in. x 2-1/2 in.
Teflon Tape
Seals pipe threads without leaks.
Steps
Turn Off the Water Supply
5 minsBefore starting any repairs, completely shut off the water supply to the faucet. Locate the shut-off valves under the sink (usually two, one for hot and one for cold). Turn the valves clockwise until they stop. If you don't have shut-off valves, turn off the main water supply to your house.


Inspect Supply Lines for Damage
5 minsCarefully examine the disconnected supply lines for any signs of damage, corrosion, or leaks. If you find any issues, replace the damaged lines with new ones of the correct length and type. Consider replacing them even if the damage appears minor to prevent future problems.

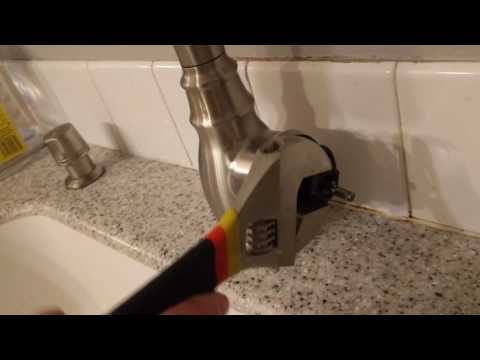
Reconnect the Water Supply Lines
15 minsIf the supply lines are in good condition, clean the threads on the faucet tailpieces and supply lines using a wire brush. Apply plumber's Teflon tape to the threads of the faucet tailpieces. Reconnect the supply lines, tightening them securely with the adjustable wrench. Slowly turn the water supply back on and carefully check for any leaks.
Common Problems
Water spills onto the floor when removing the P-trap.
Solution: Make sure the bucket is large enough to hold the water that is currently in the P-trap.
A P-trap's purpose is to hold a plug of water to block sewer gases from entering your home. This water will drain out as soon as the trap is loosened.
Solution: To avoid this issue: Be mindful of this warning and take appropriate precautions.
Difficulty locating the precise origin of water leaks under a sink.
Solution: Finding the exact source of a leak under a sink can be tricky, so take your time to pinpoint the origin.
Even though the water is off, a little water will drain out of the pipes.
Solution: To avoid this issue: Be mindful of this warning and take appropriate precautions.
Difficulty reaching faucet nuts in tight spaces prevents proper tightening.
Solution: Use a basin wrench if space is limited to access the nuts.
Use caution when applying a wrench to the plastic nuts to avoid overtightening or stripping them.
Solution: To avoid this issue: Be mindful of this warning and take appropriate precautions.
Be careful not to break the water supply lines when disconnecting them.
Solution: To avoid this issue: Be mindful of this warning and take appropriate precautions.
Frequently Asked Questions
How difficult is this water intake leak repair for a DIY beginner, and can it realistically be done in 2 hours?
This project is indeed suitable for beginners, focusing on straightforward disconnection and reconnection of supply lines. The 2-hour estimate is realistic, assuming you have the necessary tools readily available and don't encounter heavily seized or corroded connections. Taking your time to ensure proper sealing is key.
What should I do if the shut-off valves under my sink don't work or are stuck, preventing me from turning off the water?
If the local shut-off valves are faulty or seized, you'll need to turn off the main water supply to your entire home. Locate your home's main water shut-off valve, usually in the basement, garage, or utility closet, and turn it clockwise until the water flow stops completely. Remember to notify anyone in your household before doing this.
Is Teflon tape absolutely necessary when reconnecting the water supply lines to the faucet tailpieces, and how should it be applied?
Yes, Teflon tape (also known as PTFE tape or plumber's tape) is highly recommended for these threaded connections. It acts as a lubricant to help threads seal better and prevents leaks. Wrap the tape clockwise around the threads of the faucet tailpiece 2-3 times, ensuring it's snug and doesn't cover the opening.
I reconnected the supply lines, but the faucet is still leaking where they attach. What's the most common reason for this, and how can I fix it?
The most common reasons for a persistent leak are improperly applied Teflon tape or loose connections. First, ensure the Teflon tape was wrapped clockwise and isn't bunched up. Then, gently tighten the supply line nuts a bit more with your adjustable wrench, being careful not to overtighten and strip the threads.
How do I properly inspect my water supply lines for damage, and when should I replace them instead of just re-tightening?
Look for visible cracks, kinks, bulges, corrosion, or signs of rust, especially near the connection points and along the hose itself. If you see any of these issues, or if the rubber washers inside the nuts are cracked or hardened, it's best to replace the supply lines entirely. Old, stiff lines are prone to future leaks even if tightened.
What can I do to prevent future water intake leaks at my faucet connections after this repair?
Regularly inspect the area under your sink for any signs of moisture or drips. Ensure supply lines aren't crimped or stressed during cleaning or storage under the sink. When installing new lines, always use fresh Teflon tape and avoid overtightening, which can damage washers and threads. Replacing old, brittle supply lines proactively can also prevent leaks.