How to Install Board and Batten Up a Staircase Wall
About This Project
This project outlines the steps for installing board and batten paneling on a staircase wall, enhancing its aesthetic appeal and providing a finished look.
Tools & Materials
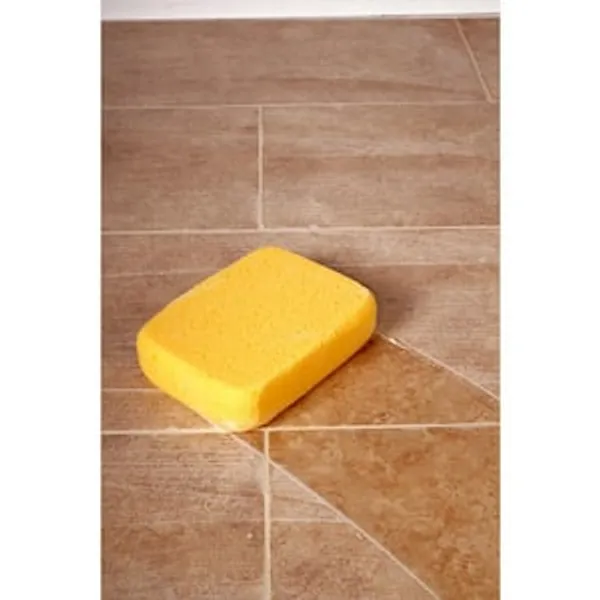
Sponge

Bucket
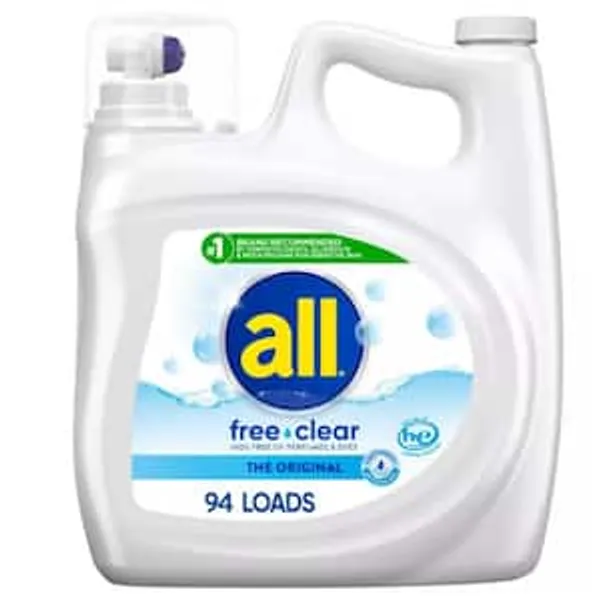
Mild Detergent
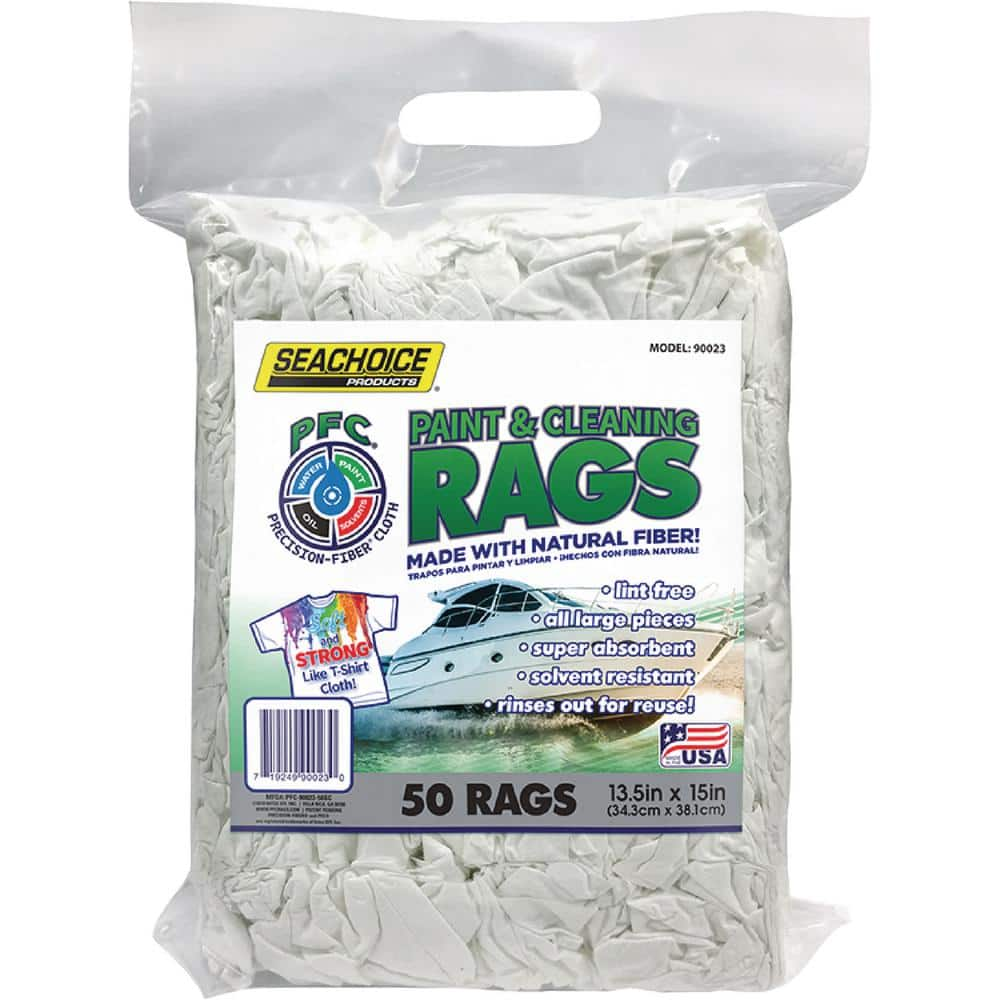
Seachoice Lint-Free Paint & Cleaning Rags, 50 per Bag 90023
Measuring Tape

Pencil
Sponge
Absorbs and cleans effectively.
Bucket
Ideal for carrying or storing liquids.
Mild Detergent
Gentle cleaning for delicate items.
Seachoice Lint-Free Paint & Cleaning Rags, 50 per Bag 90023
Made with natural fiber. All large pieces. Super absorbent. Solvent resistant. Rinses out for reuse. During the warranty period, your Seachoice product will either be repaired or it will be replaced with
Measuring Tape
For accurate measurements of plywood and components, ensuring proper assembly.
Pencil
Marks and draws with ease.
Steps

Clean the Staircase Wall
60 minutesUsing a mild detergent and water solution, scrub the entire staircase wall area where the paneling will be installed. Rinse thoroughly with clean water and allow the wall to dry completely. This step is crucial for a smooth and durable finish.
Watch: Clean the Wall Surface
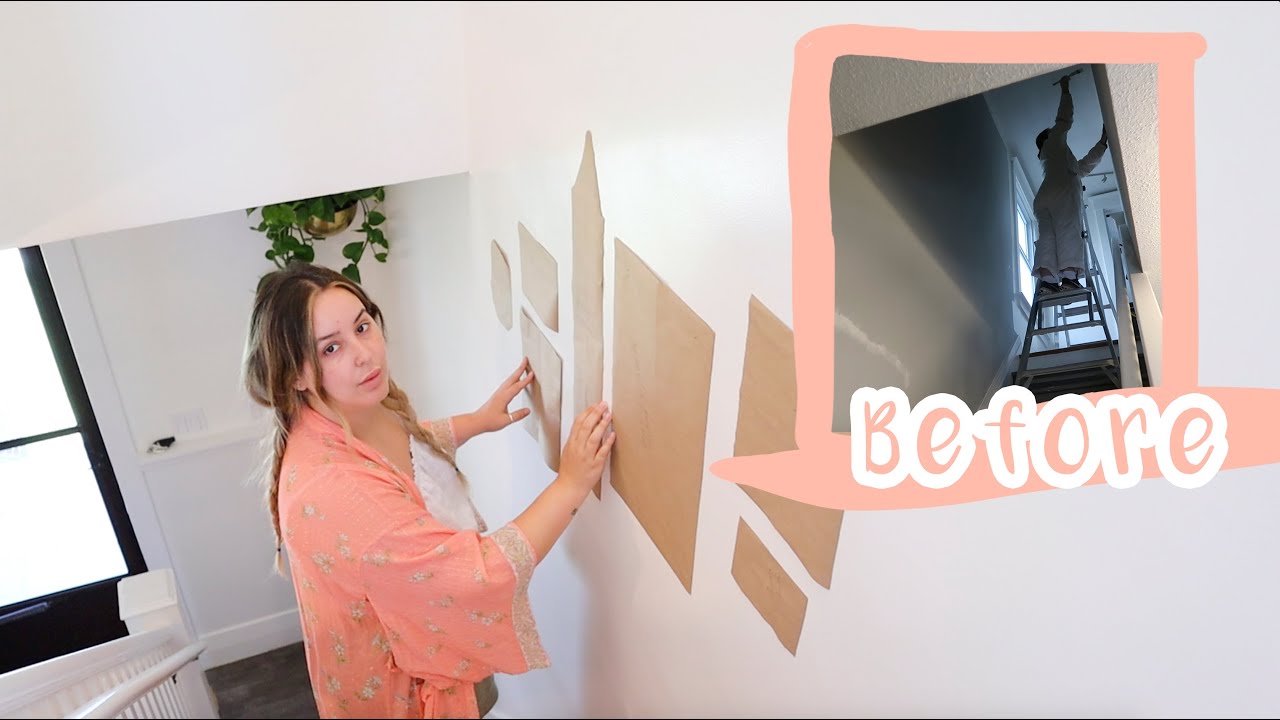
Mark Layout Lines
90 minutesDetermine the desired spacing for your battens. Use a tape measure and a pencil to mark the positions of the vertical battens. It's often best to start from a corner or a prominent feature and work your way across. Consider the width of your boards and any baseboards or trim that will be present. A level will ensure these lines are perfectly vertical.
Watch: Measure and Mark Batten Layout
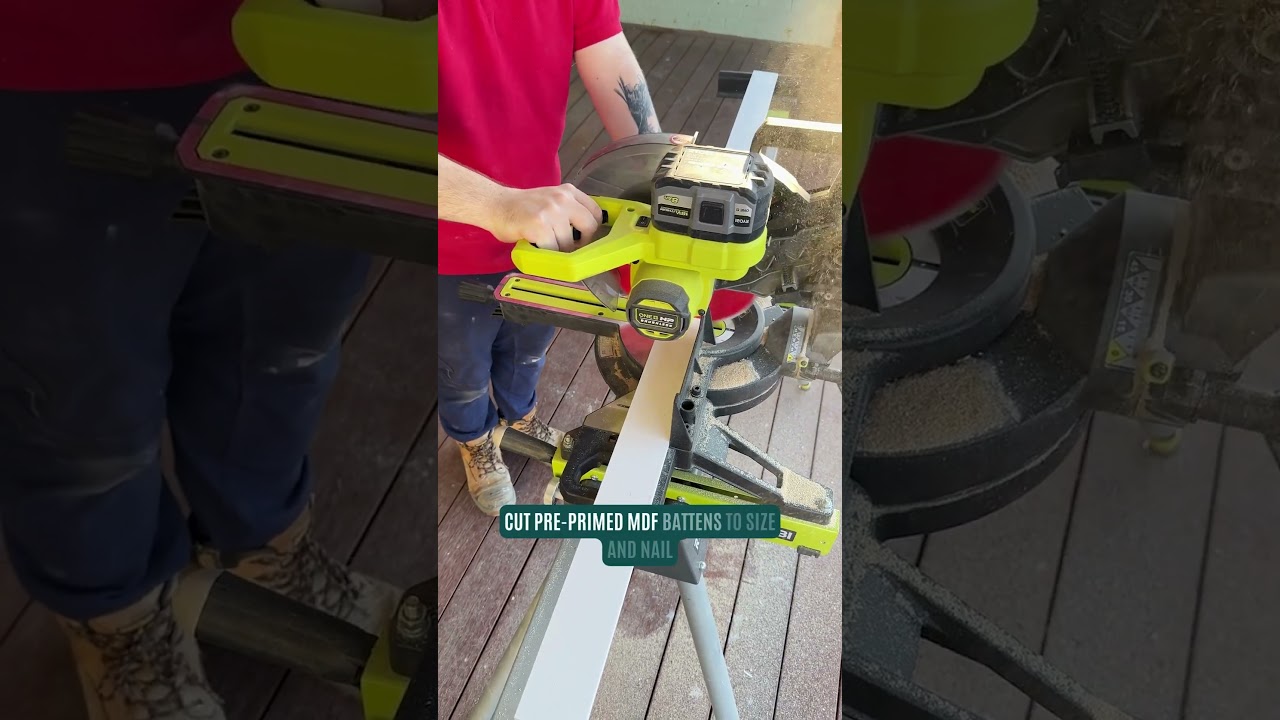
Cut Battens to Size
60 minutesMeasure the height of each section of the staircase wall where a vertical batten will be placed. Use a miter saw or hand saw to cut the battens to these precise lengths. Ensure the cuts are square to the length of the batten for flush fitting against the wall and any horizontal trim.
Watch: Cut and Prepare Battens
Install Vertical Battens
180 minutesApply a bead of construction adhesive to the back of each batten. Position the batten along its marked layout line on the wall. Secure the batten by driving finishing nails through it into the wall studs (if accessible) or using a brad nailer. Ensure the nails are countersunk slightly below the surface.
Watch: Attach Vertical BattensCut and Install Horizontal Boards
240 minutesMeasure the distance between the installed vertical battens for each horizontal section. Cut the boards to these lengths. Apply construction adhesive to the ends of the boards where they meet the battens and along the back of the board. Press the board into place and secure with finishing nails or brads into the battens and through the board into any accessible wall studs. Ensure each board is level.
Watch: Cut and Install Horizontal BattensFill Nail Holes and Caulk Gaps
120 minutesUsing a putty knife, apply wood filler to all visible nail holes, pressing it in firmly. Allow the filler to dry according to the manufacturer's instructions. Once dry, sand the filled areas smooth. Apply a bead of paintable caulk along all seams where boards meet battens, and where boards meet any existing trim or the ceiling. Smooth the caulk line with a damp finger or caulk tool.
Watch: Fill Nail Holes and Imperfections
Prime the Paneling
90 minutesEnsure all filler and caulk are completely dry. Apply a high-quality primer evenly over all the boards and battens. Pay attention to covering all surfaces, including the edges and any areas that were filled. Allow the primer to dry completely according to the product instructions.
Watch: Apply Primer Coat
Paint the Paneling
180 minutesOnce the primer is completely dry, apply your chosen paint color. Use a high-quality paint designed for interior walls. Apply the paint in thin, even coats, working from top to bottom. Allow each coat to dry thoroughly before applying the next. Typically, two coats are sufficient for good coverage, but a third may be needed depending on the color and finish.
Watch: Apply Final Paint Coats