
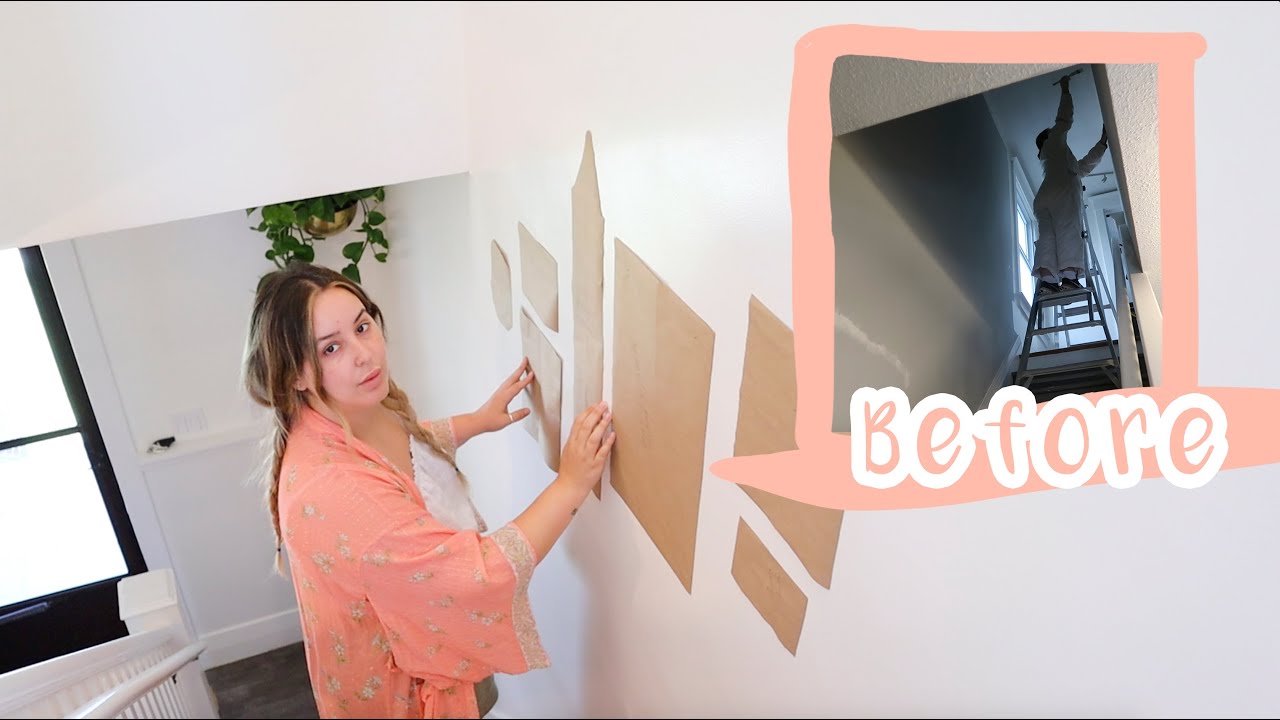
How to Hang a Gallery Wall Along a Staircase
About This Project
Create a visually appealing gallery wall along a staircase by selecting, arranging, and securely hanging artwork and decorative items.
Tools & Materials
Measuring Tape

Scissors Set (5-Pack) 99740

Pencil
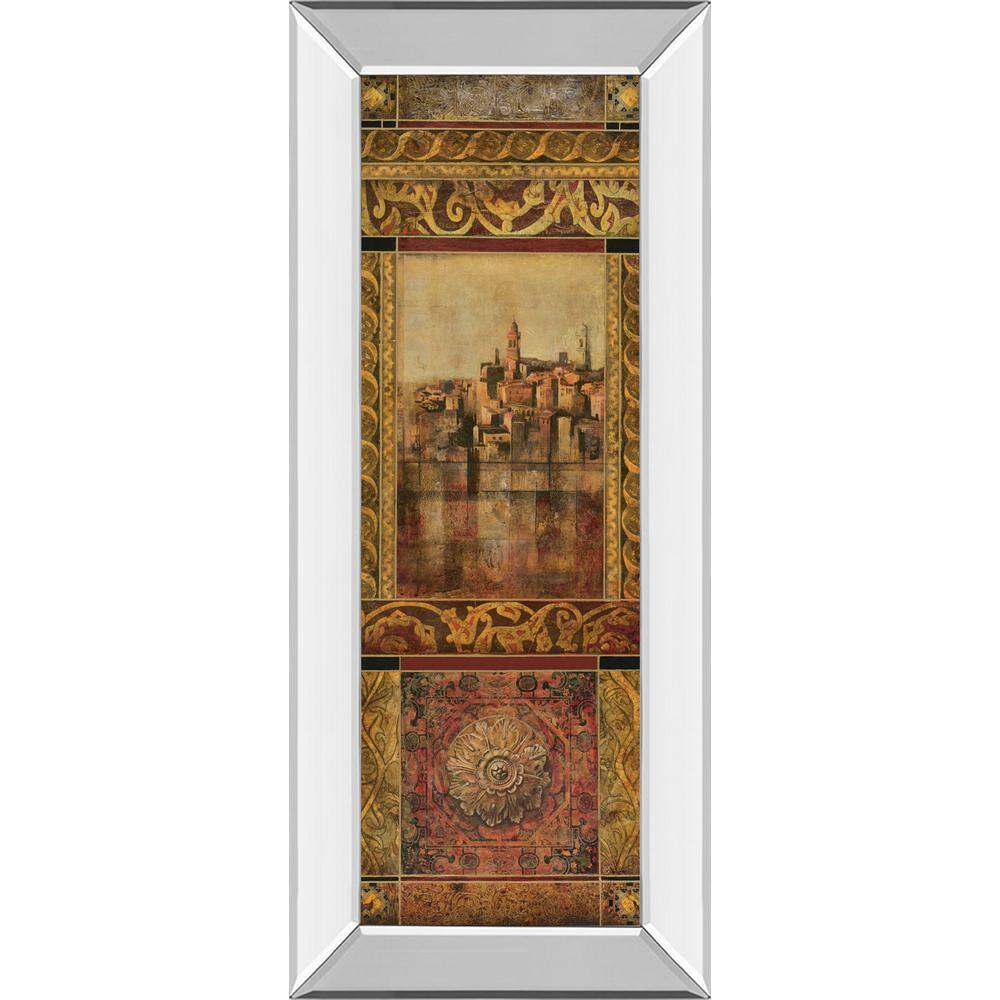
Classy Art

TRIMACO X-Paper 36 in. x 100 ft. Roll 12361/4HD
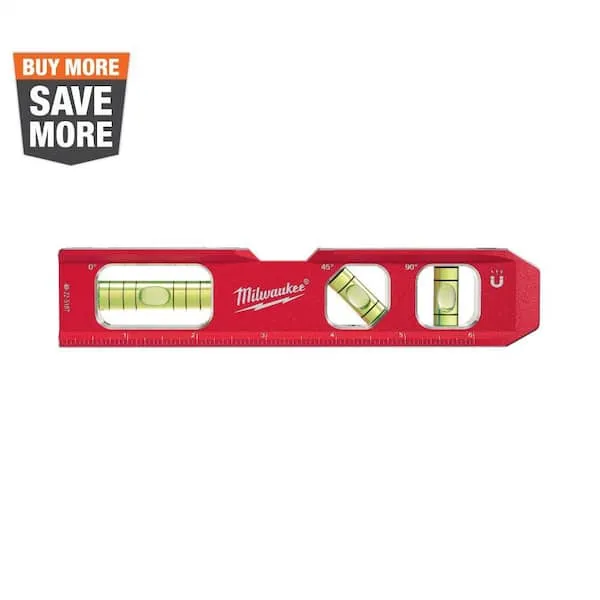
Level
Measuring Tape
For accurate measurements of plywood and components, ensuring proper assembly.
Scissors Set (5-Pack) 99740
With a lightweight design, the 5-piece Scissors Set offers easy handling as you work. The scissors are a practical addition to you toolbox that allow for fast and easy cuts. They are stylish in blue and
Pencil
Marks and draws with ease.
Classy Art
If you like to imagine yourself in an enchanting world, this piece is the right one for you. Add it to your home decor and let it take you far away. Pair it with its sister piece
TRIMACO X-Paper 36 in. x 100 ft. Roll 12361/4HD
Level
Ensures surfaces are just right.
Steps
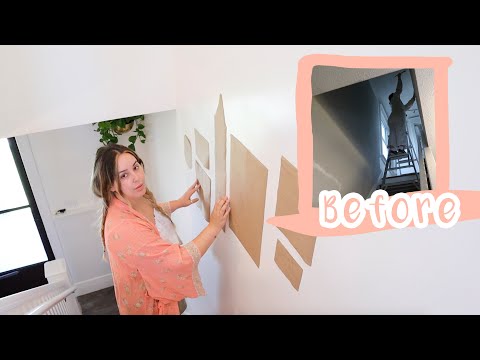
Visualize Layout
60 minutesBefore drilling any holes, it's crucial to visualize the final gallery wall. Take a large piece of paper (e.g., butcher paper or craft paper) that is the same size as the wall space where the gallery wall will be located. Cut it to fit the dimensions of the staircase wall. Use this paper template to experiment with different arrangements of your artwork and decorative items. Place each item on the paper, trace its outline, and label it. Move the items around on the paper until you achieve a composition that you find visually appealing and that fits the flow of the staircase. This step helps prevent costly mistakes and ensures a harmonious display.
Watch: Create Gallery Wall Paper Templates
Mark Template on Wall
30 minutesOnce you are satisfied with the arrangement on your paper template, it's time to transfer it to the actual wall. Use a level and measuring tape to ensure accuracy. Tape the paper template to the wall, aligning it with your desired placement. Then, using a pencil, lightly mark the center point of where each piece of artwork or decorative item will hang. You can also mark the top or bottom edge of each item if that is more helpful for your arrangement. This will serve as your guide for drilling holes.
Watch: Attach Paper Templates
Install Hanging Hardware
90 minutesNow it's time to physically prepare the wall for hanging. For each marked spot, install the appropriate hanging hardware. This will vary depending on the weight of the item and the type of wall. For lighter items, picture hooks or strong adhesive strips might suffice. For heavier items, you will likely need to drill pilot holes and use wall anchors (e.g., drywall anchors, toggle bolts) before screwing in screw eyes, D-rings, or appropriate wall hooks. Ensure the hardware is rated to hold more than the weight of the item it will support. If drilling into studs, use screws directly without anchors.
Watch: Install Hardware and Hang Gallery Wall ElementsHang Artwork
60 minutesWith the hanging hardware in place, you can now begin to hang your gallery wall. Start with the largest or most central piece, if applicable, and work outwards. Carefully lift each item and align its hanging mechanism with the corresponding hardware on the wall. Gently set the artwork in place. Step back frequently to assess the overall look and make minor adjustments as needed. Ensure each piece is level and securely attached.
Watch: Hang & Level Art