How to Build Pull-Out Drawers Under Stairs
About This Project
This project involves building and installing custom pull-out drawers into the open space beneath a staircase. The outline will cover planning, design, material selection, construction, and installation.
Tools & Materials
Measuring Tape

Pencil

Zircon StudSensor HD35 Stud Finder 65944
Level

Ornamental Mouldings 1262 3/4 in. x 5 1/2 in. x 96 in. Primed Baseboard Moulding (1-Piece − 0.67 Total Linear Feet) 1262-8FTPRIM
HOMCOM 65 in. Wood Grain, Sliver Corner Computer Office L-Shaped Workstation with Elevated Shelf, Keyboard Tray and CPU Stand 920-058
Measuring Tape
For accurate measurements of plywood and components, ensuring proper assembly.
Pencil
Marks and draws with ease.
Zircon StudSensor HD35 Stud Finder 65944
The StudSensor HD35 stud finder features a bright, easy-to-understand interface. A wide, contoured grip for comfort and ease of use, provides optimized visibility and a secure hold at any angle. Find the edges of wood and metal studs to securely anchor pictures, mirrors, and shelves to the wall while also avoiding live AC electrical wiring.
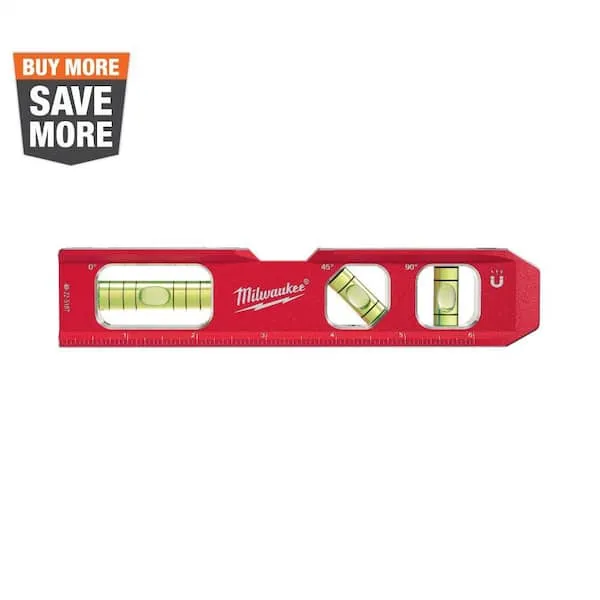
Level
Ensures surfaces are just right.
Ornamental Mouldings 1262 3/4 in. x 5 1/2 in. x 96 in. Primed Baseboard Moulding (1-Piece − 0.67 Total Linear Feet) 1262-8FTPRIM
The Ornamental sawtooth moulding collection melds together an art deco period feel with a modern functional design. This innovative collection of mouldings can be used together or introduced to your existing
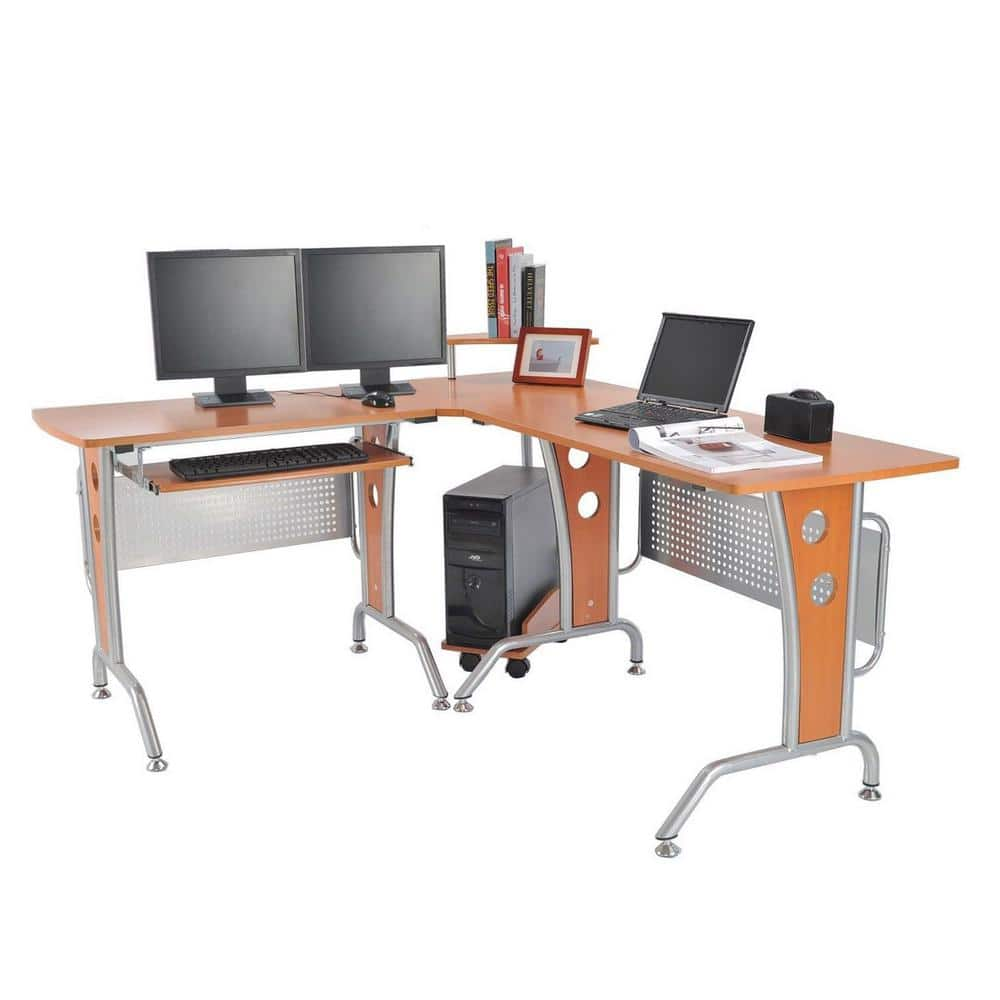
HOMCOM 65 in. Wood Grain, Sliver Corner Computer Office L-Shaped Workstation with Elevated Shelf, Keyboard Tray and CPU Stand 920-058
Are you looking for a suitable desk for your room. This modern computer workstations with storage from HOMCOM is the perfect addition to any work or gaming focused office. The compact L-shaped corner design gives you maximum desktop space while still fitting into almost any size area. A steel frame makes this L shaped desk durable and stable. The sleek look and high-functioning design make this computer desk with shelves the perfect addition to any home office, dorm room, or workspace.
Steps

Measure and Plan Staircase Opening
60 minutesCarefully measure the width, height, and depth of the available space under the staircase for each drawer. Use a tape measure and a pencil to mark the dimensions. Note any irregularities in the space, such as sloping floors or angled walls. Also, identify and mark the locations of any existing framing members (joists, studs), electrical wires, or plumbing that might interfere with drawer installation. These measurements are critical for designing the drawer boxes and ensuring they will fit properly.
Watch: Planning and Measurement
Design Drawer Dimensions and Slide Mechanism
120 minutesUsing the measurements taken in the previous step, calculate the precise width, height, and depth of each drawer box. Factor in the space needed for the drawer slides, typically adding the slide's thickness to the drawer box dimensions. Decide on the type of drawer slides (e.g., ball-bearing, epoxy-coated) based on the expected load and desired smoothness of operation. Consider full-extension slides for maximum access to the drawer's depth. You may want to sketch out a design or use design software to visualize the final setup.
Watch: Plan Drawer Dimensions based on Slides
Select and Purchase Materials
90 minutesBased on your design and budget, select the materials for the drawer boxes. Plywood (e.g., birch, oak) is a common choice for its stability and strength. For a more budget-friendly option, consider MDF or particle board, though they may be less durable. Select drawer slides that match the designed dimensions and weight requirements. Also, purchase screws, wood glue, and any necessary bracing or support materials for installation.
Watch: Build Drawers with Undermount Slides
Cut Drawer Box Components
180 minutesUsing a table saw or circular saw, carefully cut the plywood or other chosen material into the required pieces for each drawer box. Ensure all cuts are square and precise to facilitate easy assembly and a good fit. You will need to cut: two side panels, one front panel, one back panel, and a bottom panel for each drawer. Double-check all measurements before cutting.
Watch: Cut Drawer Box Components
Assemble Drawer Boxes
150 minutesApply wood glue to the edges of the side, front, and back panels where they will join. Assemble the four sides of each drawer box, ensuring they are square. Use clamps to hold the pieces together while you pre-drill pilot holes and drive screws to secure the joints. Attach the drawer bottom by sliding it into pre-cut grooves or by screwing it to the bottom edges of the assembled sides. Ensure the bottom is securely fastened for rigidity.
Watch: Assemble Drawer Boxes
Install Drawer Slides on Drawer Boxes
90 minutesSeparate the inner and outer members of the drawer slides. Attach the inner member (the part that attaches to the drawer box) to the sides of each assembled drawer box. Use a measuring tape and pencil to mark the precise location for the slides, ensuring they are parallel to the bottom edge of the drawer and setback from the front edge according to the slide manufacturer's instructions. Pre-drill pilot holes and secure the slides with the provided screws.
Watch: Install Drawer-Side Drawer Slides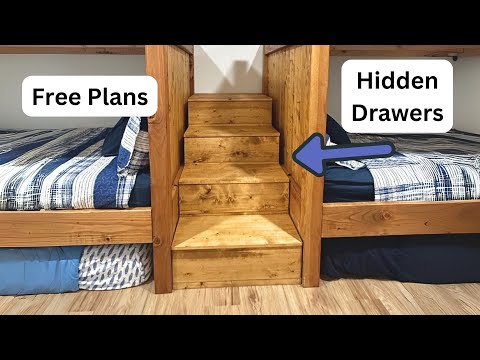
Install Drawer Slides in Staircase Opening
120 minutesMeasure and mark the positions for the outer members of the drawer slides on the interior walls of the staircase opening. These marks must be perfectly parallel to each other and level. Use a level and measuring tape to ensure accuracy. Pre-drill pilot holes into the studs or framing members and securely fasten the outer slide members using appropriate screws. Ensure the spacing between the slides matches the dimensions of the drawer boxes.
Watch: Install Drawer Slides to Structure
Install Drawer Fronts (Optional)
60 minutesIf you are adding decorative drawer fronts, attach them to the front panel of each drawer box. This can be done from the inside of the drawer box by screwing through the front panel into the drawer front material. Ensure the drawer front is centered and has consistent reveals (gaps) around its edges relative to the opening and adjacent drawers. This step requires careful alignment to achieve a professional look.
Watch: Attach Drawer Fronts and Handles
Insert Drawers and Test Operation
45 minutesCarefully align the drawer boxes with the installed outer members of the drawer slides. Gently push the drawers in until they fully engage with the slides. Test each drawer by opening and closing it several times. Check for any sticking, binding, or excessive looseness. Make any necessary adjustments to the slide alignment or drawer box dimensions if issues are found.
Watch: Test & Insert Drawer Boxes
Finishing Touches and Optional Additions
120 minutesIf the drawer fronts or boxes are unfinished, apply paint, stain, or a protective sealant according to the manufacturer's instructions. Allow adequate drying time between coats. Once the finish is dry, you can install drawer handles or knobs if desired. Ensure they are centered and securely attached. Clean up any dust or debris from the work area.
Watch: Install Inset Drawer Fronts and Hardware