How to Measure and Plan Treads for a Split-Level Staircase
About This Project
This project outlines the process of accurately measuring and planning the treads for a split-level staircase to ensure safety, comfort, and code compliance.
Tools & Materials

25 ft. Tape Measure
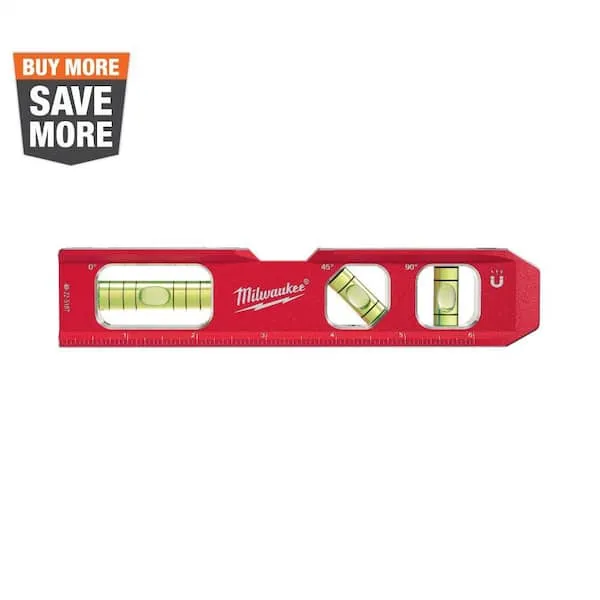
Level
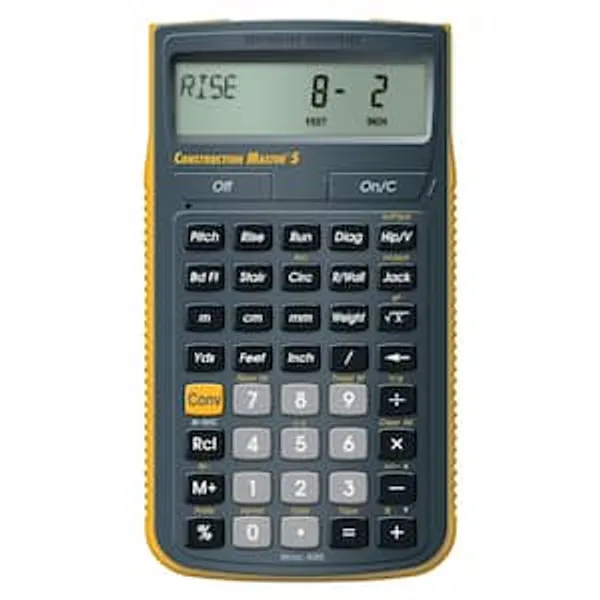
Construction Master 5 Calculator
Measuring Tape

Calculated Industries Construction Master 5 Calculator 4050

Pencil
25 ft. Tape Measure
Measure with precision and ease.
Level
Ensures surfaces are just right.
Construction Master 5 Calculator
Makes construction calculations a breeze.
Measuring Tape
For accurate measurements of plywood and components, ensuring proper assembly.
Calculated Industries Construction Master 5 Calculator 4050
The Construction Master 5 Calculator is an essential tool for construction pros. It helps you get fast, accurate construction-math calculations in the office or on the job site. Reduce the risk of expensive
Pencil
Marks and draws with ease.
Steps
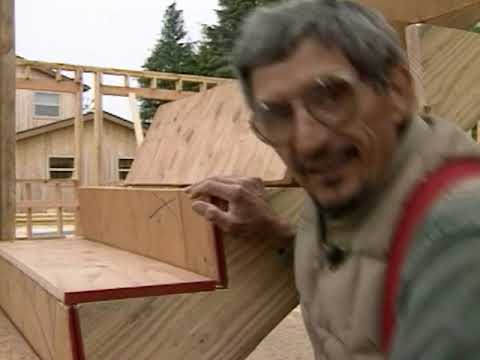
Measure the Total Rise
10 minutesUsing a tape measure, carefully measure the vertical distance from the surface of the finished floor on the lower level to the surface of the finished floor on the upper level. This measurement is critical for calculating the height of each step.
Watch: Measure Total Rise
Determine the Number of Treads
5 minutesDivide the total rise (measured in Step 1) by a desired riser height, usually between 7 and 7.5 inches. For example, if the total rise is 105 inches, dividing by 7 inches gives 15 treads. Round this number up or down to the nearest whole number that yields a practical riser height. The number of treads will be one less than the number of risers.
Watch: Calculate Number of Risers and Treads
Calculate the Actual Riser Height
5 minutesTake the total rise and divide it by the total number of risers (which is the number of treads plus one). This will give you the exact height of each riser. Ensure this measurement falls within the acceptable range specified by local building codes.
Watch: Calculate Individual Riser Height & Identify ProblemsMeasure the Total Run
10 minutesMeasure the horizontal distance from the front edge of the first riser to the front edge of the last riser. This measurement, combined with the tread depth, will determine the overall horizontal space the staircase will occupy.
Watch: Determine Tread Run and Total Run
Determine the Tread Depth
5 minutesWith the number of treads determined and the total run measured, you can calculate the required depth for each tread. The 'run' of a single tread is typically the horizontal depth from the front edge of one tread to the front edge of the next. A common guideline for comfortable stairs is a run between 9 and 10 inches. Building codes will specify minimums. Subtract the thickness of the tread nosing (usually 1 to 1.5 inches) from the desired tread depth to get the actual required tread depth before the nosing.
Watch: Determine Tread Overhang and LengthPlan for Nosing and Overlap
5 minutesThe nosing is the visible edge of the tread that extends past the riser. It should typically be between 1 inch and 1.5 inches. This overhang contributes to the overall tread depth. Ensure that the total depth of the tread, including the nosing, provides a safe and comfortable walking surface, and that the calculation from Step 5 correctly accounts for this.
Watch: Determine Tread Overhang and Length
Sketch the Staircase Layout
15 minutesDraw a side-view sketch of the staircase. Mark the total rise and total run. Indicate the calculated number of treads and risers. Label the exact dimensions for riser height and tread depth (including nosing). This visual representation will help in understanding the overall design and in cutting the treads.
Watch: Calculate and Layout Staircase Dimensions
Verify with Local Building Codes
30 minutesObtain a copy of your local building codes or consult with your local building department. Verify that the calculated riser height, tread depth, and headroom clearance meet all legal requirements for residential or commercial construction as applicable. Make any necessary adjustments to your plans.
Watch: Review Building Codes