
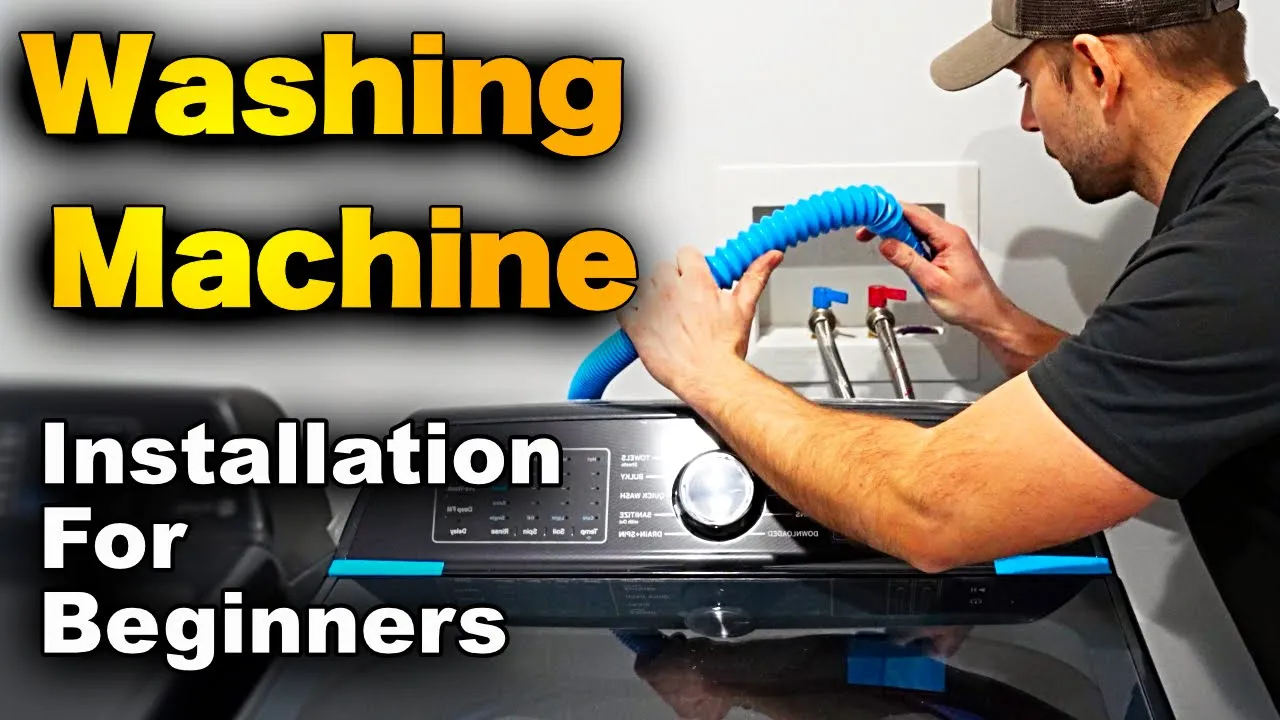
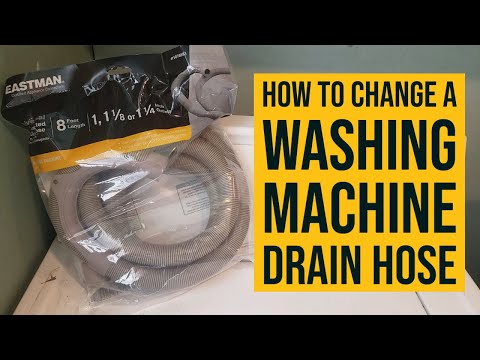
How to Replace Washing Machine Supply Hoses
About This Project
This guide provides step-by-step instructions for replacing old or potentially faulty washing machine supply hoses with new, durable ones to prevent leaks and water damage. The process involves shutting off the water, disconnecting the old hoses, connecting the new ones, and carefully checking for leaks.
Best for homeowners and DIY enthusiasts with basic plumbing knowledge. Requires Work Gloves.
Tools & Materials

Unger 6 Gal. Heavy-Duty Plastic Bucket DB02
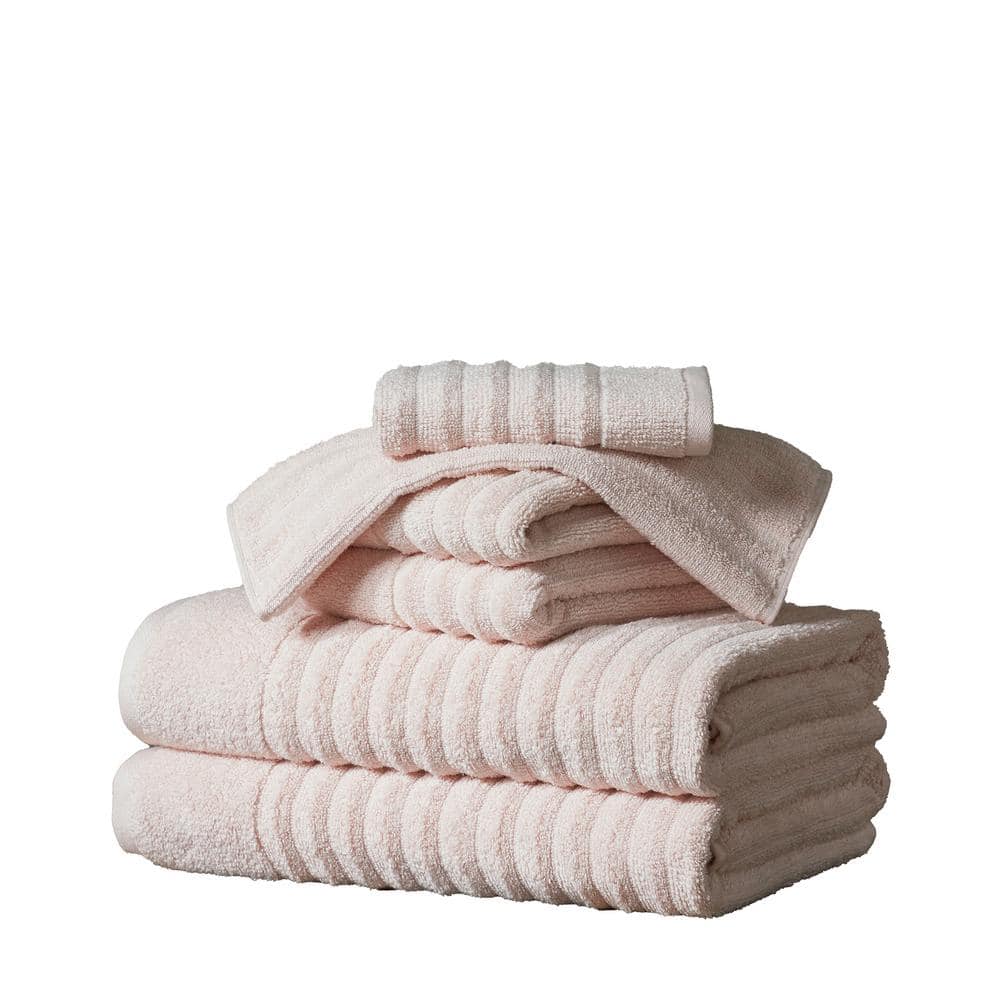
FRESHFOLDS Combed Cotton Absorbent Textured 6 Piece Towel Set EC100755
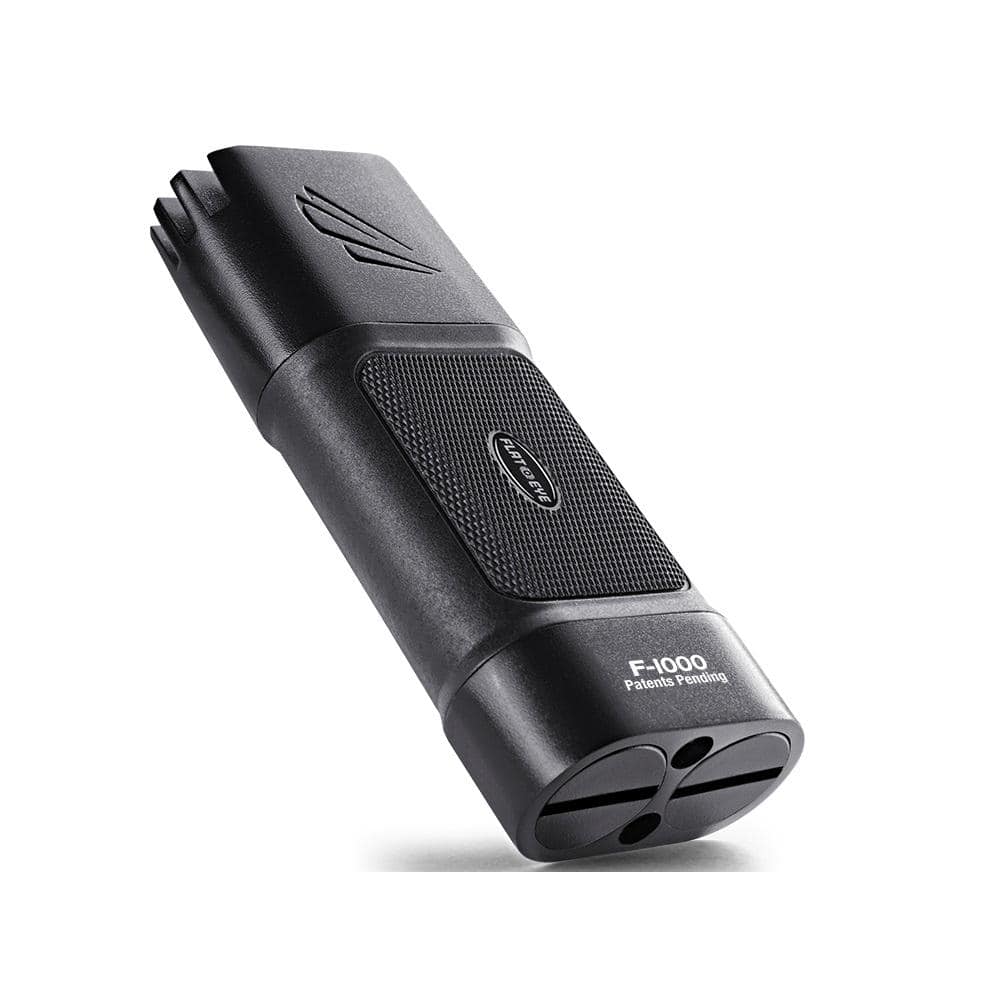
Panther Vision FLATEYE F-1000 High Performance 1000-Lumen Unround Flashlight CREE LED Multi Position Waterproof and Shockproof FL-7189
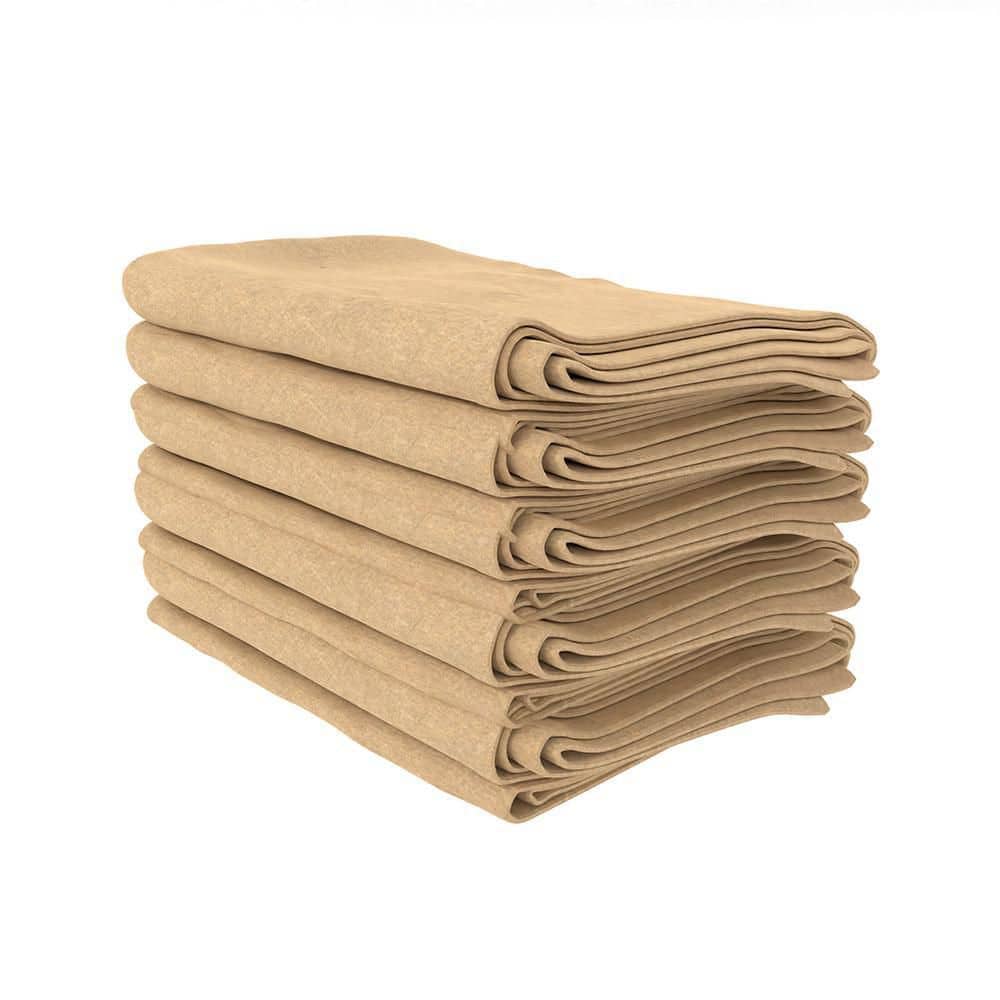
Pratt Retail Specialties 54 in. x 64 in. Paper Moving Blanket (5 Pack) PAPMOVBLANK5PK
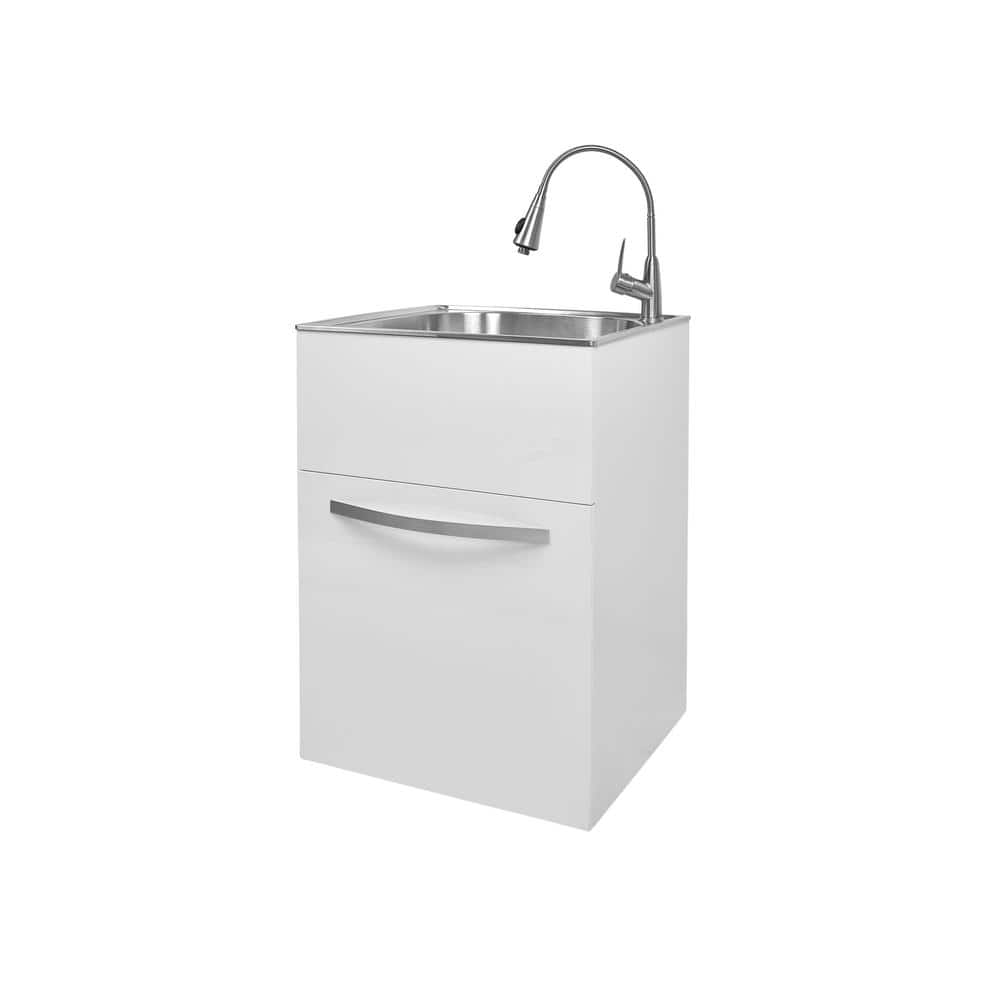
Glacier Bay 24 in. W x 21 in. D x 34 in. L Stainless Steel Laundry Sink with Faucet and Drawer Cabinet in White QL040

Work Gloves
Unger 6 Gal. Heavy-Duty Plastic Bucket DB02
The Unger 6-Gallon Heavy-Duty Professional Cleaning Bucket holds more than 6 Gal. of liquid. The bucket can accommodate a scrubber up to 14 in. L. This bucket features measurement marks and 2-pour spouts
FRESHFOLDS Combed Cotton Absorbent Textured 6 Piece Towel Set EC100755
Versatile, stylish, and functional are only a few ways to describe these bath towels. These towels are made with long cotton fibers that are looped to create a soft feel while still offering optimal absorbency
Panther Vision FLATEYE F-1000 High Performance 1000-Lumen Unround Flashlight CREE LED Multi Position Waterproof and Shockproof FL-7189
When the situation calls for a light powerful enough to illuminate the entire battle field, our F-1000 is your best bet. Not your granddads flashlight these bad boys come with a patented un-round pistol
Pratt Retail Specialties 54 in. x 64 in. Paper Moving Blanket (5 Pack) PAPMOVBLANK5PK
The Paper Moving Blanket cushions and protects against dust, dirt, minor nicks and scratches during moving. It's lightweight and a great option for protecting items to ship. It's made of 100% recyclable
Glacier Bay 24 in. W x 21 in. D x 34 in. L Stainless Steel Laundry Sink with Faucet and Drawer Cabinet in White QL040
This Presenza utility sink and storage cabinet is the perfect way to give your laundry room a sleek, modern look. The large drawer is ideal for storage of cleaning products. Convenient high arch, brushed
Work Gloves
Protects hands during tasks.
Steps
Prepare the Work Area
5 minsBegin by ensuring the washing machine is turned off and unplugged from the wall outlet for safety. Gather all your necessary tools and supplies. Place a bucket and some old towels on the floor behind the washing machine. This will help catch any residual water that will spill from the hoses when they are disconnected.

Shut Off Water Supply
2 minsLocate the hot and cold water shutoff valves on the wall behind the washing machine. These are typically lever-style or knob-style valves. For knob-style valves, turn them clockwise (to the right) until they are firmly closed. For lever-style valves, turn them a quarter turn so the handle is perpendicular to the water pipe. This will stop the flow of water to the supply hoses.

Position the Washing Machine
5 minsGently and carefully pull the washing machine away from the wall. You need to create enough space to comfortably stand or kneel behind it and access the hose connections on both the wall and the back of the machine. Be mindful of the drain hose and the power cord; do not pull the machine out so far that you stretch or disconnect them.

Disconnect Hoses from Shutoff Valves
5 minsPosition your bucket directly underneath the wall valve connections. Using channel-lock pliers or an adjustable wrench, grip the metal fitting on the end of a hose. Turn the fitting counter-clockwise ('lefty-loosey') to loosen it from the shutoff valve. Once it's loose, you should be able to unscrew it the rest of the way by hand. Expect a small amount of water to drain into the bucket. Repeat for the second hose.
Disconnect Hoses from Washing Machine
5 minsNow, move to the connections on the back of the washing machine. The hoses will still contain water. Keep the bucket or towels handy. Use your channel-lock pliers to loosen the fittings in a counter-clockwise direction. Once loose, unscrew them by hand and carefully tilt the hoses to drain the remaining water into the bucket. You can now completely remove the old hoses and set them aside.
Attach New Hoses to the Washer
5 minsTake one of your new braided stainless steel hoses. Ensure the rubber washer is properly seated inside the coupling at one end. Connect this end to the washing machine first. The hot water inlet is usually marked red or with an 'H'. Screw the fitting on by hand until it is snug. This helps prevent cross-threading. Then, use your channel-lock pliers to give it a final quarter to half turn to create a tight seal. Do not overtighten. Repeat the process for the second hose, connecting it to the cold water inlet.
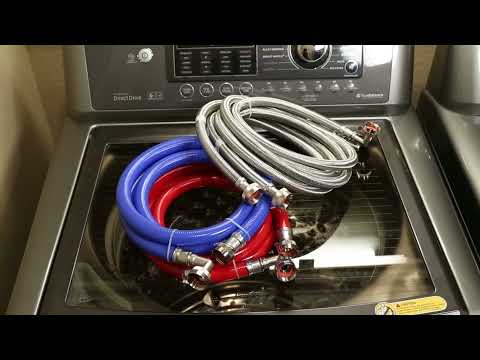
Attach New Hoses to Shutoff Valves
3 minsNow take the free ends of the hoses and connect them to the corresponding water shutoff valves on the wall. Connect the hose from the hot inlet on the washer to the hot water valve, and the cold to the cold. Just like before, screw the fittings on by hand first to ensure they are threaded correctly. Then, use the channel-lock pliers to tighten them another quarter to half turn until they are snug.

Test for Leaks
5 minsThis is the most critical step. Slowly turn both water shutoff valves back on by turning them counter-clockwise. Watch all four connection points (two on the washer, two on the wall) closely for any signs of water. Use a dry paper towel or your hand to feel around each connection to detect any slow drips that might not be immediately visible. If you find a leak, turn the water off immediately and tighten the leaking connection slightly (about an eighth of a turn), then test again. Do not proceed until all connections are completely dry.
Finalize the Installation
5 minsOnce you have confirmed there are absolutely no leaks, carefully slide the washing machine back into its final position against the wall. Be sure to leave a few inches of space to prevent the new hoses from kinking or being crushed, which could restrict water flow or damage the hoses. Once in place, plug the washing machine's power cord back into the outlet. Clean up your tools and wipe up any water that spilled on the floor with your towels. It is good practice to run a short wash cycle and check for leaks one last time.
Common Problems
Spills and water damage can occur when removing old hoses.
Solution: Have towels handy to clean up any spills.
Hoses can't be fully drained, causing water to spill when disconnected from the machine.
Solution: Disconnecting from the machine first can sometimes make it easier to drain the hoses into the bucket.
A significant amount of water can drain out of the machine when the hose is disconnected. Have a towel or bucket ready.
Solution: To avoid this issue: Be mindful of this warning and take appropriate precautions.
Water will likely drain from the hose once it is detached. Position a towel to catch the spillage.
Solution: To avoid this issue: Be mindful of this warning and take appropriate precautions.
Water sprays everywhere when disconnecting old hoses.
Solution: Wrap a towel around the connection as you loosen it to minimize splashing.
The connections on the back of the washing machine are often plastic, so be careful not to apply excessive force with the pliers that could crack them.
Solution: To avoid this issue: Be mindful of this warning and take appropriate precautions.
Unexpected water drips can cause floor damage.
Solution: Have a towel ready to catch any unexpected drips.
Frequently Asked Questions
How difficult is it to replace washing machine hoses for a beginner, and how long does it typically take?
This is a beginner-friendly plumbing project, primarily involving disconnecting and reconnecting hoses. Most DIYers can complete it within 1 to 2 hours, assuming no unexpected issues. The cost is also low, mainly for the new hoses and some basic supplies.
What are the most important safety precautions I need to take before starting this project?
The absolute most crucial step is to completely shut off the water supply to the washing machine before disconnecting any hoses. Be prepared with buckets and towels to catch residual water and prevent water damage. Always use appropriate hand tools to avoid injury or damage to plumbing connections.
What are the most common mistakes beginners make when replacing washing machine hoses, and how can I avoid leaks?
A common mistake is overtightening, which can strip threads, or undertightening, leading to leaks. Always use new rubber washers with your new hoses, ensuring they are seated correctly in the fittings. After installation, slowly turn on the water and meticulously check all connection points for any drips or seepage.
How often should I replace my washing machine hoses, even if they aren't showing signs of wear?
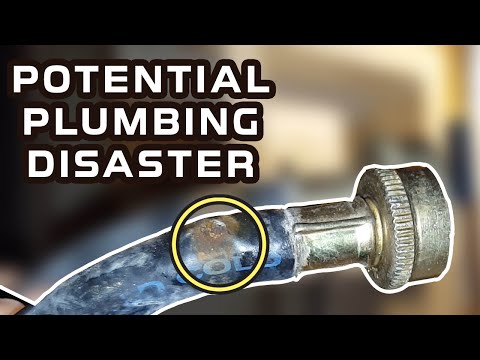
It's generally recommended to replace standard rubber washing machine hoses every 3-5 years as a preventative measure. Hoses can degrade from the inside out, making them prone to bursting unexpectedly. Regularly inspect them for bulging, cracking, or stiffness.
Are there different types of washing machine hoses, and which ones are best for preventing future leaks?
Yes, the most common types are reinforced rubber and braided stainless steel. While rubber hoses are standard, braided stainless steel hoses offer superior durability and burst resistance, making them highly recommended for preventing future leaks and water damage. They are a worthwhile upgrade for peace of mind.
Do I need specific tools like the Channellock pliers listed, or can I use a standard adjustable wrench?
While a standard adjustable wrench can work, the Channellock tongue and groove pliers provide a much better grip on the hose fittings, reducing the risk of slipping, rounding off nuts, or damaging the plastic parts of your washer. Their superior grip makes the job easier and safer, especially in tight spaces.


