
How to Replace a Shower Valve Through a Tiled Wall
About This Project
This project involves replacing an old or malfunctioning shower valve located behind a tiled wall. The process requires shutting off the main water supply, carefully cutting an access hole through the tile and backer board, removing the old valve by cutting the existing pipes, soldering or crimping a new valve in place, testing for leaks, and then meticulously repairing the wall with new backer board, tile, grout, and sealant before installing the new trim.
Best for advanced DIYers and professionals with basic plumbing knowledge and familiarity with power tools. Requires Flame King 340,000 BTU Propane Torch Self Igniting with Turbo Blast Trigger and Flow Valve YSN340K and Fire Gone 16 oz. A:B:C Multiple Use Fire Extinguisher Spray Suppressant fg-007-102 and MCR Safety BearKat Safety Glasses MCSCRWBK110.
Tools & Materials

Unger 6 Gal. Heavy-Duty Plastic Bucket DB02
Agfabric 40 in. x 15 ft. 7.7 oz. Burlap Fabric Winter Plant Cover DIY Garden Cloth for Frost and Snow Protection PCBLN2704015
Anvil Black 5-Piece Metal Outdoor Dining Set Patio Bistro Set Table and Chair Set with Umbrella FY-W2089135482
Phillips head screwdriver
Husky Assorted Size Parts Organizer Pouch Bag Set HD25200-TH
Blaster 11 oz. PB Penetrating Oil 16-PB-DS
Unger 6 Gal. Heavy-Duty Plastic Bucket DB02
The Unger 6-Gallon Heavy-Duty Professional Cleaning Bucket holds more than 6 Gal. of liquid. The bucket can accommodate a scrubber up to 14 in. L. This bucket features measurement marks and 2-pour spouts
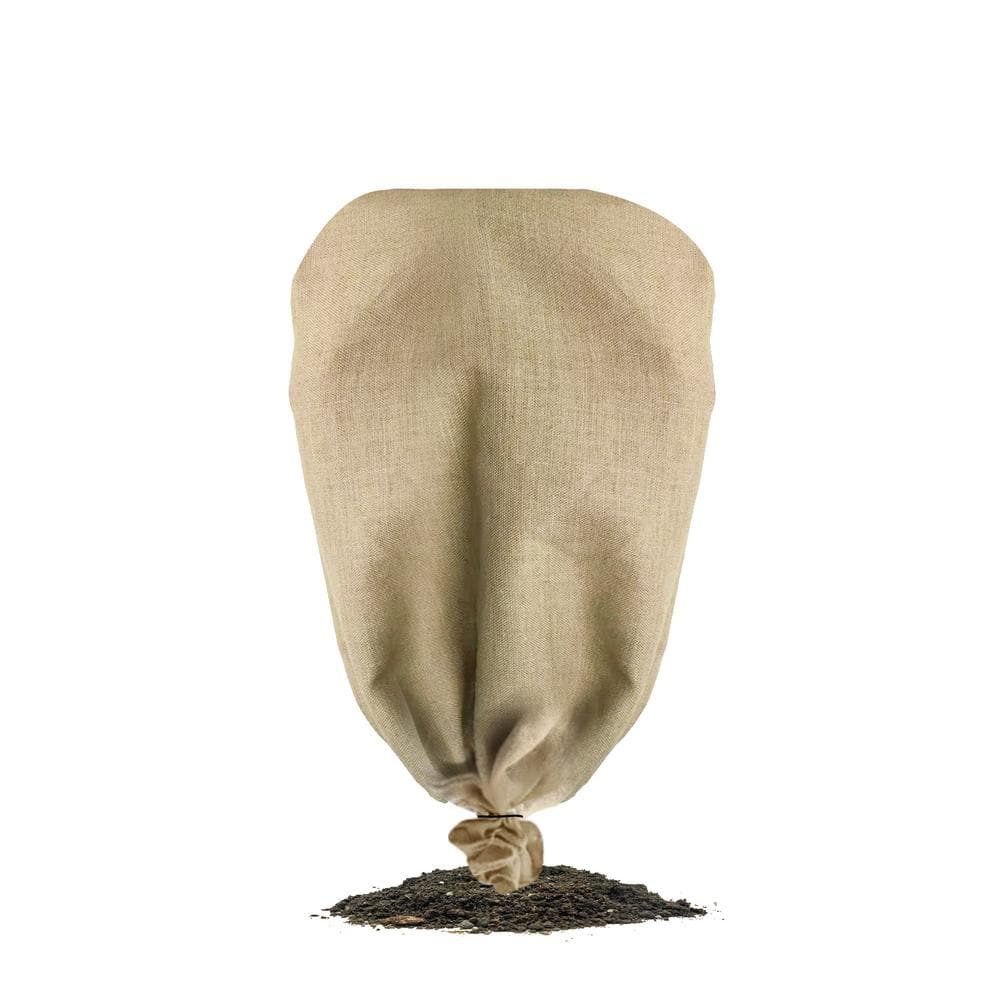
Agfabric 40 in. x 15 ft. 7.7 oz. Burlap Fabric Winter Plant Cover DIY Garden Cloth for Frost and Snow Protection PCBLN2704015
Agfabric natural burlap is Ideal for Winter plant cover DIY. You can use burlap to insulate plants during Winter to protect them from frost or insects. The large rolls can be freely cut to the size you
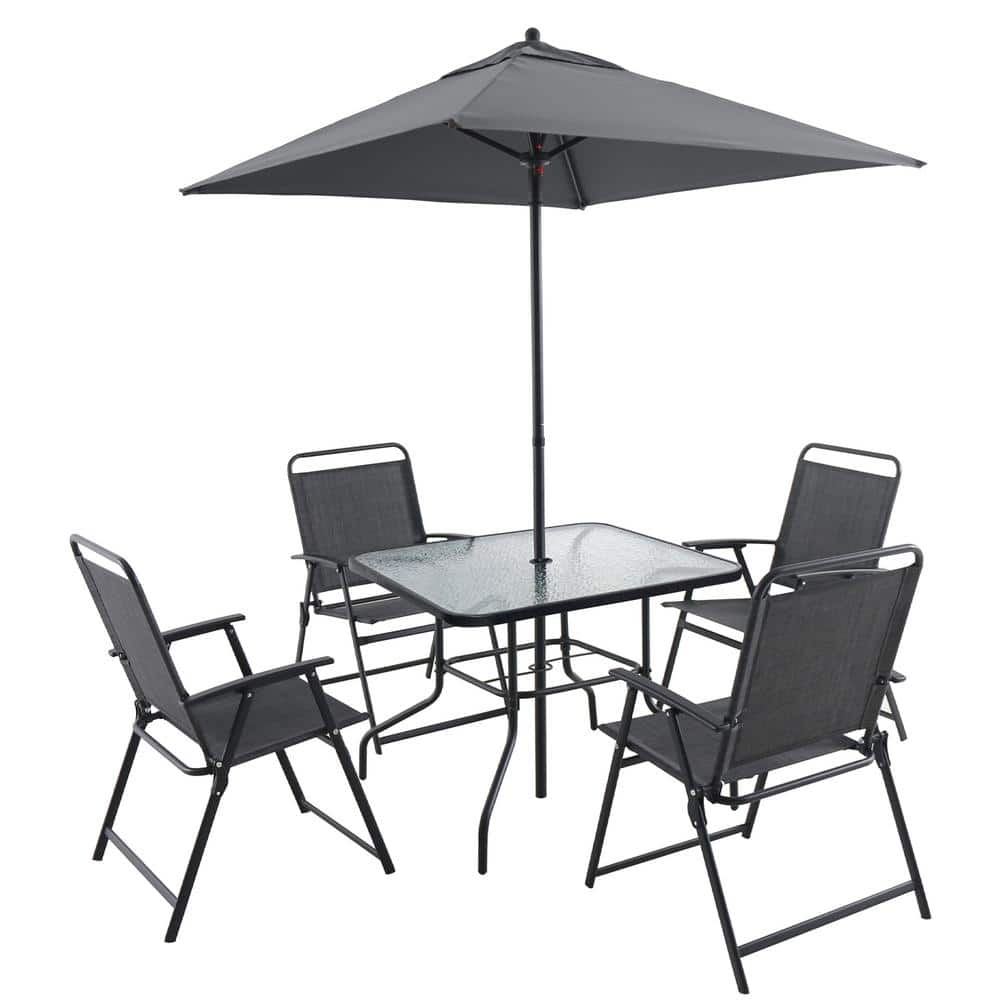
Anvil Black 5-Piece Metal Outdoor Dining Set Patio Bistro Set Table and Chair Set with Umbrella FY-W2089135482
The 5-Pieces outdoor dining set with umbrella sounds like a great addition to any patio or outdoor space. The set includes a patio table with an umbrella and 4-chairs, providing comfortable seating for
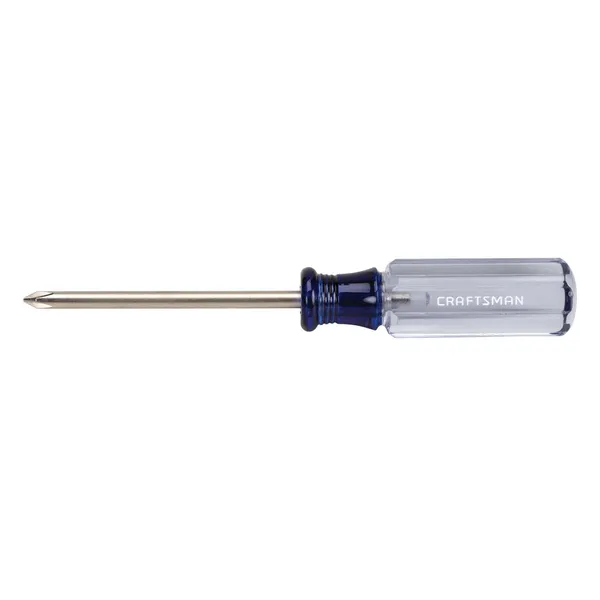
Phillips head screwdriver
This is a type of screwdriver that has a cross-shaped tip.
Husky Assorted Size Parts Organizer Pouch Bag Set HD25200-TH
The Husky 3-Pack Organizers includes 3 different sizes to help with job site or personal organization. Mesh windows in each to help view contents. Constructed of 1680 denier, long-lasting material for
Blaster 11 oz. PB Penetrating Oil 16-PB-DS
The #1-selling penetrant since 1957, PB B'laster, is back with the new and improved B'laster ProStraw. The same legacy formula that quickly loosens rusted or frozen parts now offers Control Flow Technology.
Steps

Preparation and Water Shut-off
20 minsBegin by shutting off the water supply to the entire house using the main shutoff valve, typically located in a basement, crawlspace, or near the water meter. Open a faucet on the lowest level of the house (like a basement sink) and the shower faucet itself to drain any remaining water from the pipes. Place a drop cloth on the floor of the shower or tub to protect the surface from scratches and debris. Gather all necessary tools and materials for the project and stage them nearby.

Remove Old Trim
15 minsCarefully remove the shower handle, which is often secured by a small set screw requiring an Allen wrench. Once the handle is off, unscrew the faceplate, also known as the escutcheon, from the wall. There may also be a sleeve or tube behind the escutcheon that needs to be removed. Keep all screws and small parts together in a safe place.

Create Tile Access Opening
60 minsThis is the most critical and delicate step. Measure the escutcheon plate of the NEW valve. Mark a cutting area on the tile that is slightly smaller than the new plate so it will cover the hole. If possible, align your cuts with existing grout lines. Put on your safety glasses, dust mask, and hearing protection. Use an angle grinder equipped with a diamond blade to slowly and carefully cut along your marked lines. Once the tile is cut, use a hammer and a small chisel to gently tap out the cut tile piece(s). Then, cut and remove the backer board behind the tile to fully expose the old valve and surrounding pipes.

Remove Old Shower Valve
45 minsWith the valve exposed, identify the hot inlet, cold inlet, shower riser (to showerhead), and tub spout outlet pipes. Take a photo for reference. Using a compact tubing cutter, cut each of the copper pipes connected to the old valve. Make your cuts in a straight, accessible section, leaving as much pipe as possible to work with for the new installation. Once all pipes are cut, unscrew or pry the old valve body from the wood stringer it's mounted to inside the wall and remove it.

Prepare and Dry-Fit New Valve
45 minsPrepare the cut ends of the existing copper pipes. Use a deburring tool to smooth the inside edge of each pipe, then thoroughly clean the outside of the pipes (about 1 inch from the end) with sand cloth or a fitting brush until they are bright and shiny. Do the same for the inside of the new copper fittings. Temporarily assemble the new valve with any necessary couplings and pipes (this is called 'dry-fitting'). Use the manufacturer's included plaster guard or template to position the valve at the correct depth relative to the front surface of the tile. Secure the valve to the wood stringer in the wall with screws.

Solder New Valve
60 minsRemove the plastic cartridge from the new valve body to protect it from heat damage. Place a flame shield behind the work area to protect the wood studs. Apply a thin, even layer of flux to the cleaned ends of the pipes and the inside of the fittings. Assemble the joints. Using a propane torch, heat the fitting (not the pipe) evenly. Touch the lead-free solder to the joint on the side opposite the flame. When the joint is hot enough, the solder will be drawn into the gap, creating a seal. Repeat for all connections. Allow the joints to cool completely without being disturbed.

Leak Test
20 minsRe-install the valve cartridge you removed before soldering. Ensure the hot/cold orientation is correct. With the shower valve in the 'off' position, go to the main shutoff and turn the water back on SLOWLY. Return to the shower and use a flashlight to meticulously inspect every new solder joint for any signs of dripping or weeping. If all joints are dry, turn the shower valve on to test its function and to pressurize the outlet connections. Check again for leaks. If any leak is found, you must shut off the water, drain the system, and re-solder the faulty joint.

Repair the Wall
40 minsOnce you are certain there are no leaks, you can repair the wall. Cut a piece of cement backer board to fit the opening you created. Secure this patch to the wood studs using corrosion-resistant cement board screws. To ensure the shower remains waterproof, apply a liberal coat of a liquid waterproofing membrane over the entire patch, extending a few inches onto the surrounding existing backer board. Pay special attention to covering all seams and screw heads.

Install New Tile
30 minsAfter the waterproofing membrane has fully cured (check manufacturer's instructions), mix a small batch of thin-set mortar to a peanut butter-like consistency. Apply the mortar to the backer board patch using the flat side of a notched trowel, then comb it with the notched side to create even ridges. Firmly press your replacement tile(s) into the mortar with a slight twisting motion. Use tile spacers to maintain consistent grout lines that match the rest of the wall. Allow the mortar to cure for at least 24 hours before proceeding.

Grout and Seal
30 minsRemove the tile spacers. Mix your grout according to the package directions. Apply the grout diagonally across the tile joints using a grout float, pressing it firmly into the gaps. After about 15-30 minutes, use a damp grout sponge to wipe the excess grout off the tile surface. Let the grout cure for the manufacturer-recommended time (typically 24-72 hours). Once cured, apply a grout sealer to the new grout lines to protect them from moisture and staining. Finally, apply a bead of 100% silicone caulk around the perimeter of the new escutcheon plate where it will meet the tile.

Install New Trim and Final Test
20 minsWith the wall fully repaired, you can install the new shower trim. Slide the escutcheon plate over the valve and secure it to the valve body with the provided screws. The bead of silicone caulk you applied should create a nice seal behind it. Install any sleeves or adapters per the manufacturer's instructions. Finally, attach the new handle and tighten its set screw. Turn the water on and perform a final test of the valve, checking for proper hot and cold operation and a smooth feel.
Common Problems
If you find a leak, turn off the water supply before attempting to tighten or fix the connection.
Solution: To avoid this issue: Be mindful of this warning and take appropriate precautions.
Sudden water shut-off causes pipes to bang and potentially break.
Solution: Turn the water back on slowly to avoid a 'water hammer' effect, which can damage pipes.
Do not touch the joint until it has fully cooled, as it will be extremely hot and can cause severe burns.
Solution: To avoid this issue: Be mindful of this warning and take appropriate precautions.
Ignoring leak checks can lead to hidden water damage behind the tile.
Solution: A thorough leak check under full water pressure is the most important final step to prevent future water damage.
Air and water surges can damage the new shower valve cartridge.
Solution: Opening other faucets first helps prevent a surge of air and water from damaging the new cartridge.
Valve won't function if tub drop outlet isn't 1/2" copper.
Solution: The tub drop outlet must be 1/2' copper pipe for the valve to function properly.
Incorrect valve placement leads to showerhead being too high or too low.
Solution: The center of the valve should be positioned 32 inches from the tub floor.
Frequently Asked Questions
What specialized tools are essential for safely replacing the shower valve and repairing the tiled wall?
You'll need a tubing cutter (like the RIDGID 104) to precisely cut existing pipes and a high-intensity propane torch (Flame King FK4500CGA) with lead-free solder (Oatey Safe Flo) for connections. For tile work, a QEP grout float for finishing and a pry bar (Stanley 55-515K) for tile removal are helpful. Don't forget safety glasses and gloves.
What critical safety steps should I follow, especially when dealing with water and soldering in a bathroom?
Always shut off your home's main water supply before beginning to prevent flooding. When soldering, ensure excellent ventilation by opening windows or using a fan, and have a fire extinguisher or a bucket of water readily available. Wear appropriate personal protective equipment like safety glasses and heavy-duty gloves.
How long does this project typically take, what's the estimated cost, and is it truly intermediate difficulty for a DIYer?
This project is rated intermediate and can realistically take 1-2 full days, especially allowing for proper drying and cure times for grout and caulk. Costs can range from $100-$300+ for a new valve, plumbing parts, and tile repair materials, not including tools you may need to purchase. It requires patience and attention to detail.
What are the most common mistakes DIYers make during a shower valve replacement, and how can I avoid them?
A common mistake is not fully shutting off water or not performing thorough leak tests, leading to hidden leaks. Another is improper soldering, which can also cause future failures; practice on scrap pipes first. Ensure the new valve is properly aligned and secured before making final connections, and test rigorously.
If I'm uncomfortable with soldering, are there alternative connection methods for installing the new valve?
Yes, you can often use press-fit connectors, such as SharkBite fittings, or PEX crimp connections, which eliminate the need for a torch. These alternatives can simplify the plumbing work but may require specific tools like a PEX crimper or careful pipe preparation to ensure leak-free connections. Always check local plumbing codes.
When and how should I thoroughly test for leaks to ensure the new valve is properly installed before repairing the wall?
Perform your primary leak test immediately after connecting the new valve, before patching the wall. Turn the main water supply back on slowly and meticulously inspect all new connections with a bright flashlight (like the NITECORE P20iX) for any drips or seepage over 15-30 minutes. A second check is recommended after the trim is installed.


