
How to Replace a Cast Iron Toilet Flange with PVC
About This Project
This project involves the complete removal of an old, likely broken or leaking, cast iron toilet flange and replacing it with a modern, more durable PVC compression-style flange. The process includes removing the toilet, demolishing the old flange, cleaning the cast iron drain pipe, and installing the new flange before reinstalling the toilet and testing for leaks. This guide assumes the cast iron drain pipe itself is in good condition and the work is being performed on a solid wood subfloor from above.
Best for advanced DIYers and professionals with basic plumbing knowledge and familiarity with power tools. Requires HDX Over the Glass Indoor Safety Glasses VS-265 and Husky Large Heavy Duty Glove 67812-06 and 3M 6311 P95 Reusable Large Paint Project Respirator 6311PA1-A.
Tools & Materials
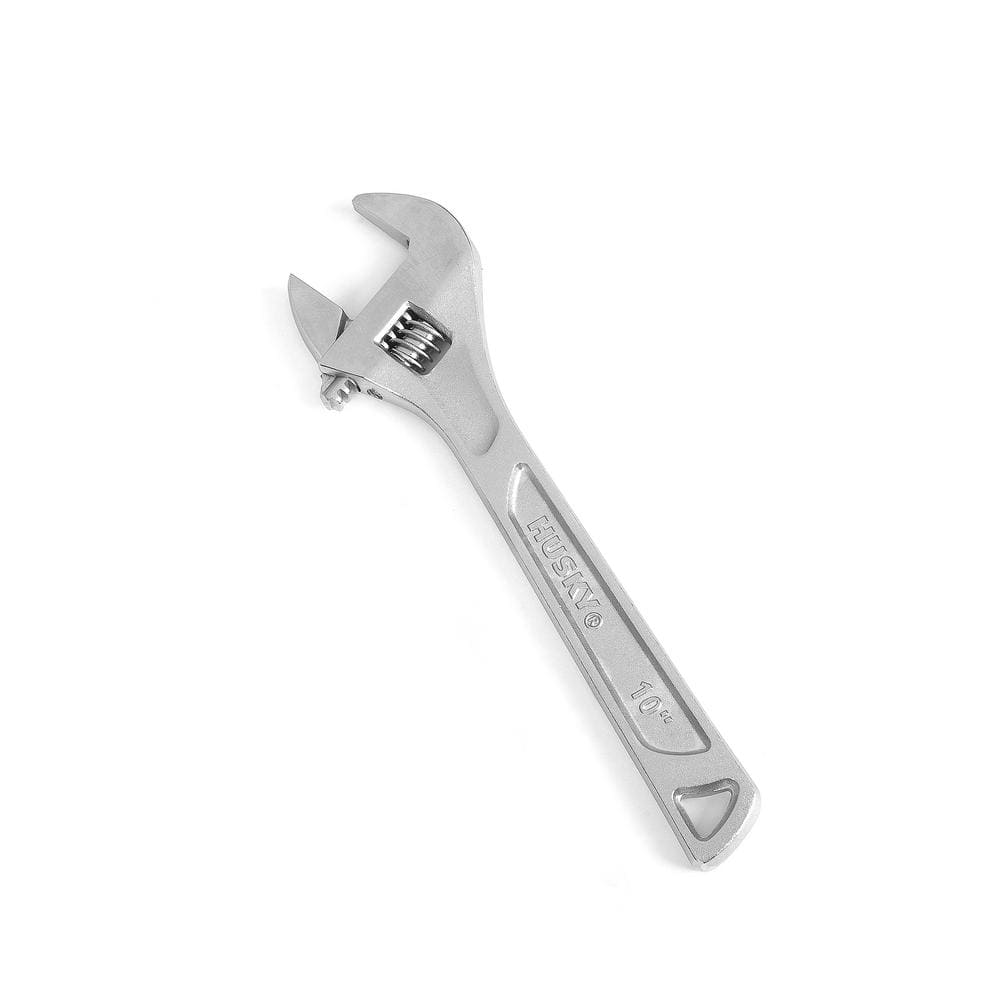
Husky 10 in. Adjustable Wrench 90129
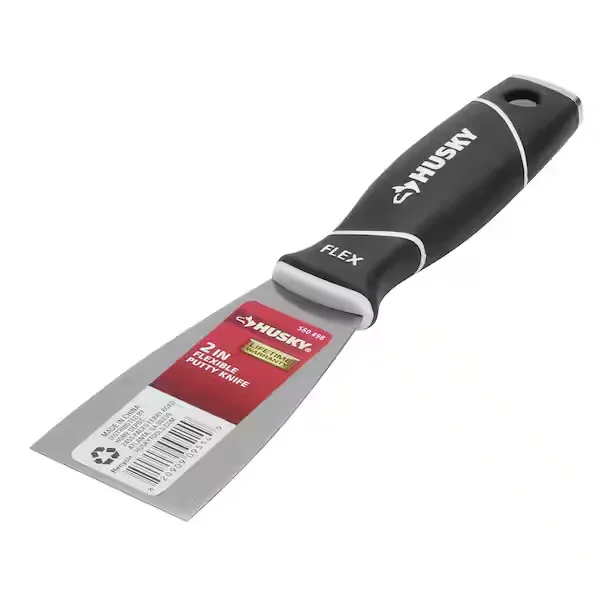
Putty knife

Bucket

HDX Multi-Purpose Sponge (2- Sponges) 32242
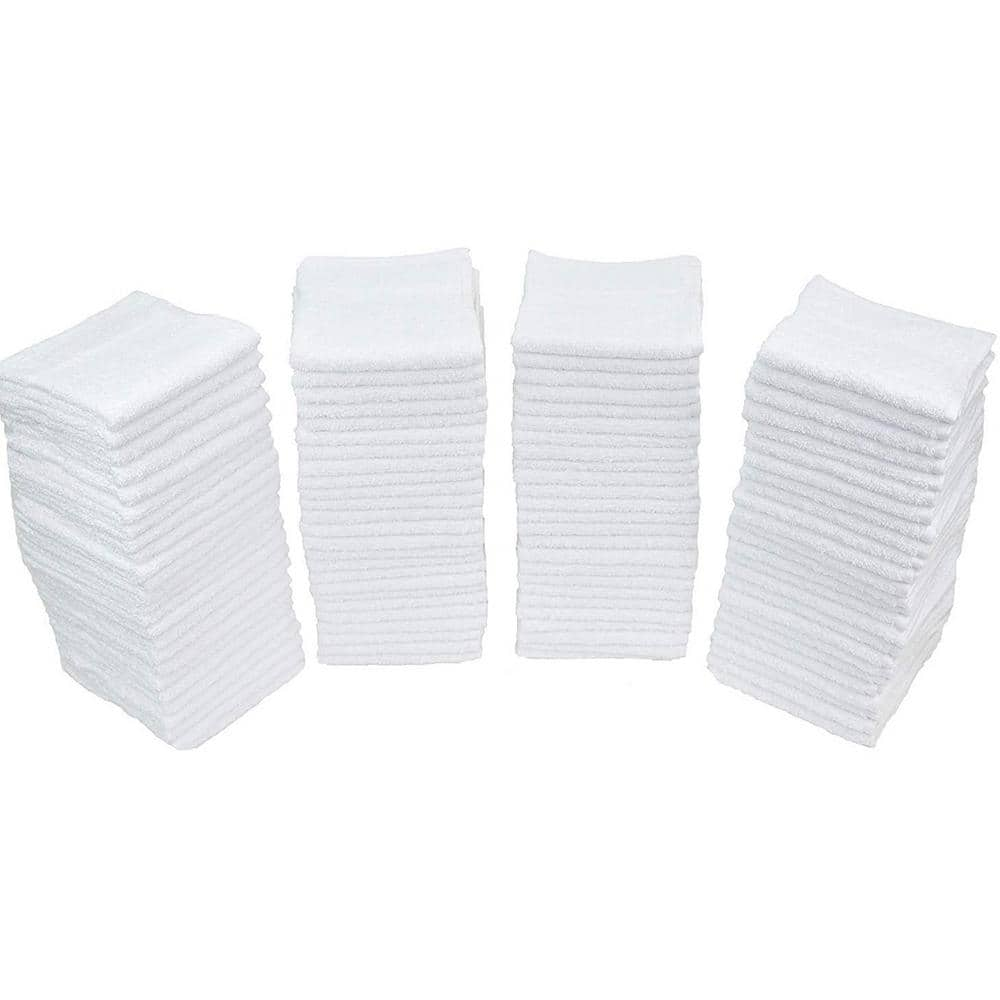
THE CLEAN STORE Cleaning Terry Towels (50-Pack) 171
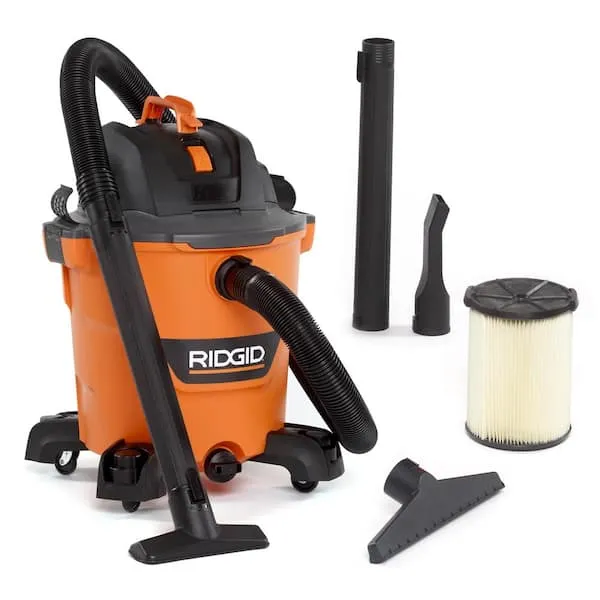
Wet-Dry Vacuum
Husky 10 in. Adjustable Wrench 90129
The Husky 10 in. Adjustable Wrench features a durable, comfortable handle. A large knurl allows for easy adjustment and a tight-fitting hex jaw design reduces slippage and tightly grips the fastener for
Putty knife
Spreads putty with its flat blade.
Bucket
Ideal for carrying or storing liquids.
HDX Multi-Purpose Sponge (2- Sponges) 32242
HDX Hydrophilic Sponge 7.25 in. x 5 in. x 1.875 in. (2-Pack) highly absorbent, the HDX Sponge washes, wipes, and rinses faster. Strong enough for use with acid based products like TSP. Heavy-duty polyester
THE CLEAN STORE Cleaning Terry Towels (50-Pack) 171
Bulk Pack with 50 Towels is Ideal for Commercial Businesses, Home, Restaurants, Offices and More, Towels are Size: 12 in. x 12 in. Offers an Ideal Solution for Restaurants, Hotels, Bars, Home, Offices,
Wet-Dry Vacuum
Handles both wet and dry messes.
Steps
Preparation and Toilet Removal
30 minsBegin by preparing the work area. Turn off the water supply to the toilet using the shut-off valve on the wall behind it. Flush the toilet to empty the tank and bowl. Use a sponge and bucket to remove any remaining water from both the tank and the bowl. Disconnect the water supply line from the toilet tank. Finally, use a putty knife to pry off the bolt caps at the base of the toilet, and use an adjustable wrench to remove the nuts from the closet bolts. Rock the toilet gently to break the wax seal, then lift it straight up and set it aside on old towels or cardboard.

Expose and Assess Old Flange
15 minsWith the toilet removed, use a putty knife to scrape all the old wax from the top of the cast iron flange. Use a shop vac to clean up the wax and any other debris. Thoroughly inspect the flange and the point where it connects to the pipe. Confirm that it is a lead and oakum joint inside the pipe hub and assess the extent of the damage to the flange ring. This is the final check before beginning demolition.

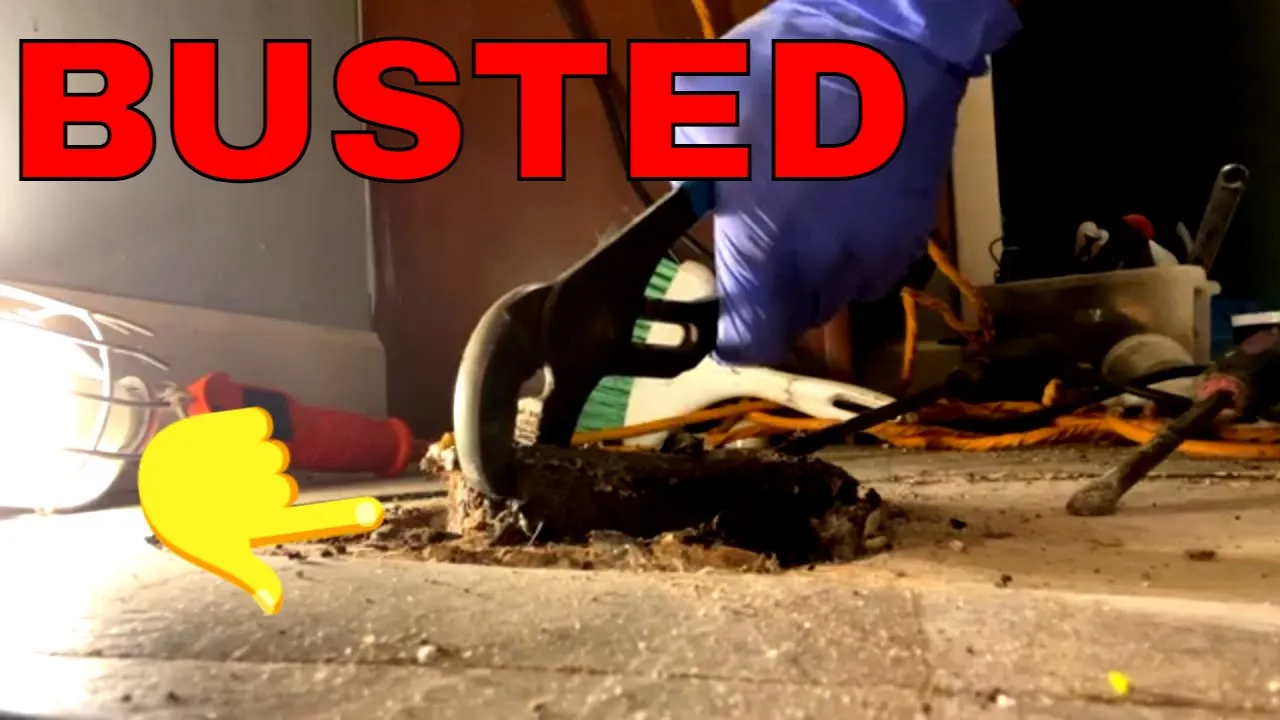
Break and Remove Old Cast Iron Flange
1 minThis step requires force and caution. Put on your safety glasses and heavy-duty gloves. Place the tip of the cold chisel on the top ring of the cast iron flange, angled away from the center drain pipe. Strike the end of the chisel firmly with a hammer or small sledgehammer. Reposition the chisel and repeat, working your way around the flange to create score lines. The brittle cast iron will eventually crack and break apart. Use a pry bar to lift and remove the broken pieces. Be extremely careful not to hit or damage the main cast iron drain pipe.

Remove the Lead and Oakum Seal
1 minWith the flange ring removed, you must now remove the old seal. You will see a ring of soft, dull gray lead inside the pipe hub. Carefully drill a series of small, shallow holes into this lead ring, being cautious not to drill too deep and hit the cast iron pipe wall. Once the lead is perforated, use a flathead screwdriver or the cold chisel to pry up a section of the lead ring. Use pliers to grab the lead and peel it out of the joint. Below the lead, you'll find a tarred, rope-like material called oakum. Use needle-nose pliers or a screwdriver to pull all of the oakum out of the joint. Vacuum all debris from the area.

Clean and Prepare the Cast Iron Pipe
20 minsOnce all the lead and oakum are removed, the inside surface of the cast iron pipe hub must be thoroughly cleaned. Use a wire brush—either a handheld version or a drill attachment—to scrub the inside of the hub. The goal is to remove any remaining residue, corrosion, or debris to create a smooth, clean surface for the new flange's rubber gasket to seal against. Use the shop vac to remove all the dust and particles created by the brushing.

Dry Fit the New PVC Flange
10 minsBefore final installation, perform a dry fit. Take the new PVC compression flange and insert it into the cleaned cast iron pipe hub. Push it down until the flange base rests on the finished floor. Use a level to check that it sits flat. Confirm that the top surface of the flange is level with or slightly above the finished flooring. If the pipe is too low, you may need a flange extender kit. If it's too high, the project becomes much more complex. This dry fit ensures you won't have height issues after the final installation.

Install the New PVC Flange
15 minsRemove the flange from the dry fit. Ensure the rubber gasket is properly seated on the flange. Insert the flange back into the cast iron pipe, pressing it down firmly until it rests on the floor. Use a wrench or socket set to begin tightening the compression bolts on top of the flange. Alternate between the bolts, tightening each one a little at a time, similar to tightening lug nuts on a wheel. This ensures the rubber gasket expands evenly against the inside of the cast iron pipe, creating a strong, watertight seal. Tighten until snug and the flange feels secure. Do not overtighten.

Secure the Flange to the Subfloor
15 minsWith the flange sealed to the pipe, it must now be anchored to the subfloor. Position the flange so the closet bolt slots are parallel to the back wall. Use a drill with a small bit to drill pilot holes into the wood subfloor through the screw holes in the flange ring. Then, drive corrosion-resistant screws (stainless steel is best) through the flange and into the subfloor until the flange is held down firmly. This prevents the toilet from rocking and breaking the wax seal over time.

Reinstall the Toilet
30 minsRemove the rag from the drain pipe. Insert new closet bolts into the slots on the flange, with the long threaded end pointing up. Place a new wax ring directly on the flange, centered over the opening, or onto the horn on the underside of the toilet. Carefully lift the toilet, align the holes in its base with the closet bolts, and lower it straight down onto the flange. Press down firmly with a slight twisting motion to compress and seat the wax ring. Place the washers and nuts onto the closet bolts and tighten them, alternating from side to side, until the toilet is stable and does not rock. Do not overtighten.

Final Connections and Testing
15 minsReconnect the water supply line to the bottom of the toilet tank, hand-tightening first and then giving it a final quarter-turn with a wrench. Turn the water shut-off valve back on slowly and check for leaks at the connection point. Allow the tank to fill completely. Flush the toilet several times. Use a flashlight and paper towels to carefully inspect the base of the toilet all the way around for any signs of water seepage. If it remains dry after several flushes, the installation is successful. You can then use a hacksaw to cut off the excess length of the closet bolts and snap on the decorative caps.
Common Problems
Flange below floor level causes leaks.
Solution: Use a reinforced or extra-thick wax ring if the flange is slightly below floor level.
Toilet bolts shift during toilet installation.
Solution: The retaining washers are crucial for keeping the bolts from moving as you lower the toilet onto them.
New mounting holes won't align with existing flange or subfloor.
Solution: If the mounting holes on the spacer don't align with a solid part of the old flange or subfloor, you may need to drill new pilot holes for your screws.
Do not overtighten the screws, as this could crack the repair ring or damage the subfloor.
Solution: To avoid this issue: Be mindful of this warning and take appropriate precautions.
Apply firm, even pressure to ensure the wax fully seals any gaps.
Solution: To avoid this issue: Be mindful of this warning and take appropriate precautions.
Over-tightening band clamps can crack or crush the PVC coupling.
Solution: Do not over-tighten the band clamps, as this can damage the coupling. They should be snug enough to prevent leaks.
Be careful when using a screwdriver not to puncture or tear the rubber donut.
Solution: To avoid this issue: Be mindful of this warning and take appropriate precautions.
Frequently Asked Questions
How difficult is replacing a cast iron toilet flange with PVC, and how long should I expect it to take?
This project is rated as intermediate. While it doesn't require specialized plumbing skills, removing the old cast iron and lead/oakum seal can be physically demanding and time-consuming. Expect it to take anywhere from half a day to a full day, especially if you encounter unexpected issues like a stubborn old flange.
What specialized tools are absolutely essential for removing the old cast iron flange and its lead/oakum seal?
Beyond basic household tools, you'll definitely need a cold chisel and a hammer for breaking up the old cast iron and carefully removing the lead/oakum seal. A shop vacuum is also crucial for quickly cleaning up debris and ensuring the cast iron pipe is spotless before installing the new flange.
What are the most important safety precautions I should take when demolishing the old cast iron flange and seal?
Always wear heavy-duty safety glasses to protect against flying fragments and a respirator (like the Honeywell R95) to avoid inhaling dust and potential lead particles from the old seal. Heavy-duty gloves are also essential to protect your hands from sharp edges and the demolition tools.
What's a common mistake when installing the new PVC compression flange, and how can I avoid it?
A common mistake is not thoroughly cleaning and deburring the inside of the cast iron pipe after removing the old flange. Any rough edges, rust, or debris can compromise the compression seal of the new PVC flange, leading to leaks. Ensure the pipe's interior is smooth and completely clean for a watertight fit.
What should I do if I discover the main cast iron drain pipe itself is cracked or severely corroded during the removal process?
If the main cast iron drain pipe is compromised beyond just the flange, a simple flange replacement won't solve the issue. You may need to cut out the damaged section and connect a new PVC section using a no-hub coupling. This significantly increases the project's complexity and may require professional plumbing assistance.
Why is a compression-style PVC flange recommended for replacing cast iron, and what should I look for when purchasing one?
A compression-style PVC flange, such as the Flexon PB-204, is recommended because it creates a secure, watertight seal by compressing a rubber gasket against the inside wall of the existing cast iron pipe. Look for a flange specifically designed for 4-inch cast iron pipes that features a robust rubber compression gasket and a stainless steel clamp for durability.
What's the best technique for removing the old lead and oakum seal without damaging the existing cast iron pipe?
Carefully use a cold chisel and hammer, working slowly around the perimeter of the pipe to break up and pry out sections of the lead and oakum. Apply controlled force to lift the seal outwards rather than driving the chisel straight down, which could crack the cast iron. Patience and precision are key to avoiding damage.


