How to Replace a Shower Head and Handle: A Step-by-Step DIY Guide
About This Project
This DIY guide demonstrates how to replace a shower head and handle. First, turn off the water supply using the shut-off valves. Next, remove the old shower head with an adjustable wrench, turning counter-clockwise. If it's difficult to remove, try using penetrating oil. Then, remove the handle and trim, which might require unscrewing a retaining screw or cap and using a putty knife to carefully remove any silicone seals. After this, install the new handle following the manufacturer's instructions. This typically involves aligning tabs and tightening screws. Finally, turn the water back on and check for leaks. If any leaks are found, tighten connections or reapply Teflon tape as needed and retest.
Best for experienced DIYers and homeowners with some experience.
Tools & Materials

Husky 12 in. Adjustable Wrench 90933
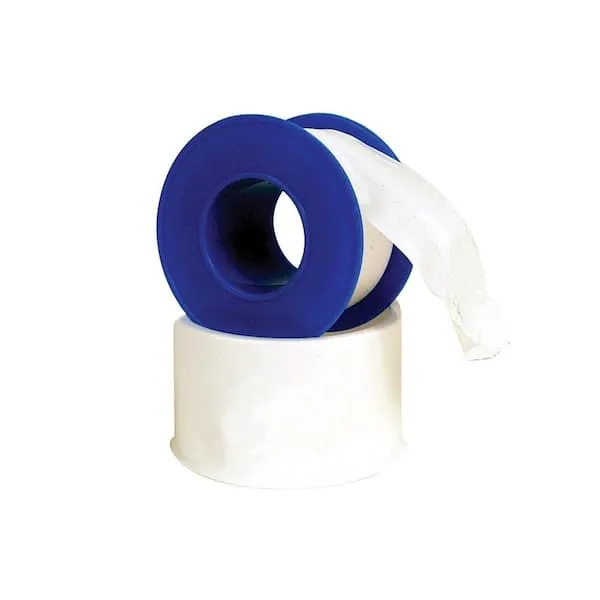
Teflon Tape
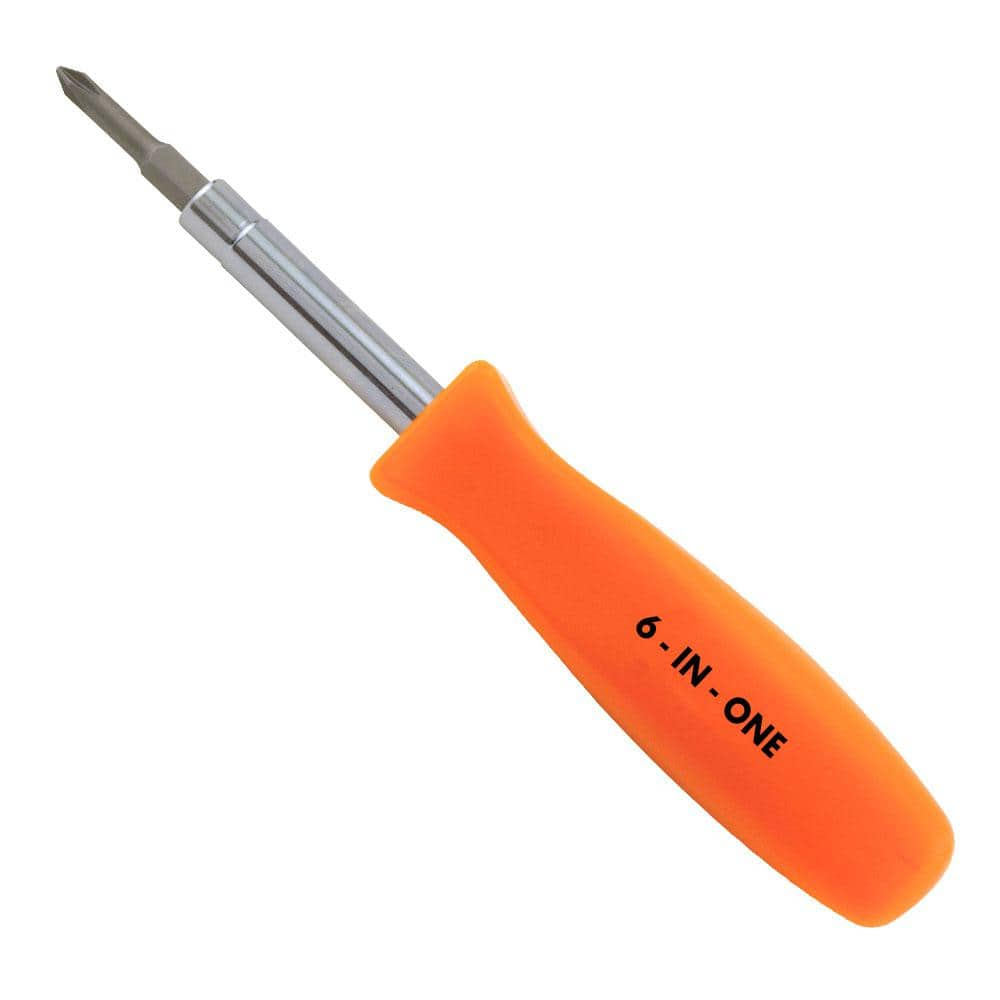
HDX 3-1/4 in. 6-in-1 Screwdriver 120SD12D
Husky 12 in. Adjustable Wrench 90933
The Husky 12 in. Adjustable Wrench features a durable, comfortable handle. A large knurl allows for easy adjustment and a tight-fitting hex jaw design reduces slippage and tightly grips the fastener for
Teflon Tape
Seals pipe threads without leaks.
HDX 3-1/4 in. 6-in-1 Screwdriver 120SD12D
The HDX 3-1/4 in. 6-in-1 Screwdriver features double-sided bits with the four most common screwdriver tip styles, including a #1 Phillips bit, a #2 Phillips bit, a 3/16 in. flathead bit and a 1/4 in. flathead bit. Both ends of the shaft can be used as 1/4 in. nut drivers when the bits are removed, offering convenient, versatile use. The high-visibility orange handle makes the handy tool easy to find on a job site or in a toolbox.
Steps

Shut Off the Water Supply: Preventing Leaks Before You Begin
5 minsBefore starting, completely shut off the water supply to your shower. Locate the shut-off valves near the shower or at your main water supply panel. Turn the valves clockwise to stop the water flow. Double-check that the water is off by attempting to run water from the shower or a nearby faucet.
Watch: Turn Off Water Supply
Remove the Old Shower Head: A Step-by-Step Guide
15 minsUse an adjustable wrench to carefully remove the old shower head. Turn the wrench counter-clockwise to loosen the shower head from the shower arm. If it's stubborn, apply a penetrating oil like WD-40 to help loosen it before attempting to remove it again. Once removed, inspect the shower arm's threads for any damage.
Watch: Remove Old Shower Arm
Remove and Install the Shower Handle: Simple Steps for Success
30 minsTo remove the handle, you may need to unscrew a retaining screw or cap. After removing the screw(s) or cap, carefully pull the handle off. Install the new handle by following the manufacturer's instructions. This may involve aligning tabs and tightening screws.
Watch: Remove Faucet Handle
Check for Leaks: Ensuring a Watertight Seal
5 minsCarefully turn the water supply back on. Thoroughly inspect all connections for any signs of leaks. If leaks are present, immediately turn the water off again and re-tighten connections or reapply plumber’s tape. Repeat the leak test until all connections are watertight.
Watch: Testing and Troubleshooting LeaksCommon Problems
Use a thin-bladed tool and be gentle to avoid breaking the plastic clips on the cap.
Solution: To avoid this issue: Be mindful of this warning and take appropriate precautions.
Stuck screw prevents handle removal.
Solution: If the screw is stuck, try using penetrating oil to loosen it.
Lost set screw prevents reattaching the shower handle.
Solution: Keep the small set screw in a safe place so it is not lost during the repair.
Lost screws and caps during shower head replacement make reassembly impossible.
Solution: Put the caps and screws in a safe place so they are not lost.
Prying off the cap without the notch can scratch or break the handle.
Solution: Use the small notch on the side of the cap to easily pry it off without damaging the handle.
Do not leave the area unattended immediately after turning the water back on. Stay and observe the new fittings for several minutes.
Solution: To avoid this issue: Be mindful of this warning and take appropriate precautions.
The project ends with an unresolved leak. The rubber gasket on the drain was not sufficient. To fix this, the drain must be disassembled and reinstalled using plumber's putty under the drain flange for a watertight seal.
Solution: To avoid this issue: Be mindful of this warning and take appropriate precautions.
Frequently Asked Questions
Do I absolutely need specific tools like an adjustable wrench and 6-in-1 screwdriver, or can I use alternatives?
An adjustable wrench is highly recommended for proper leverage and grip on the shower head, reducing the risk of stripping. The 6-in-1 screwdriver covers various screw types for the handle. Penetrating oil is also a very helpful addition for stuck parts.
The project says 'beginner' and '2 hours.' Is that realistic for someone with no plumbing experience?
Yes, this project is generally beginner-friendly if you follow the steps carefully. The 2-hour estimate is realistic, but if old parts are corroded or seized, it might take longer. Patience and preparation are key to success.
What's the best way to deal with a shower head or handle that's seized and won't budge?
For a seized shower head, generously apply penetrating oil to the threads and let it sit for 15-30 minutes before trying the wrench again. For a stuck handle, double-check for hidden set screws or snap-on caps before carefully prying with a putty knife.
I've turned the water back on, and now I have a small leak. What should I check first?
First, ensure all connections, especially those involving the shower arm and new shower head, are tight but not overtightened. If the leak persists, try reapplying new Teflon tape (plumber's tape) to all threaded connections, ensuring a good seal.
What if I can't find the main water shut-off valve for my home, or it's hard to access?
Look for your main shut-off near your water meter, hot water heater, or where the main water line enters your house. If you can't find it, some homes have individual shut-off valves for each bathroom or even the shower itself, usually behind an access panel.
Are all shower handles removed the same way, or should I expect different attachment methods?
Shower handles can vary significantly. Some have a visible screw under a decorative cap, others use a small set screw on the underside, and some simply pull off. Always consult the manufacturer's instructions for your specific new handle, as removal is often the reverse of installation.
What's the most common mistake a beginner makes during this project, and how can I avoid it?
The most common mistake is forgetting to completely shut off the water supply before starting, leading to unexpected leaks. Another is overtightening connections, which can strip threads. Always turn off the water first, and tighten just enough to stop leaks without forcing.