How to Replace a Leaky Toilet Fill Valve: A Step-by-Step DIY Guide
About This Project
This DIY guide demonstrates how to replace a leaky toilet fill valve. Begin by turning off the water supply valve behind the toilet and flushing to empty the tank. Use a sponge to remove any remaining water. Next, disconnect the water supply line from the old fill valve with an adjustable wrench, catching any excess water. Remove the old fill valve by loosening the securing nut and lifting it out. Install the new fill valve following the manufacturer's instructions, ensuring proper nut placement, and reconnecting the water supply line. Adjust the float height for the correct water level. Turn the water supply back on and check for leaks. Finally, flush the toilet several times and adjust the valve on the fill valve to fine-tune the water level.
Best for homeowners and DIY enthusiasts.
Tools & Materials
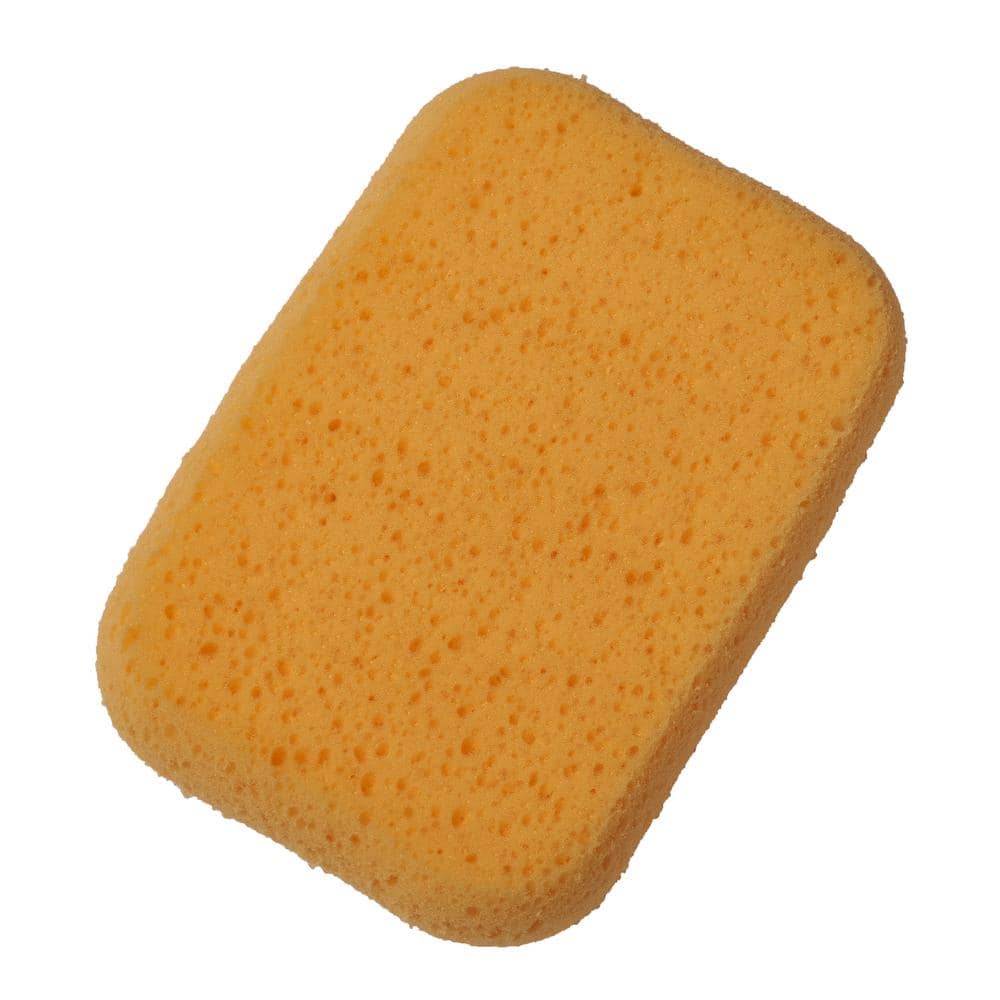
HDX Multi-Purpose Sponge (2- Sponges) 32242

Adjustable Wrench
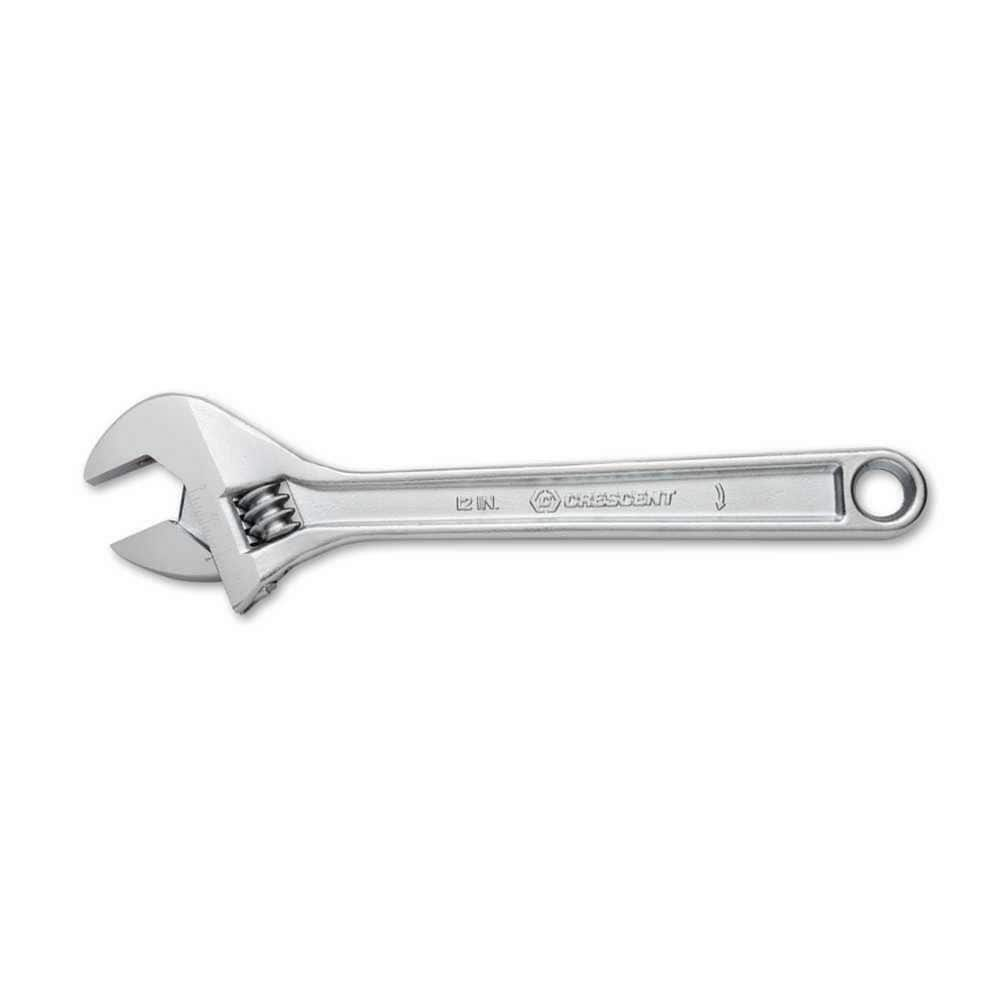
Crescent 12 in. Chrome Adjustable Wrench AC212VS
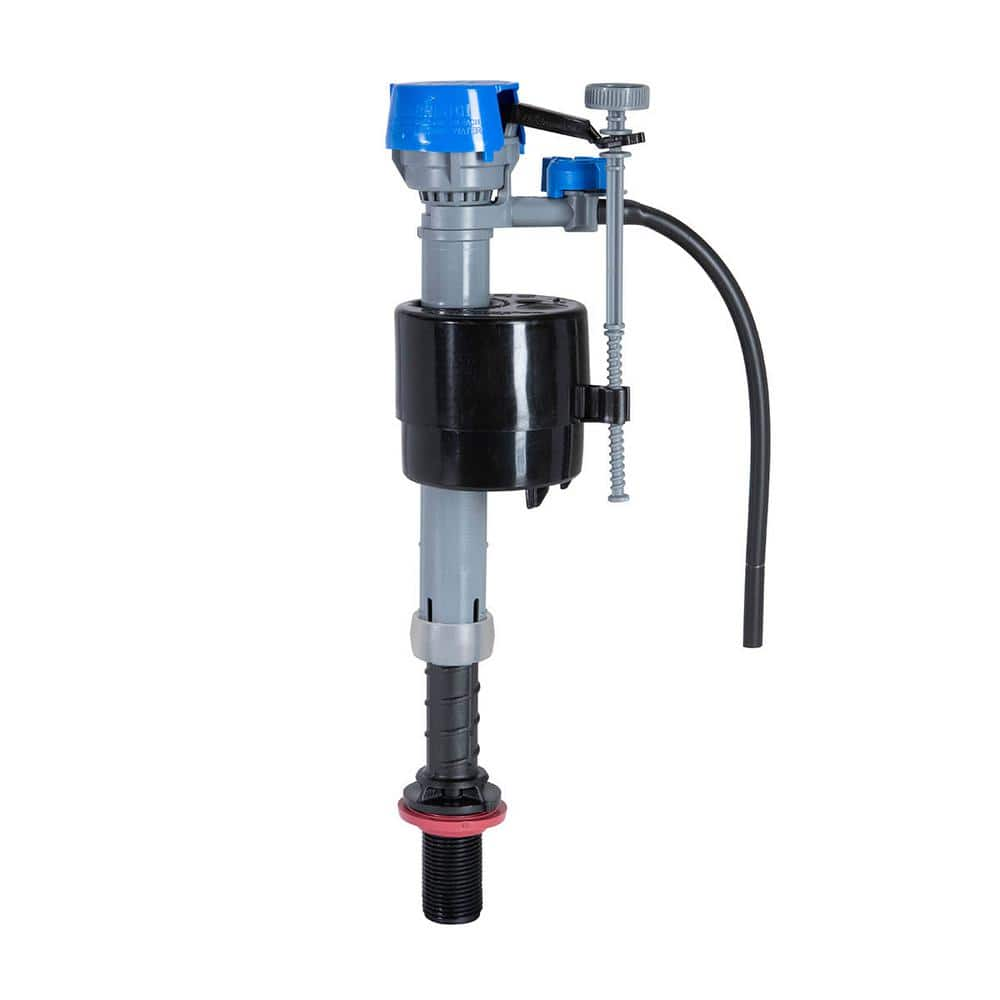
Fluidmaster PerforMAX Universal High Performance Toilet Fill Valve 400H-002-P10
HDX Multi-Purpose Sponge (2- Sponges) 32242
HDX Hydrophilic Sponge 7.25 in. x 5 in. x 1.875 in. (2-Pack) highly absorbent, the HDX Sponge washes, wipes, and rinses faster. Strong enough for use with acid based products like TSP. Heavy-duty polyester
Adjustable Wrench
Fits various nut and bolt sizes with its adjustable jaw.
Crescent 12 in. Chrome Adjustable Wrench AC212VS
Since the introduction of the original Crescent wrench in the early 1900s, the Crescent brand has become synonymous with adjustable wrenches. Crescent Adjustable Wrenches feature a large knurl for easy
Fluidmaster PerforMAX Universal High Performance Toilet Fill Valve 400H-002-P10
The Fluidmaster 400H-002 PerforMAX High Performance Universal Toilet Fill Valve offers the best in toilet fill valve replacement. This fill valve sets the performance standard and features new upgrades
Steps

Prepare Your Toilet for Fill Valve Replacement
5 minsBefore you begin, turn off the water supply valve located behind the toilet. Then, flush the toilet to empty the tank. Use a sponge to soak up any remaining water. This prevents spills and makes the job safer.
Watch: Prepare Toilet for Removal


Install the New Toilet Fill Valve
15 minsInstall the new fill valve, following the manufacturer's instructions. Generally, this involves inserting the valve, securing it with the nut (hand-tighten!), and reconnecting the water supply line. Adjust the float height as needed for the correct water level.
Watch: Prepare the New Fill Valve
Reconnect the Water Supply and Test
5 minsReconnect the water supply line to the new fill valve, tightening the nut securely but not overtightening. Slowly turn the water supply back on. Check carefully for any leaks around the fill valve and the water supply line connection.
Watch: Reconnect the water supply line
Common Problems
Safety concern: Turn off the water supply to the toilet before starting.
Solution: Take proper safety precautions. Turn off the water supply to the toilet before starting.
Prevention: Always follow safety guidelines before starting the project.
Toilet overflows or doesn't fill properly due to incorrect fill valve height.
Solution: Matching the height of the new valve to the old one is a good starting point for proper installation.
Toilet won't fill properly if the fill valve is too low.
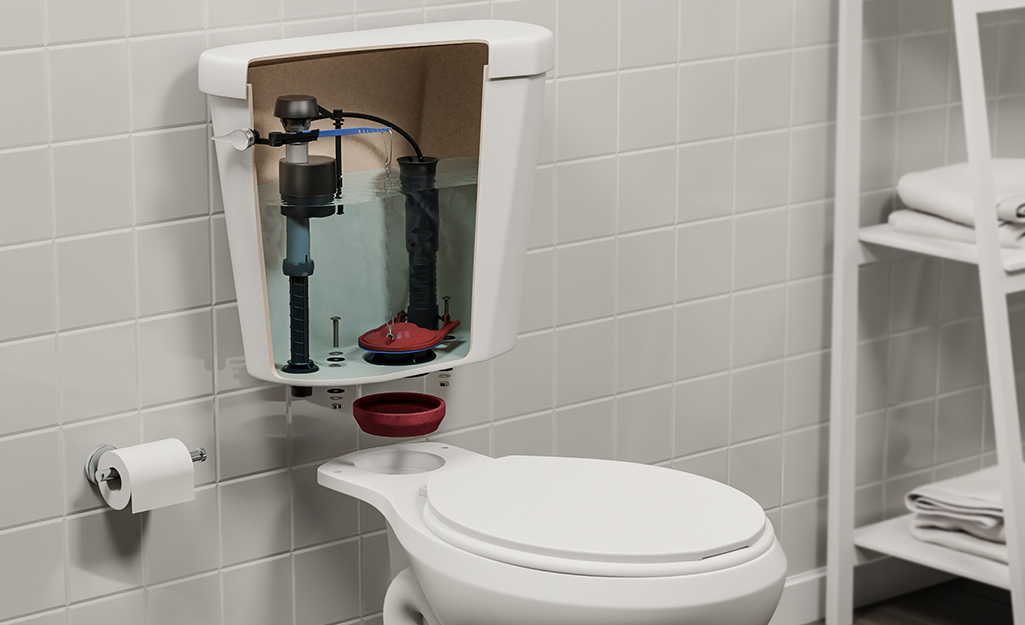
Solution: The top of the fill valve must be set 3 inches above the overflow pipe to function correctly.
Overflow pipe too high causes water to constantly run into the overflow.
Solution: The top of the overflow pipe should be a minimum of 1 inch below the tank lever hole.
Do not over-tighten the plastic lock nut, as this can crack the nut or the toilet tank. Hand-tight is often sufficient.
Solution: To avoid this issue: Be mindful of this warning and take appropriate precautions.
Toilet overflows or doesn't fill properly if fill valve stem height is incorrect.
Solution: Ensure that the new fill valve's stem height is appropriately adjusted before installation
Water spills onto the bathroom floor during toilet repair.
Solution: Placing an old towel on the floor around the toilet can help catch any drips or spills.
Frequently Asked Questions
How long does this project typically take, and is it truly suitable for a beginner?
Replacing a toilet fill valve usually takes 30-60 minutes for most DIYers. It's considered a beginner-level project because it primarily involves basic wrench use, simple removal and installation steps, and clear manufacturer instructions for the new valve.
What should I do if the new fill valve still leaks after installation?
If you notice a leak, first check all connections, ensuring they are hand-tight, then give them an additional quarter turn with the adjustable wrench. Make sure the rubber washer is correctly seated in the fill valve's tailpiece and at the supply line connection. Avoid over-tightening plastic components, which can cause cracking.
Do I need any special tools besides an adjustable wrench, or can I use a different type of wrench?
An adjustable wrench is highly recommended for its versatility, allowing you to loosen and tighten various sized nuts. While some large pliers might work, they can slip and potentially strip plastic nuts. A small bucket or towel is also essential to catch any residual water when disconnecting the supply line.
What are the most important safety precautions to take during this toilet repair project?
Always start by completely turning off the water supply valve behind the toilet to prevent flooding. Flush the toilet to empty as much water from the tank as possible, and then use a sponge to remove any remaining water. This ensures a dry and safe workspace.
My toilet's water level seems too high or too low after installing the new fill valve. How do I fix this?
Most new fill valves have an adjustable float or a height adjustment screw. Consult your new valve's manufacturer instructions to raise or lower the float, which will directly control the water level in the tank. Adjust it so the water is just below the overflow tube but high enough for a good flush.
All fill valves look similar. How do I know I'm buying the right replacement for my toilet?
Most modern fill valves, like the Fluidmaster 400H-002-P10 mentioned, are universal and designed to fit the majority of toilets. The key is to check the height adjustability of the new valve to ensure it will fit within your toilet tank's dimensions and allow for the correct water level. If unsure, you can measure the height of your old valve.