Fix a Toilet Not Flushing: Troubleshooting & Repair
About This Project
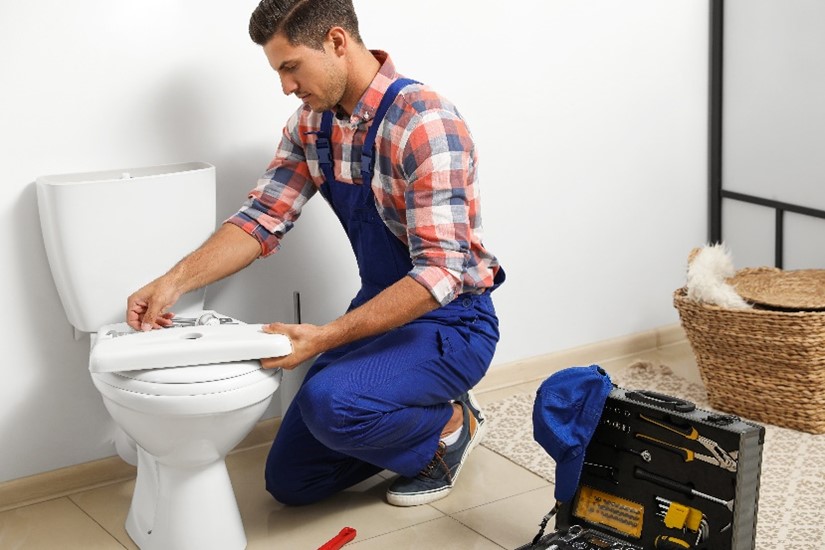
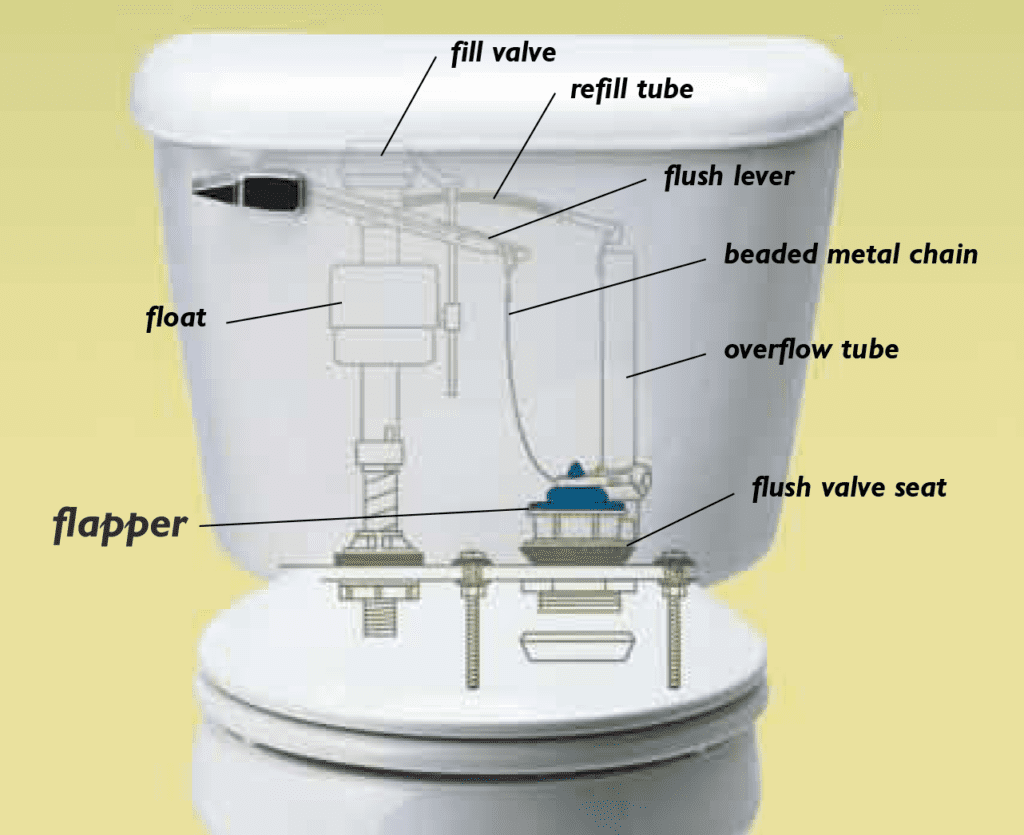
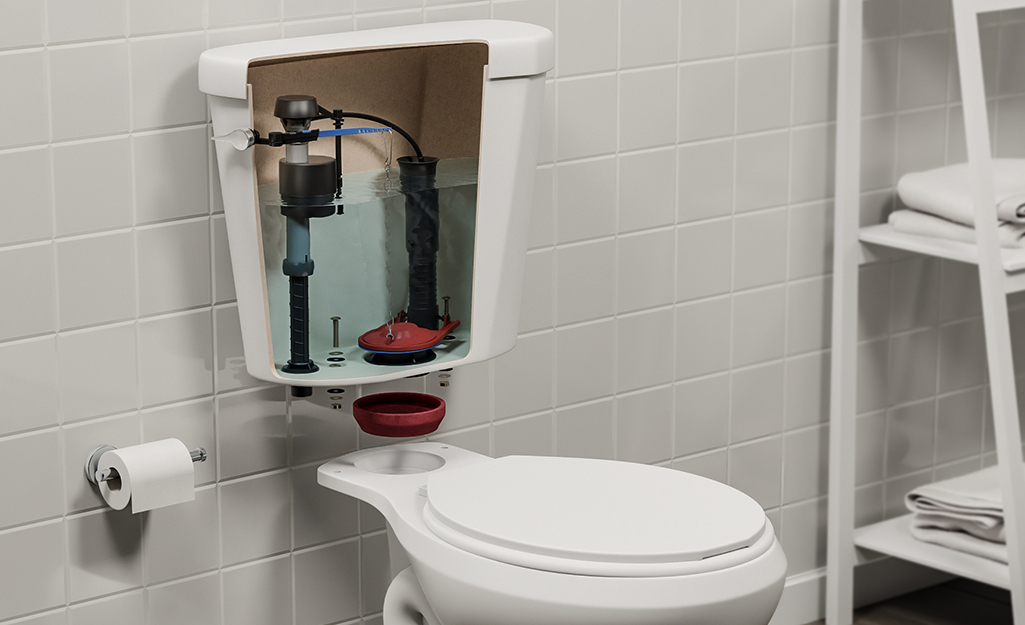
This project details how to fix a toilet that isn't flushing correctly. The first step involves inspecting and potentially replacing the flapper, checking for damage and ensuring a proper seal. Next, the chain connecting the flapper to the trip lever should be checked for proper slack and adjusted if needed. Finally, the water level in the tank should be verified and adjusted via the fill valve to optimize flush strength and water conservation.
Best for experienced DIYers and homeowners with some experience.
Tools & Materials
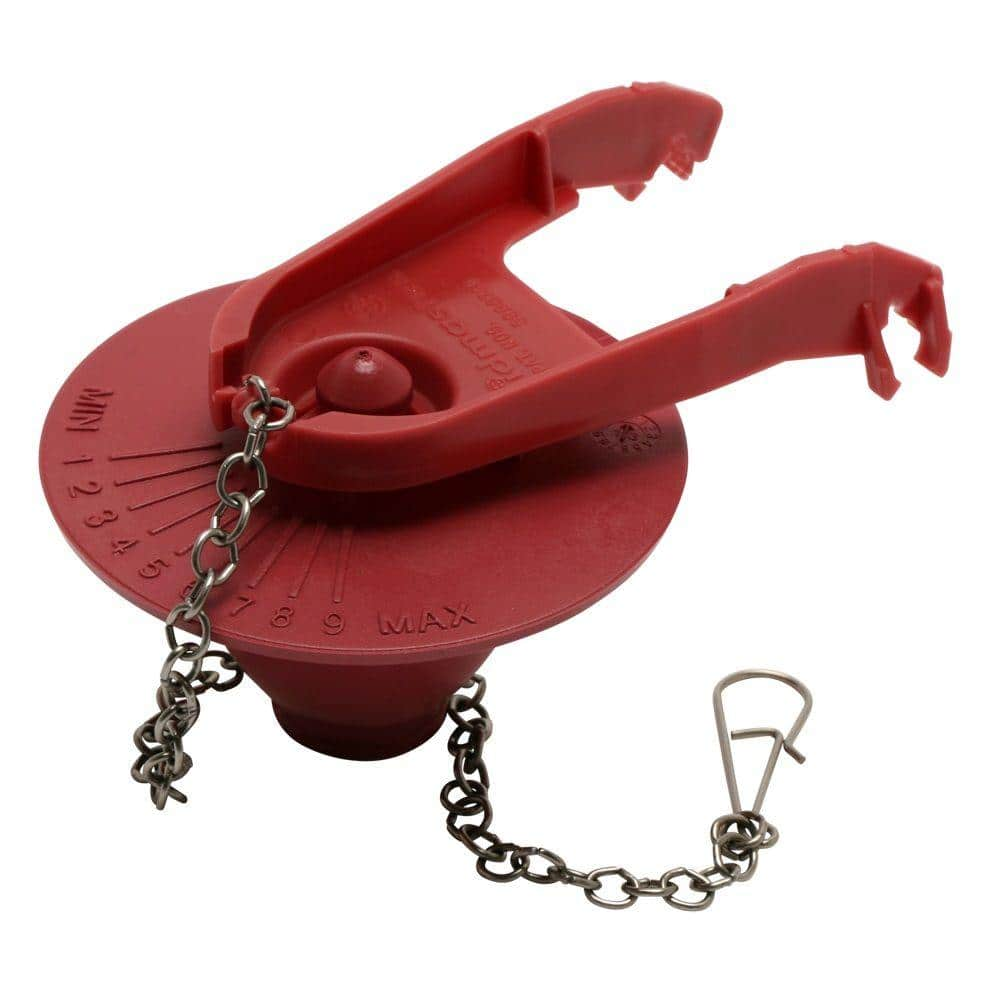
Fluidmaster 2 in. PerforMAX Universal High Performance, Water-Saving Toilet Tank Flapper 502P21
Pliers
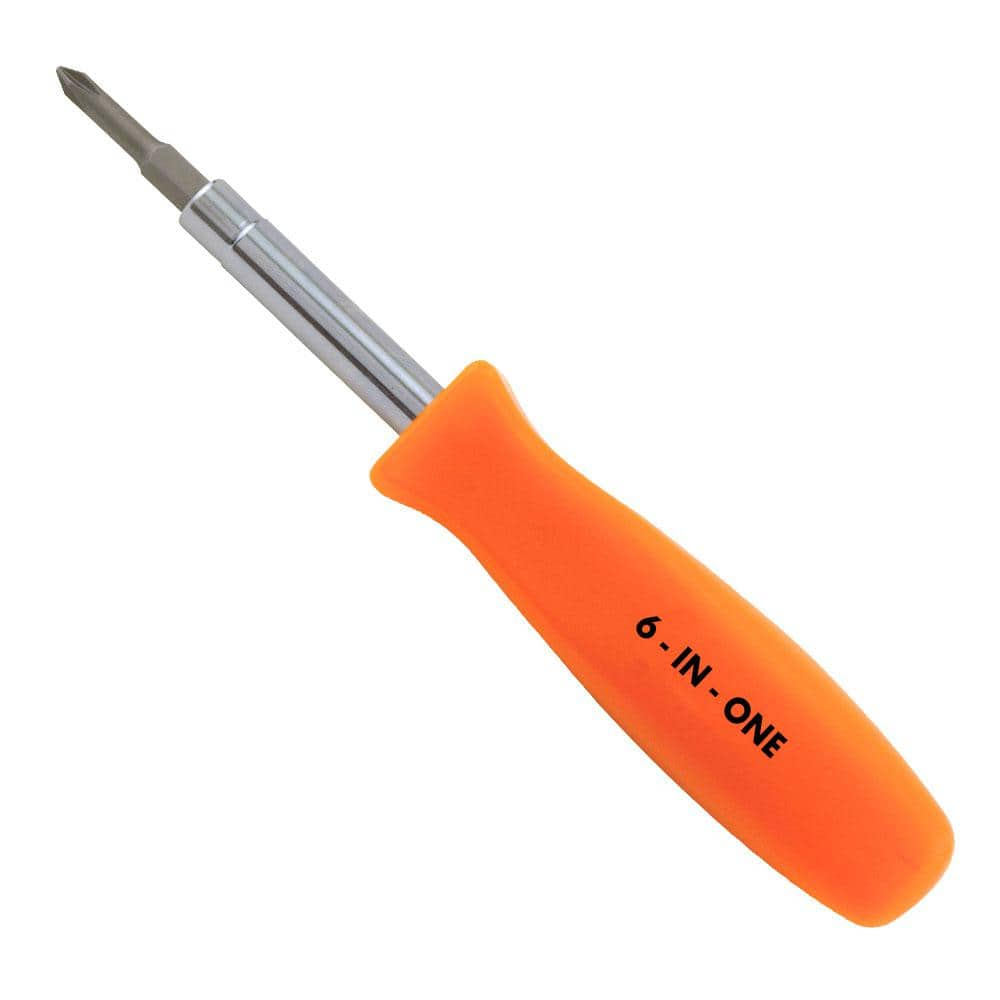
HDX 3-1/4 in. 6-in-1 Screwdriver 120SD12D
Fluidmaster 2 in. PerforMAX Universal High Performance, Water-Saving Toilet Tank Flapper 502P21
The Fluidmaster 502 PerforMAX 2 in. Water-Saving Flapper is a top choice for flush efficiency. Featuring the PerforMAX water-saving adjustable dial to optimize your flush performance and water usage. A toilet flapper built durable, featuring Microban and corrosive resistant materials for a long life. While the solid frame ensures a secure seal with every flush. The universal design fits most 2 in. flush valve toilets, from 1.28 HET to 3.5 GFP designs. A highly effective design that offers simple and easy installation saving on DIY toilet repair time. Save water and money, while solving common flush and running toilet problems with this 2 in. toilet flapper replacement. Only Fluidmaster has toilet flappers with built-in Microban protection. The Microban protection keeps the flapper cleaner by fighting flapper breakdown due to bacteria on the flapper itself.
Pliers
Grips and manipulates objects.
HDX 3-1/4 in. 6-in-1 Screwdriver 120SD12D
The HDX 3-1/4 in. 6-in-1 Screwdriver features double-sided bits with the four most common screwdriver tip styles, including a #1 Phillips bit, a #2 Phillips bit, a 3/16 in. flathead bit and a 1/4 in. flathead bit. Both ends of the shaft can be used as 1/4 in. nut drivers when the bits are removed, offering convenient, versatile use. The high-visibility orange handle makes the handy tool easy to find on a job site or in a toolbox.
Steps

Inspect and Replace the Toilet Flapper
30 minsBegin by carefully examining the flapper. Remove the tank lid and thoroughly inspect the flapper for any signs of damage, wear, or improper seating. If the flapper isn't creating a good seal, it needs to be replaced. Follow these steps for removing the old one:

Check and Adjust the Toilet Chain Length
15 minsNext, carefully examine the chain connecting the flapper to the trip lever. The chain should have a bit of slack—not too tight, and not too loose. If it's too tight or too loose, adjust the length for optimal performance. If the chain is tangled, untangle it first.

Common Problems
Incorrectly diagnosing a part leads to unnecessary replacement costs.
Solution: If you are unsure whether a component is damaged or worn, consult a plumber.
Toilet runs constantly or doesn't flush properly due to incorrect chain length.
Solution: If the chain is too long or too short, it can also cause the toilet to run. Adjust the chain length as needed.
Incorrect flapper purchased, leading to continued toilet flushing issues.
Solution: Take a picture of your old flapper or bring it with you to the hardware store to ensure you buy the correct replacement model.
A damaged flange is a common cause of toilet leaks. Ensure it is in good condition before installing the new toilet.
Solution: To avoid this issue: Be mindful of this warning and take appropriate precautions.
Toilet won't flush properly because the chain is too long and jams the flapper.
Solution: A chain with too much slack can get caught under the flapper, also preventing a good seal. Ensure it has just a little bit of slack when the flapper is closed.
Toilet chain tension prevents leaks and ensures a proper flush.
Solution: If the chain is too tight, water will constantly leak into the bowl. If it's too loose, the toilet won't flush properly.
If the chain is too long (too much slack), the toilet may not flush completely. If it's too short (too tight), the flapper won't seal properly, and the toilet will continue to run.
Solution: To avoid this issue: Be mindful of this warning and take appropriate precautions.
Frequently Asked Questions
What tools are absolutely necessary for this project, and are there any others that would be helpful?
You will minimally need pliers and a multi-bit screwdriver. It's also helpful to have a sponge or small bucket to remove excess water from the tank before replacing the flapper, and a utility knife can be useful for trimming the new flapper chain if it's too long.
What safety precautions should I take before starting this toilet repair?
Always turn off the water supply to the toilet using the shut-off valve behind or below the tank before beginning any work. This prevents accidental flooding. It's also advisable to wear gloves for hygiene and have old towels or rags on hand to manage any spills.
Is this project genuinely suitable for a beginner, and what's the typical cost?
Yes, this project is very beginner-friendly and primarily involves simple adjustments and part replacement. The total cost is generally low, usually less than $20, as a new flapper typically costs $5-$15 and basic tools like pliers and a screwdriver are common household items.
What should I do if my toilet still isn't flushing correctly after following all the steps?
First, re-check all adjustments: flapper seal, chain slack, and water level. If problems persist, inspect the flush handle mechanism for breakage or looseness, and ensure the fill valve is properly refilling the tank. Mineral buildup in the rim jets of the toilet bowl can also impede flushing and may need cleaning.
How do I determine if I need a 2-inch flapper, or a different size for my toilet?
Most toilets use either a 2-inch or 3-inch flapper. To ensure you purchase the correct size, measure the diameter of the flush valve opening (the hole at the bottom of the tank that the flapper covers) before buying. If unsure, you can often find the size stamped on your existing flapper or consult your toilet's manufacturer specifications.
What's the ideal amount of slack for the toilet chain, and what happens if it's too tight or too loose?
The chain should have about 1/2 to 1 inch of slack when the flapper is fully closed. If the chain is too tight, the flapper may not seal completely, causing a constant running toilet. If it's too loose, the flush handle may not lift the flapper high enough for a full, effective flush.
The project summary mentions checking the water level in the tank. What's the optimal water level for a good flush?
The water level in the tank should generally be about 1/2 to 1 inch below the top of the overflow tube. This ensures there's enough water volume for a strong flush without overflowing into the tube, which can waste water. You can usually adjust this level via the fill valve.