Toilet Fill Valve Replacement: Fix Leaks & Boost Flow
About This Project
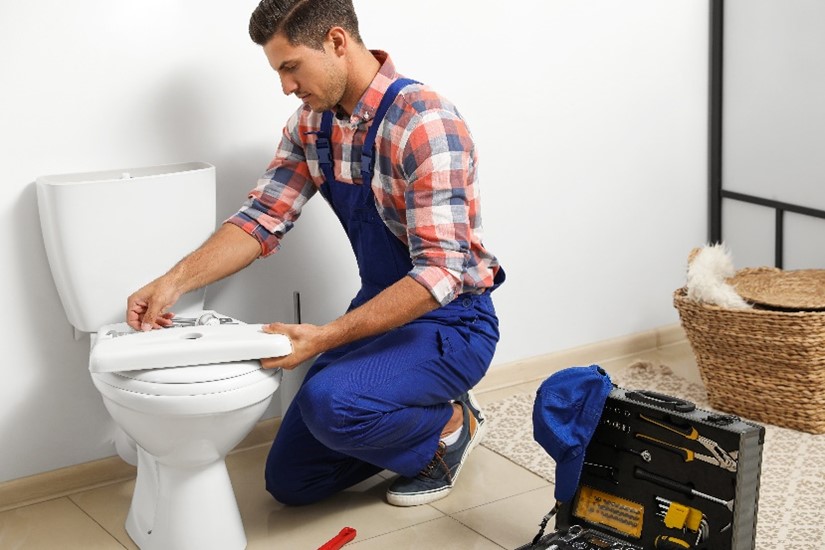
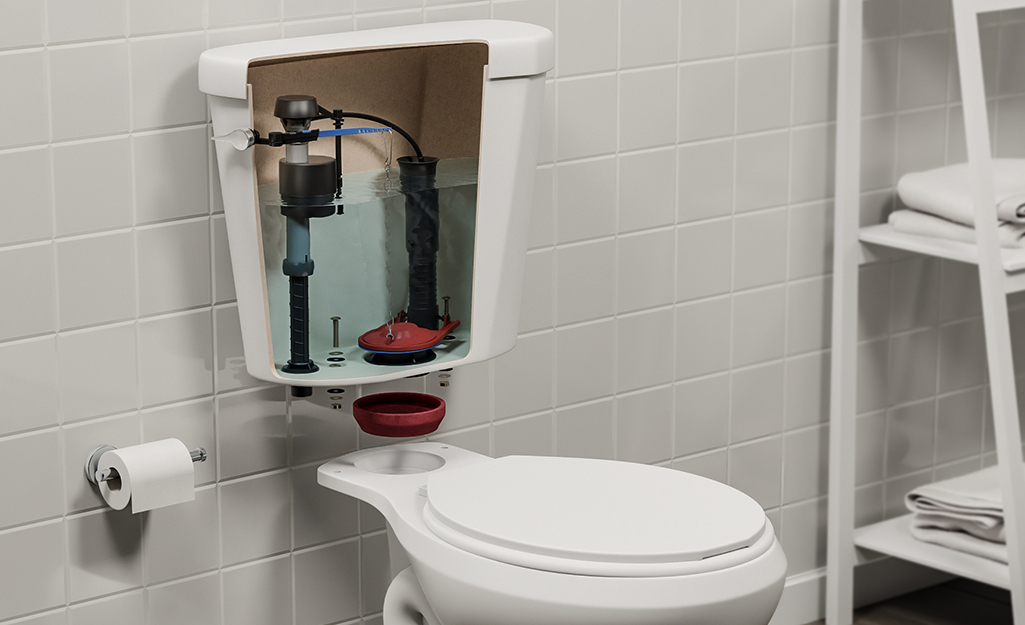
This project details how to replace a toilet fill valve. It involves turning off the water supply, flushing and emptying the tank, removing the old fill valve, installing the new fill valve, and finally, testing and adjusting the water level.
Best for homeowners and DIY enthusiasts.
Tools & Materials
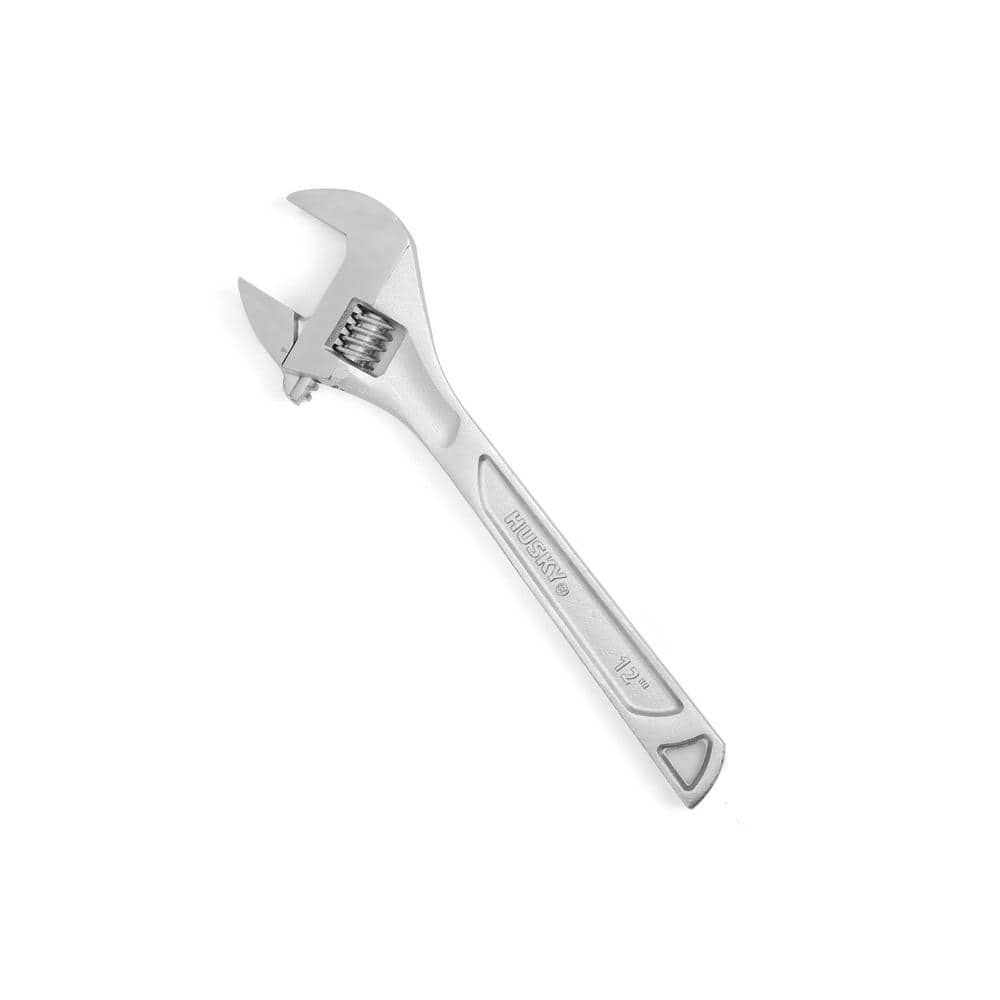
Husky 12 in. Adjustable Wrench 90130

FRESHFOLDS Orange 6-Piece Cotton Quick-Dry Bath Towel Set EC100706
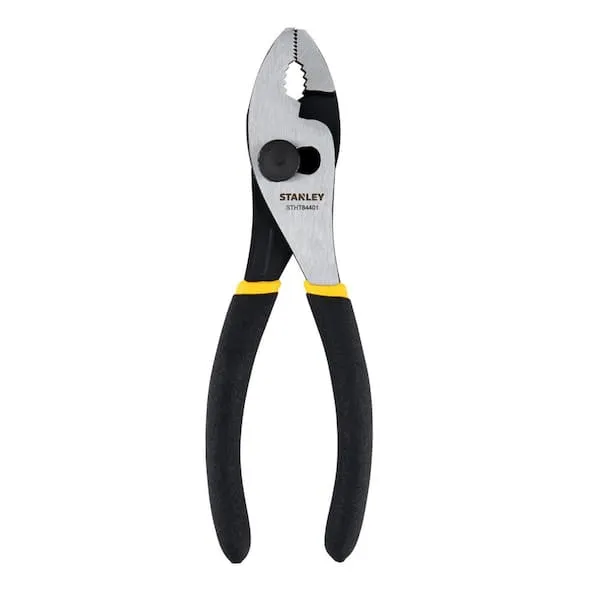
Pliers

Husky 12 in. Adjustable Wrench 90933
Husky 12 in. Adjustable Wrench 90130
The Husky 12-in. Adjustable Wrench features a durable, comfortable handle. A large knurl allows for easy adjustment and a tight-fitting hex jaw design reduces slippage and tightly grips the fastener for
FRESHFOLDS Orange 6-Piece Cotton Quick-Dry Bath Towel Set EC100706
This cotton towel is quick-drying, absorbent and features a soft cotton popcorn texture. These towels are low-twist and two-ply, so the fibers are thicker and more durable. The weave allows for more air
Pliers
Grips and manipulates objects.
Husky 12 in. Adjustable Wrench 90933
The Husky 12 in. Adjustable Wrench features a durable, comfortable handle. A large knurl allows for easy adjustment and a tight-fitting hex jaw design reduces slippage and tightly grips the fastener for
Steps


Common Problems
Safety concern: Turn off the water supply to the toilet before starting., Do not overtighten any connections, especially plastic ones.
Solution: Take proper safety precautions. Turn off the water supply to the toilet before starting., Do not overtighten any connections, especially plastic ones.
Prevention: Always follow safety guidelines before starting the project.
Apply steady pressure when removing the old valve to avoid damaging the threads on the water heater tank.
Solution: To avoid this issue: Be mindful of this warning and take appropriate precautions.
Be careful when using pliers on old plastic nuts, as they can be brittle and break.
Solution: To avoid this issue: Be mindful of this warning and take appropriate precautions.
Do not overtighten the plastic locknut, as this can easily crack the porcelain of the toilet tank.
Solution: To avoid this issue: Be mindful of this warning and take appropriate precautions.
The valve shown is heavily corroded, which is why the handle breaks. Be prepared for old parts to be brittle or seized.
Solution: To avoid this issue: Be mindful of this warning and take appropriate precautions.
Be careful not to damage the shutoff valves or the pipes in the wall. If a connection is corroded, apply penetrating oil.
Solution: To avoid this issue: Be mindful of this warning and take appropriate precautions.
Water spills onto the floor during toilet fill valve replacement.
Solution: Use a towel or container to catch any water that spills.
Frequently Asked Questions
Is replacing a toilet fill valve truly a beginner-level DIY project, and what's the realistic time commitment?
Yes, it's considered a beginner-friendly project as it primarily involves basic disconnections and re-connections. While the estimated time is 2 hours, many experienced DIYers can complete it in 30-60 minutes. For beginners, the 2-hour estimate allows ample time to understand each step and troubleshoot any unexpected issues.
What are the essential tools I absolutely need for this project, and are there any acceptable alternatives for the specific wrenches listed?
You'll primarily need pliers and an adjustable wrench, such as the Husky 12 in. Adjustable Wrench mentioned. While a specific basin wrench can be helpful for tight spaces, a standard adjustable wrench or channel lock pliers usually suffice for the large fill valve nut. Ensure your chosen wrench can open wide enough to grip the nut securely.
What's the most critical safety or preparatory step to ensure I don't cause a flood or bigger mess?
The most crucial step is to completely shut off the water supply to the toilet before beginning any work. After turning off the valve, flush the toilet several times to empty the tank as much as possible. It's also wise to have a bucket and old towels, like the FRESHFOLDS set, nearby for any residual water or small drips.
After installing the new fill valve, the toilet constantly runs or refills too frequently. What should I check?
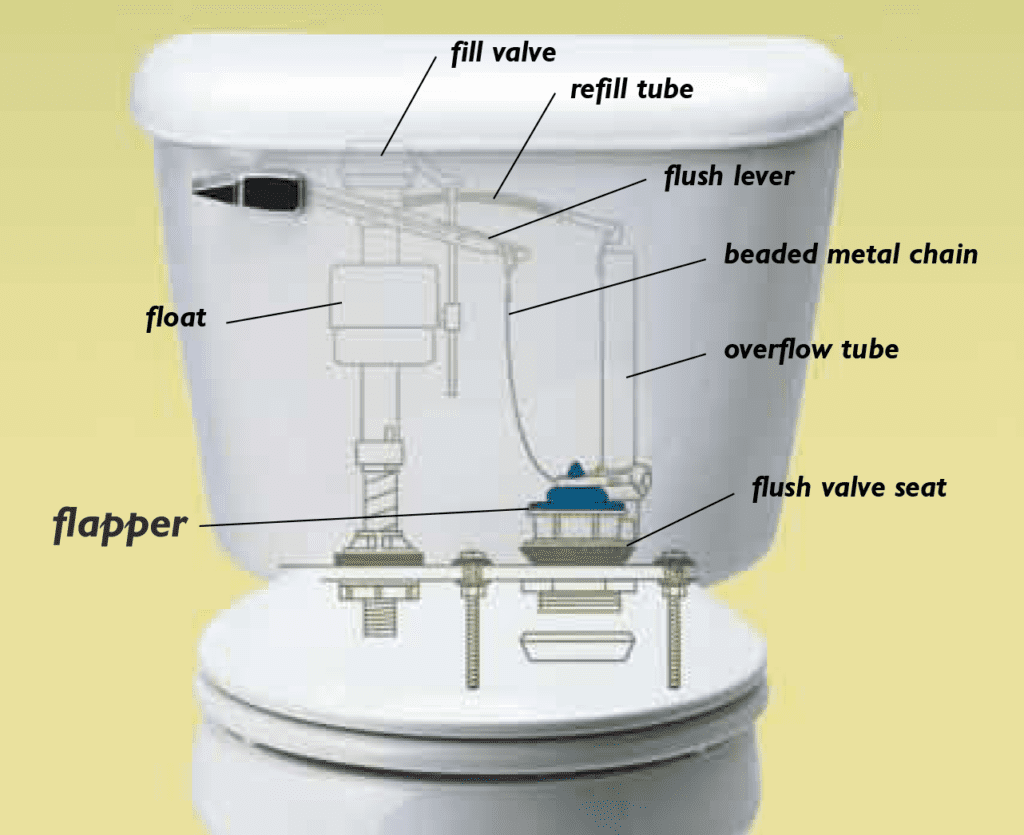
First, verify that the fill valve's float cup or mechanism isn't obstructed and can move freely up and down. Then, adjust the fill valve's height and water level screw to ensure the water stops filling about 1/2 to 1 inch below the top of the overflow tube. Also, inspect your toilet flapper for a proper seal, as a worn flapper can often be mistaken for a fill valve problem.
I'm having trouble loosening the large nut under the toilet tank to remove the old fill valve. Any tips for stubborn nuts?
Stubborn nuts are a common issue, especially on older toilets. Try spraying the nut with a penetrating lubricant like WD-40 and letting it sit for 15-20 minutes to help break down corrosion. Use the proper size adjustable wrench for maximum grip and leverage, applying steady, firm pressure counter-clockwise. Sometimes holding the fill valve from inside the tank can prevent it from spinning while you loosen the nut.
My new fill valve connection is leaking where it attaches to the water supply line. How can I fix this?
Ensure the rubber washer is correctly seated inside the water supply line's connection nut—this is vital for a leak-free seal. Hand-tighten the nut first, then use your adjustable wrench to give it an additional quarter to half turn, being careful not to overtighten and strip the plastic threads. If the leak persists, the existing supply line might be old and require replacement itself.