Leaky Toilet Repair: A Step-by-Step DIY Guide
About This Project
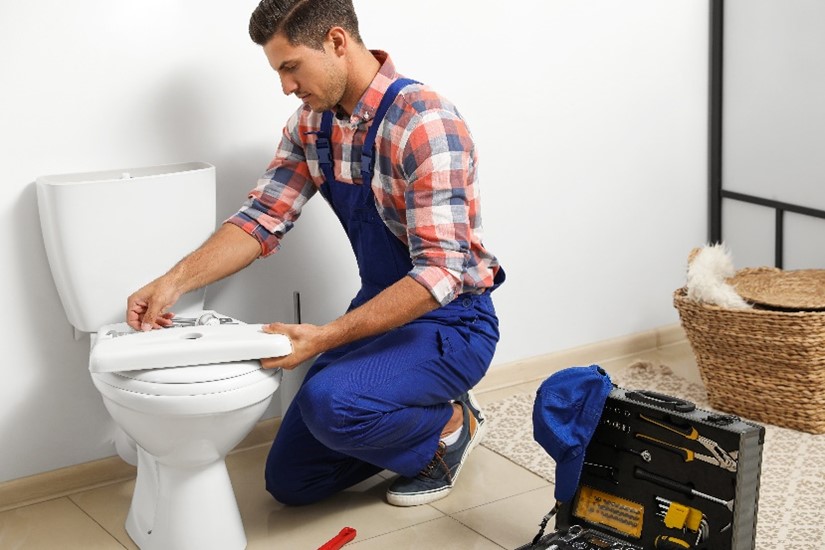
This DIY guide provides steps on how to fix a leaky toilet. First, turn off the water supply, flush the toilet, and remove any remaining water with a sponge. Next, remove the toilet tank by loosening the bolts and lifting the tank. Inspect the wax ring and replace if needed using a putty knife to scrape any old wax.
Best for homeowners and DIY enthusiasts.
Tools & Materials

HDX Multi-Purpose Sponge (2- Sponges) 32242
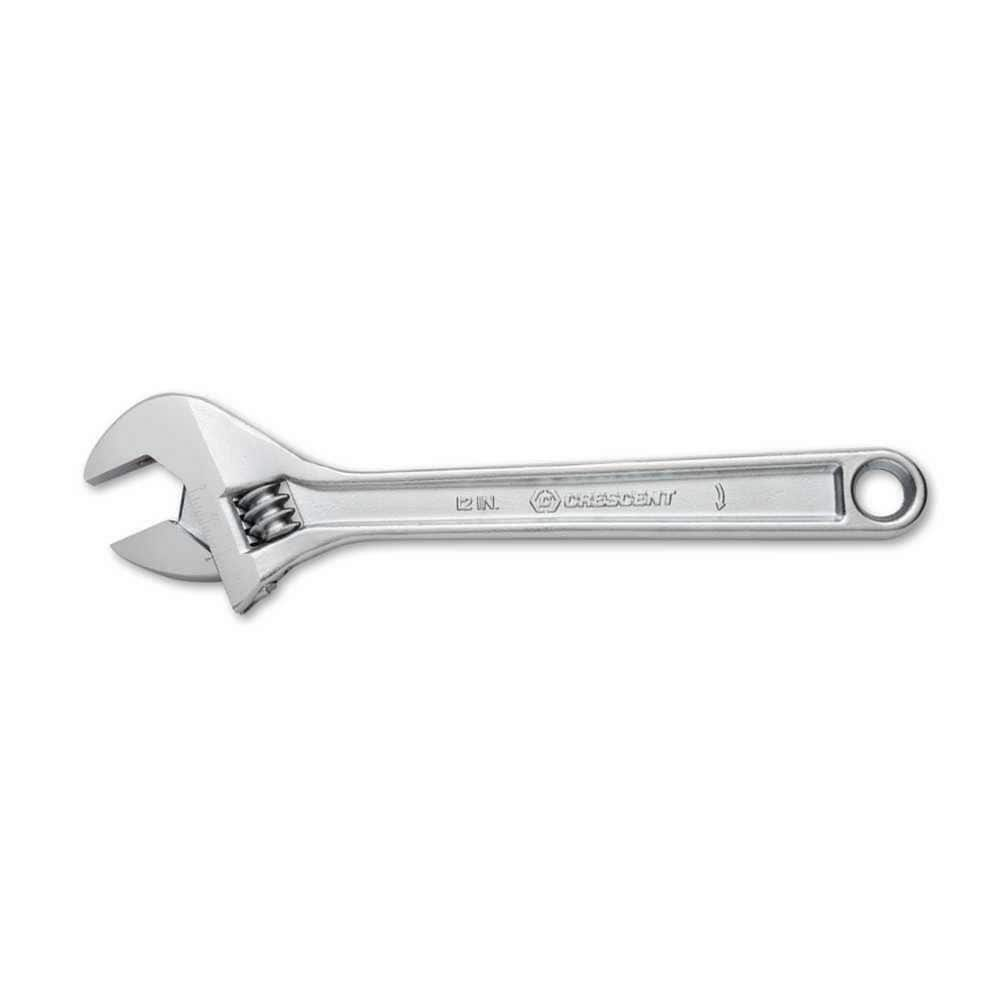
Crescent 12 in. Chrome Adjustable Wrench AC212VS
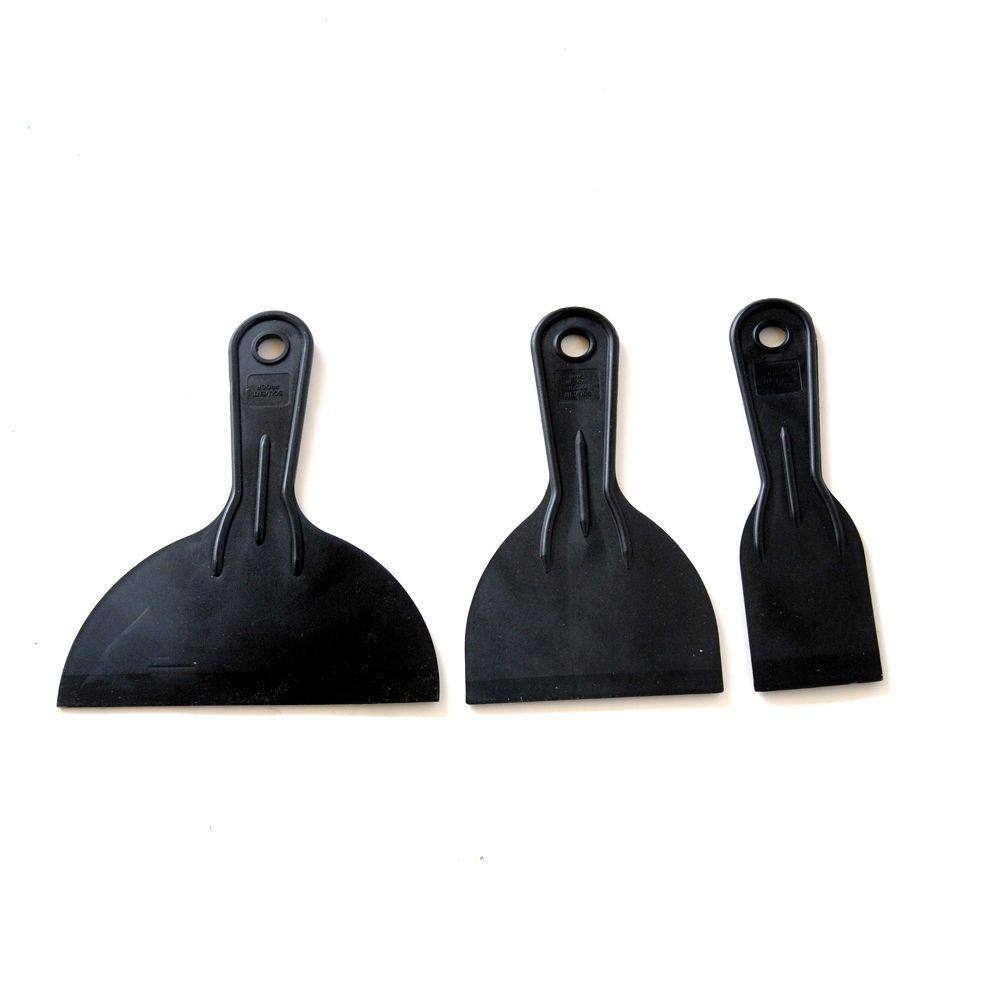
PRIVATE BRAND UNBRANDED Putty Knife Set DS-3PKL
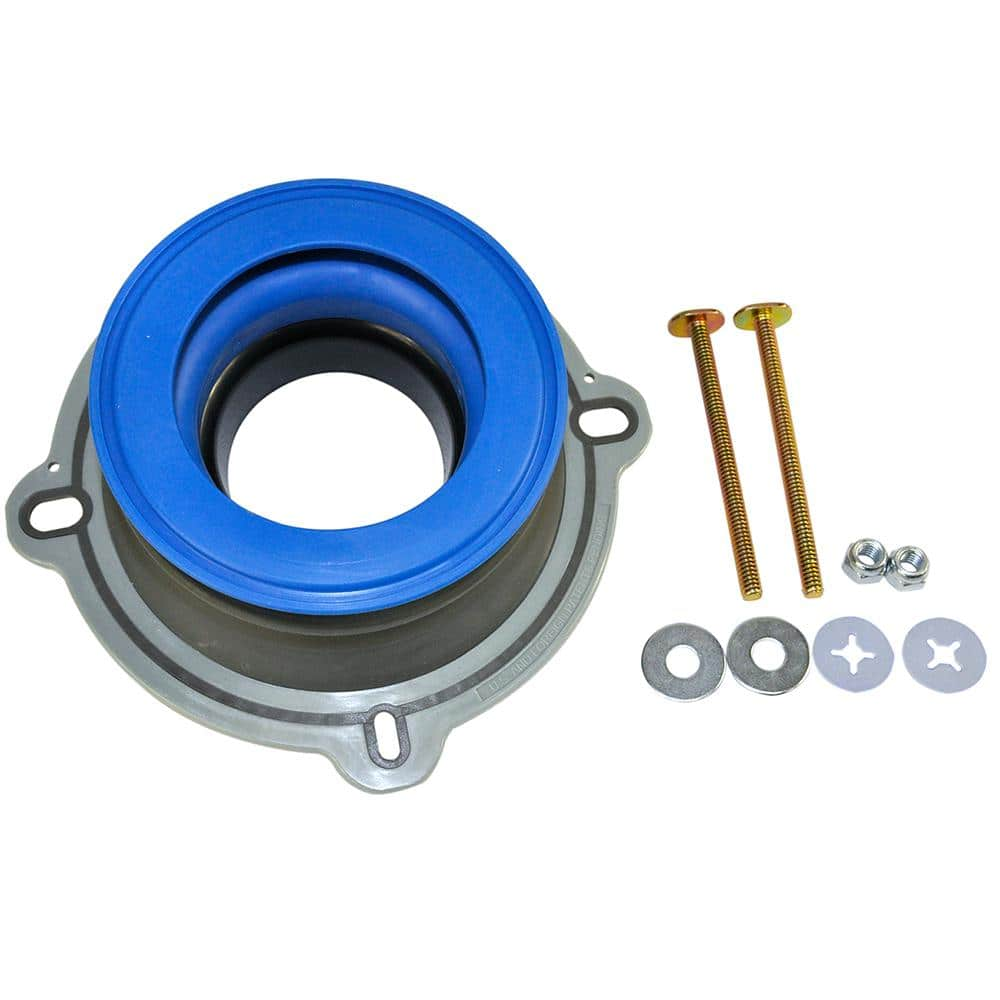
DANCO Perfect Seal Toilet Wax Ring with Bolts 10826X
HDX Multi-Purpose Sponge (2- Sponges) 32242
HDX Hydrophilic Sponge 7.25 in. x 5 in. x 1.875 in. (2-Pack) highly absorbent, the HDX Sponge washes, wipes, and rinses faster. Strong enough for use with acid based products like TSP. Heavy-duty polyester
Crescent 12 in. Chrome Adjustable Wrench AC212VS
Since the introduction of the original Crescent wrench in the early 1900s, the Crescent brand has become synonymous with adjustable wrenches. Crescent Adjustable Wrenches feature a large knurl for easy
PRIVATE BRAND UNBRANDED Putty Knife Set DS-3PKL
The Economy Putty Knife Set includes 2 in., 4 in. and 6 in. polypropylene putty knives. This multi-purpose set allows you to complete all of your jobs and dispose of the tools when done.
DANCO Perfect Seal Toilet Wax Ring with Bolts 10826X
Perfect Seal is an innovative new product that takes the guesswork out of toilet installation. Perfect Seal is truly universal and it will work with any toilet installation. It fits any drain size and
Steps


Common Problems
Safety concern: Turn off the water supply to the toilet before starting any repairs.
Solution: Take proper safety precautions. Turn off the water supply to the toilet before starting any repairs.
Prevention: Always follow safety guidelines before starting the project.
Toilet tank doesn't fully drain, hindering repair.
Solution: Holding the flush lever down ensures that the maximum amount of water is drained from the tank.
Toilet tank refills after flush, indicating a faulty shut-off valve.
Solution: Confirm the water is off by observing if the tank starts to refill after flushing. If it does, the valve is not fully closed or is faulty.
Toilet tank water spills out when removing the flush valve.
Solution: A turkey baster can also be used to suck out the last bit of water from the tank.
Silicone won't adhere to a damp toilet tank.
Solution: A hairdryer is very effective for ensuring the tank's interior is bone-dry, which is critical for the silicone to adhere properly.
Toilet tank won't fully drain, leading to water spills during repair.
Solution: Holding the flush handle down ensures that the maximum amount of water is drained from the tank before you begin.
Hands exposed to unsanitary toilet wax and bacteria.
Solution: Wear gloves to protect your hands from old wax and potential bacteria.
Frequently Asked Questions
Do I need specialized plumbing tools for this repair, or can I use common household tools?
You'll primarily need an adjustable wrench and a putty knife, which are standard tools many homeowners already possess. A bucket for catching water, sponges for drying, and possibly a utility knife for trimming the wax ring are also useful items for this project.
What are the most important safety precautions to take when disassembling a toilet for repair?
Always start by turning off the water supply completely at the wall valve and flushing the toilet to drain both the tank and bowl. When lifting the toilet tank, be mindful of its weight; it's heavy and awkward, so lifting with a helper is strongly recommended to prevent injury or damage.
The project is listed as 'beginner' and 2 hours; what are the most common challenges that might extend the repair time for a first-timer?
The most common challenges include loosening old, rusted tank bolts, which may require penetrating oil, and properly aligning the new wax ring. Ensuring the toilet is perfectly centered over the flange before seating it firmly is crucial to avoid leaks and might take a few attempts.
What are common mistakes when replacing a toilet's wax ring, and how can I ensure a proper, leak-free seal?
A frequent mistake is not completely removing the old wax and debris, or misaligning the new wax ring during installation. To ensure a good seal, thoroughly clean the flange, center the new wax ring precisely on the toilet's horn or the floor flange, and apply firm, even pressure when seating the toilet.
If my toilet is leaking at the base, but a new wax ring doesn't fix it, what else could be the problem?
If the leak persists after replacing the wax ring, inspect the toilet's bolts that secure it to the floor for looseness, or examine the porcelain bowl itself for hairline cracks, especially around the base or the flange connection. Loose bolts can be carefully tightened, but a cracked bowl usually requires a full toilet replacement.
What is the typical cost for the materials and replacement parts needed for this type of leaky toilet repair?
The main replacement part, a new wax ring, is very affordable, usually costing under $10. If you need to purchase the recommended putty knife set or sponges, these are also relatively inexpensive one-time buys, making the overall material cost for this DIY repair quite low.