
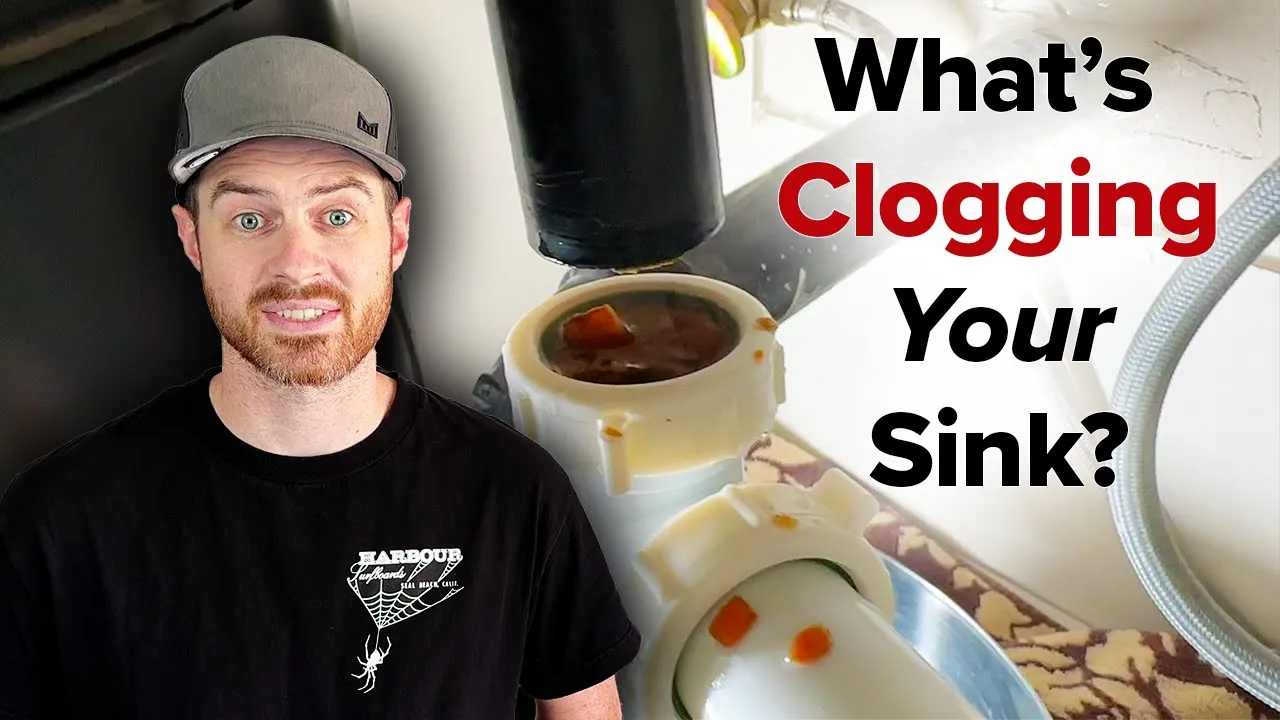
How to Install an ADA-Compliant Under-Sink Plumbing Shield
About This Project
This project involves the installation of a protective insulation kit over the exposed hot and cold water supply lines, shut-off valves (angle stops), and the P-trap drain assembly under a sink. This is a requirement for ADA compliance to protect individuals in wheelchairs from burns and abrasions. The process includes cleaning the pipes, measuring and cutting the vinyl shield components to size, and securing them over the plumbing.
Best for homeowners and DIY enthusiasts with basic plumbing knowledge. Requires Safety gloves.
Tools & Materials

THE CLEAN STORE Microfiber Pink/White Cleaning Cloths (Pack of 100) 79136
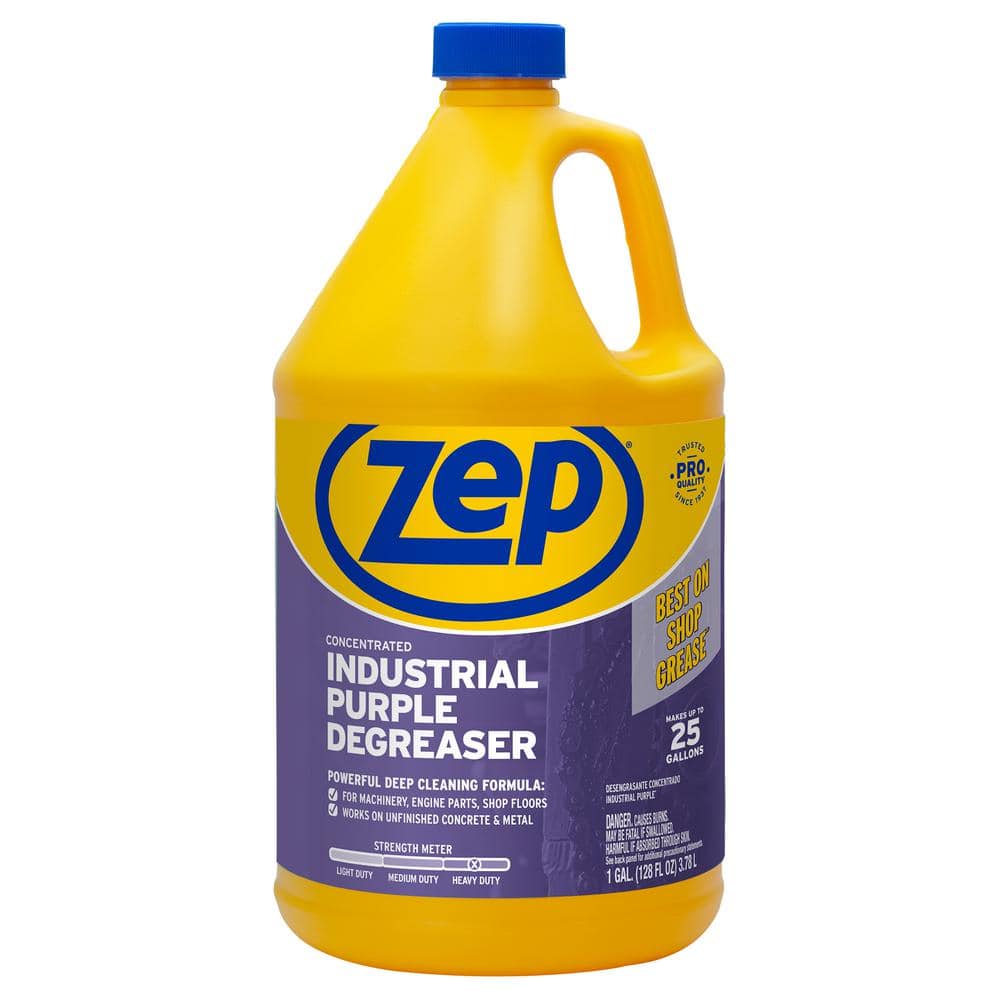
ZEP 128 oz. Industrial Purple Degreaser R45810
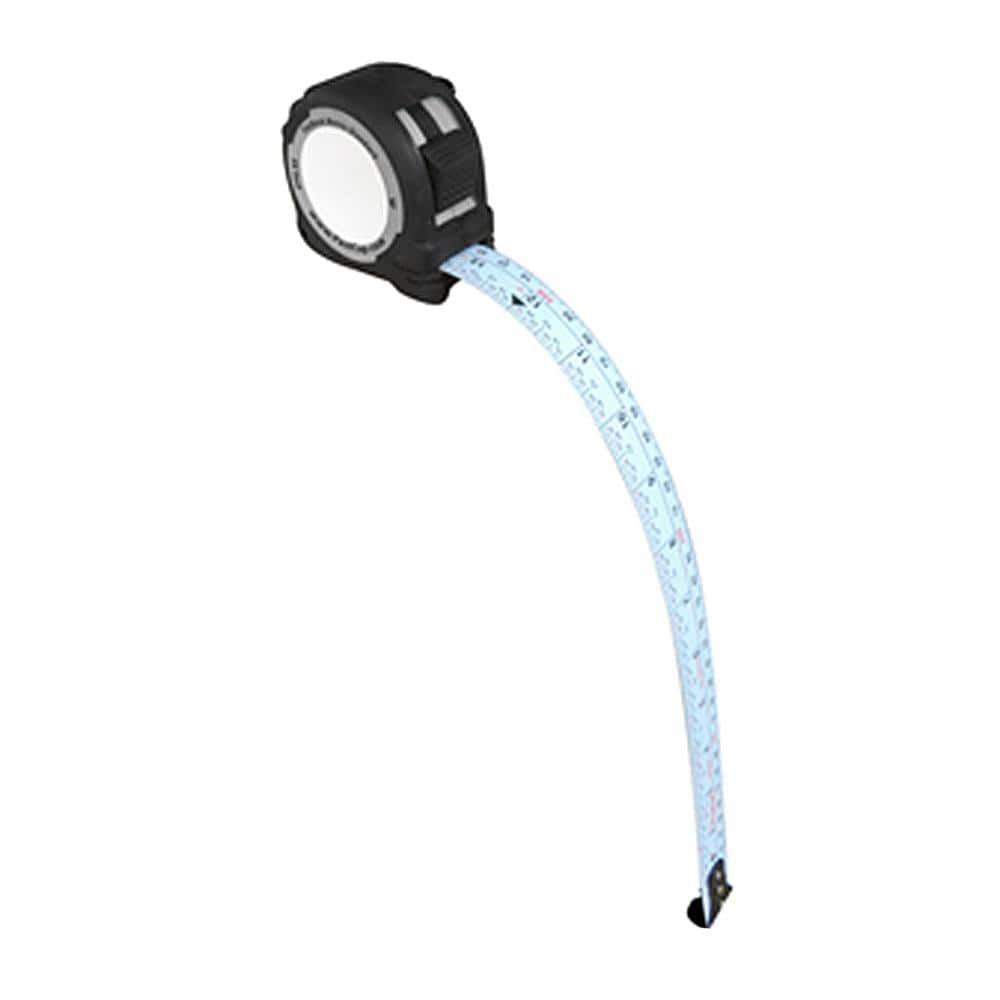
FASTCAP 16 ft. Metric/Standard Flat Back Measure Tape FC.PMS.F16
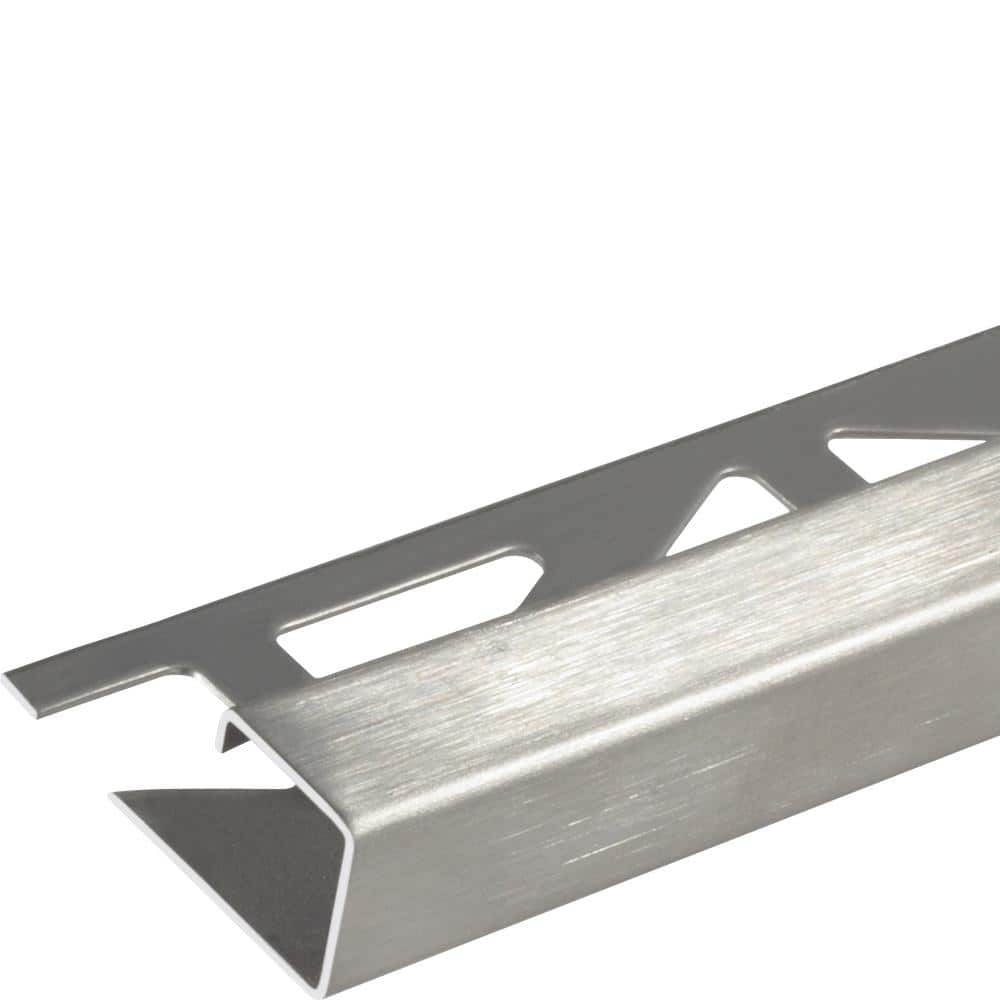
DURAL Squareline Profile 11/32 in. Square Edge Brushed Stainless Steel Metal Tile Edge Trim DPSE90-SF
Husky Pro Utility Knife 00004
OX TOOLS OX Tuff Carbon - Marking Pencil Value Pack OX-P503210
THE CLEAN STORE Microfiber Pink/White Cleaning Cloths (Pack of 100) 79136
The Pull N Wipe Microfiber Cleaning Rags are the ideal cleaning cloths for all your cleaning needs. Whether you keep a box at Home to clean around the house, In the Kitchen to clean up after cooking or
ZEP 128 oz. Industrial Purple Degreaser R45810
Customer signature required upon delivery. ZEP Industrial Purple Cleaner and Degreaser Concentrate is a heavy-duty concentrated cleaner. It works quickly to remove stubborn grease and oil stains from engines, heavy machinery, tools and unfinished concrete. This professional strength degreaser is even effective at dissolving extreme dirt build-up.
FASTCAP 16 ft. Metric/Standard Flat Back Measure Tape FC.PMS.F16
Face it, not all surfaces are flat. The ProCarpenter Flat back is a flexible tape for measuring curves and flat panels with precision and ease. The PMS blade style has both the metric and standard measurements
DURAL Squareline Profile 11/32 in. Square Edge Brushed Stainless Steel Metal Tile Edge Trim DPSE90-SF
Squareline profiles combine a modern and timeless design making them ideal for dividing rooms and protecting edges. Use them wherever your tile or stone project needs to meet the utmost aesthetic requirements.
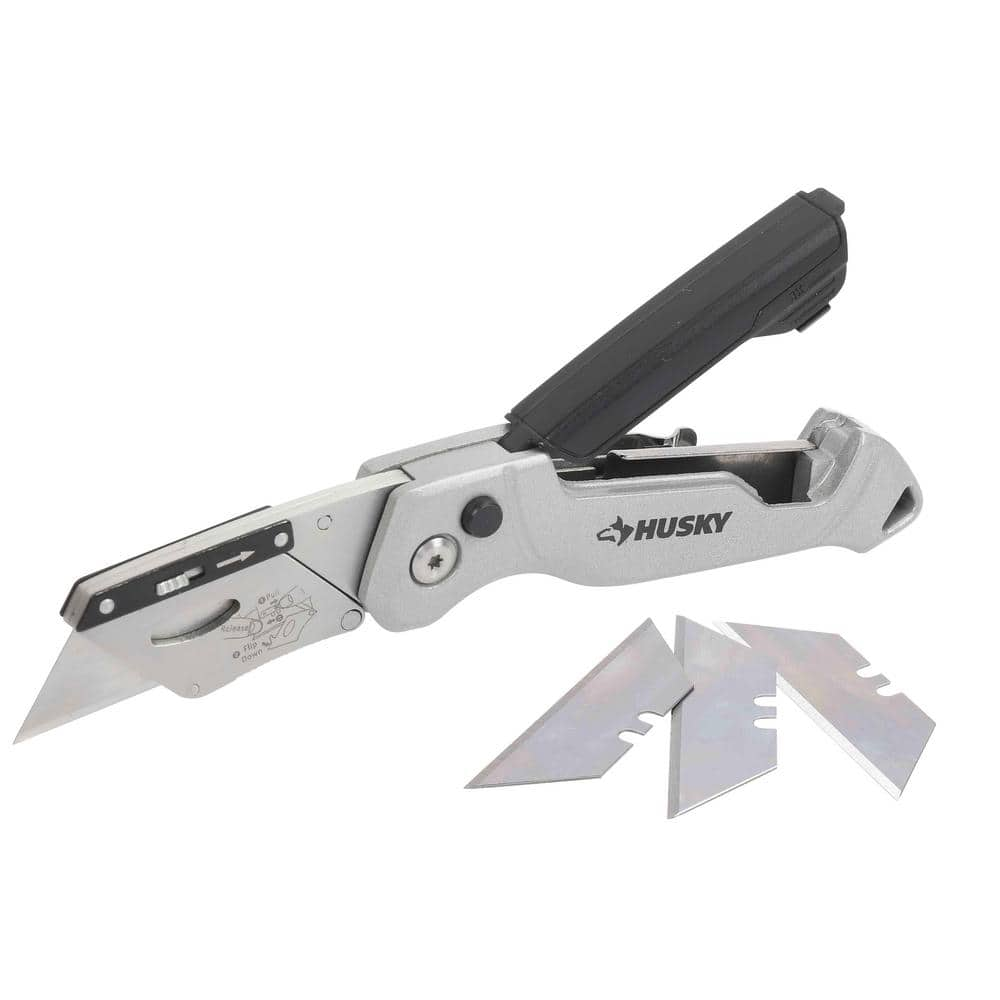
Husky Pro Utility Knife 00004
Offering a precise cut every time, Husky Pro Folding Utility Knife lets you easily adjust the blade to multiple angles to tackle a wide range of jobs. Aluminum die casting handle with plastic spraying
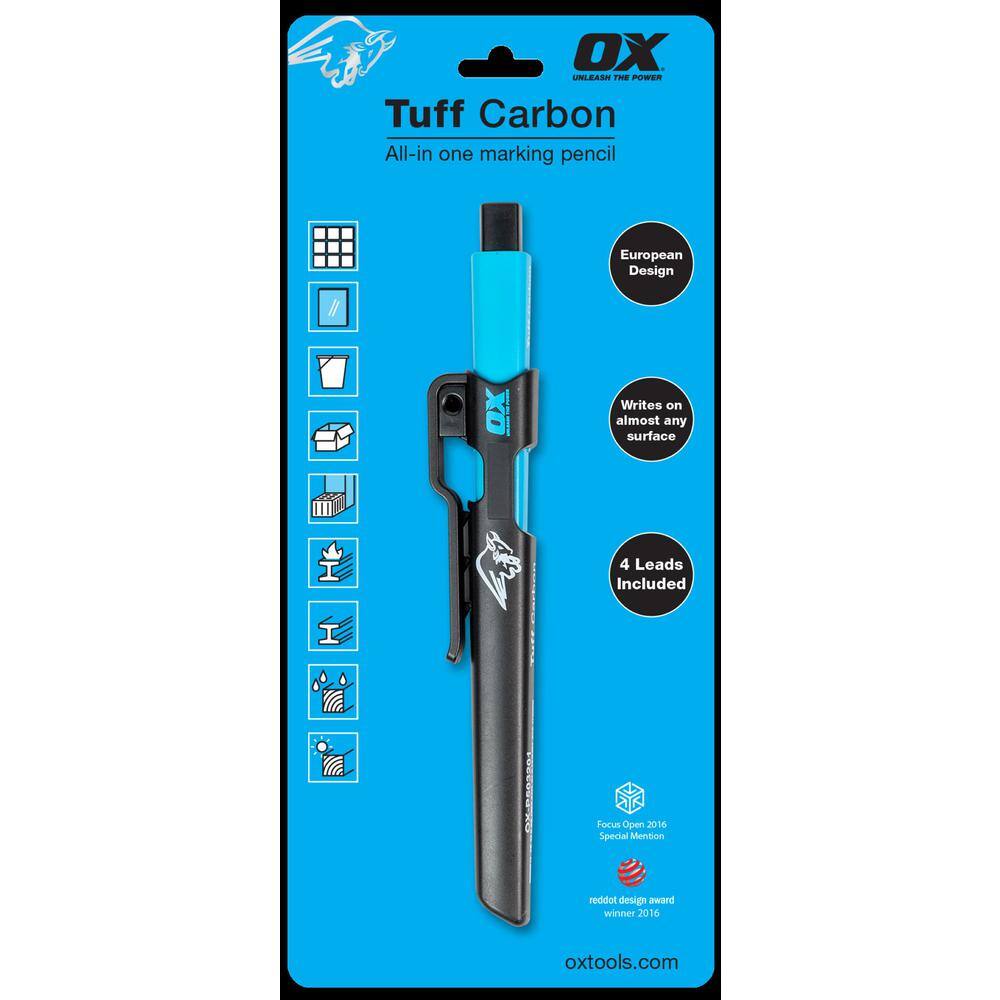
OX TOOLS OX Tuff Carbon - Marking Pencil Value Pack OX-P503210
OX Tools Tuff Carbon Marking Pencils are packed with features and are an excellent choice for any tradesman. The unique square design prevents the pencil from rolling off surfaces, unlike traditional round design. This pencil is designed to be able to write on almost any surface on a job site including metal, wood, plastic, brick, stone, block, concrete, glass, tile and much more. It features a belt clip and an integrated lead sharpener built into the cap. The pack comes with four leads, one standard graphite, one red, one yellow, and one white that can be used interchangeably.
Steps

Preparation and Cleaning
10 minsFirst, ensure your work area is safe and clean. Shut off the hot and cold water supply by turning the handles on the angle stop valves clockwise until they stop. If the valves are stiff or old, turn them gently to avoid breakage. Clear out any items stored under the sink to create ample space to work. Using cleaning rags and a degreaser or all-purpose cleaner, thoroughly wipe down the P-trap, drain tailpiece, and both hot and cold water supply lines and valves. The surfaces must be free of dirt, grime, and moisture for the shields to fit properly and look clean.

Measure and Cut P-Trap Cover
10 minsTake the large, flat vinyl piece intended for the P-trap. Using a tape measure, measure the length of the P-trap assembly from the wall connection (escutcheon) to the connection at the vertical drain tailpiece from the sink. Add about one inch to this measurement to ensure a complete overlap. Mark this length on the vinyl shield. Place the shield on a cut-safe surface. Using a straight edge and a sharp utility knife, carefully cut the shield to the marked length. Next, measure the circumference of the pipe and trim the width of the shield if necessary, ensuring it can wrap around the pipe and the hook-and-loop fasteners can engage securely.

Install the P-Trap Cover
5 minsTake the custom-cut P-trap cover and wrap it snugly around the drain pipe assembly. Start at one end and work your way along the curve of the trap. The material is designed to be flexible. Overlap the edges and align the hook-and-loop fasteners (or other provided fastening system, like zip ties). Press firmly along the entire length of the seam to ensure a secure and continuous closure. Make sure there are no gaps and that the entire trap, including the curved sections and nuts, is fully insulated.
Measure and Cut Supply Line and Valve Covers
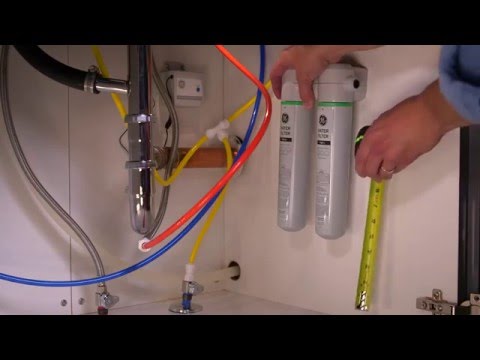
5 minsNext, address the water supply lines and valves. The kit typically includes two valve covers and two lengths of tubing for the supply lines. First, fit the molded valve cover over one of the angle stops. It should be a snug fit. Then, use the tape measure to determine the length of the flexible supply line from the top of the valve cover to the connection point at the faucet's underside. Cut a piece of the vinyl supply line cover to this length using the utility knife. Repeat this measuring and cutting process for the second supply line and valve.

Install Supply Line and Valve Covers
5 minsSlide the pre-molded valve cover over the angle stop handle and body. Ensure it fits securely and covers all sharp edges. Next, take the corresponding cut piece of supply line tubing. These pieces are usually pre-slit. Open the slit and wrap the cover around the flexible water supply line, starting from the top of the valve cover and working your way up to the faucet connection. Press the seam together to close it. Repeat the entire process for the second valve and supply line. Ensure both covers are secure and conceal the plumbing completely.

Final Inspection and Water Turn-On
5 minsOnce all components are installed, perform a final inspection. Check that all covers are securely fastened and that there are no exposed areas of pipe, sharp edges, or connection nuts. The goal is complete protection. Once you are satisfied with the installation, slowly turn the angle stop valve handles counter-clockwise to restore the water supply. Open the faucet and check for any leaks at the valve and supply line connections. If everything is dry and secure, the installation is complete.
Common Problems
Hidden leaks behind the wall go unnoticed, causing water damage.
Solution: Have a dry paper towel ready to wipe down connections behind the wall. Any moisture will be immediately visible on the paper.
Turn the water on slowly to avoid a water hammer effect that could damage pipes or fittings.
Solution: To avoid this issue: Be mindful of this warning and take appropriate precautions.
Turn the water back on slowly. A sudden burst of pressure could cause a loose connection to fail.
Solution: To avoid this issue: Be mindful of this warning and take appropriate precautions.
Hidden leaks can cause water damage if not detected before wall closure.
Solution: It's best to leave the water on for several minutes and check for slow leaks before closing up the wall.
Unnoticed small leaks can cause water damage and mold growth.
Solution: Place a dry paper towel under the P-trap and connections to easily spot any small drips.
Turn the water on slowly to avoid a sudden surge of pressure that could cause a weak connection to fail.
Solution: To avoid this issue: Be mindful of this warning and take appropriate precautions.
Over-tightening plastic slip nuts leads to leaks or cracks.
Solution: Hand-tighten the slip nuts first. If there's a small leak, you can give it a quarter-turn with channel-lock pliers, but be careful not to crack the plastic.
Frequently Asked Questions
Do I need all the specialized tools listed, like the siding cutter, or can I complete this project with basic household tools?
While a utility knife and tape measure are essential, specialized tools like the siding cutter (e.g., Bullet Tools 13 in. Shear Siding Cutter) can make cutting the vinyl shield components much easier and more precise, leading to a cleaner finish. However, a sharp utility knife and a steady hand can still achieve good results, though it might take a bit longer and require more careful scoring and snapping.
What are the most important safety precautions to take when installing this under-sink plumbing shield?
Always wear appropriate personal protective equipment, such as safety glasses and gloves, especially when handling the industrial degreaser (like ZEP 128 oz. Industrial Purple Degreaser) as it can be caustic. Exercise caution when using a utility knife or shears to prevent cuts. Ensure good ventilation if using strong cleaning agents, and consider turning off the water supply to the sink as a general precaution when working under it, even if you're not disconnecting pipes.
The project is rated as 'beginner' with an estimated time of 3 hours. Is this realistic for someone with limited DIY experience?
Yes, this project is genuinely beginner-friendly as it primarily involves measuring, cutting, and securing components rather than complex plumbing. The 3-hour estimate accounts for careful preparation, thorough cleaning, precise measuring, and careful cutting of the vinyl pieces, which can be time-consuming to ensure a neat, ADA-compliant fit. Rushing these steps can lead to ill-fitting covers.
What common mistakes should I look out for to ensure my under-sink plumbing shield is installed correctly and is ADA-compliant?
The most common mistakes include inaccurate measurements, which can result in gaps or shields that don't fit securely. Another error is neglecting proper pipe cleaning, which can prevent the shield's adhesive or fasteners from securing properly. Always double-check your measurements and clean all surfaces thoroughly before installation to ensure a tight, compliant, and durable fit.
Why is an under-sink plumbing shield necessary for ADA compliance, and what specific function does it serve?
An under-sink plumbing shield is required for ADA compliance to protect individuals in wheelchairs or those with limited mobility from burns and abrasions. It insulates hot water pipes and covers sharp edges or protrusions of the P-trap and supply lines, preventing direct contact that could cause injury or discomfort. This ensures a safer and more accessible environment.
The project uses a vinyl shield. Are there alternative materials available, and how durable is vinyl for this application?
While vinyl is a popular choice due to its flexibility, ease of cutting, and moisture resistance, other options include rigid plastic or foam pipe insulation kits. Vinyl is highly durable for this application, resistant to impacts and moisture, and easy to clean, making it an excellent long-term solution to maintain ADA compliance and protect users from plumbing hazards under the sink.


