
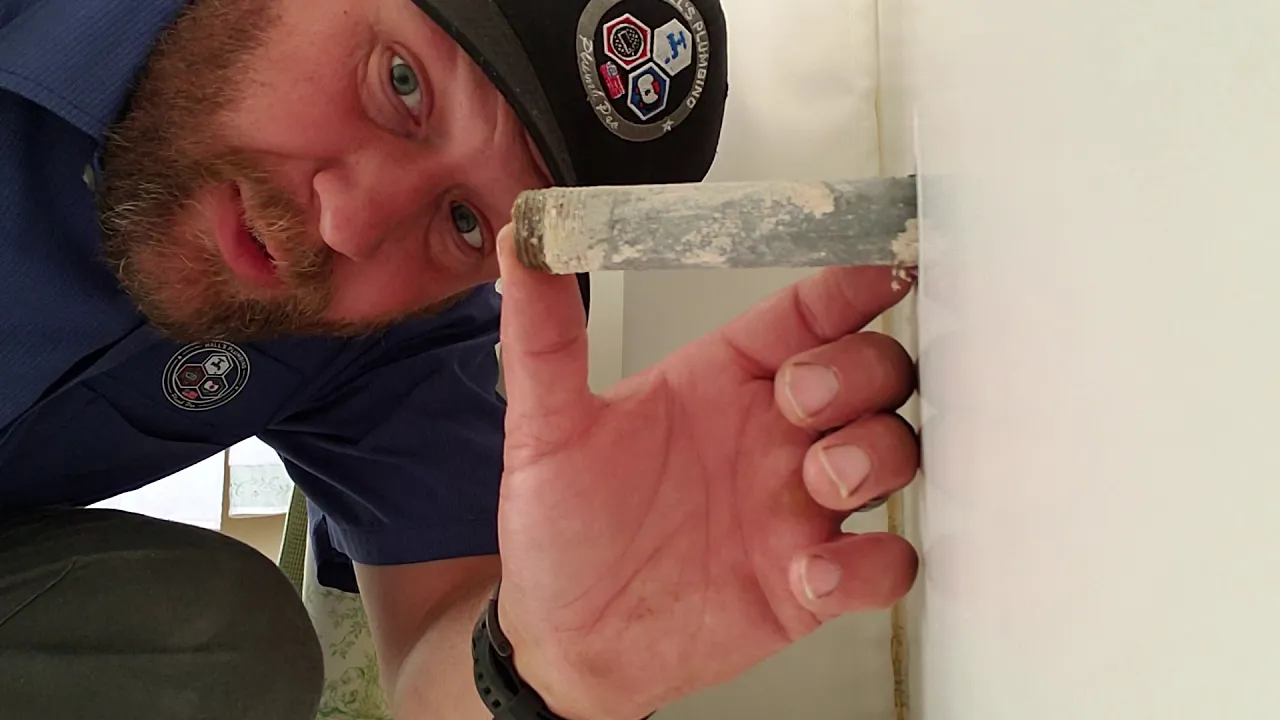
How to Fix a Shower Diverter on a Tub Spout
About This Project
This guide provides instructions to fix a common plumbing issue where water leaks from the tub spout when the shower is activated. The solution involves completely replacing the tub spout, a task that is straightforward for most DIYers. The process covers identifying the spout type, removing the old unit, preparing the pipe, and installing the new spout to ensure a leak-free seal.
Best for homeowners and DIY enthusiasts with basic plumbing knowledge.
Tools & Materials
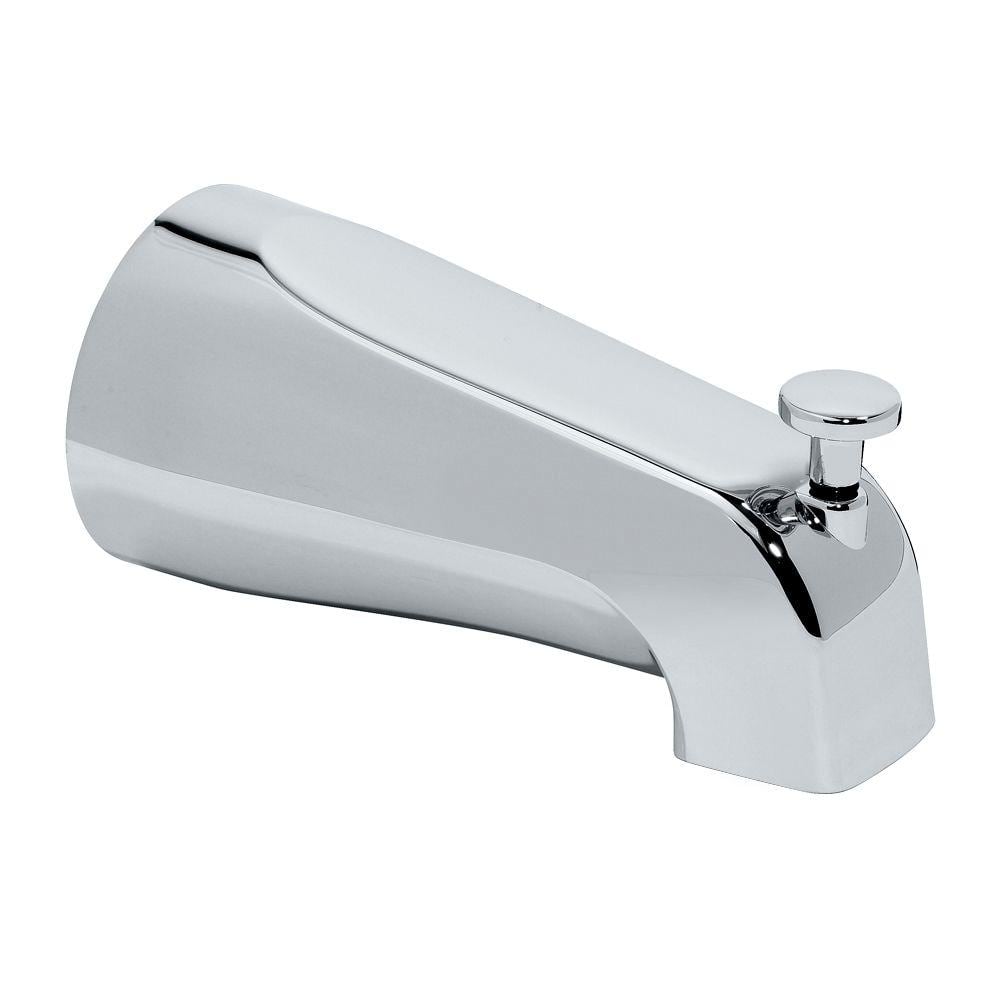
American Standard Diverter Slip-On Tub Spout, Polished Chrome 022650-0020A
Towel
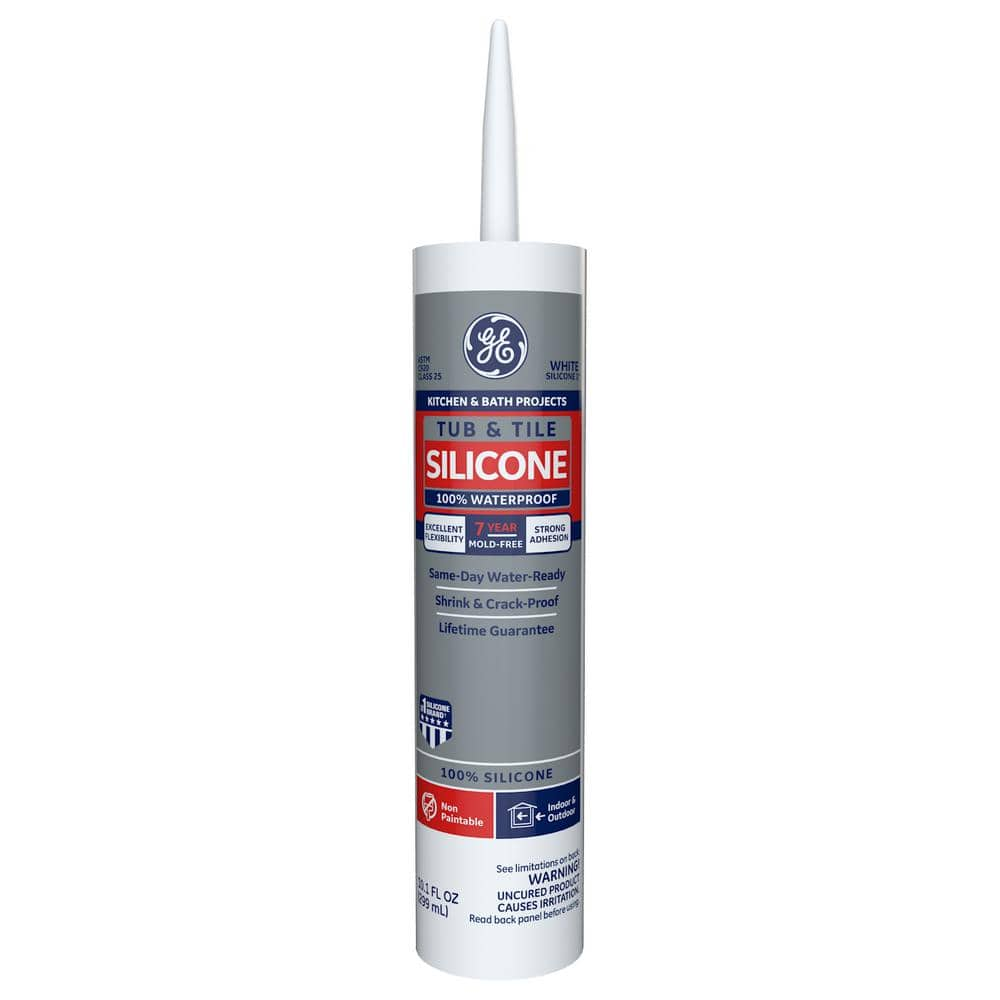
GE Tub and Tile Silicone 1 Caulk 10.1 oz Kitchen and Bath Sealant White 2749484

Anvil Black 5-Piece Metal Outdoor Dining Set Patio Bistro Set Table and Chair Set with Umbrella FY-W2089135482
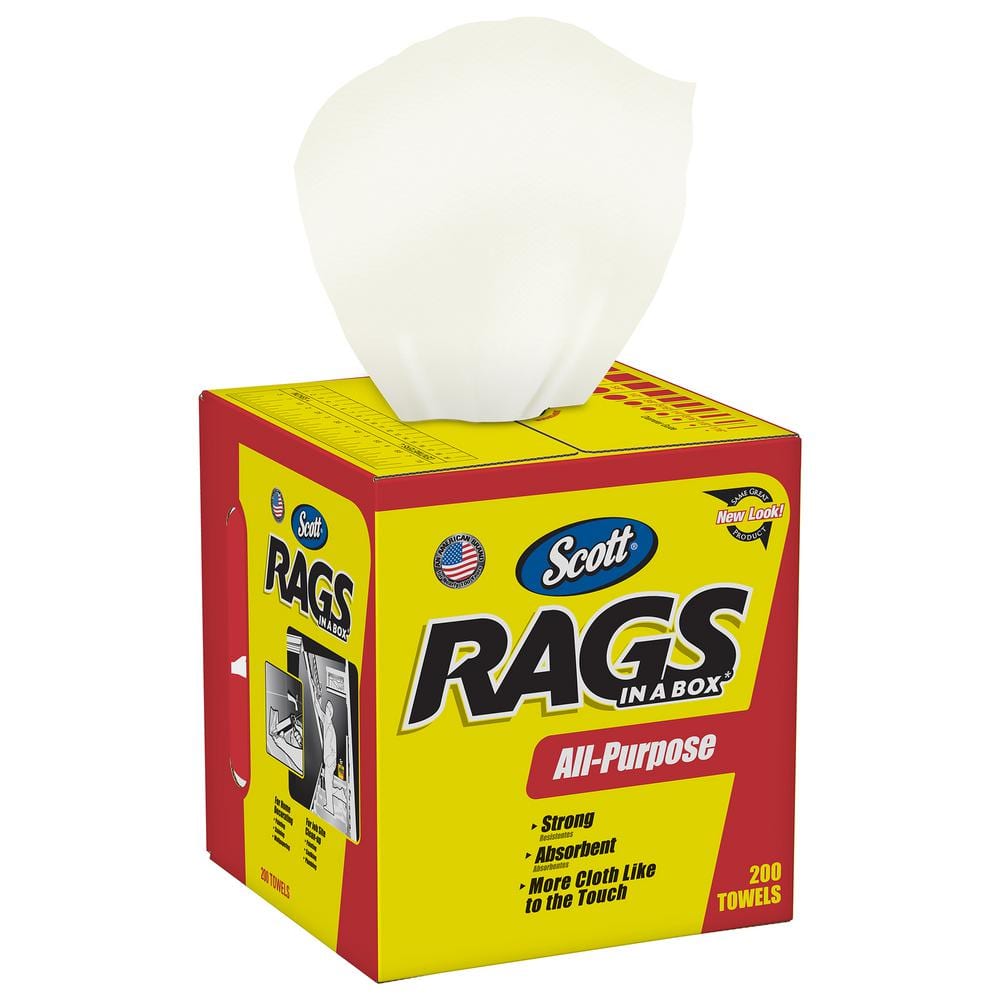
Scott Rags in A Box in White (200-Shop Towels per Box) 75260
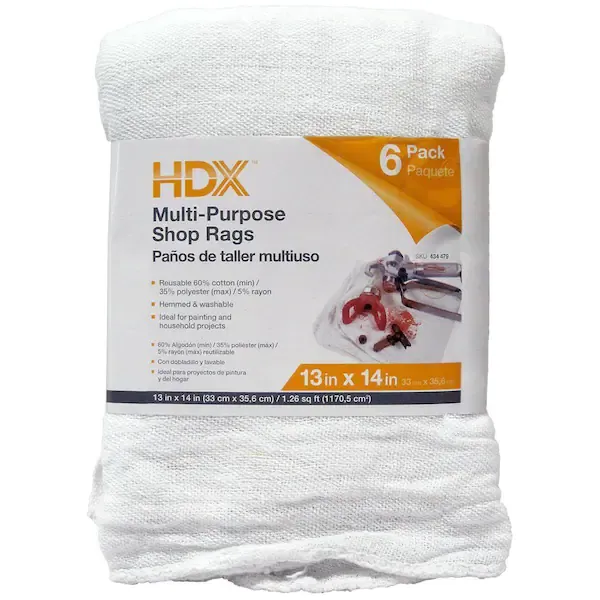
Rag
American Standard Diverter Slip-On Tub Spout, Polished Chrome 022650-0020A
Towel
Absorbs moisture and dries surfaces.
GE Tub and Tile Silicone 1 Caulk 10.1 oz Kitchen and Bath Sealant White 2749484
GE Tub and Tile Silicone 1-Sealant is a 100% waterproof, 100% silicone sealant ideal for areas susceptible to moisture, such as sinks, tubs, showers, fixtures, countertops, backsplashes, and other plumbing
Anvil Black 5-Piece Metal Outdoor Dining Set Patio Bistro Set Table and Chair Set with Umbrella FY-W2089135482
The 5-Pieces outdoor dining set with umbrella sounds like a great addition to any patio or outdoor space. The set includes a patio table with an umbrella and 4-chairs, providing comfortable seating for
Scott Rags in A Box in White (200-Shop Towels per Box) 75260
When you have tough jobs to tackle, you can trust Scott Rags in a Box, All-Purpose. These white disposable towels are made of cellulose fibers with a latex binder for thickness, absorbency, and strength.
Rag
Handy for cleaning or wiping tasks.
Steps

Diagnose the Problem and Gather Materials
5 minsFirst, confirm that the problem is the diverter. Turn on the tub faucet and then pull the diverter knob to engage the shower. If water continues to flow or leak heavily from the tub spout instead of being fully redirected to the shower head, the diverter has failed. Next, gather all necessary tools and supplies for the job. You will need a new tub spout that matches your connection type (slip-on for this guide), an Allen wrench set, a thick rag or towel, and silicone caulk. Close the tub drain to prevent any small parts, like a set screw, from falling in.
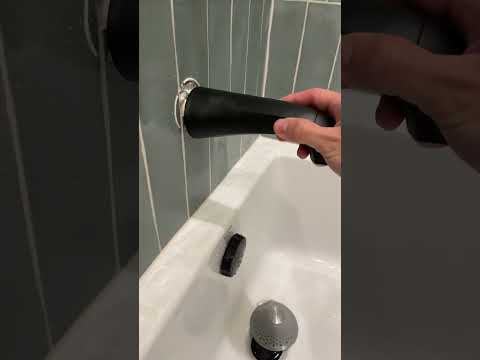
Remove the Old Tub Spout
10 minsLocate the small set screw on the underside of the tub spout, usually close to the wall. Using your Allen wrench set, find the key that fits snugly into the screw head. Turn the Allen wrench counter-clockwise to loosen the screw. You do not need to remove the screw completely, just loosen it enough (several turns) so that it no longer engages the pipe. Once loose, the spout should be free. Gently twist and pull the spout straight off the copper pipe stub. Some wiggling may be required if there is corrosion or sealant buildup.

Clean the Pipe Stub
5 minsOnce the old spout is removed, inspect the copper pipe stub extending from the wall. Use a rag to wipe away any old caulk, mineral deposits, or plumber's putty from the pipe surface and the wall around it. If there is stubborn caulk, you can carefully scrape it away with a plastic putty knife or a utility knife, being careful not to scratch the tub or shower surround. The pipe needs to be clean and smooth for the new spout's o-ring to create a proper seal. For a screw-on spout, this is when you would clean the threads and apply new plumber's tape.

Install the New Tub Spout
5 minsTake the new slip-on tub spout and slide it straight onto the clean copper pipe. Push it firmly until the base of the spout is flush against the shower wall. Ensure the spout is oriented correctly, with the opening facing down and the diverter knob facing up. While holding the spout firmly against the wall, use the Allen wrench to tighten the set screw on the underside. Turn the screw clockwise until it is snug. The spout should feel secure and should not rotate or pull away from the wall.

Seal and Test the New Installation
5 minsTo prevent water from splashing behind the spout and into the wall, apply a thin, neat bead of silicone caulk around the top and sides of the spout base where it meets the wall. Leave a small gap at the bottom of the spout to allow any water that does get behind it to drain out. Now, test your work. Turn on the water to the tub and check for any leaks around the base of the new spout. Then, pull up the diverter knob. The water flow should redirect completely to the shower head. A few initial drips from the spout as pressure builds are normal, but it should not be a steady stream. Clean up your tools and remove the rag from the tub.
Common Problems
Spout is slippery and prone to scratches when removed.
Solution: Use a towel to get a better grip on the spout and to avoid scratching the finish.
Be careful not to apply excessive force that could damage the pipe inside the wall.
Solution: To avoid this issue: Be mindful of this warning and take appropriate precautions.
If using pliers, place a rag between the pliers and the spout to avoid scratching the finish, in case you need to reuse it.
Solution: To avoid this issue: Be mindful of this warning and take appropriate precautions.
Do not apply excessive force when twisting, as this could damage the pipe inside the wall.
Solution: To avoid this issue: Be mindful of this warning and take appropriate precautions.
It's important to correctly identify the spout type before attempting removal. Applying twisting force to a spout with a set screw can damage the copper pipe inside the wall.
Solution: To avoid this issue: Be mindful of this warning and take appropriate precautions.
Scratched spout finish from wrench use.
Solution: If you need to use a wrench to unscrew a threaded spout, wrap the spout with a cloth or towel first to protect its finish from scratches.
Do not over-tighten the spout. Hand-tight should be sufficient to create a seal with the prepared threads.
Solution: To avoid this issue: Be mindful of this warning and take appropriate precautions.
Frequently Asked Questions
How difficult is replacing a tub spout diverter, and how long does it typically take a beginner?
This project is considered beginner-level for most DIYers and is typically completed within two hours. The process is straightforward, focusing on careful removal of the old spout and ensuring a proper, leak-free seal with the new one.
What specialized tools or materials will I absolutely need to replace my tub spout diverter?
You will primarily need a new diverter tub spout, plumber's tape, and silicone caulk with a caulk gun. Depending on your current spout's installation, an Allen wrench (hex key) might be necessary to loosen a set screw for removal. Rags and towels are also essential for cleanup and protecting your tub.
What's the most common mistake DIYers make when installing a new tub spout, and how can I avoid leaks?
The most common mistake is failing to create a proper seal, leading to leaks behind the wall or around the spout's base. To avoid this, thoroughly clean the pipe stub, apply plumber's tape correctly to threaded connections, and generously caulk the gap between the new spout and the wall.
Can I just repair the diverter mechanism inside my existing tub spout instead of replacing the whole thing?
For most modern tub spouts, especially slip-on or screw-on types, the diverter mechanism is an integrated component of the spout assembly. It cannot be easily repaired or replaced separately. Replacing the entire tub spout is generally the most straightforward and reliable solution for a broken diverter.
What's the most important safety precaution I should take before starting this tub spout replacement?
Always turn off the main water supply to your shower and tub before beginning any plumbing work to prevent accidental flooding. Additionally, place a towel or rag over the drain and on the tub floor to protect the finish from scratches or dropped tools during the process.
I've installed the new spout, but water is still leaking from the tub spout when the shower is on. What should I check?
First, confirm the new spout is fully seated and, if it's a slip-on type, that any set screw is securely tightened. Recheck that you applied plumber's tape correctly and generously to the pipe threads, and ensure the silicone caulk created a complete, watertight seal around the base of the spout against the wall. A small gap can allow water to escape.


