Garage Floor Epoxy Coating
About This Project
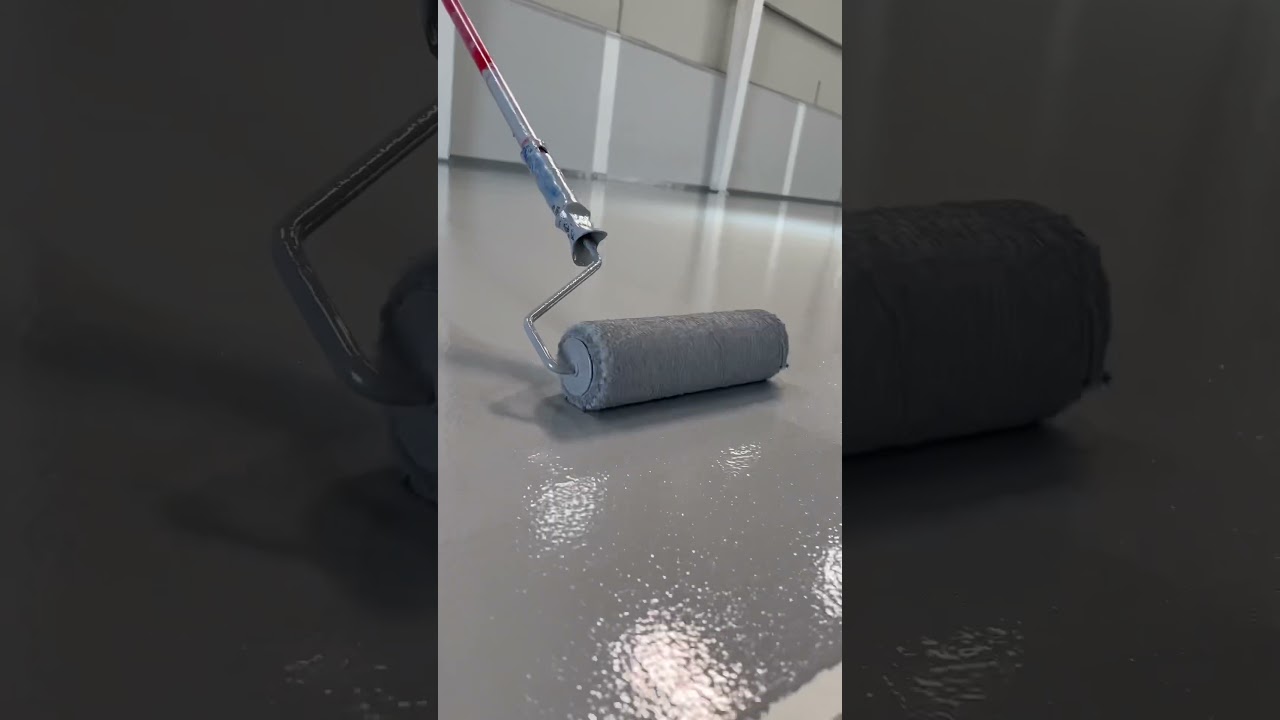
This project involves preparing a concrete garage floor and applying an epoxy coating to create a durable, attractive, and easy-to-clean surface.
Tools & Materials

HDX Giant Commercial Corn Broom 750
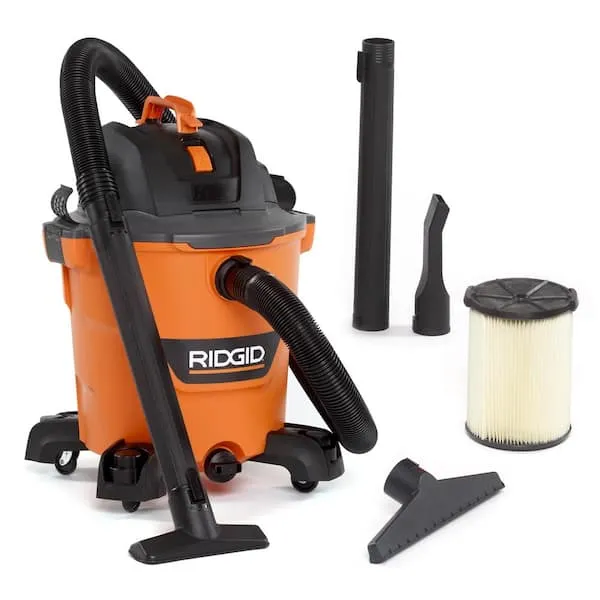
Shop Vacuum

Libman Floor and Deck Scrub Brush with Steel Handle 547
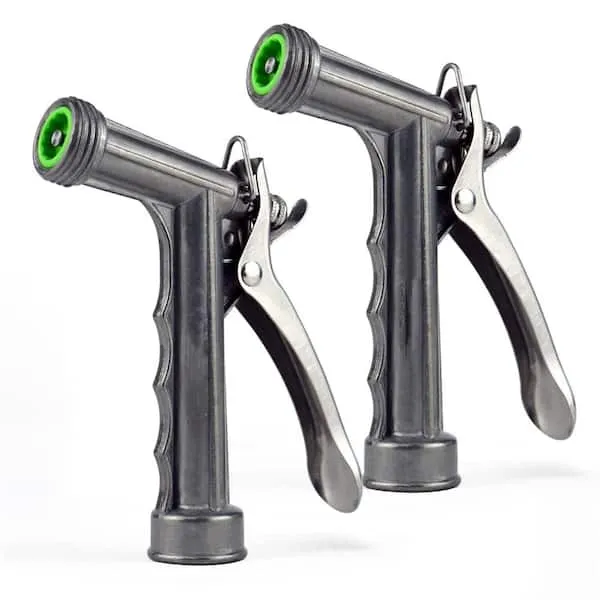
Hose with high-pressure nozzle
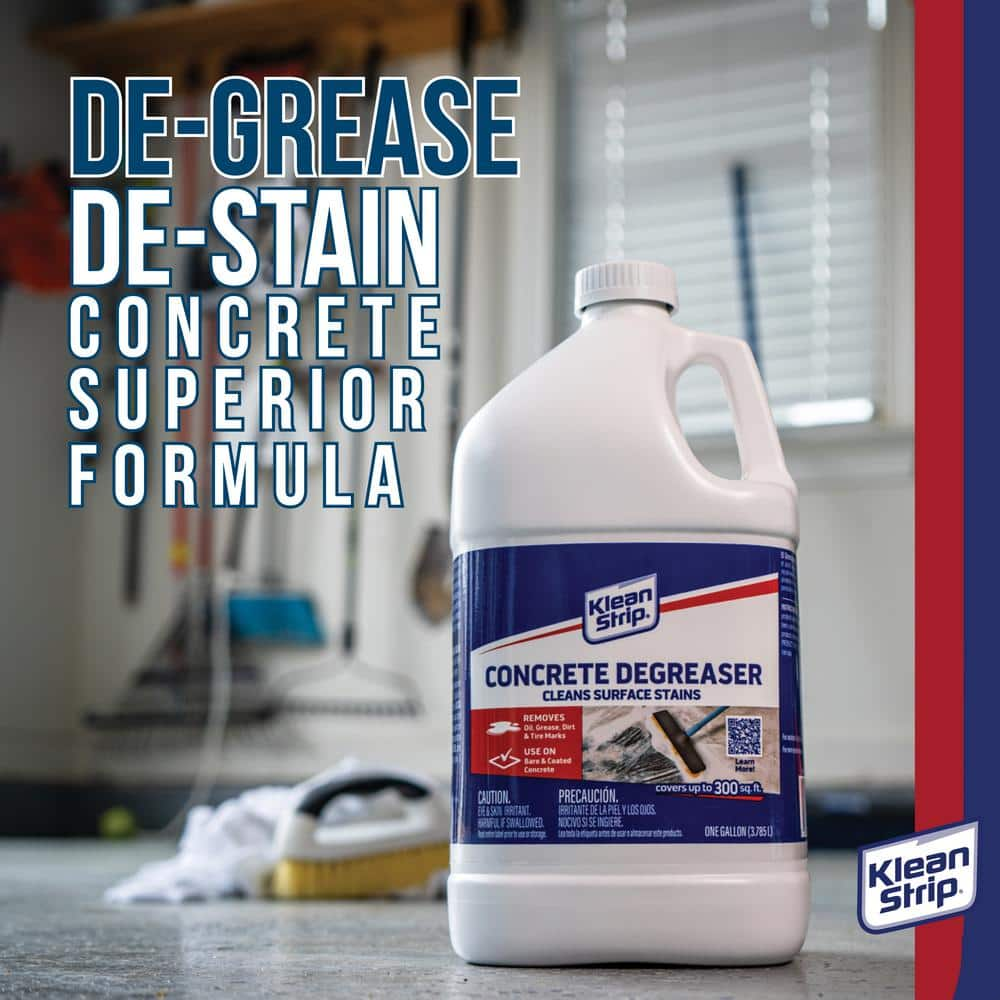
Klean-Strip 1 gal. Liquid Concrete Degreaser, Cleans Surface Stains Removes Oil, Grease and Dirt on Concrete Unscented (1-Pack) GKCD755

Heavy Duty Latex Gloves
HDX Giant Commercial Corn Broom 750
This Giant Commercial Corn Broom is a premium, heavy-duty corn broom with exceptional fiber weight that picks up dirt and dust effectively. It offers an extra wide 15 in. sweep path, creating a larger
Shop Vacuum
Cleans workshop mess efficiently.
Libman Floor and Deck Scrub Brush with Steel Handle 547
The Libman Floor and Deck Scrub Brush with Handle is excellent for decks, garages, concrete, tile, walls, greasy back room restaurant floors and other durable hard surfaces. It has a perfectly flat scrubber
Hose with high-pressure nozzle
Powerful water spray at your fingertips.
Klean-Strip 1 gal. Liquid Concrete Degreaser, Cleans Surface Stains Removes Oil, Grease and Dirt on Concrete Unscented (1-Pack) GKCD755
Clean surface stains by removing oil, grease, dirt, and tire marks with Kelan-Strip Concrete Degreaser. Use on bare or coated, interior or exterior concrete. Do not use on raw wood, ceramic tile, polished
Heavy Duty Latex Gloves
Protection during intense tasks.
Steps

Clean the Garage Floor
60 minutesBefore any other preparation, it's crucial to remove all loose debris from the concrete surface. This involves sweeping the entire floor area with a stiff-bristled broom to dislodge dirt and then using a shop vacuum to meticulously pick up all the swept-up particles, ensuring no dust remains.
Watch: Prepare the Concrete Floor
Degrease the Concrete
120 minutesConcrete often has oil or grease stains that can prevent epoxy adhesion. Apply a specialized concrete degreaser according to the product's instructions. Use a stiff brush or a floor scrubber to agitate the degreaser into the stains, working it into the pores of the concrete. After scrubbing, rinse the floor thoroughly with clean water.
Watch: Degrease and Scrub the Concrete Floor
Repair Cracks and Pits
90 minutesInspect the concrete surface for any imperfections such as cracks, chips, or spalled areas. Use a concrete patching compound or epoxy filler to repair these. Mix the patching compound according to the manufacturer's directions and apply it to the damaged areas, ensuring it's level with the surrounding concrete. Allow the patch to cure fully as per the product's instructions.
Watch: Repair Concrete CracksEtch or Grind the Concrete
240 minutesThe concrete surface needs to be porous to ensure the epoxy adheres properly. This can be achieved in two ways: acid etching or mechanical grinding. For acid etching, mix a concrete etching solution (typically phosphoric or citric acid-based) with water according to instructions, spread it over the floor, scrub, and then rinse thoroughly, neutralizing any remaining acid. For mechanical grinding, use a concrete grinder with the appropriate diamond tooling to create a consistent profile across the entire surface. After grinding, vacuum all dust thoroughly.
Watch: Grind and Prepare Concrete Surface
Final Cleaning and Drying
180 minutesAfter etching and rinsing, or after grinding and vacuuming, it's essential to ensure the floor is completely clean and dry. Use a wet vacuum to remove all residual water or dust. For etching, a final rinse with clean water may be necessary, followed by squeegeeing the water towards a drain or collection point. Allow the concrete to dry completely, which can take 24-72 hours depending on humidity and temperature. Use fans to accelerate drying if necessary.
Watch: Remove Excess Water and Dry
Mix the Epoxy Coating
20 minutesRead the epoxy manufacturer's instructions carefully. Typically, a two-part epoxy system requires precise measurement of both the resin (Part A) and the hardener (Part B). Pour the measured components into a clean mixing bucket. Mix thoroughly with a drill equipped with a mixing paddle for the specified time (usually 2-3 minutes), scraping the sides and bottom of the bucket to ensure all material is incorporated. Be careful not to whip air into the mixture.
Watch: Mix the Epoxy Coating
Apply the Epoxy Coating
180 minutesOnce mixed, immediately begin applying the epoxy. Start by pouring a bead of epoxy along one edge of the floor or a designated starting point. Use a high-quality squeegee or roller designed for epoxy coatings to spread the material evenly. Work in manageable sections, maintaining a wet edge to avoid visible seams. For edges and corners, use a brush. Ensure consistent thickness across the entire surface.
Watch: Apply Epoxy Base Coat
Apply Decorative Flakes (Optional)
45 minutesIf using decorative flakes, broadcast them into the wet epoxy immediately after spreading the coating. Toss the flakes up into the air so they fall randomly onto the surface, creating a speckled appearance. The density of the flakes can be controlled by how heavily you throw them. Aim for even distribution across the entire floor.
Watch: Sprinkle Decorative FlakesAllow Epoxy to Cure
168 minutesAfter application, the epoxy needs to cure fully without any traffic. The curing time varies significantly depending on the product used, temperature, and humidity. Typically, it requires at least 24-72 hours for light foot traffic and 5-7 days for vehicular traffic. Ensure the garage remains clean and free from moisture during this period.
Watch: Allow to Cure
Apply a Clear Top Coat (Optional)
120 minutesFor added protection against scratches, chemicals, and UV fading, a clear top coat (such as a polyaspartic or urethane) can be applied after the base epoxy has fully cured. Mix and apply the top coat following the manufacturer's specific instructions, similar to the base epoxy application. This step can significantly extend the life and appearance of the epoxy floor.
Watch: Apply Clear TopcoatCommon Problems
The epoxy isn't sticking to the concrete, or it's peeling up in sections, especially within a few days or weeks of application.
Solution: For small areas of peeling, you'll need to carefully scrape or grind off the loose epoxy. Then, thoroughly clean and re-etch or grind that specific spot again to ensure the concrete is porous and free of contaminants. Once dry, reapply the epoxy. For large areas, this problem often requires stripping the entire coating and starting over, as the underlying issue (poor adhesion) is widespread.
Prevention: The most critical step for epoxy success is surface preparation. Ensure the concrete is thoroughly degreased, cleaned, rinsed, and then etched or ground until it feels like 80-grit sandpaper. Water should soak into the concrete immediately, not bead up. Allow the floor to dry completely for at least 24-48 hours after cleaning and etching/grinding, or longer if in a humid environment. Use a moisture meter if possible, or perform a simple plastic sheet test (tape a 2x2 ft plastic sheet to the floor for 24 hours; if condensation forms underneath, it's not dry enough).
After the recommended cure time (usually 24-72 hours), the epoxy remains sticky, soft, or tacky to the touch, and doesn't harden properly.
Solution: If the epoxy is only slightly tacky, try increasing the garage temperature to the upper end of the manufacturer's recommended range (e.g., 75-80°F or 24-27°C) and allow more time for it to cure. If it's severely tacky, mushy, or still liquid-like, it indicates a significant mixing error. You will likely need to scrape off the uncured epoxy using a putty knife and solvent (like acetone or denatured alcohol), then thoroughly clean the area before attempting to reapply a new, properly mixed batch. This is a very difficult and messy fix.
Prevention: Always follow the manufacturer's instructions precisely for mixing Part A (resin) and Part B (hardener). Use exact measurements, typically by volume, and mix for the recommended duration (e.g., 2-3 minutes) with a drill mixer, scraping the sides and bottom of the bucket thoroughly to ensure full activation. Never try to 'eyeball' the ratio. Ensure the garage temperature is within the manufacturer's specified range (usually 60-80°F or 15-27°C) before, during, and after application.
Small craters, dimples (often called 'fisheyes'), or tiny bubbles appear on the surface of the cured epoxy, creating an uneven or imperfect finish.
Solution: For minor bubbles, you might be able to lightly sand the raised areas and apply a thin clear topcoat if desired. For fisheyes, which are usually caused by contamination, you'll likely need to sand down the affected epoxy layer to remove the contaminant, thoroughly re-clean the area (often with a strong degreaser), and then reapply a fresh coat. Be aware that contaminants like silicone are very persistent.
Prevention: Ensure the concrete is impeccably clean and free of any oils, grease, or silicone-based products (like tire shine, WD-40, or old sealers) before etching and applying epoxy. Silicone is a common culprit for fisheyes. When applying epoxy, avoid rolling too fast or too aggressively, as this can introduce air. If bubbles are a common issue for your product, using a spiked roller immediately after application can help release trapped air. Avoid applying epoxy in direct sunlight or when humidity is very high.
The concrete surface is still smooth after etching or grinding, causing water to bead up instead of soaking in, or you've experienced skin irritation from the etching acid.
Solution: If the epoxy hasn't been applied yet, you must re-etch the floor, ensuring you use the correct concentration and allow sufficient dwell time for the acid to react, or perform more extensive grinding. If the floor remains too smooth, the epoxy will not adhere properly and will likely peel. For chemical burns, immediately flush the affected skin with copious amounts of water for at least 15-20 minutes and seek medical attention.
Prevention: Always wear heavy-duty chemical-resistant gloves, chemical splash goggles, and a long-sleeved shirt and pants when handling etching acids. Have a water hose readily available. Follow the etching product's instructions precisely for dilution and application. The acid should react with the concrete, creating a fizzing sound and light bubbles; if not, the floor might be sealed, or the acid is too diluted. For grinding, ensure you use the appropriate diamond grit (e.g., #30/40) for profiling and make multiple passes if necessary to achieve a uniform, porous surface. Use a shop vacuum with a HEPA filter to manage dust during grinding and wear respiratory protection.
You run out of mixed epoxy before completing a section of your garage floor, leading to visible seams, color differences, or an unfinished look.
Solution: If you realize you're running out, immediately stop and check if you have more product on hand. If the existing epoxy is still very wet, you might be able to mix a new, small batch quickly and blend it in. However, if the epoxy has already started to 'set' or cure, a visible seam or 'flash line' (a difference in color/sheen) is almost guaranteed where the new batch meets the old. In some cases, lightly sanding the edge of the cured section might help the new material bond slightly better, but a perfect blend is very difficult.
Prevention: Accurately measure the square footage of your garage floor and calculate the required epoxy amount, adding an extra 10-15% for waste and concrete porosity. Purchase all necessary materials before starting the project. Work in manageable sections and mix smaller batches of epoxy that you can comfortably apply within the product's 'pot life' (working time), which is usually 20-45 minutes depending on temperature. Always have all your application tools ready and laid out before you begin mixing.
Decorative flakes are clumped together in some areas and sparse in others, resulting in an uneven or unnatural appearance.
Solution: If the epoxy is still very wet, you might be able to gently spread clumps with a gloved hand or by lightly brushing them with a broom. However, once the epoxy starts to cure, the flakes will be stuck, and it's extremely difficult to redistribute them without scraping off the epoxy and starting over in that section, which is generally not practical. Minor unevenness is often accepted.
Prevention: Apply flakes while the epoxy is still very wet and tacky. Use a consistent, broad, upward 'throwing' motion, allowing the flakes to gently 'rain' down onto the surface. Don't dump them directly onto the floor. Stand back and throw flakes across your body, ensuring you overlap your throws for even coverage. You can even practice the throwing motion with a handful of flakes over a tarp beforehand to get a feel for it.
Frequently Asked Questions
How crucial is floor preparation before applying epoxy?
Floor preparation is the most critical step. Proper cleaning, degreasing, and etching or grinding ensure good adhesion and prevent the epoxy from peeling or delaminating. Skipping or rushing these steps will compromise the durability and longevity of your new floor coating.
Do I really need to grind my garage floor, or is etching enough?
Grinding with a diamond disc provides the best adhesion by creating a superior profile for the epoxy to bond to, especially for smooth or previously sealed concrete. While acid etching can work for unsealed, rougher concrete, grinding is generally recommended for the most durable and long-lasting finish, particularly with higher-solids epoxy systems.
Why does this project take 4 days, and can I rush it?
The 4-day estimate accounts for thorough cleaning, crack repair drying, concrete etching/drying, epoxy application, and critical cure times between coats and before foot/vehicle traffic. Rushing can lead to poor adhesion, uneven coating, or soft spots. Always follow the manufacturer's recommended cure times for each product used.
What safety precautions should I take when working with epoxy and concrete etchers?
Always wear appropriate personal protective equipment (PPE), including safety glasses, chemical-resistant gloves, and a respirator, especially when mixing and applying epoxy or using acid etchers. Ensure excellent ventilation in your garage by opening doors and windows, and consider using fans to disperse fumes.
What are common mistakes beginners make when applying epoxy?
Common mistakes include inadequate floor preparation, applying epoxy in incorrect temperature or humidity conditions, using improper mixing ratios, and working too slowly, which can cause the epoxy to harden in the pot. Always read all product instructions carefully and work in manageable sections.
What factors influence the total cost of an epoxy garage floor project?
The total cost depends on the size of your garage, the type and quality of epoxy kit chosen (e.g., 1-part vs. 2-part, solids content), and whether you rent specialized equipment like a floor grinder. Higher quality epoxy and thorough preparation tools generally lead to a more durable finish but increase upfront costs.
How long after applying epoxy can I drive my car on it?
While epoxy may be walkable in 24-48 hours, it typically takes 5-7 days for it to fully cure and reach maximum hardness for vehicle traffic. Consult your specific epoxy product's instructions for exact return-to-service times to prevent tire marks, hot tire pickup, or other damage to the new coating.