Faucet Repair: A Step-by-Step DIY Guide
About This Project
This DIY guide provides steps to repair a leaky faucet. First, turn off both hot and cold water supply valves under the sink. Next, disconnect the supply lines from the faucet tailpieces using a basin wrench or adjustable wrench. After that, repair or replace internal components like O-rings, washers, or cartridges. Consult the faucet's manual for model-specific instructions. Finally, reassemble the faucet, reconnect the supply lines, and slowly turn the water supply back on. Check all connections for leaks, and test the faucet's functionality.
Best for advanced DIYers and professionals.
Tools & Materials
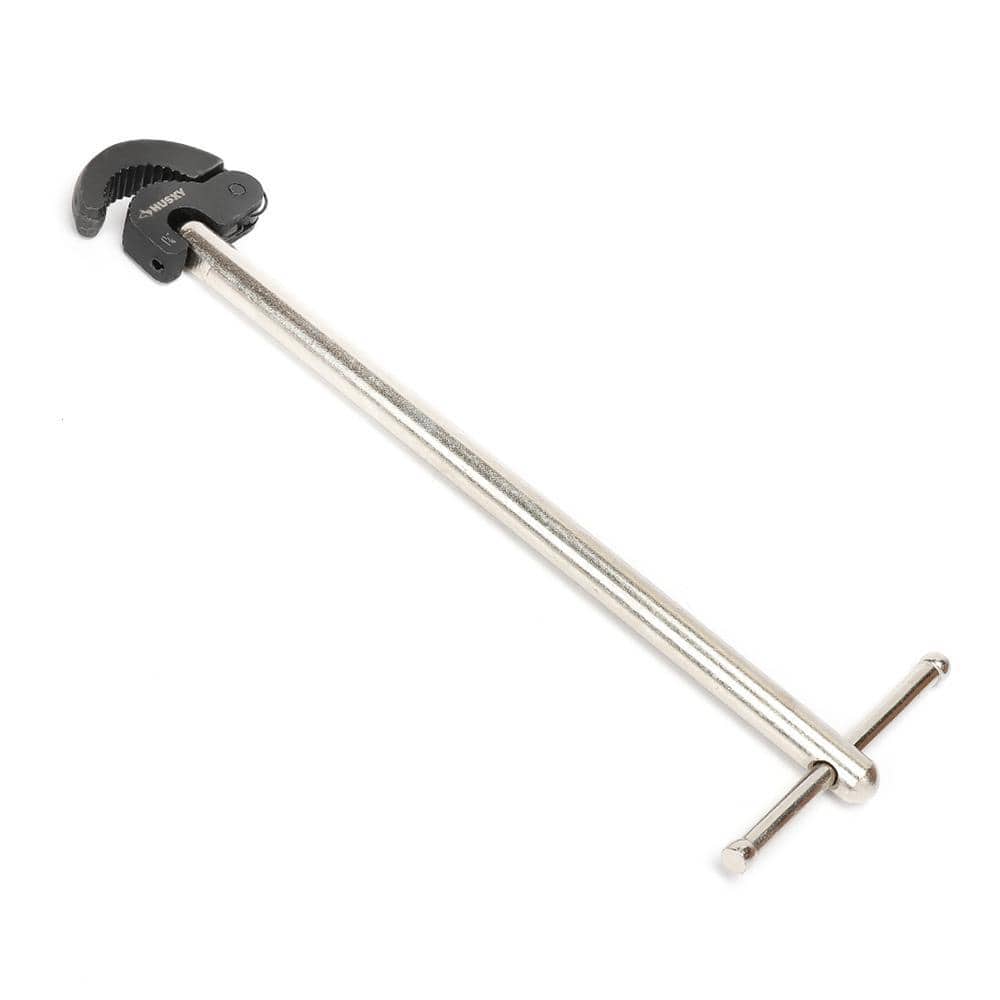
Husky Basin Wrench 16PL0127

FRESHFOLDS Orange 6-Piece Cotton Quick-Dry Bath Towel Set EC100706
Screwdriver
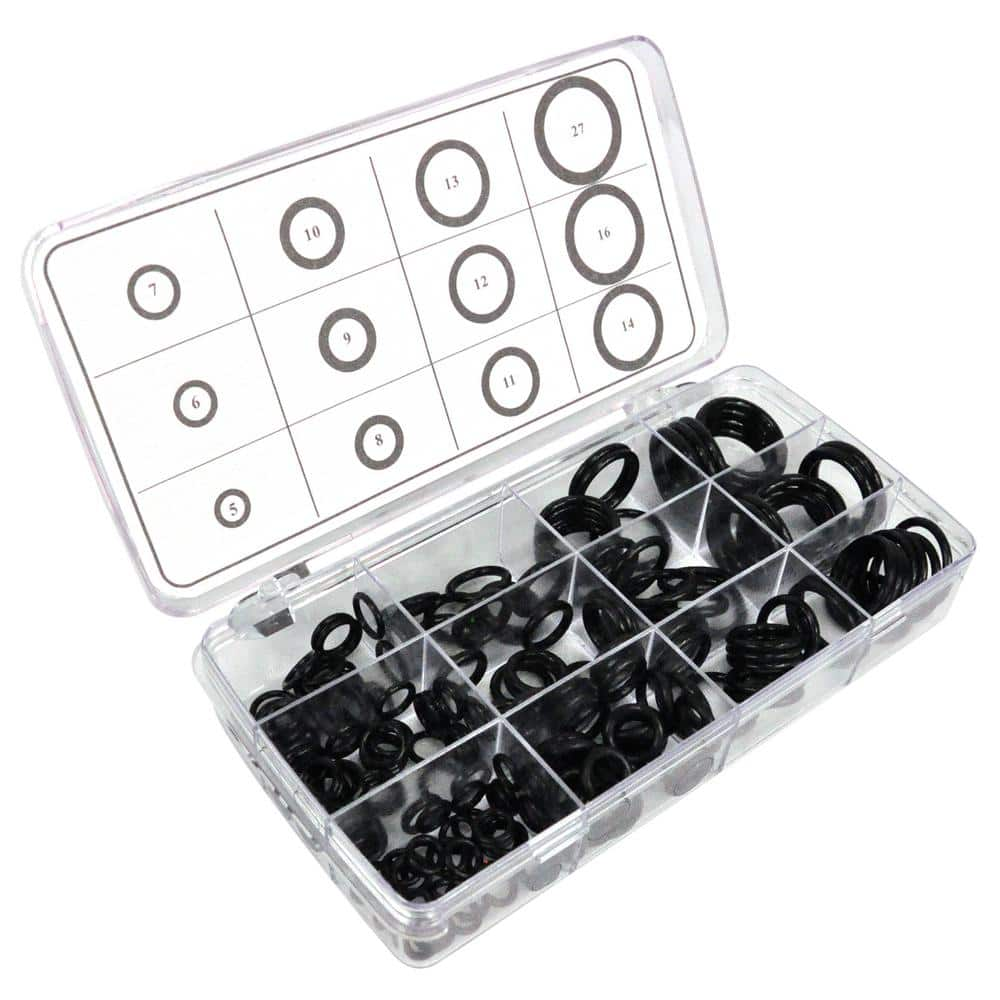
DANCO 200-Piece O-Ring Kit 34443
Husky Basin Wrench 16PL0127
Husky's 11 in. Basin Wrench is made from heavy-duty steel and has a reversible head for accessing faucet nuts in tight spaces. The 180 pivoting head holds its position at any angle to access hard-to-reach
FRESHFOLDS Orange 6-Piece Cotton Quick-Dry Bath Towel Set EC100706
This cotton towel is quick-drying, absorbent and features a soft cotton popcorn texture. These towels are low-twist and two-ply, so the fibers are thicker and more durable. The weave allows for more air
Screwdriver
Essential for assembling the cart with screws and installing hardware like gate latches.
DANCO 200-Piece O-Ring Kit 34443
O-rings get lost periodically and get warped/worn out over time. A damaged O-ring,(or no faucet O-ring, at all) means a poor seal, leading to a leaky mess. Always have a spare O-ring on hand! Faucet O-rings
Steps
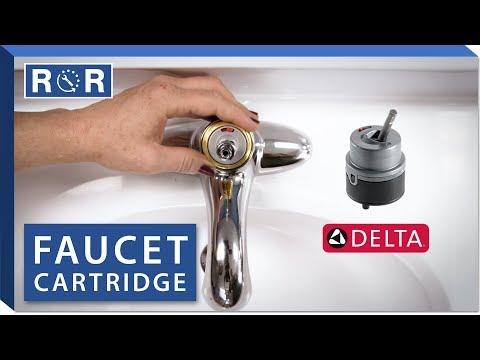

Disconnect the Faucet Supply Lines
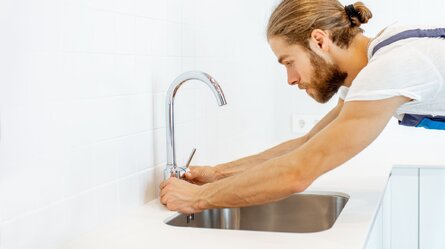
15 minsUsing a basin wrench (or adjustable wrench if needed), carefully disconnect the supply lines from the faucet tailpieces. Place a towel or bucket underneath to catch any drips. Don't forget to plug the sink drain to prevent losing small parts during the process!
Watch: Disconnect Supply Lines
Repair or Replace Faucet Internal Components
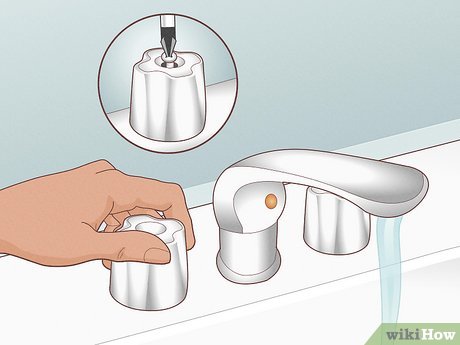
1 minCarefully disassemble the faucet handle and spout. Replace any worn-out O-rings, washers, or cartridges. For compression faucets, this typically involves removing the handle screw, handle, packing nut, and stem. Remember to clean away any mineral deposits to prevent future issues. Consult your faucet's manual or find online diagrams for your specific model.
Watch: Reassemble Faucet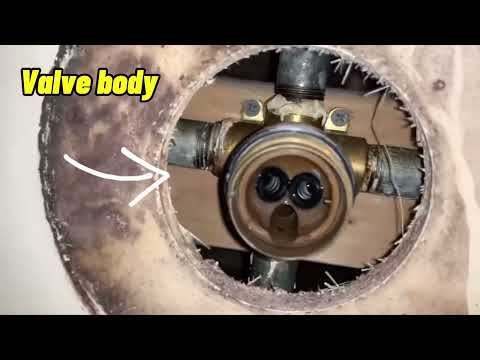
Reassemble and Test the Faucet
30 minsReassemble the faucet components, ensuring everything is properly aligned. Reconnect the supply lines, and slowly turn the water supply back on. Carefully inspect all connections for leaks. If any leaks occur, turn the water off immediately, and re-tighten all connections. Test the faucet thoroughly by turning the handles fully on and off several times.
Watch: Test for LeaksCommon Problems
Be gentle when loosening the connections to avoid damaging the pipes or valves.
Solution: To avoid this issue: Be mindful of this warning and take appropriate precautions.
Struggling to reach and tighten faucet supply lines in tight spaces.
Solution: Use a basin wrench to help tighten supply lines effectively
Water sprays everywhere if connections aren't sealed properly.
Solution: Turn the water back on slowly to check for leaks at the connections before turning it on fully. This can prevent a large spray if something isn't seated correctly.
Faucet can deliver scalding water or not enough hot water if temperature stop isn't adjusted.
Solution: These cartridges often have a temperature limit stop that can be adjusted. You can set this before putting the handle back on if you want to change the maximum hot water temperature.
Do not overtighten the retaining nut or the set screw, as this can damage the plastic threads or the cartridge.
Solution: To avoid this issue: Be mindful of this warning and take appropriate precautions.
Water sprays everywhere if you don't check for leaks after a faucet repair.
Solution: Turn the water on slowly at first to check for leaks before turning it on fully.
Ensure both hot and cold water valves are completely closed before proceeding.
Solution: To avoid this issue: Be mindful of this warning and take appropriate precautions.
Frequently Asked Questions
Is a basin wrench always necessary, or can I complete this repair with only an adjustable wrench and screwdriver?
While an adjustable wrench might work for some accessible nuts, a basin wrench is highly recommended for faucet supply lines. Its long handle and swivel head are designed to reach tight spaces under the sink, making disconnection much easier and preventing scraped knuckles. It's worth the small investment if you plan on doing more plumbing DIYs.
I'm worried about flooding my kitchen. What's the most important safety precaution for this project?
The most critical step is to completely turn off both the hot and cold water supply valves under the sink *before* starting any disassembly. After turning them off, open the faucet briefly to drain any remaining water from the lines. This prevents unexpected leaks and potential water damage when you disconnect the supply lines.
How much does a typical leaky faucet repair cost, and is a 'beginner' difficulty truly accurate for someone new to plumbing?
The cost is usually minimal, often just a few dollars for replacement O-rings, washers, or a cartridge (typically $10-$30). While classified as 'beginner,' the difficulty can vary depending on faucet accessibility and component type. Expect potential frustrations with tight spaces, but with patience and the right tools, it's very manageable.
I've replaced the internal components, but the faucet is still leaking. What should I troubleshoot next?
First, ensure all connections are tight but not overtightened. Recheck that the correct replacement parts were used for your specific faucet model, as slight variations can cause leaks. Sometimes, the faucet body itself might be corroded, or the valve seat needs attention, potentially requiring a full faucet replacement if repairs aren't effective.
How do I identify which specific O-rings, washers, or cartridge I need to replace for my faucet model?
The best approach is to consult your faucet's original manual for model-specific part numbers. If you don't have the manual, carefully remove the old component and take it to a hardware store; store associates can often help you match it to a new one or recommend a universal kit if applicable.
My faucet is quite old, and I'm unsure if I should repair it or just buy a new one. What's your advice?
If the faucet is very old, corroded, or if replacement parts are hard to find, a new faucet might be a better long-term solution. While repairing is often cheaper, a new faucet can offer updated style, improved functionality, and a fresh start without future leak worries. Consider the total age, condition, and cost of parts versus a new unit.