Faucet Cartridge Replacement: Fix Leaks & Restore Water Flow
About This Project
This project details how to replace a faucet cartridge to fix leaks and restore proper water flow. The steps include turning off the water supply, removing the faucet handle, pulling out the old cartridge, installing the new cartridge, and testing the faucet for leaks.
Best for experienced DIYers and homeowners with some experience.
Tools & Materials
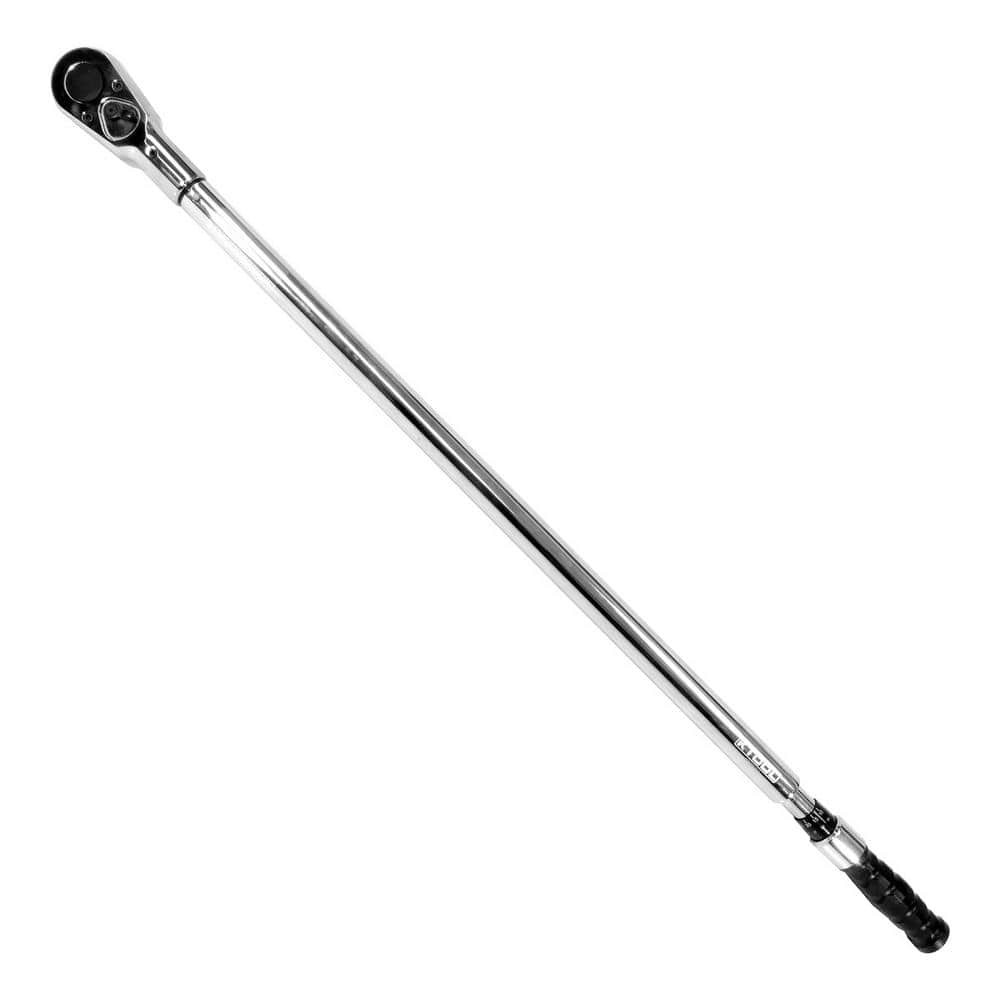
K Tool International Torque Wrench KTI72176A
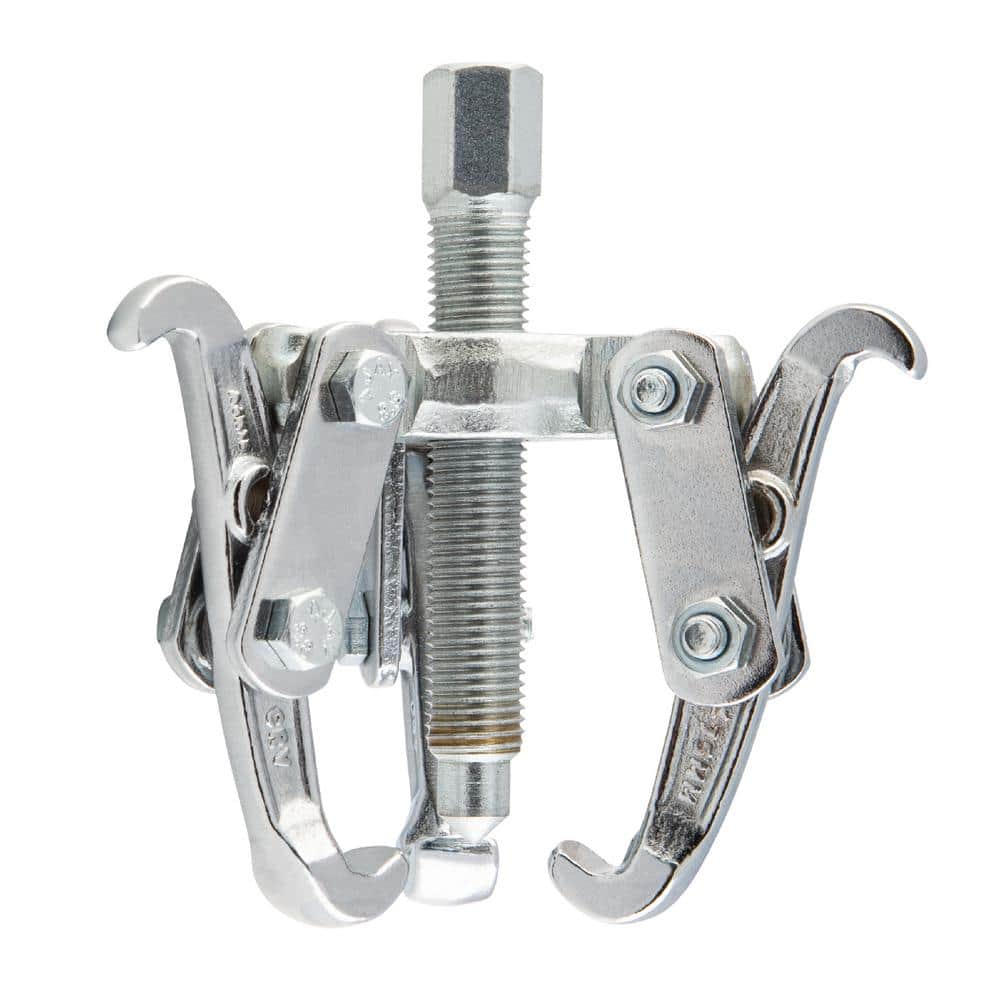
Arcan Hardened 3 in. Gear Puller AS3GP
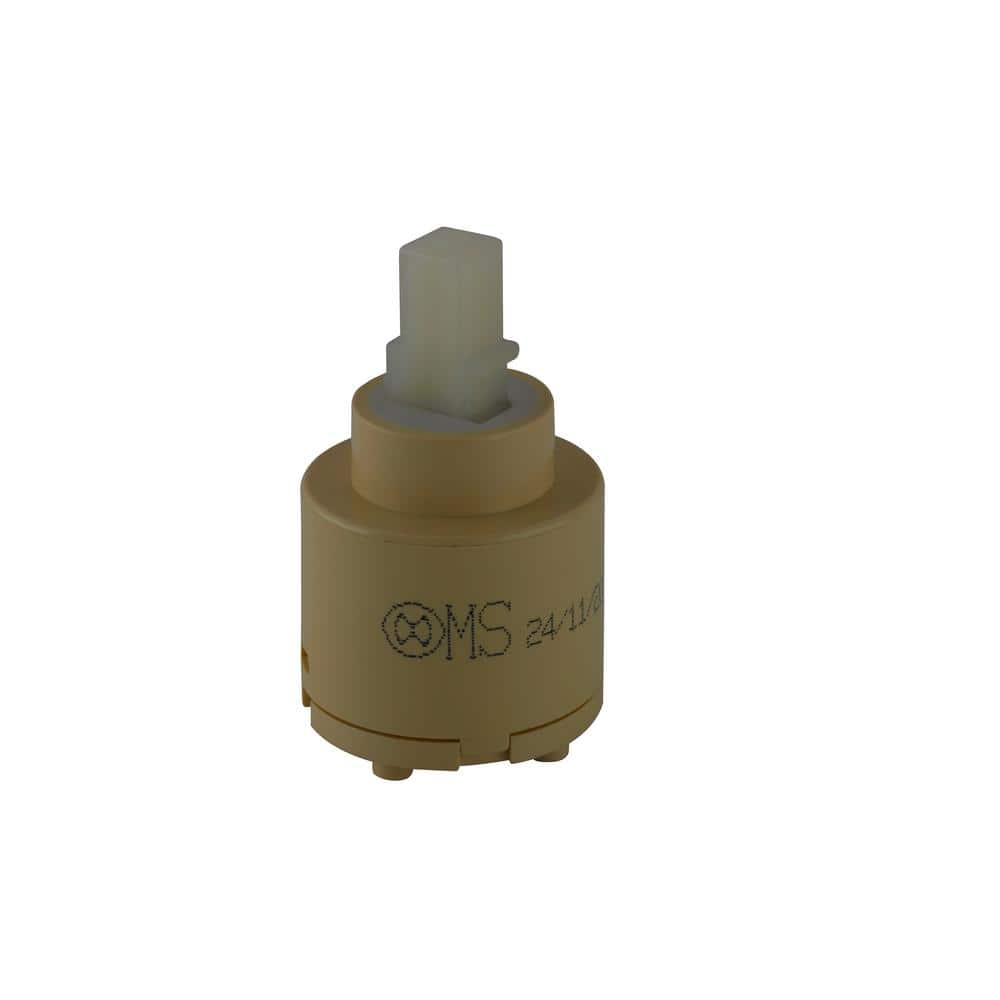
Glacier Bay Faucet Ceramic Cartridge Assembly External Diameter 35 mm Ø4.8 mm RP90118
K Tool International Torque Wrench KTI72176A
This is a ratcheting torque wrench. It has a 3/4 in. drive. It is adjustable.
Arcan Hardened 3 in. Gear Puller AS3GP
The Arcan AS3GP Hardened 3 in. Gear Puller has reversible jaws with 8-adjustable positions that allow for inside and outside grip. Made from heat treated chrome vanadium steel, these gear pullers have
Glacier Bay Faucet Ceramic Cartridge Assembly External Diameter 35 mm Ø4.8 mm RP90118
This Glacier Bay Single Control Cartridge Assembly is available to help repair your leaky kitchen faucet to be good as new. This cartridge is for hot and cold application. Includes limited lifetime warranty
Steps

Shut Off Water Supply
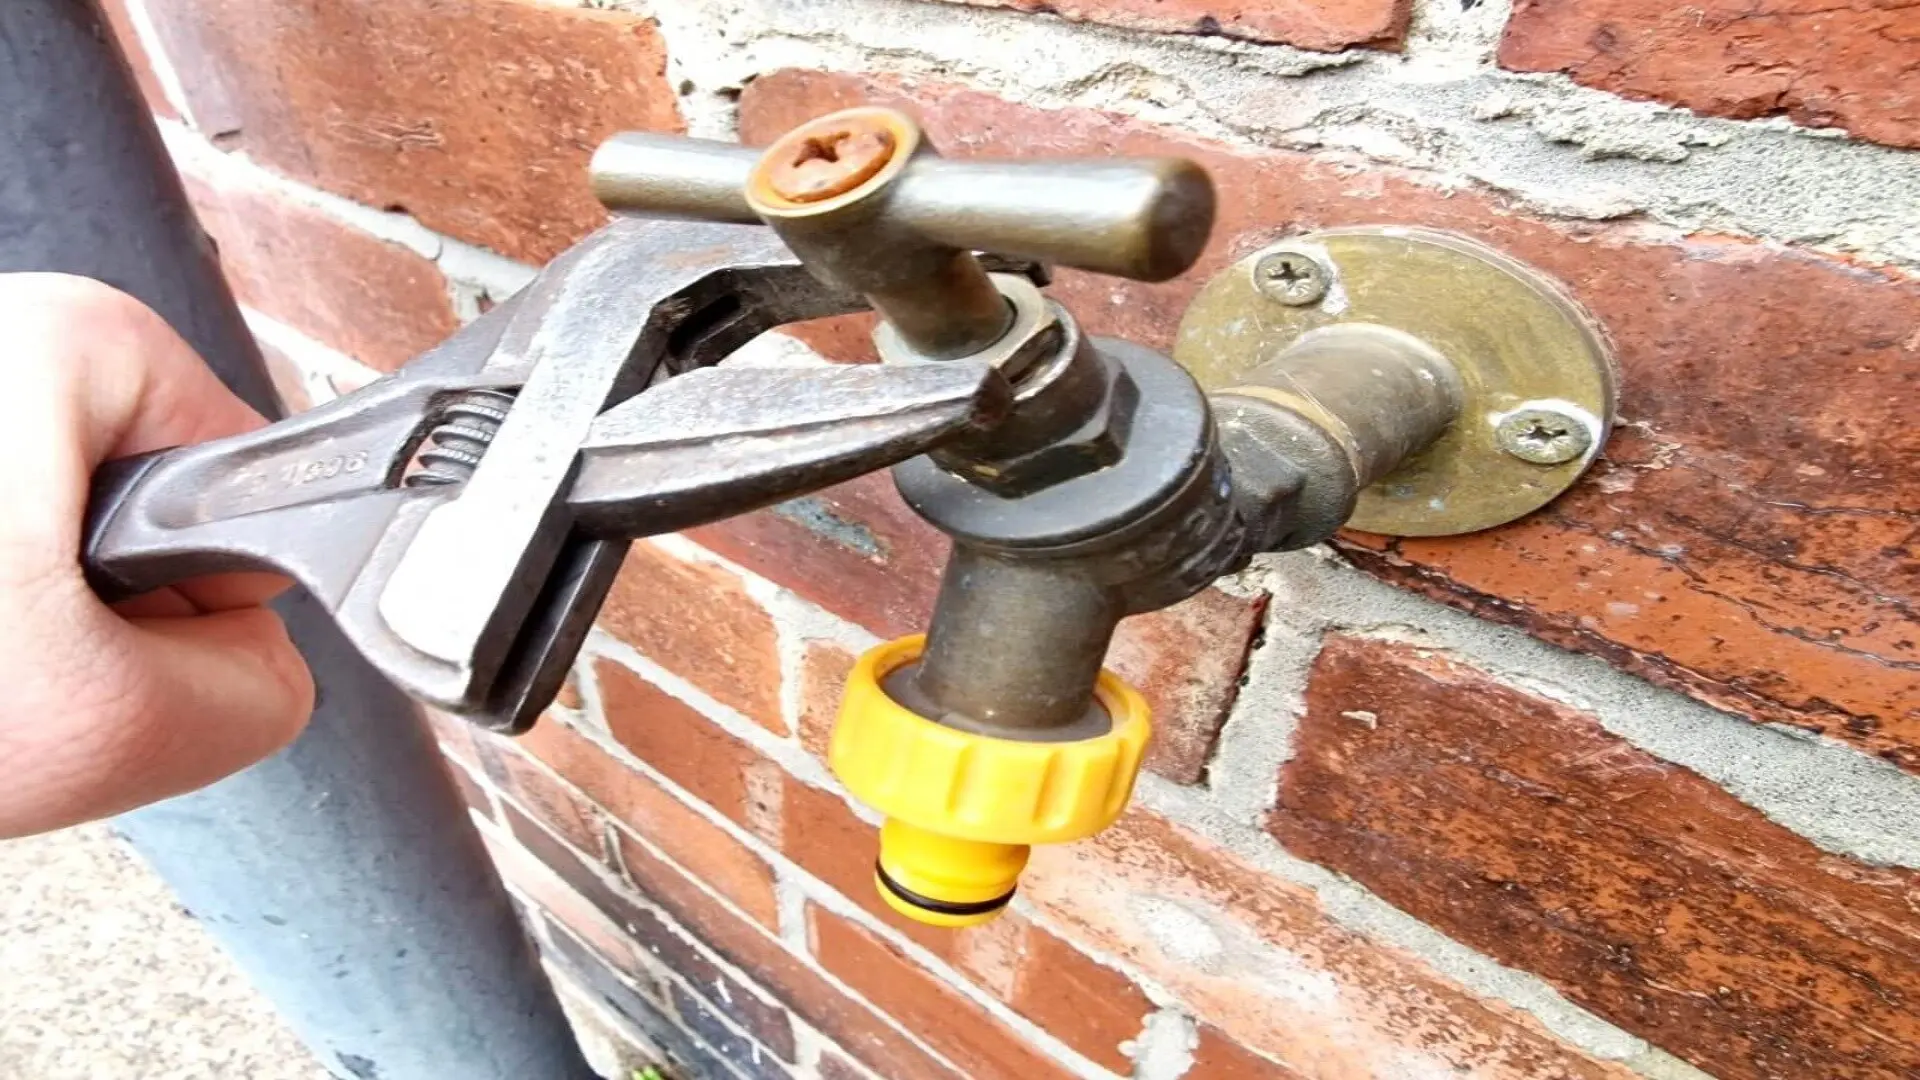
5 minsBefore you begin, safety first! Turn off both the hot and cold water supply lines under your sink. Then, turn the faucet on briefly to release any remaining water pressure. If you can't locate the shut-off valves under the sink, you may need to turn off the main water supply to your house.
Watch: Turn Off Water Supply
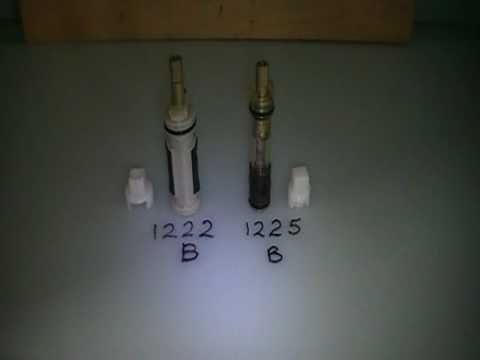

Install the New Cartridge
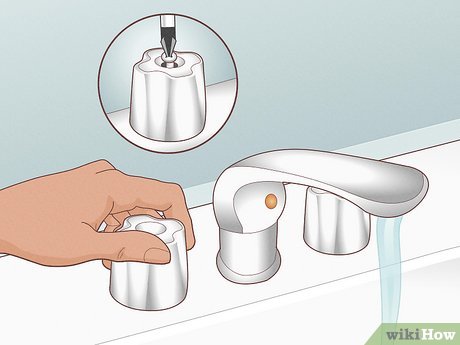
15 minsCarefully install the new cartridge, making sure it's properly aligned with any tabs or slots in the faucet body. Push it firmly into place until it's secure. Reassemble the faucet handle and screw in the same order you removed them.
Watch: Install New Cartridge
Common Problems
Do not overtighten the retaining nut or the handle screw, as this can crack the plastic components or strip the threads.
Solution: To avoid this issue: Be mindful of this warning and take appropriate precautions.
Cartridge moves and leaks if not seated on the internal nib.
Solution: Ensure the cartridge fits properly into the internal nib to prevent it from moving around when the faucet is turned on.
Cartridge won't seat properly, causing leaks.
Solution: Align the cartridge lugs with the corresponding holes in the faucet body.
Ensure both the hot and cold water lines are fully shut off before proceeding to the next step.
Solution: To avoid this issue: Be mindful of this warning and take appropriate precautions.
Ignoring one water line can lead to unexpected flooding during faucet repair.
Solution: Turn off both hot and cold water, even if you only think one side is leaking.
Always double-check that the water is off by turning on the faucet.
Solution: To avoid this issue: Be mindful of this warning and take appropriate precautions.
Sudden water surges can damage plumbing during faucet cartridge replacement.
Solution: Turn the water on slowly to avoid a sudden surge of pressure which could damage the plumbing.
Frequently Asked Questions
Do I truly need the specialized 'Arcan Hardened 3 in. Gear Puller' or 'K Tool International Torque Wrench' for this beginner project?
While a gear puller can be helpful for stubborn faucet handles or cartridges, standard pliers or a screwdriver often suffice for removal. A torque wrench is typically unnecessary for residential faucet cartridges; hand-tightening followed by a snug turn with a crescent wrench is usually adequate.
What crucial safety precautions should I take beyond just turning off the water supply before starting this project?
Always turn off the main water supply valves located directly under the sink for the specific faucet you're working on. After turning off the water, open the faucet briefly to relieve any residual water pressure and drain remaining water from the lines.
What should I do if the faucet handle or old cartridge is stuck and won't budge during removal?
For a stuck handle, try applying penetrating oil around the base and letting it sit for a few minutes before attempting removal with a gear puller or pry tool. If the cartridge is stuck, ensure you've removed all retaining clips or nuts, and consider using a cartridge-specific puller if available for your faucet model.
As a beginner, how long should I expect this faucet cartridge replacement to take, and what's the typical cost?
For a beginner, this project typically takes 30-60 minutes, assuming you have the correct replacement part and encounter no major complications. The cost is primarily for the new cartridge, usually ranging from $10 to $40, making it a very cost-effective repair.
I replaced the cartridge, but my faucet is still leaking or the water flow isn't right. What should I check?
Double-check that the new cartridge is inserted correctly and all retaining clips, nuts, or screws are tightened securely. Ensure the O-rings on the cartridge are not pinched or damaged, and verify you installed the correct cartridge model for your specific faucet.
Are all faucet cartridges universal, or do I need a specific type, and how do I identify it?
Faucet cartridges are not universal and are specific to the faucet brand and model. To identify the correct replacement, find your faucet's brand and model number (often printed on the faucet or handle base), then refer to the manufacturer's parts list or bring the old cartridge to a hardware store for matching.