Complete Shower Faucet Replacement: A Step-by-Step DIY Guide
About This Project
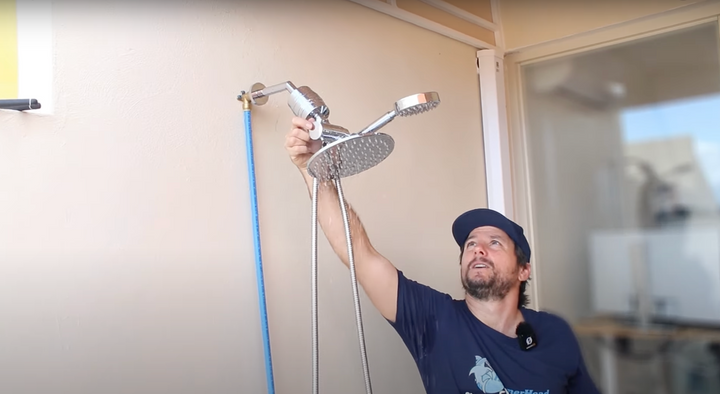
1. **Turn Off Water:** Locate the shut-off valves for your shower and turn them clockwise to completely stop the water flow. Test to confirm the water is off. 2. **Remove Old Handle:** Take off the old shower handle. This usually involves unscrewing a decorative cap or screw, then pulling off the handle. If stuck, carefully pry it loose with a flathead screwdriver. 3. **Remove Old Showerhead:** Unscrew the old showerhead counter-clockwise. If it's stuck, use a cloth-wrapped adjustable wrench to protect the finish while loosening. 4. **Install New Faucet Body:** Install the new faucet body, using plumber's putty or Teflon tape on the threads before screwing it in. Attach the escutcheon plate and handle following the manufacturer's instructions. 5. **Install New Showerhead:** Screw the new showerhead clockwise onto the shower arm. Hand-tighten initially, then finish tightening with a wrench (use a cloth to protect the finish), but don't overtighten. 6. **Check for Leaks:** Turn the water back on slowly, checking all connections for leaks. Tighten any loose fittings as needed.
Best for experienced DIYers and homeowners with some experience.
Tools & Materials
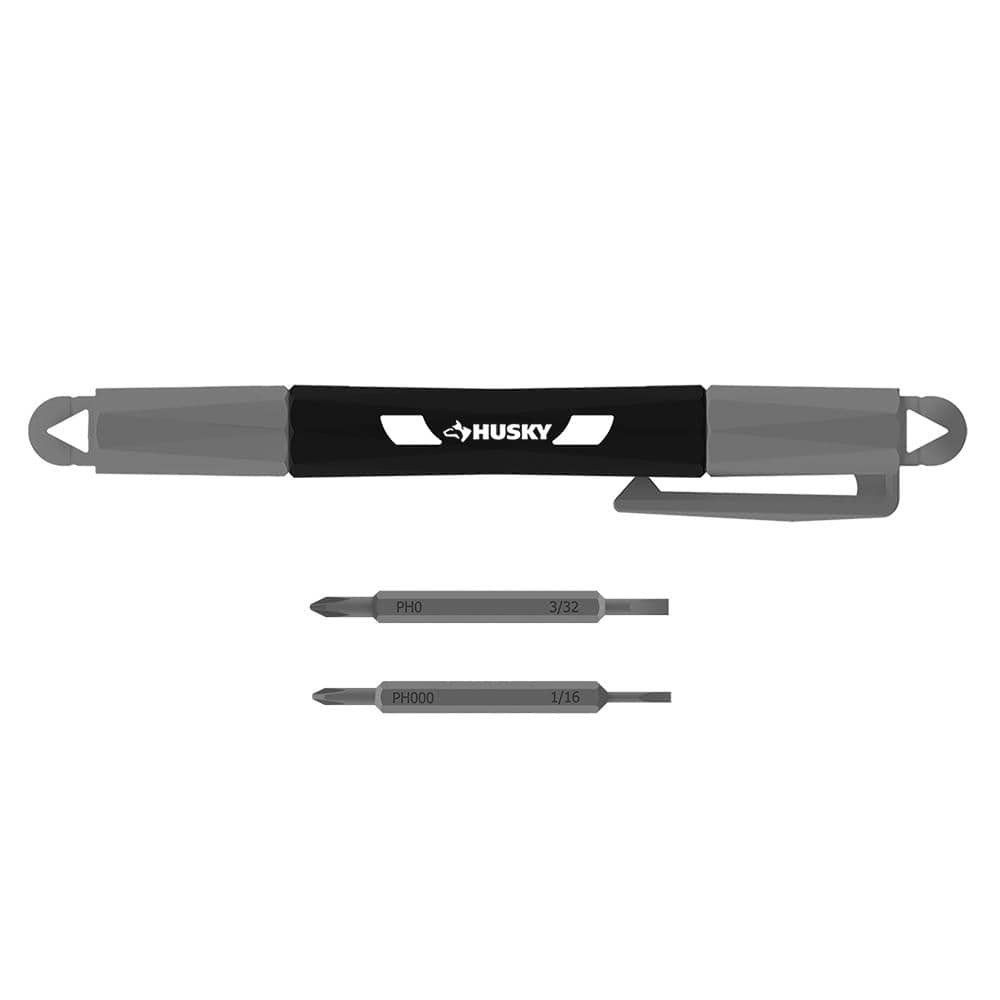
Husky Pocket Screwdriver (4 in 1) 632360012
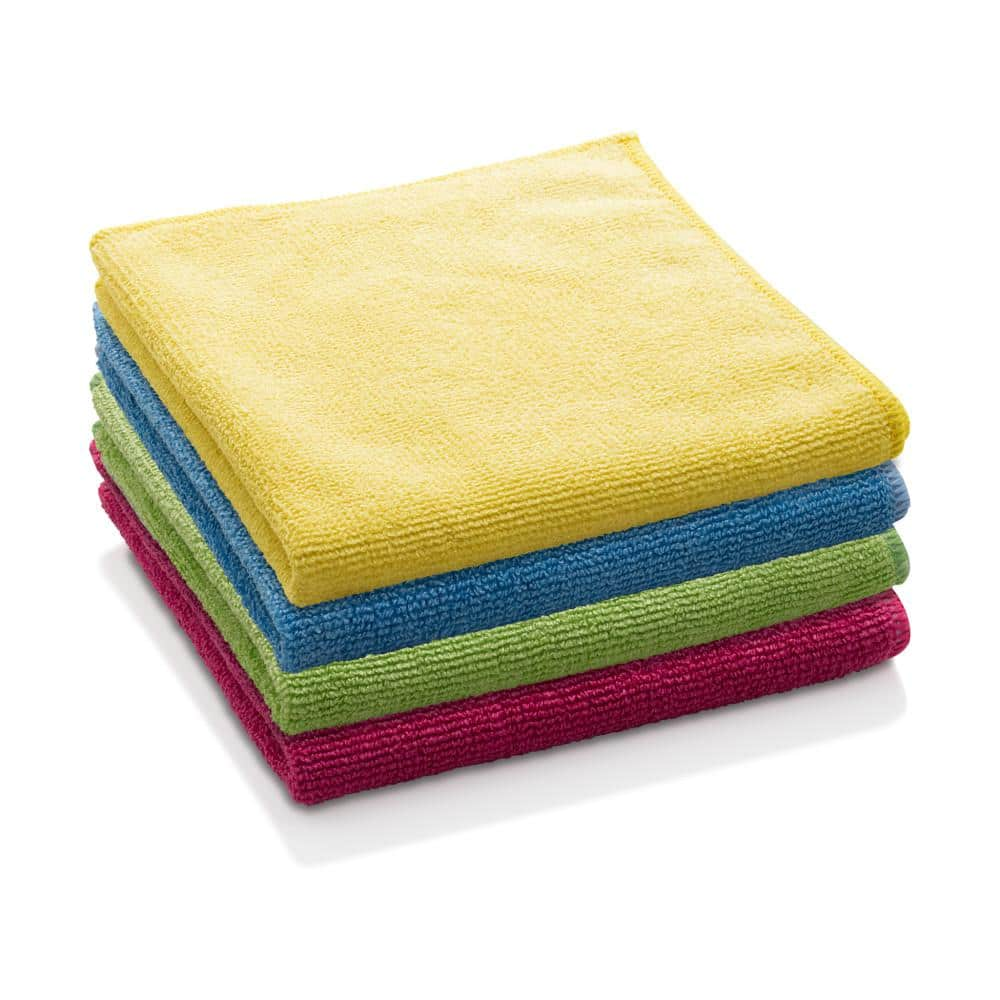
E-Cloth Microfiber General Purpose Cloths - Assorted Colors - 4 Pack 10902M

Adjustable Wrench
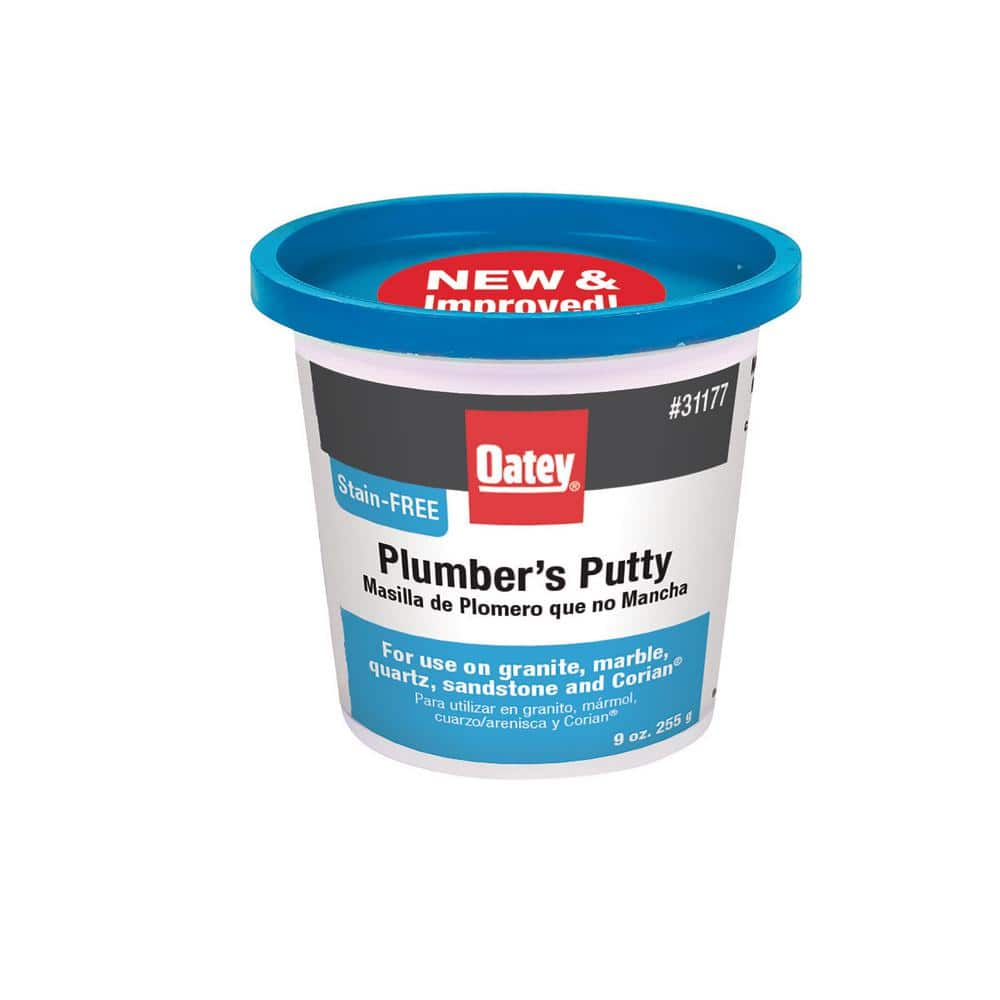
Oatey 9 oz. Stain-Free Plumber's Putty 31177
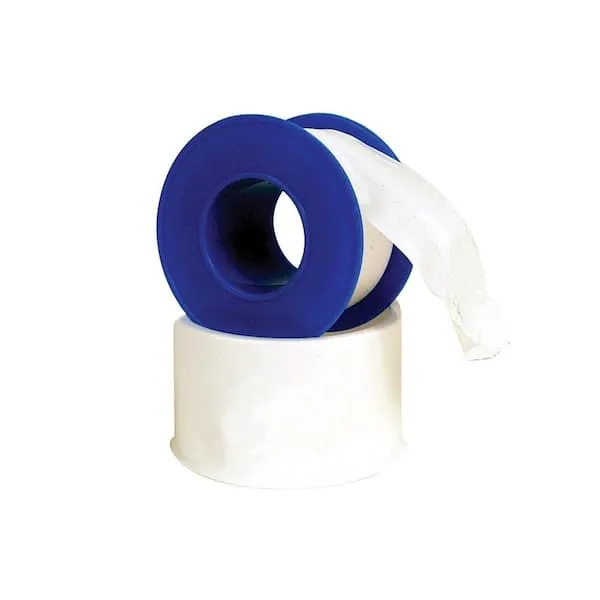
Teflon Tape
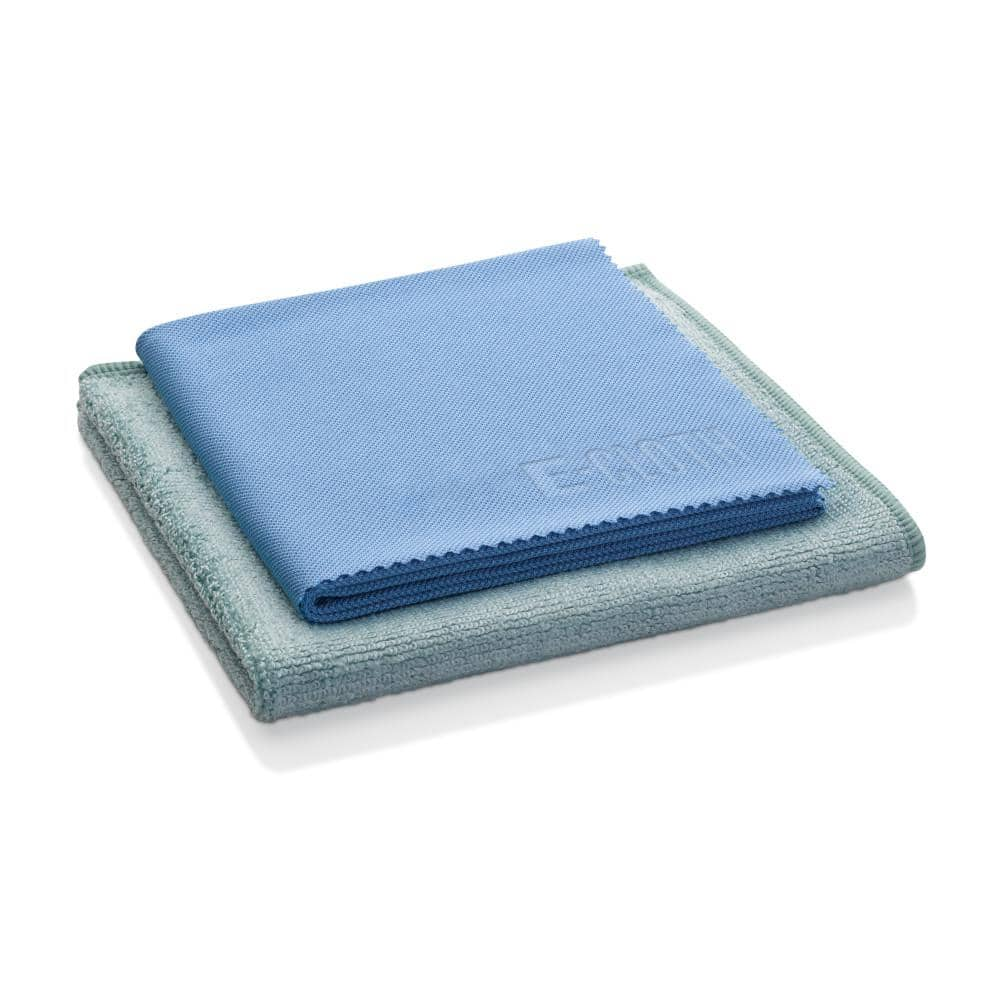
E-Cloth 20 in. x 16 in. Microfiber Kitchen Cleaning Kit 2 Cloth Set 10601M
Husky Pocket Screwdriver (4 in 1) 632360012
The Husky 4-in-1 Pocket Screwdriver features 4 different tips (2 double ended bits) in 1 tool, includes #0 and #000 Phillips plus 1/16 in. and 3/32 in. Slotted tips. This tools is designed for precision
E-Cloth Microfiber General Purpose Cloths - Assorted Colors - 4 Pack 10902M
Always up for some good clean fun, E-Cloth General Purpose Cloths tackle nearly every household cleaning task on your list. Masses of precision-engineered microfibers attract and trap grease, grime, fingerprints,
Adjustable Wrench
Fits various nut and bolt sizes with its adjustable jaw.
Oatey 9 oz. Stain-Free Plumber's Putty 31177
For setting frames, faucets and basket strainers, use this Oatey 9 oz. Stain-Free Plumber's Putty on granite, marble, quartz, sandstone and other natural, porous materials. Will not crack or shrink. Cleans
Teflon Tape
Seals pipe threads without leaks.
E-Cloth 20 in. x 16 in. Microfiber Kitchen Cleaning Kit 2 Cloth Set 10601M
The 2-piece E-Cloth Kitchen Cleaning Kit effortlessly keeps your kitchen looking like new from sink to stove, with premium microfiber that's appropriate for all surfaces. Use the Cleaning Cloth to wipe
Steps

Shut Off the Water Supply
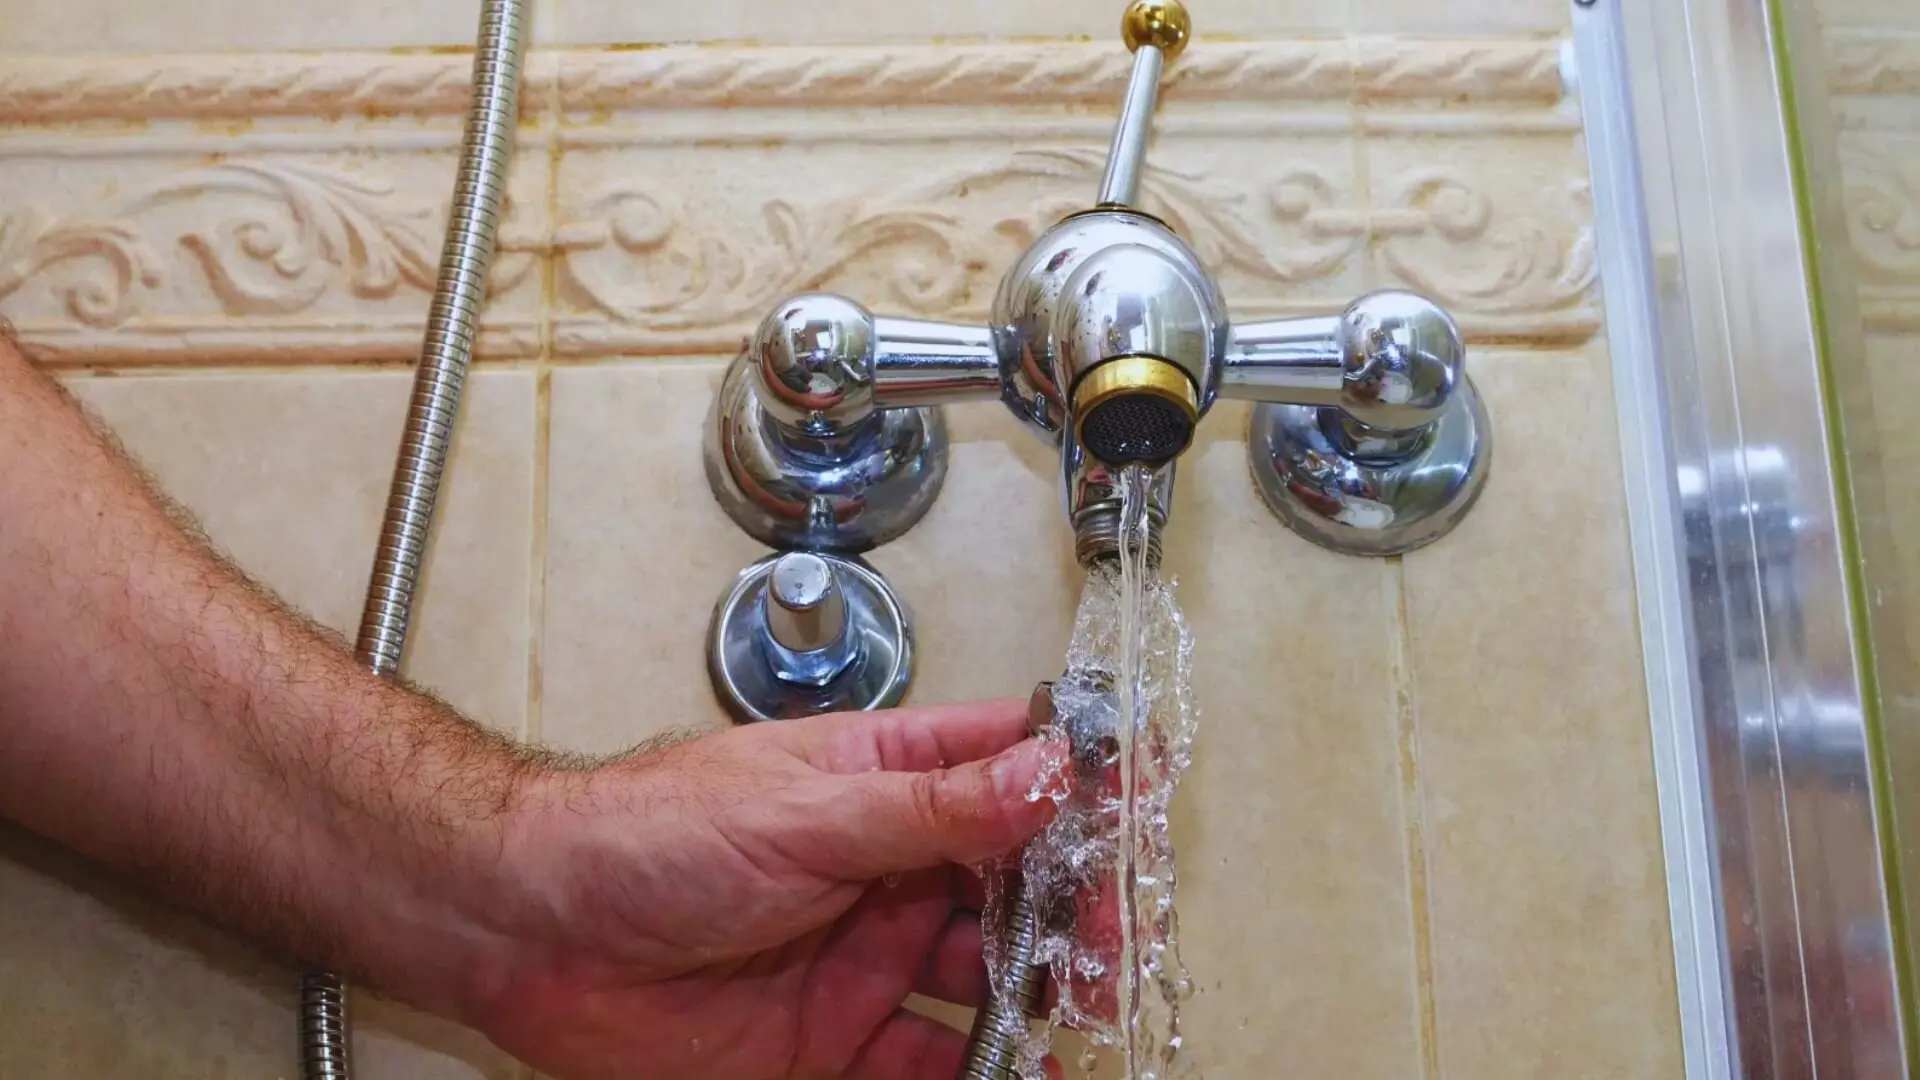
5 minsBefore beginning any work, completely shut off the water supply to your shower. Locate the shut-off valves near the shower or within your main water supply panel and turn them clockwise to stop the water flow. Double-check that the water is off by attempting to run water from the faucet.
Watch: Shut Off Water Supply and Plug Drain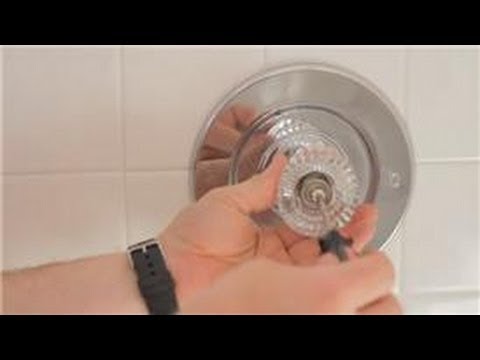
Remove the Old Shower Handle
10 minsCarefully remove the old shower handle. This typically involves removing a decorative cap or screw (using a screwdriver, as needed) and then gently pulling off the handle. If the handle is stuck, a flathead screwdriver might be necessary to carefully pry it loose.
Watch: Remove the Faucet Handle

Install the New Faucet Body
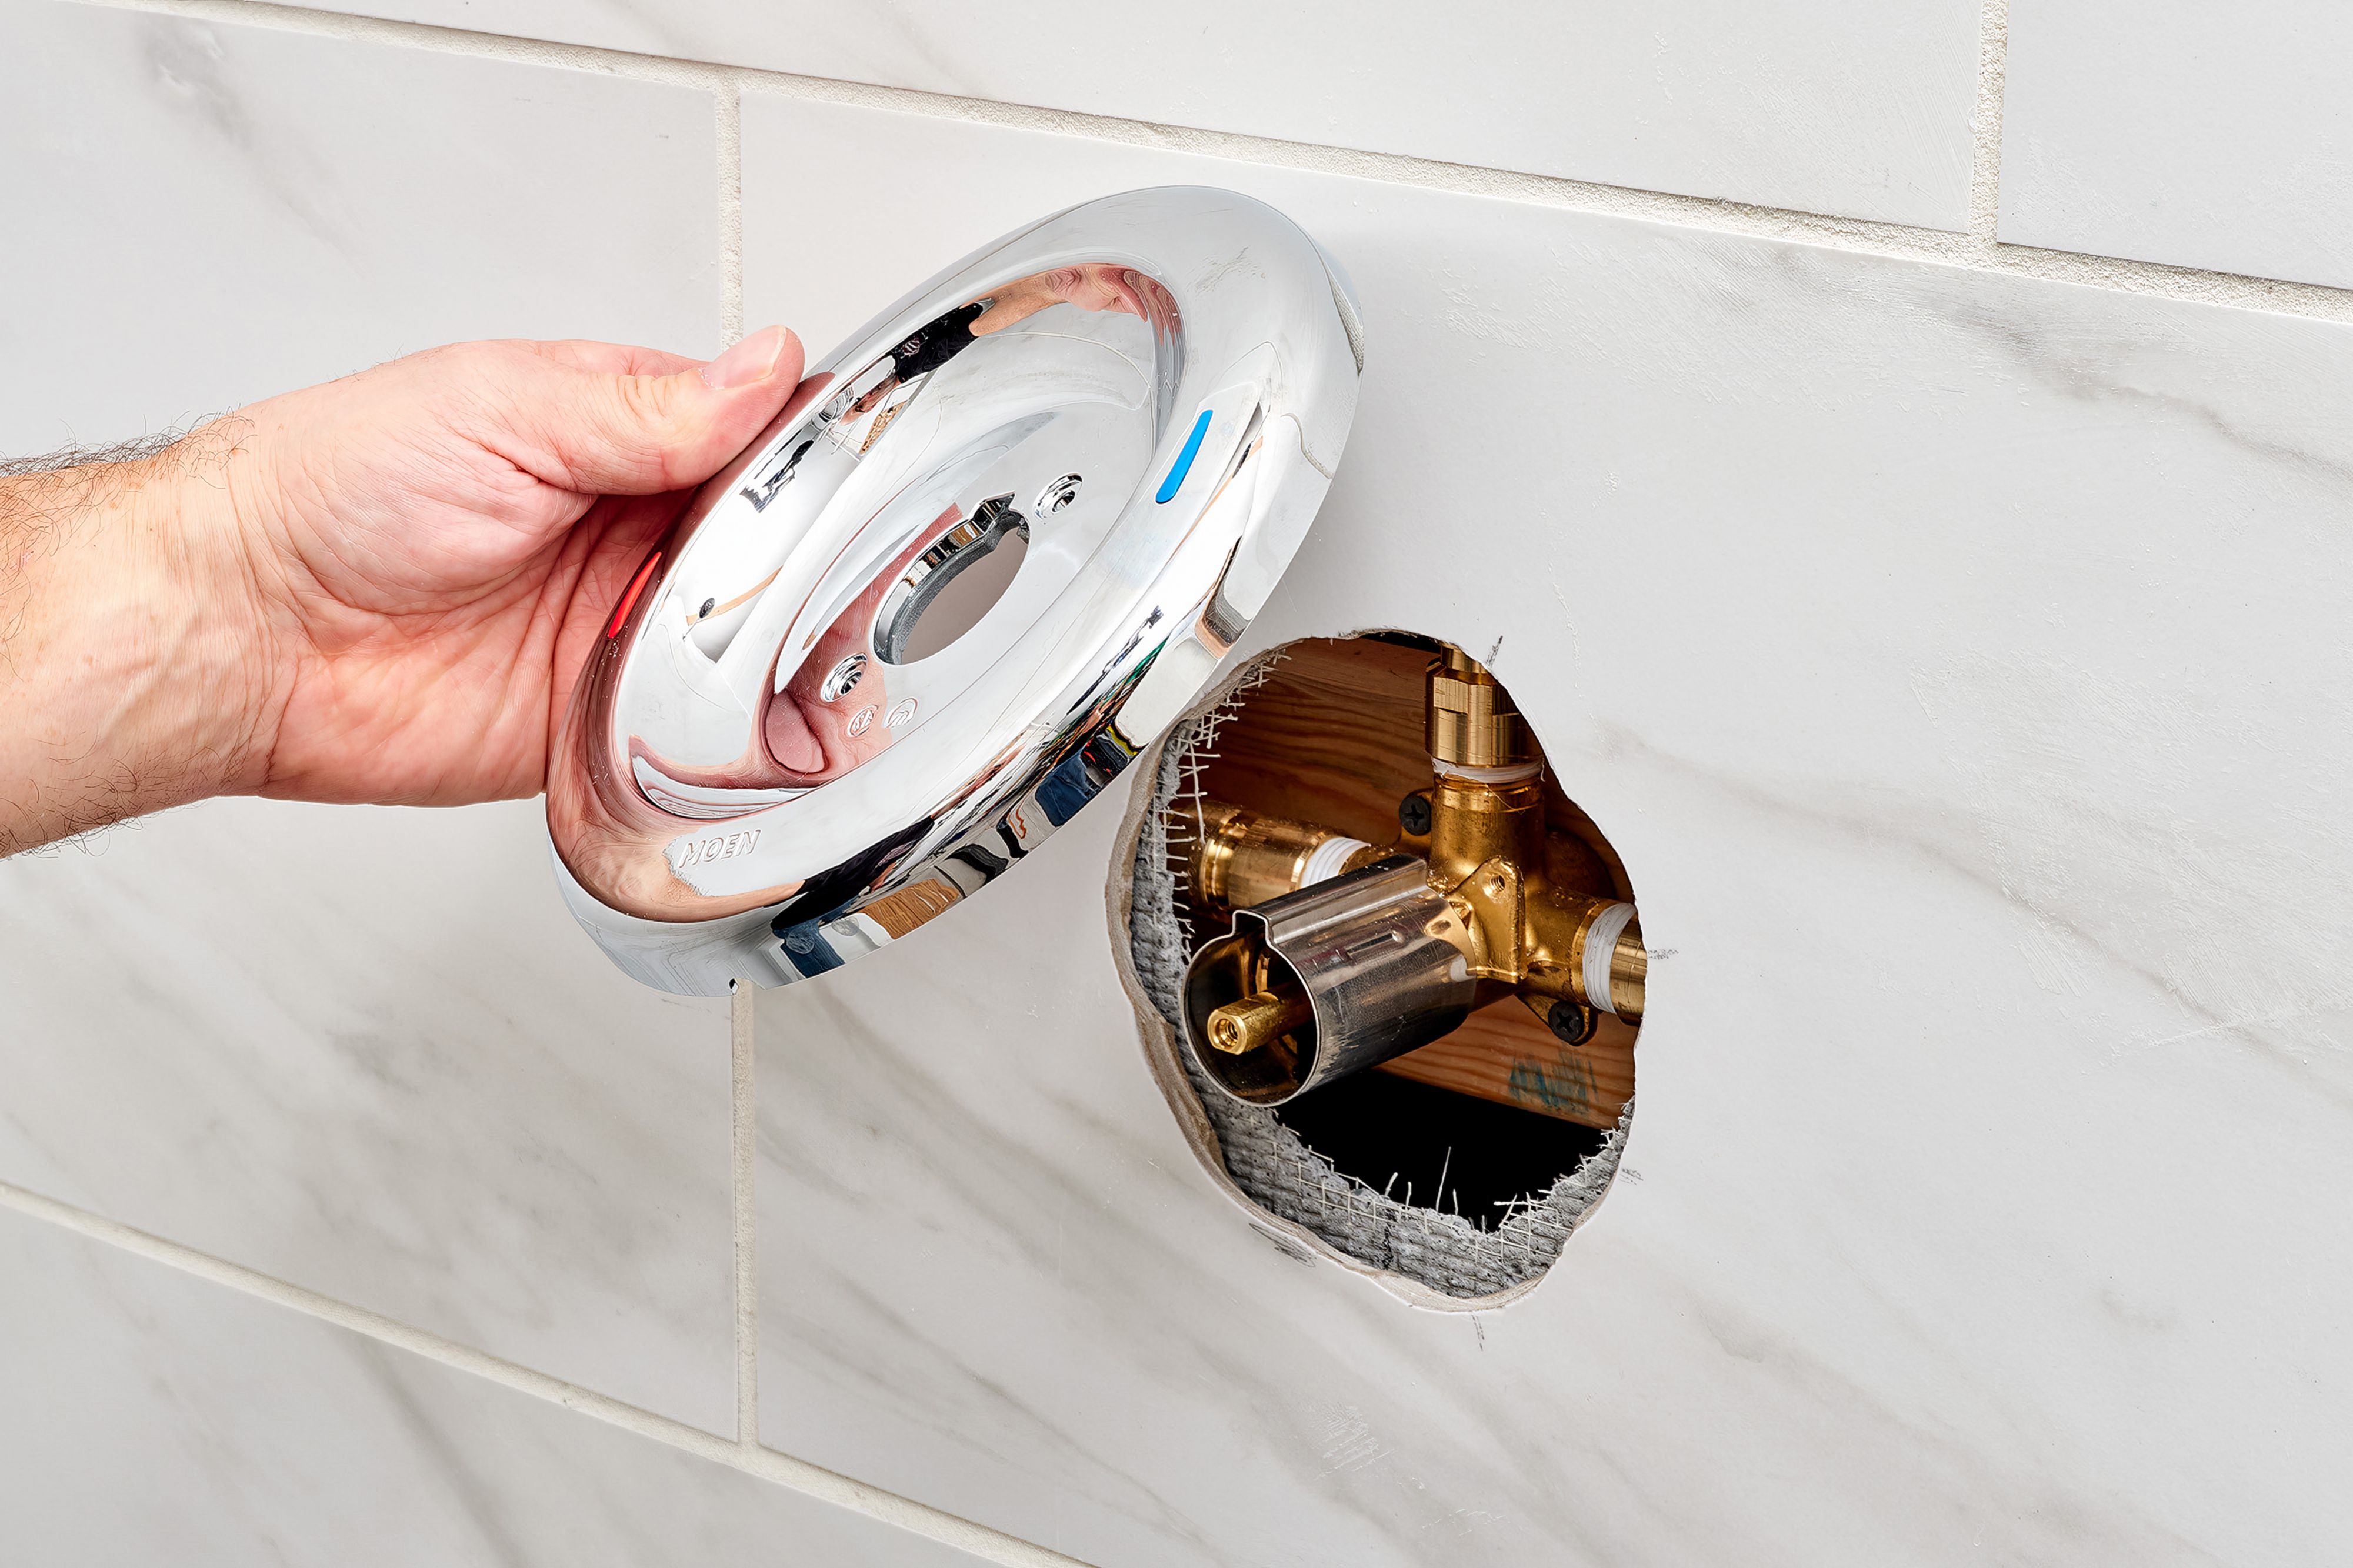
30 minsInstall the new faucet body following the manufacturer’s instructions. This often involves applying plumber's putty or Teflon tape to the threads before screwing it into place. Secure the escutcheon plate and handle as per the instructions.
Watch: Install New Faucet Trim

Common Problems
Cross-threaded or stripped screws.
Solution: Hand-tighten screws first to avoid cross-threading, then snug them down with a screwdriver. Do not overtighten.
Scratching and damaging the new showerhead's finish during installation.
Solution: Use a rag to protect the finish of the new showerhead from the pliers.
Do not overtighten, as it could damage the threads or the fixture.
Solution: To avoid this issue: Be mindful of this warning and take appropriate precautions.
Do not overtighten the showerhead, as this can crack the plastic connector or damage the threads.
Solution: To avoid this issue: Be mindful of this warning and take appropriate precautions.
Scratched or damaged faucet finishes from tool use.
Solution: Cover the pliers with a towel to avoid scratching the fixture.
Scratched finish on delicate faucet nuts during removal.
Solution: If the finish is delicate, you can wrap a cloth around the nut before using the wrench to prevent scratching.
Be very careful when you start loosening the old showerhead that the pipe in the wall doesn't start to turn. If it does, you could cause a leak behind the wall.
Solution: To avoid this issue: Be mindful of this warning and take appropriate precautions.
Frequently Asked Questions
Is a 3-hour estimated time realistic for a beginner to replace a complete shower faucet?
While 3 hours is a reasonable estimate for an experienced DIYer, beginners should budget 4-6 hours. This allows extra time for troubleshooting unexpected issues like seized parts, locating shut-off valves, or carefully following manufacturer instructions, reducing the likelihood of mistakes.
What essential tools do I need beyond a screwdriver to successfully replace my shower faucet?
Beyond a screwdriver, you'll definitely need an adjustable wrench, plumber's tape (Teflon tape), and perhaps a utility knife or flathead screwdriver for prying. A bucket and old towels are also crucial for catching any residual water and protecting your bathroom floor.
What should I do if I can't find the main water shut-off valve for my house or the individual shower shut-off valves?
Most homes have a main water shut-off valve near the water meter, usually in the basement, garage, or outside. If you cannot locate specific shower shut-off valves, you must turn off the main supply to the entire house. If you're still unable to find it, it's best to consult a professional plumber for assistance.
My old shower handle or showerhead is extremely stuck; what's the best way to remove it without causing damage?
For stuck handles, try applying penetrating oil to any visible screws and letting it sit, then gently pry with a flathead screwdriver or apply firm, steady pressure while wiggling. For showerheads, wrap a thick cloth around the base to protect the finish, then use an adjustable wrench for leverage, turning counter-clockwise. Avoid excessive force to prevent stripping screws or damaging pipes.
Do I need both plumber's putty and Teflon tape when installing a new shower faucet, and where should each be used?
Yes, both are useful! Use Teflon tape on all threaded pipe connections, such as the shower arm and faucet body threads, to ensure a watertight seal and prevent leaks. Plumber's putty is typically used under the escutcheon plate or trim to seal the gap where it meets the wall, preventing water from seeping behind the tile, not on pressurized threads.
I've installed the new faucet and turned the water back on, but there's a leak. What are the most common leak spots and how do I fix them?
Common leak spots are around the escutcheon plate, the showerhead connection, or the base of the handle. For threaded connections (showerhead, faucet body), ensure enough Teflon tape was used and tighten the fitting slightly more, being careful not to overtighten. If the escutcheon leaks, you might need to apply more plumber's putty behind it.