Car Battery Testing
About This Project
This project outlines the steps for DIY car battery testing to diagnose its health and performance. It covers identifying symptoms of a failing battery, gathering necessary tools, performing voltage and load tests, and interpreting the results to decide on replacement or further action.
Tools & Materials
Ratchet and socket set

GEARWRENCH Battery Terminal Spreader and Cleaner 204D

Lincoln Electric 8 in. Long Wooden Handled Stainless Steel Welding Wire Brush (.3 in. x 1.6 in. Bristle Area 3 x 7 Row) KH580
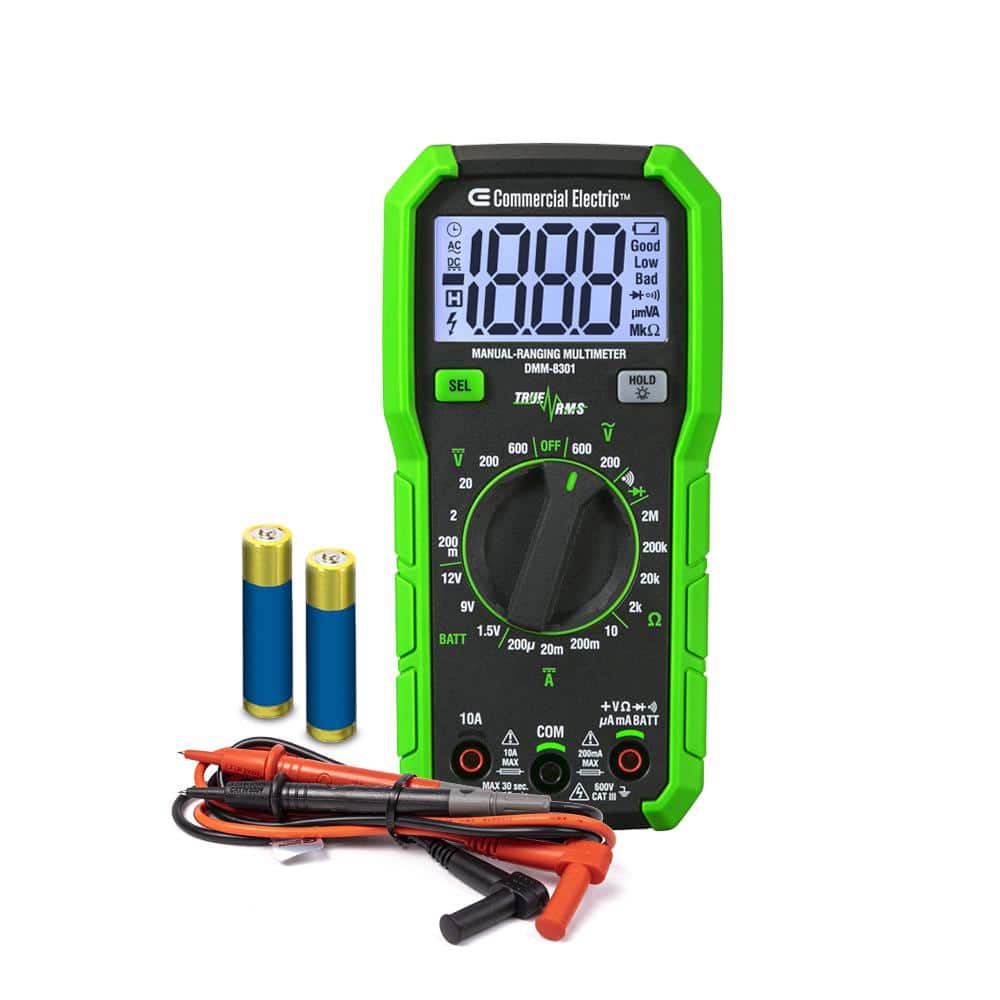
Commercial Electric 600-Volt True RMS Manual-Ranging Digital Multimeter DMM-8301
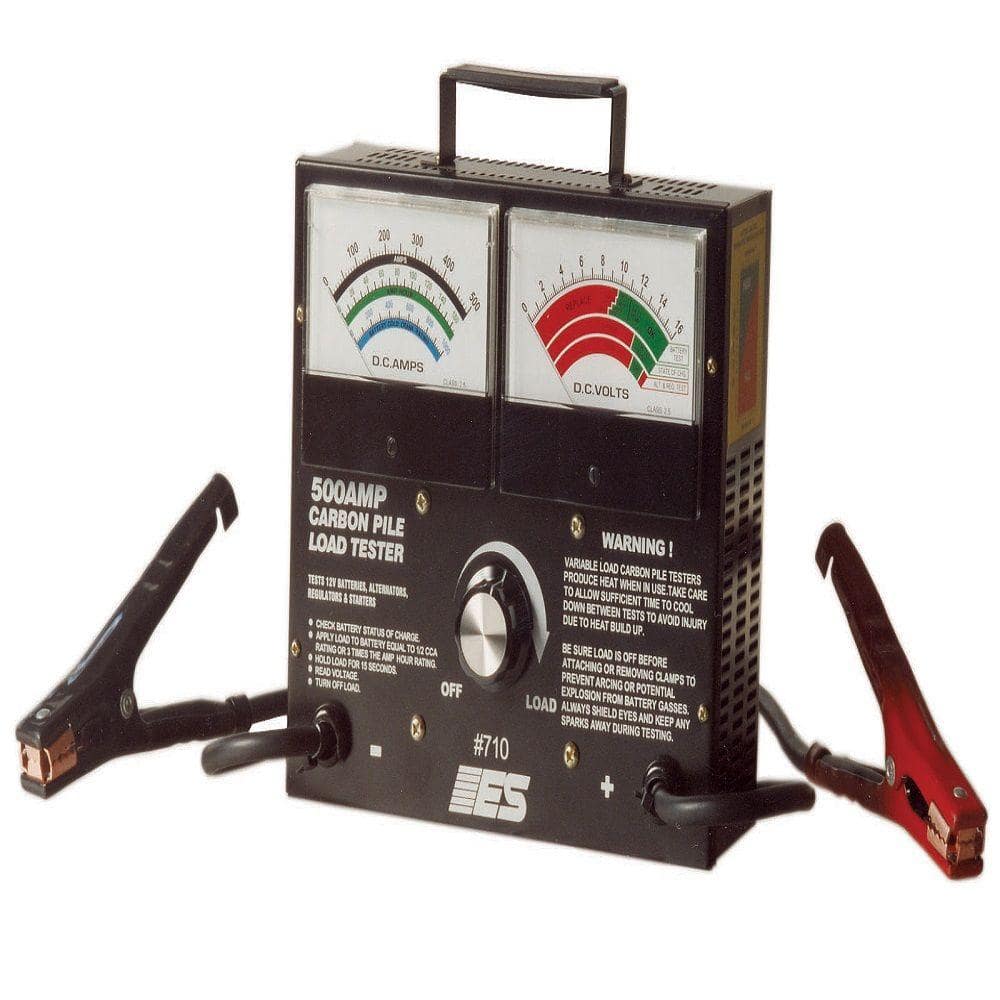
Electronic Specialties Carbon Pile Battery Tester ESI710

Max Pro 10 oz. Di-Electric Grease DG-002-114
Ratchet and socket set
Versatile tool set for various tightening or loosening tasks.
GEARWRENCH Battery Terminal Spreader and Cleaner 204D
Since our beginning, GEARWRENCH automotive specialty tools have been driven by innovation. From our first specialty tool, the Model-T valve spring lifter, to our latest ratcheting puller, we've built our reputation with tools that make tough jobs easy. Most of our products have been upgraded with new improved features like dual material handles designed for a more comfortable grip or dual dipped handles on pliers providing more cushion for your hands. GEARWRENCH automotive specialty tools are proudly made with the finest components under the most stringent manufacturing guidelines. Made for everyday use - guaranteed for life. Better tools mean easier, more efficient work so we constantly evaluate automotive engineering trends allowing us to consistently improve and enhance our tools to better fit professional hands. That's why they are the first choice for thousands of automotive technicians worldwide.
Lincoln Electric 8 in. Long Wooden Handled Stainless Steel Welding Wire Brush (.3 in. x 1.6 in. Bristle Area 3 x 7 Row) KH580
Lincoln Electric Wood-Handled Stainless Steel Wire Brush is good for General cleaning, delicate or finish work and hard-to-reach welding jobs. The brush has a 8-3/4 in. long wooden handle. It has an 3/8
Commercial Electric 600-Volt True RMS Manual-Ranging Digital Multimeter DMM-8301
The Commercial Electric 600-Volt True RMS Manual-Ranging Digital Multimeter (DMM-8301) is a True RMS manual-ranging multimeter known for its durable construction and rubberized shell, ensuring both reliability
Electronic Specialties Carbon Pile Battery Tester ESI710
This load tester will perform variable load testing on 12-Volt batteries rated as high as 1000 cold cranking amps. Use this battery tester to simulate actual cranking loads. Also tests alternator charging
Max Pro 10 oz. Di-Electric Grease DG-002-114
Max Pro Di-Electric Grease protects, seals, lubricates and insulates electrical contacts, battery terminals, spark plugs and fasteners from moisture. Waterproofs electrical contacts to improve performance
Steps

Identify Battery Symptoms
5 minutesBefore proceeding with any tests, observe your vehicle for common symptoms of a failing car battery. These may include a slow or sluggish engine crank when trying to start the car, dim headlights or interior lights, electrical accessories not working properly, or a clicking sound when you turn the key. If you've recently had to jump-start your car multiple times, it's also a strong indicator that the battery might be weak or dead.

Disconnect Battery Terminals
5 minutesTo safely begin testing, you need to disconnect the car battery. First, locate the battery under the hood. Using an appropriate-sized wrench (commonly 10mm or 13mm), loosen the nut on the negative terminal clamp (usually marked with a '-' symbol or black cover) and remove the cable. Then, do the same for the positive terminal clamp (usually marked with a '+' symbol or red cover). It's crucial to disconnect the negative terminal first to prevent accidental short circuits.
Clean Battery Terminals
10 minutesCorrosion on the battery terminals and cable clamps can impede electrical flow, leading to inaccurate test results. Use a wire brush or a dedicated battery terminal cleaner tool to thoroughly scrub both the battery posts and the inside of the cable clamps until they are clean and shiny. This ensures optimal contact for voltage and load testing.

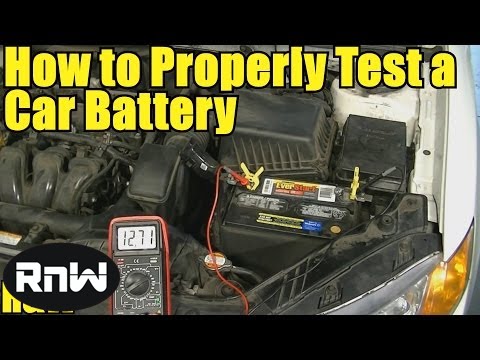
Perform Voltage Test
5 minutesConnect a digital multimeter to the battery terminals. Set the multimeter to DC voltage mode (usually indicated by 'V--' or 'DCV'). Place the red probe on the positive (+) terminal and the black probe on the negative (-) terminal. Read the voltage displayed on the multimeter. A fully charged battery should read around 12.6 volts or higher. Readings below 12.4 volts indicate a discharged battery, and below 12.0 volts suggest it might be failing.

Perform Load Test
10 minutesConnect a carbon pile load tester to the battery terminals. Follow the tester's instructions, which typically involve applying a load equal to half the battery's cold-cranking amperage (CCA) rating for 15 seconds. While the load is applied, monitor the voltage reading on the load tester or a connected multimeter. The voltage should not drop below 9.6 volts during the test. If it drops lower, the battery is likely failing under load.
Interpret Test Results
5 minutesEvaluate the results from both the voltage and load tests. If the static voltage is low (below 12.4V) and drops significantly during the load test (below 9.6V), the battery is likely bad and needs replacement. If the static voltage is good but the load test fails, the battery is also likely faulty. If both tests pass, the battery is probably in good condition, and the starting issue might be elsewhere (e.g., starter or alternator). Consult battery condition charts if available for specific readings.

Reconnect Battery Terminals
5 minutesOnce testing is complete, reconnect the battery terminals. First, place the positive cable clamp onto the positive (+) battery post and tighten it securely with the wrench. Then, place the negative cable clamp onto the negative (-) battery post and tighten it. Reconnecting the positive terminal first helps prevent sparks.
Common Problems
Accidental Short Circuit or Sparks when disconnecting or reconnecting battery cables.
Solution: If sparks occur, immediately remove the tool from contact. Re-evaluate your steps. Always disconnect the negative (-) cable first and reconnect it last. Ensure your tools are not bridging the positive (+) and negative (-) terminals or touching the positive terminal and any metal part of the car's body (which is usually grounded).
Prevention: Before starting, identify the positive (+) and negative (-) terminals. Always disconnect the negative cable first and reconnect the negative cable last. Use insulated tools whenever possible, and be extra careful not to let tools touch both terminals at the same time.
Stripping a terminal bolt or inability to loosen a corroded terminal nut.
Solution: If a nut feels like it's stripping, stop immediately. Ensure you are using the correct size socket from your ratchet set. If the nut is heavily corroded, apply a penetrating oil (like WD-40) and let it sit for 10-15 minutes before trying again. For a partially stripped nut, you might try a 6-point socket (instead of 12-point) for better grip, or a specialized bolt extractor. If completely stripped, professional help may be needed.
Prevention: Always use the correct size socket. If you encounter resistance, don't force it. Inspect for corrosion and clean around the bolt/nut before attempting to loosen. A slight tapping on the wrench might help break free stubborn corrosion.
Inaccurate voltage readings from the multimeter.
Solution: Check your multimeter settings: ensure it's set to DC Volts (often indicated by 'V' with a straight line and dashed line, or 'DCV'). Make sure the probes are firmly pressed against the battery terminals, positive probe to positive terminal, negative probe to negative terminal. Confirm your multimeter's battery isn't dead, as this can cause erratic readings. If the reading is '0' or 'OL', double-check all connections and settings.
Prevention: Before each use, perform a quick check of your multimeter by touching the probes together (should read '0' or very close) or testing a known voltage source like a AA battery. Always set the meter to the appropriate DC Volts range before connecting to the car battery.
Exposure to battery acid during cleaning, causing skin irritation or eye contact.
Solution: Immediately flush affected skin with large amounts of water for several minutes. If acid gets into eyes, flush with water for at least 15 minutes and seek immediate medical attention. For spills on surfaces, neutralize with a paste of baking soda and water, then rinse.
Prevention: Always wear safety glasses and chemical-resistant gloves when cleaning battery terminals. Have a box of baking soda and a bottle of water readily available in case of spills or splashes.
The carbon pile load tester or the battery becomes excessively hot during the load test.
Solution: Immediately release the load on the tester. Disconnect the tester from the battery. Allow both the battery and tester to cool down completely (which can take several minutes). Check the battery's voltage; if it's very low, the battery may need a full charge before another load test attempt, or it might be faulty.
Prevention: Carefully follow the instructions for your specific 'Electronic Specialties Carbon Pile Battery Tester ESI710'. Pay close attention to the recommended load duration (usually 10-15 seconds) and never exceed it. Ensure the battery is fully charged before performing a load test, as a low battery can heat up faster under load.
Persistent corrosion on battery posts or cable clamps even after initial cleaning attempts.
Solution: For stubborn corrosion, use the 'GEARWRENCH Battery Terminal Spreader and Cleaner 204D' to thoroughly clean the inside of the cable clamps and the 'Lincoln Electric Welding Wire Brush KH580' for the battery posts. Apply a paste made from baking soda and water to the corroded areas; the fizzing action helps neutralize and lift the corrosion. Scrub with the wire brush, then rinse with clean water and dry thoroughly.
Prevention: After cleaning the terminals and posts, apply a thin layer of anti-corrosion grease or terminal protector spray before reconnecting the cables. This creates a barrier against moisture and acid fumes, preventing future corrosion buildup.
Inaccurate test results because the battery hasn't been properly prepared (e.g., surface charge, recently used).
Solution: To get accurate readings, ensure the battery is fully charged (usually 12.6V-12.8V after charging) and has been allowed to rest for at least 4-6 hours (or ideally, overnight) after charging or driving. This resting period allows any 'surface charge' to dissipate and the battery's true voltage to stabilize.
Prevention: Before performing any diagnostic tests (voltage or load), always charge the battery to full capacity and then let it rest for several hours without being used. This ensures you are testing the battery's actual state and not a temporary condition.
Frequently Asked Questions
Is a dedicated Carbon Pile Battery Tester absolutely necessary, or can I perform a comprehensive test with just a multimeter?
While a multimeter checks static voltage, a carbon pile tester is crucial for a definitive load test, which simulates starting conditions. Many auto parts stores offer free battery load testing if you'd prefer not to purchase this specialized tool. It provides a more accurate diagnosis of your battery's ability to hold a charge under stress.
What are the most critical safety precautions to observe when working with a car battery?
Always wear safety glasses and gloves to protect against acid splashes and electrical shocks. Ensure good ventilation to disperse hydrogen gas, which is highly flammable. Disconnect the negative terminal first to minimize the risk of accidental short circuits.
How important is cleaning the battery terminals before testing, and what if I skip this step?
Cleaning the terminals is vital because corrosion and dirt create resistance, leading to inaccurate test results. Skipping this step can give you a false reading, potentially indicating a healthy battery as faulty or vice versa. Use a dedicated battery terminal cleaner and wire brush for best results.
After performing the tests, what does it mean if my battery's voltage is good but it fails the load test?
This often indicates a battery that can hold a surface charge but lacks the necessary cranking amps to start your engine. You might be able to recharge it for a temporary fix, but it's usually a sign that the battery is nearing the end of its life. Prepare for a replacement soon, and consider having your car's charging system checked as well.
What is the correct and safest sequence for disconnecting and reconnecting car battery terminals?
To disconnect, always remove the negative (black) terminal first, followed by the positive (red) terminal. When reconnecting, attach the positive (red) terminal first, then the negative (black) terminal. This order minimizes the risk of accidental sparks or short circuits and protects your vehicle's electronics.
Is this 'beginner' difficulty truly accurate, and can I realistically complete this project in 2 hours?
Yes, this project is genuinely suitable for beginners as it involves straightforward steps and commonly available tools. The 2-hour estimate is realistic, allowing sufficient time for gathering tools, carefully performing the tests, and cleaning. Your first attempt might take a little longer as you familiarize yourself with the process, but it's very manageable.