Washing Machine Repair
About This Project
This DIY project outlines a troubleshooting and repair process for common washing machine issues. It covers identifying the problem, gathering necessary tools and parts, safely disassembling and reassembling the machine, and testing the repair. The project emphasizes a systematic approach to diagnose and fix various malfunctions, from drainage problems to unusual noises.
Tools & Materials
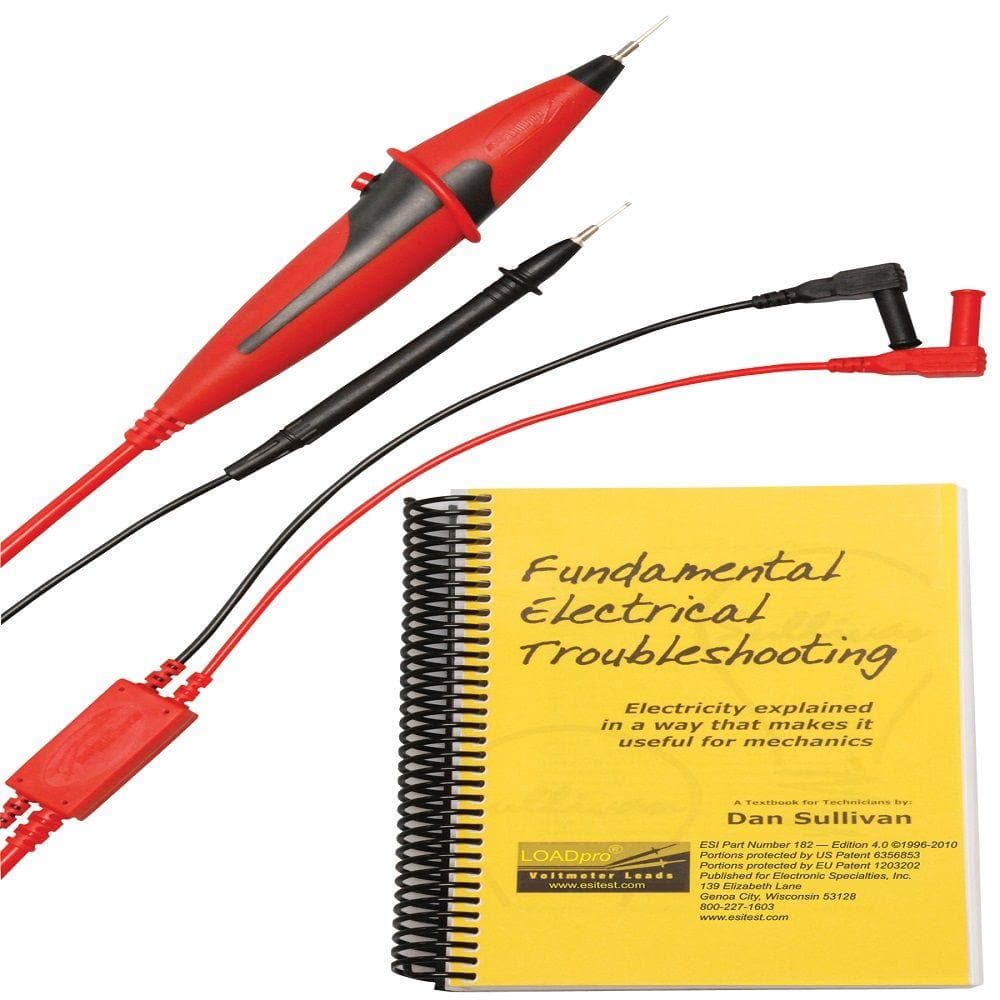
LoadPro Dynamic Test Leads and Fundamental Electrical Troubleshooting Book ESI181
Pencil
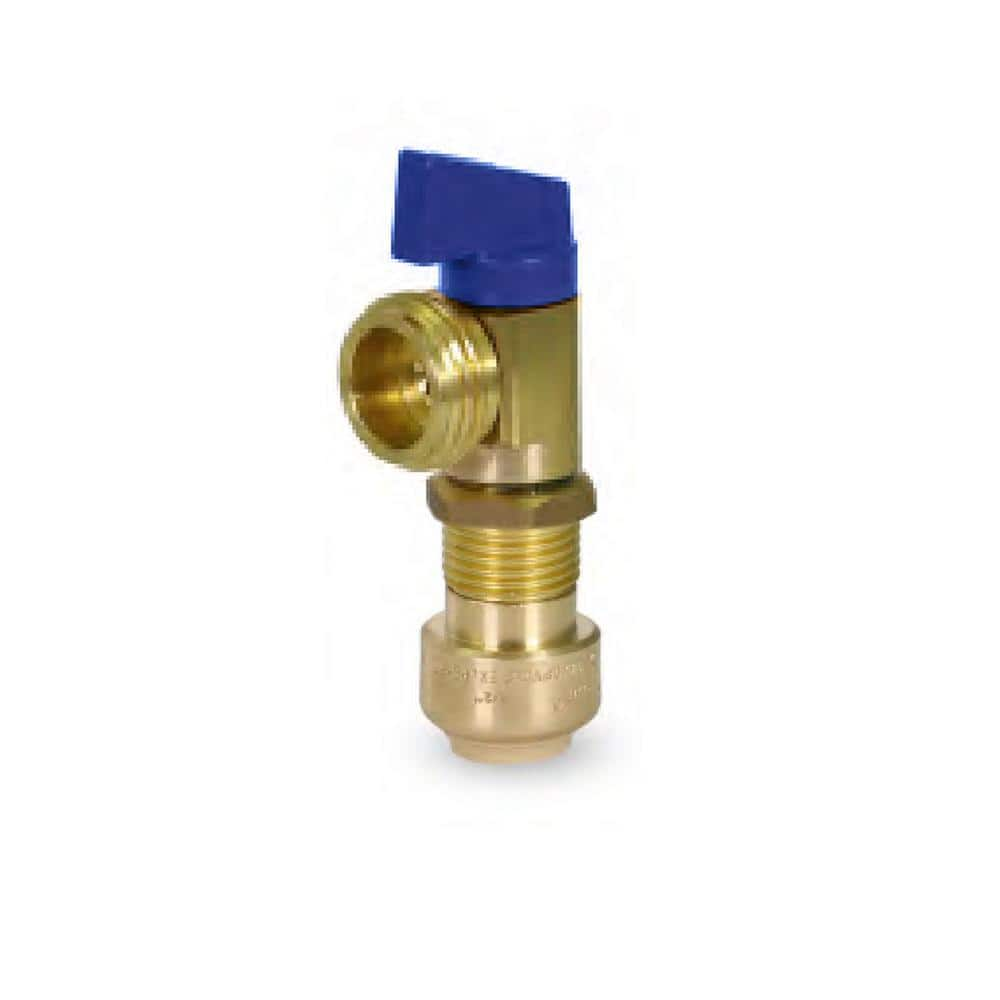
The Plumber's Choice 1/2 in. Push-Fit x 3/4 in. MHT Brass Washing Machine Replacement Valve in Blue for Cold Water Supply V541
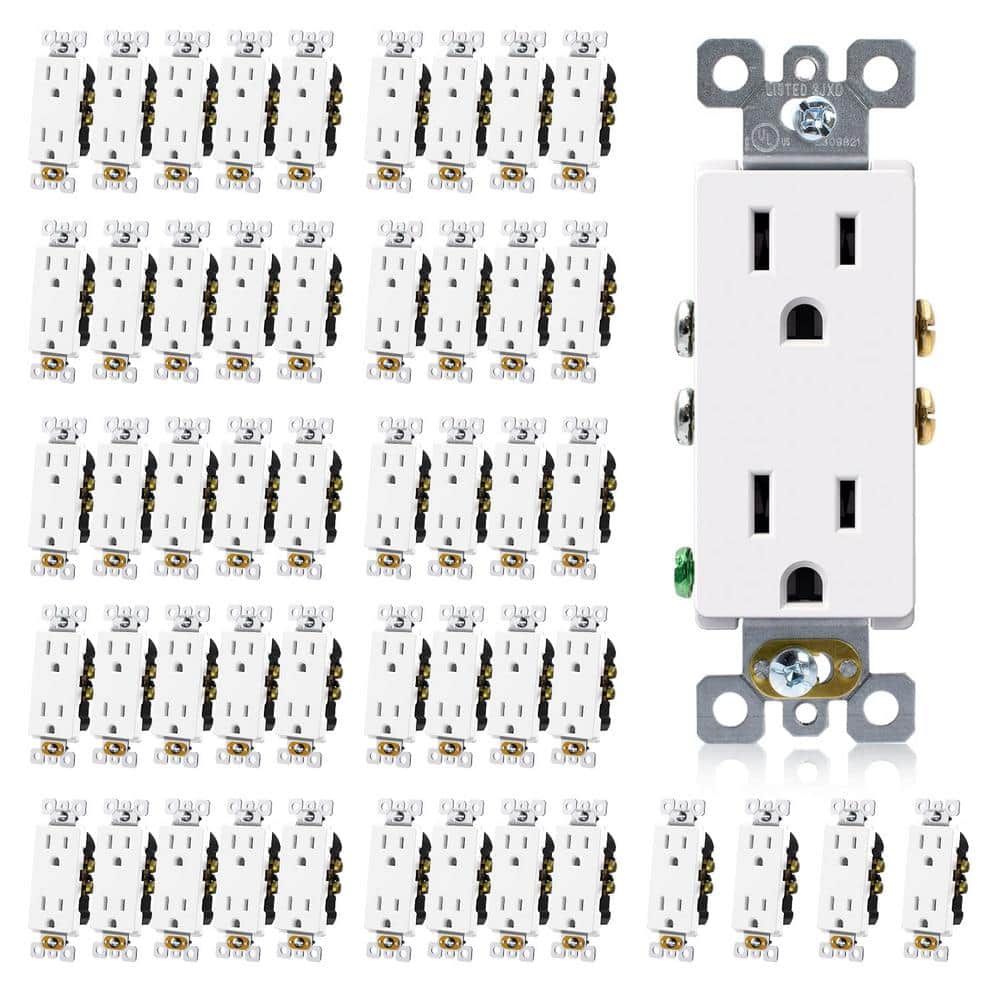
Etokfoks 15A/125-Volt, Standard Wall Outlet, 2-Pole Non-Tamper Resistant, Self-Grounding, UL Listed in Matte White - (50-Pack) MLPH005LT665

Ettore 3.5 Gal. Bucket 82222
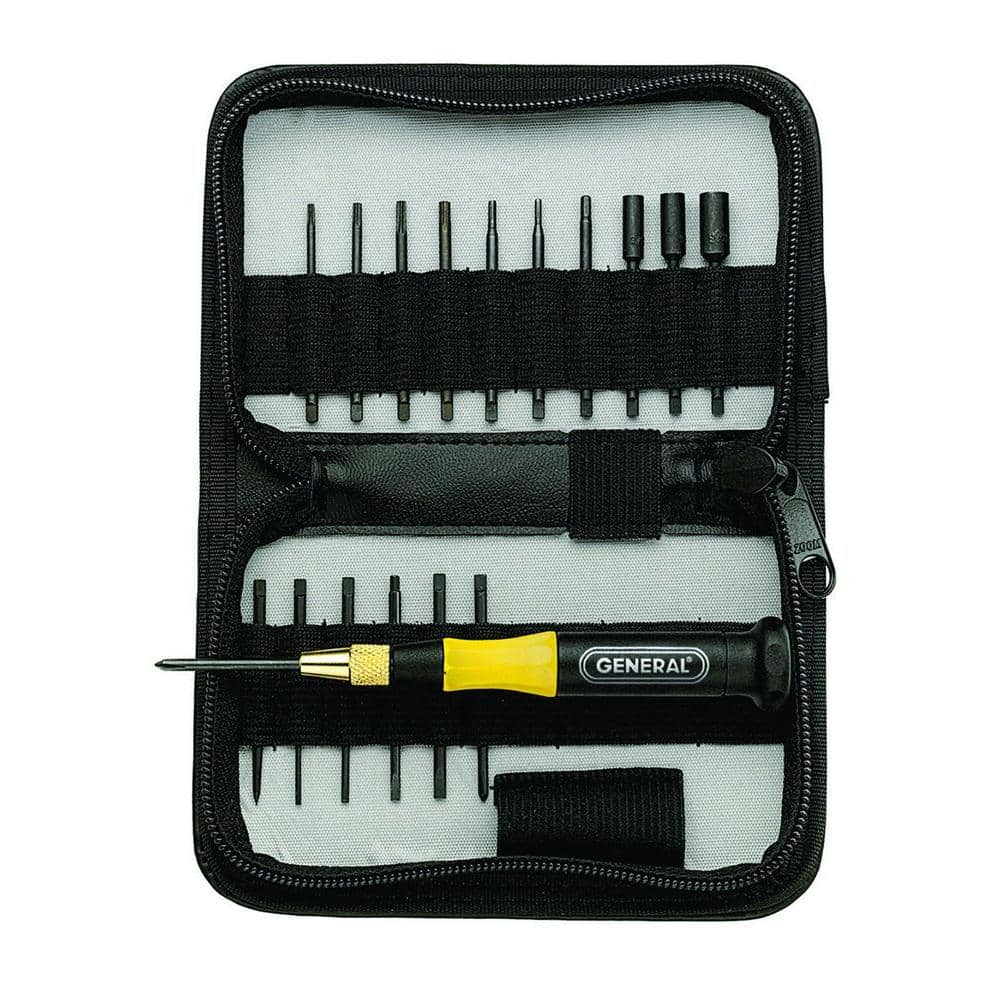
General Tools Screwdriver Set (18-Piece) 63518
LoadPro Dynamic Test Leads and Fundamental Electrical Troubleshooting Book ESI181
LOADpro Bundle includes both the LOADpro Dynamic Test Leads and the 200 page book. Book is entitled Fundamental Electrical Troubleshooting. Save buying the bundle versus purchasing separately.
Pencil
Marks and draws with ease.
The Plumber's Choice 1/2 in. Push-Fit x 3/4 in. MHT Brass Washing Machine Replacement Valve in Blue for Cold Water Supply V541
The Plumber's Choice washing machine valve is great for replacing rusting, leaking or damaged valves within your washing machine supply lines. These are designed to fit all universal hoses, pipes, and
Etokfoks 15A/125-Volt, Standard Wall Outlet, 2-Pole Non-Tamper Resistant, Self-Grounding, UL Listed in Matte White - (50-Pack) MLPH005LT665
Upgrade your electrical outlets with our 15A/125-Volt, Standard Wall Outlet 50-Pack in Matte White. Built with high-quality, high-impact resistant thermoplastic for a crack-free, trouble-free service life. Easy installation, universal application, and self-grounding features make these outlets a safe and elegant choice for any location, from home offices to public areas. UL & CUL listed, flame-resistant, and designed for durability, these outlets seamlessly blend toughness with style for a secure and sleek installation.
Ettore 3.5 Gal. Bucket 82222
The basic bucket for all your cleaning needs. It features a metal handle with plastic grip. It is compact - low profile design. Wide opening accommodates 10 in. window scrubber.
General Tools Screwdriver Set (18-Piece) 63518
General Tools has grown to become the recognized industry leader for specialty hand tools and instruments. The General Tools 18-Piece Screwdriver Set features a diversified assortment of extended-shaft
Steps

Identify the Washing Machine Problem
30 minutesCarefully observe the washing machine's operation. Note any unusual noises, leaks, error codes displayed on the panel, failure to fill, drain, spin, or agitate. Research common washing machine problems and their potential causes based on the symptoms. Consult the washing machine's user manual for a troubleshooting guide.

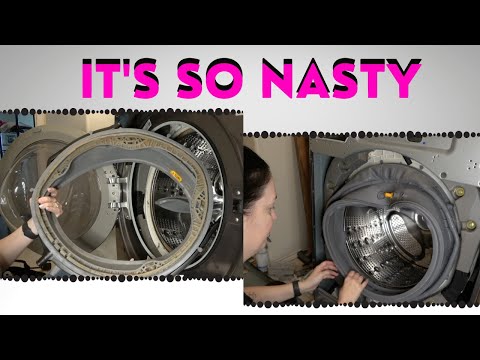
Access Internal Components
20 minutesDepending on your washing machine model, you may need to remove the top panel, front panel, or rear panel. Typically, screws secure these panels. Refer to your user manual or online resources for specific instructions on how to remove the panels for your model. Be mindful of any clips or hidden fasteners.

Inspect and Test Components
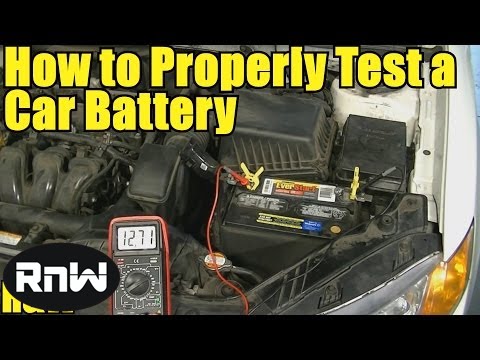
45 minutesBased on the initial diagnosis, inspect components such as the water inlet valve, drain pump, motor, belts, lid switch, control board, and hoses for visible damage, blockages, or corrosion. For electrical components, you may need to use a multimeter to test for continuity or voltage. Refer to specific diagnostic procedures for each component.

Replace Faulty Part
30 minutesIf a faulty part is identified, carefully disconnect it from its connections (hoses, wires, mounting brackets). Remove the old part. Install the new part, ensuring all connections are secure and properly aligned. Refer to the part's specific installation instructions or online guides.


Common Problems
Accidental Electrical Shock While Working on the Machine
Solution: If you feel a shock or realize the power is still on, immediately pull your hands away. Go to your electrical service panel and flip the circuit breaker switch labeled for the washing machine or the main breaker to the 'off' position. Then, unplug the washing machine from the wall outlet. Double-check with your multimeter (set to AC voltage) on the outlet or wires to confirm there's no power before continuing any work.
Prevention: ALWAYS disconnect power to the washing machine at the wall outlet AND the main circuit breaker before touching any internal components. Verify power is off using a reliable multimeter or a non-contact voltage tester on the outlet or the wires leading into the machine.
Stripping Screws When Disassembling Panels
Solution: If a screw head gets stripped (the indentations are worn down), try a slightly larger flathead screwdriver if it's a Phillips head, or a screw extractor kit. For stubborn screws with accessible heads, small vise grips or pliers might be able to turn them. If all else fails, carefully drill out the screw head, but be extremely cautious not to damage internal components.
Prevention: Always use the correct size and type of screwdriver for each screw (e.g., Phillips #2 for a Phillips #2 screw). Apply firm, downward pressure while turning slowly. If a screw feels stuck, try applying penetrating oil or wiggling it slightly before forceful turning.
Purchasing the Wrong Replacement Part
Solution: If the new part doesn't fit or doesn't look exactly like the old one, stop the repair. Do not force it. Double-check your washing machine's full model and serial number (usually on a sticker inside the door, on the back, or underside). Compare this information carefully with the part number you ordered. Most suppliers have a return policy for incorrect parts, allowing you to reorder the correct one.
Prevention: Before ordering any replacement parts, meticulously record your washing machine's exact model number, serial number, and any part numbers from the faulty component itself. Take clear photos of the original part from multiple angles before removal. Always cross-reference these details with the supplier's compatibility information.
Forgetting How Wires/Hoses Connect During Reassembly
Solution: If you're unsure where a wire, hose, or connector goes, refer to any photos you took during disassembly. If you didn't take photos, search online for service manuals or wiring diagrams specific to your washing machine model. If still uncertain, it's safer to consult a professional rather than guessing, which could cause further damage.
Prevention: Before disconnecting any wires, hoses, or components, take multiple clear photographs with your phone at various angles. You can also use painter's tape and a marker to label wires and their corresponding connection points as you disconnect them.
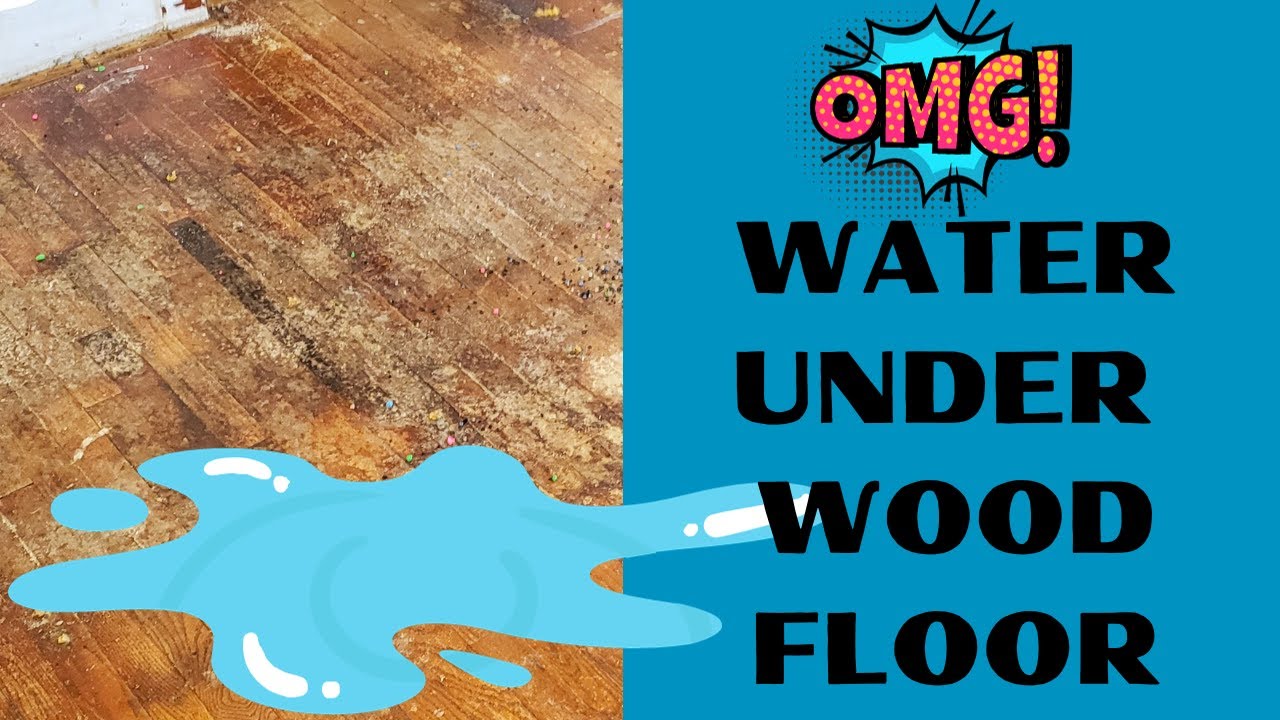
Water Leaks After Reconnecting Water Hoses
Solution: Immediately disconnect power and turn off the water supply to the washing machine. Locate the leaking hose connection. Ensure the rubber washer inside the hose is properly seated and not damaged. Hand-tighten the connection firmly, then use pliers to give it an additional quarter to half turn. Avoid overtightening, as this can strip threads or crack fittings. Replace any damaged washers.
Prevention: When reconnecting water hoses, always ensure a new, undamaged rubber washer is properly seated inside each hose coupling. Hand-tighten the connections until they are snug, then use pliers to tighten them an additional 1/4 to 1/2 turn. Do not overtighten. Before pushing the machine back into place, run a short cycle (e.g., rinse/spin) and visually inspect all connections with a flashlight for any drips or leaks.
Damaging Delicate Components with Improper Tool Use
Solution: If you've bent a tab, cracked plastic, or stripped insulation from a wire, assess the damage. For bent metal, gently try to bend it back with appropriate pliers. For cracked plastic, if it's structural, the part might need replacement. For stripped wires, if only a small section of insulation is affected, electrical tape can sometimes be used, but for significant damage or load-bearing wires, the wire or connector should be replaced.
Prevention: Always select the right tool for the job. Use pliers specifically for gripping and turning fasteners, not for prying delicate plastic tabs or bending soft metal that could easily break. For electrical connections, use wire strippers or your hands carefully. Never force components or use excessive pressure.
Incorrect Multimeter Readings Leading to Wrong Diagnosis
Solution: If your multimeter readings seem off or don't match expectations, stop and re-read the multimeter's instruction manual and the 'Fundamental Electrical Troubleshooting Book ESI181'. Ensure you have selected the correct setting (e.g., AC volts for wall current, ohms for resistance). Test the multimeter on a known-good electrical source or component (like a battery or a light bulb filament) to confirm it's working correctly and you're using it properly.
Prevention: Before using a multimeter for diagnosis, always take time to understand its functions and proper usage by reading the manual and consulting your troubleshooting book. Practice on simple, safe circuits (like a AA battery) to get comfortable with settings and reading interpretations. Always ensure the circuit you are testing for resistance or continuity is completely de-energized (unplugged and power off).
Frequently Asked Questions
What are the most critical safety precautions I need to take before starting any washing machine repair, especially when dealing with electricity and water?
Always begin by completely disconnecting the washing machine from both its power outlet and the hot and cold water supplies. Verify that no residual power is present before touching internal components, and be aware of sharp edges or components that might store electrical charge, like capacitors, even after disconnection.
The project is listed as 'beginner' difficulty with an estimated time of 4 hours. Is this realistic for someone with no prior appliance repair experience, and what's the potential cost saving?
Yes, 'beginner' is realistic if you follow the steps carefully, though initial diagnosis might take extra time for novices. The 4-hour estimate includes troubleshooting, disassembly, repair, and reassembly. You can potentially save hundreds of dollars by doing it yourself compared to hiring a professional technician.
How can I accurately diagnose the specific problem with my washing machine before I start disassembling it, especially for common issues like drainage or unusual noises?
Start by observing symptoms like specific noises, error codes on the display, or the exact point in the cycle where it fails. Consult your washing machine's owner's manual for diagnostic modes or common troubleshooting tips related to your model. A systematic approach helps pinpoint the issue before opening the machine.
Do I need specialized tools like the LoadPro Dynamic Test Leads or a specific multimeter for this repair, or are there common household alternatives?
While basic screwdrivers and pliers are essential, a digital multimeter (like the Commercial Electric DMM-8301 listed) is crucial for safely testing electrical components and circuits to diagnose issues. The LoadPro leads can make electrical testing safer and easier, but a standard multimeter is the minimum requirement for electrical diagnosis.
The project lists specific replacement parts. What should I do if I can't find the exact part number or need an alternative for my specific washing machine model?
Always prioritize finding the exact part number recommended for your specific washing machine model to ensure compatibility and proper function. If the exact part isn't available, search for compatible aftermarket parts from reputable suppliers, cross-referencing with your machine's model number, not just the brand. Avoid generic parts unless explicitly stated as universal replacements.
What are some common mistakes beginners make during washing machine repair, and how can I troubleshoot if the machine still isn't working after the repair?
Common mistakes include misdiagnosing the original problem, not fully securing connections during reassembly, or overlooking a secondary issue. If the machine still malfunctions, re-verify all electrical connections, double-check your initial diagnosis, and methodically retrace your steps using your multimeter to test components you've replaced or moved.
After reassembling and testing the washing machine, what are the key signs to look for to ensure the repair was successful and there are no new issues like leaks or strange noises?
Run a full wash cycle, paying close attention to any unusual sounds, vibrations, or error codes. Immediately after the cycle, carefully inspect the area around and under the machine for any signs of water leaks from hoses or internal components. Monitor the machine's performance over the next few washes to ensure consistent operation.