Mold Remediation
About This Project
This DIY project will guide you through the process of identifying, safely removing, and preventing mold growth in your home. It covers understanding mold types, assessing the extent of the problem, necessary safety precautions, effective cleaning methods for various surfaces, and strategies for long-term mold prevention.
Tools & Materials

Defiant 2000 Lumens LED Slide-to-Focusing Aluminum Flashlight 90706

Screwdriver

Heavy Duty Latex Gloves
HDX N95 Disposable Adult Respirator Mask (10-Pack) H950
3M Professional Chemical Splash/Impact Safety Goggles (Case of 4) 91264-80025
Utility Knife Plastic Sheet Cutting Tool GE-41
Defiant 2000 Lumens LED Slide-to-Focusing Aluminum Flashlight 90706
This Defiant 2000-Lumens LED Slide-to-Focusing Aluminum Flashlight features high- powered LED chips to emit up to 2000-Lumens of light, illuminating your work area and beyond. Its tough aluminum material
Screwdriver
A tool used to turn screws.
Heavy Duty Latex Gloves
Protection during intense tasks.
HDX N95 Disposable Adult Respirator Mask (10-Pack) H950
The disposable N95 Respirator masks filter out 95% of airborne particles and are NIOSH approved. The masks offer medium/large full-face coverage with 2 headband style straps for a secure fit. The cupped
3M Professional Chemical Splash/Impact Safety Goggles (Case of 4) 91264-80025
3M Professional Chemical Splash/Impact Goggles help protect eyes from certain airborne particulates and chemical splash. Designed with vents to help prevent liquids from entering the eye area. 3M Professional
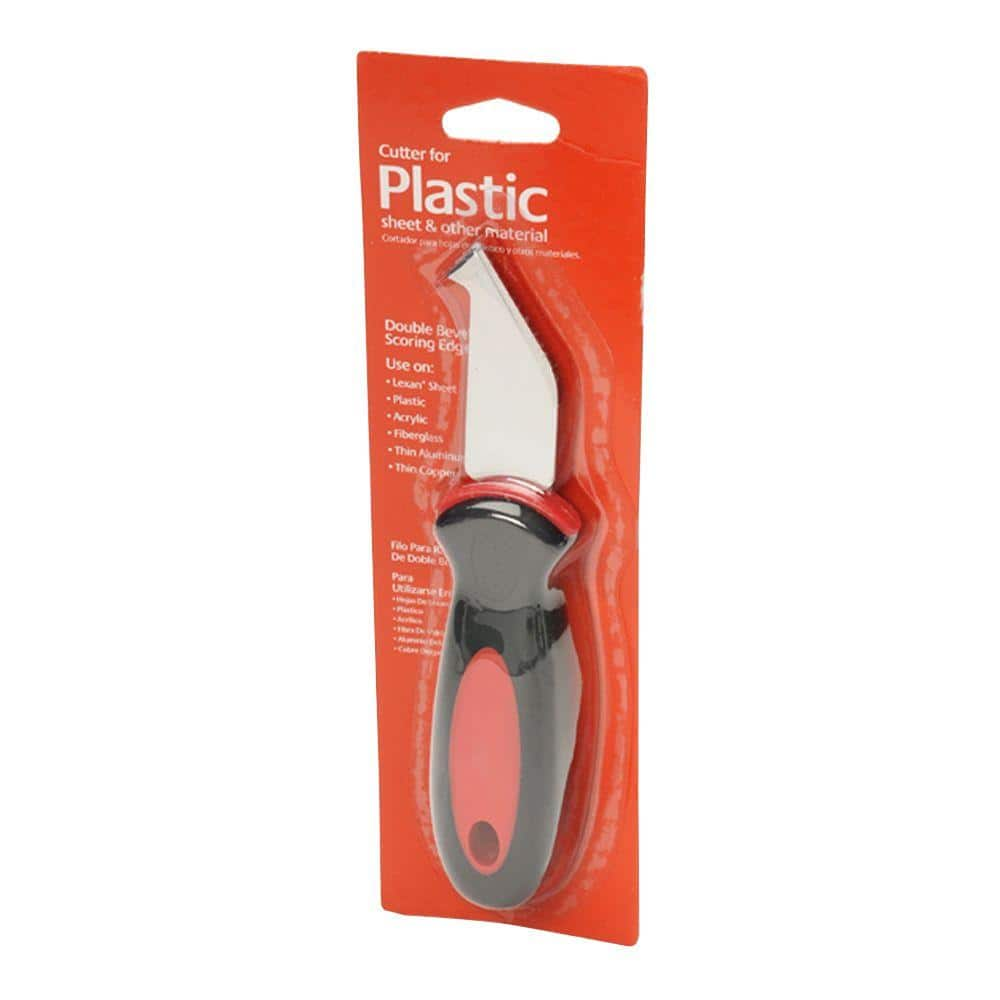
Utility Knife Plastic Sheet Cutting Tool GE-41
The plastic sheet cutting knife is designed for use on LEXAN polycarbonate sheets and other plastic materials. It features a double-bevel scoring edge for clean, consistent cuts and a rounded handle that
Steps


Clean Small Areas of Mold
120 minutesFor non-porous surfaces (like tile, glass, or metal), scrub the moldy areas with a detergent and water solution. Then, apply a mold-killing solution such as diluted bleach (1 part bleach to 10 parts water) or a commercial mold cleaner. Rinse the area thoroughly and allow it to dry completely. For porous materials (like drywall, carpet, or insulation), if the mold covers a large area or has penetrated deeply, it may need to be removed and replaced.


Prevent Future Mold Growth
180 minutesIdentify and fix the source of moisture that allowed the mold to grow (e.g., leaky pipes, condensation, poor ventilation). Maintain low indoor humidity levels (ideally below 50%) by using exhaust fans in bathrooms and kitchens, ensuring proper ventilation, and fixing any water leaks promptly. Consider using a dehumidifier in damp areas.
Common Problems
You might breathe in mold spores or get them on your skin or in your eyes while cleaning, which can cause coughing, skin rashes, or eye irritation.
Solution: If you start feeling unwell or notice irritation, immediately leave the work area and go somewhere with fresh air. Take off any clothes that might have mold on them and wash your skin thoroughly with soap and water. If symptoms don't improve, see a doctor. Before going back to work, double-check that your mask, goggles, and gloves are on correctly and snugly.
Prevention: ALWAYS put on your N95 respirator mask, safety goggles, and heavy-duty latex gloves BEFORE you even step into the moldy area or start any cleaning. Make sure the work area has good airflow by opening windows if possible, but keep the containment barrier sealed to prevent spread to other rooms.
The plastic sheeting used to block off the mold area might tear, or the tape might not stick well, letting mold spores escape and spread to other parts of your home.
Solution: Carefully check your plastic barrier for any holes or loose tape. Use duct tape to patch any tears in the plastic sheeting. If the painter's tape is peeling, apply fresh duct tape right over it, pressing firmly to make sure it sticks to both the plastic and the walls or floor.
Prevention: Use the thickest plastic sheeting available (6 mil or more). When setting up the barrier, first use painter's tape to protect your walls, then use the strong duct tape to reinforce all seams and edges, overlapping the plastic sheets by at least a foot and taping those overlaps securely.
You cleaned the mold, but it reappears in the same spot or nearby because you didn't get all of it or missed the original moisture problem.
Solution: First, stop and re-investigate to find the exact source of water that caused the mold to grow. Fix that problem permanently (e.g., a leaky pipe). Then, re-clean the moldy spot, making sure to clean a larger area (at least one foot beyond what you can see) to catch any hidden spores. Make sure the area is completely dry afterward.
Prevention: Before you even start cleaning, use your flashlight to thoroughly inspect the entire area for ALL mold, even in hidden spots. Make sure you've found and fixed the source of moisture *before* cleaning. After cleaning, use your dehumidifier and fan until the area is completely dry.
After cleaning, the area stays damp for too long, creating perfect conditions for mold to grow back quickly. Your dehumidifier or fan might not be working enough.
Solution: Turn on your dehumidifier and fan immediately and let them run continuously. The dehumidifier should run for at least 24 to 48 hours, and you'll need to empty its water tank often. Use your hygrometer to check the humidity; you want it below 50%. Position the fan to blow air directly onto the wet surfaces to help them dry faster.
Prevention: Do not rush the drying step. Use the fan and dehumidifier *continuously* after cleaning. Use the hygrometer to confirm that the humidity level stays consistently below 50% for several days before considering the area dry and removing containment.
Scrubbing too hard or using the wrong cleaner can scratch your walls, remove paint, or damage wood surfaces.
Solution: Stop cleaning that spot immediately. For minor scratches or discoloration, you might need to repaint or do small repairs later. If the surface feels soft or weakened (especially wood), it might need professional help. For future cleaning, always test your cleaning solution and scrubbing method on a small, hidden spot first to make sure it doesn't cause damage.
Prevention: Before you start, figure out what material you're cleaning (e.g., drywall, wood, tile). Always start with the gentlest cleaning method first (like a soft sponge and mild soap). If that doesn't work, then try a stiffer brush or a specialized mold cleaner, but ONLY after testing it on an unnoticeable spot. Never use bleach on drywall or wood as it can damage these materials and doesn't kill mold roots.
You successfully remove the mold, but it keeps coming back because you haven't found and fixed the underlying cause of the moisture (like a leaky pipe, poor air circulation, or condensation).
Solution: Stop all mold cleaning until you have definitely identified and repaired the source of the moisture. This might mean checking pipes for leaks, improving ventilation in bathrooms or kitchens, or sealing drafts around windows. Once the water problem is fixed, then you can proceed with mold removal.
Prevention: The 'Identify the Mold' step is crucial for finding the *source* of moisture, not just the mold itself. Use your flashlight to thoroughly look for any leaks, damp spots, or areas where air doesn't move well before you start cleaning. Your hygrometer can help you pinpoint consistently damp areas.
If sponges, cloths, or moldy pieces of material aren't sealed properly, mold spores can spread through your house or to your garbage during disposal.
Solution: Take all contaminated materials and double-bag them immediately using the heavy-duty 65-gallon plastic bags. Seal the inner bag tightly with duct tape, then put that sealed bag into a second bag and seal it completely with duct tape as well. As soon as possible, take these sealed bags out of your house and place them in an outdoor trash can.
Prevention: Have plenty of the heavy-duty plastic bags ready before you begin work. As soon as you remove any moldy material or finish using a cleaning tool, put it directly into a plastic bag and seal it *inside the contained work area* to prevent spores from escaping.
Frequently Asked Questions
What are the most critical safety precautions I need to take before starting mold remediation, and when should I call a professional?
Always wear an N95 respirator, gloves, and eye protection to prevent spore inhalation and skin contact. It's also wise to wear old clothing or disposable coveralls. If mold covers an area larger than 10 square feet, is in your HVAC system, or if you have underlying respiratory issues, it's best to call a certified mold remediation specialist.
Why are plastic sheeting, painter's tape, and duct tape listed as required materials for mold remediation?
These materials are crucial for containing the mold area. You'll use the Aluf Plastics Plastic Sheeting to create a sealed barrier around the affected zone, securing it with painter's tape to protect unaffected areas from spore spread. Heavy-duty DEWALT Duct Tape is used to reinforce seams and securely seal contaminated materials in PlasticMill Heavy-Duty Bags for disposal, preventing further contamination.
Can I use bleach to kill mold, or are there better cleaning solutions for different surfaces?
While bleach can kill surface mold on non-porous materials, it's often not effective on porous surfaces and can emit harsh fumes. For most cleaning, a simple detergent and water solution with a scrub brush and sponge is recommended. For stubborn or porous areas, consider a mold-specific cleaner or a solution of white vinegar and water, always testing it on an inconspicuous spot first.
Why is mold remediation considered an 'intermediate' difficulty project and estimated to take 5 days?
The 'intermediate' difficulty stems from the need for strict containment, proper safety protocols, and meticulous drying to prevent recurrence. The 5-day estimate accounts for not just the active cleaning time, but also crucial drying periods, which can take several days using the GE Dehumidifier and The Fan-Brand fan to ensure the area is completely moisture-free.
What's the biggest mistake DIYers make during mold removal, and how can I avoid it?
The most common mistake is failing to address the underlying moisture source or not drying the affected area completely after cleaning. To avoid this, identify and fix any leaks or humidity issues *before* starting remediation. After cleaning, use the GE Dehumidifier and The Fan-Brand fan rigorously for several days until the area is bone-dry to prevent immediate regrowth.
Why are a dehumidifier and fan listed as essential tools for this project, and how long should I use them?
A dehumidifier and fan are critical for the 'Dry the Area Thoroughly' step, which is vital for preventing mold recurrence. After cleaning, these tools actively remove moisture from the air and affected materials, ensuring the environment is too dry for mold to regrow. You should run them continuously for at least 2-3 days, or until moisture readings confirm the area is completely dry.
Beyond the listed tools and materials, are there other potential costs I should budget for with this mold remediation project?
Yes, consider additional costs for personal protective equipment (PPE) like multiple N95 masks, disposable coveralls, and additional pairs of gloves. You might also need to budget for professional moisture meters if you don't own one, or professional mold testing services if you suspect toxic molds or have health concerns. Any repairs to the initial moisture source (e.g., plumbing leaks) will also be an extra expense.