Dryer Vent Cleaning
About This Project
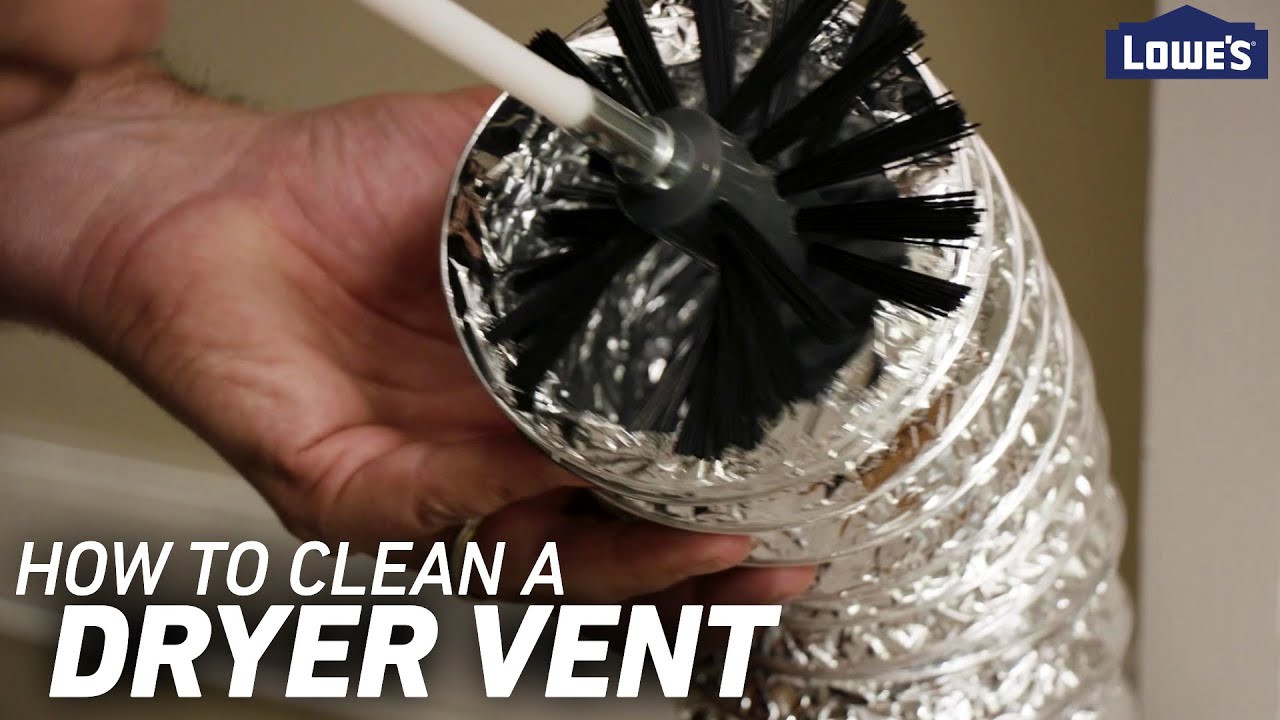
This project involves thoroughly cleaning the dryer vent ductwork to remove lint buildup, improving dryer efficiency, and reducing fire hazards. The process includes disconnecting the vent, cleaning the interior of the duct using specialized brushes and tools, and reassembling the system.
Tools & Materials
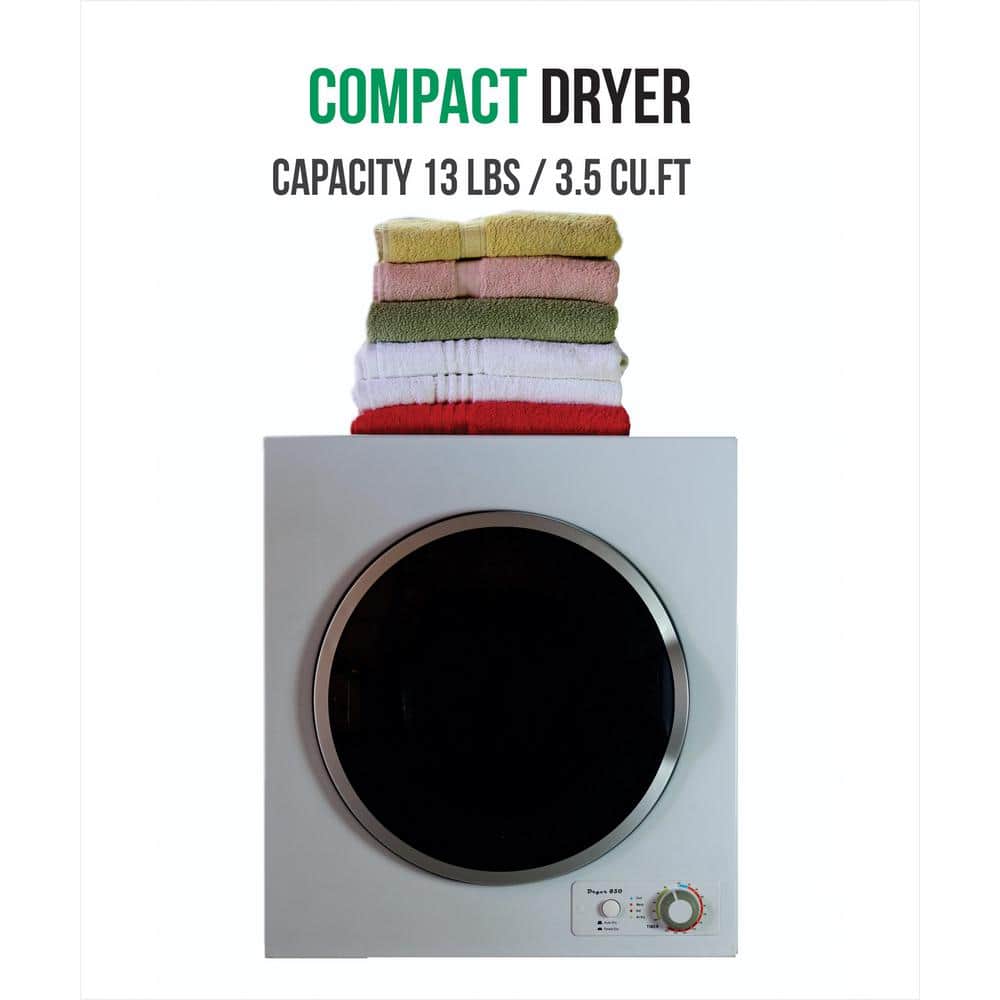
Deco 3 cu. ft Compact Electric Dryer with High Speed Turbo Fan and Automatic Wrinkle Guard DD 850

Milwaukee 9-Piece Pliers and Screwdriver Set 48-22-6331-48-22-2706
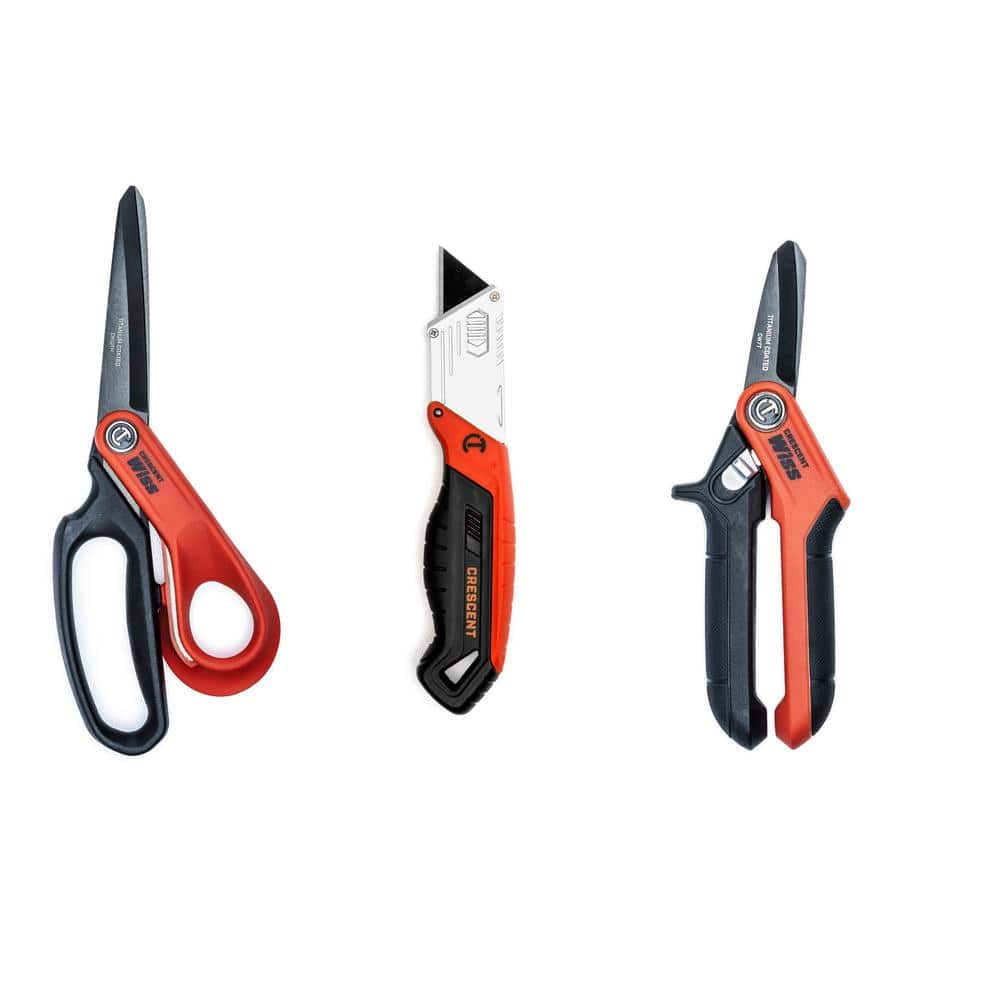
Crescent Pro Cutting Scissors, Utility Scissors and Folding Utility Knife Tool Set (3-Piece) CW7T10TMKF2CMB
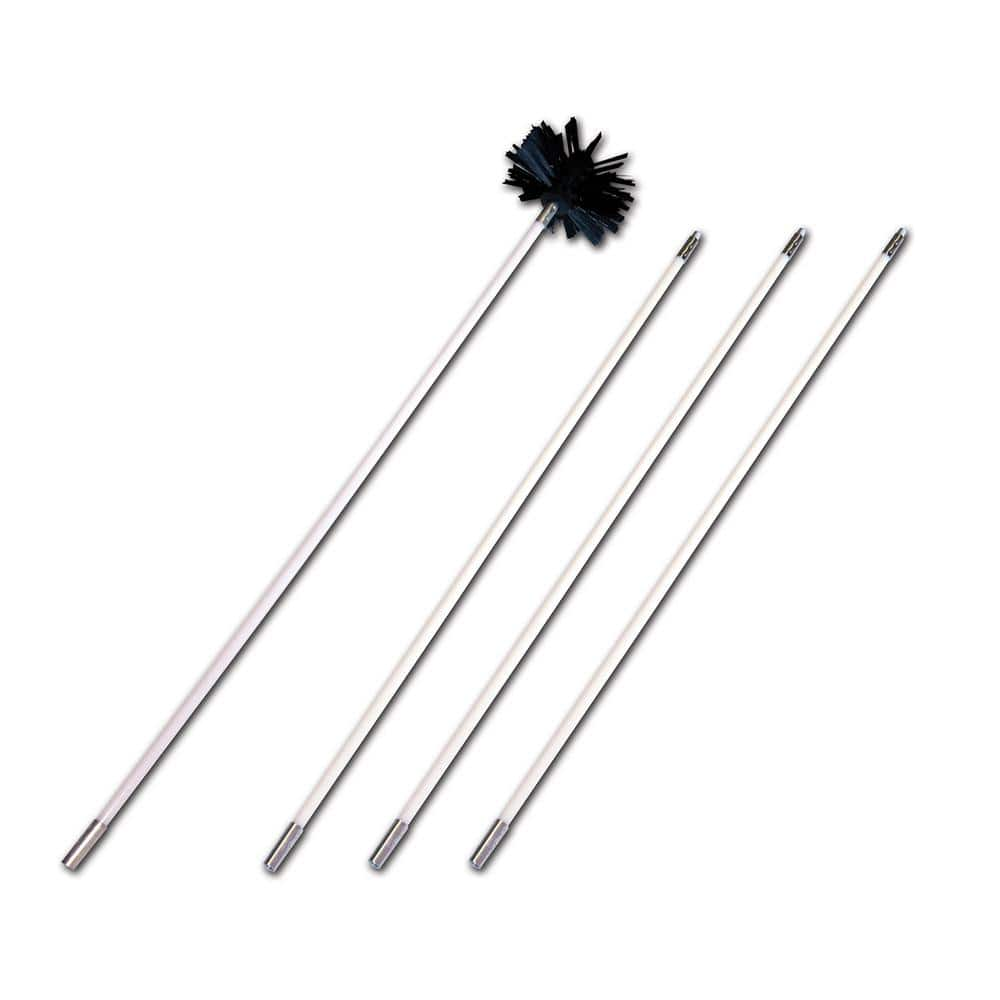
Everbilt Drill Powered Dryer Vent Cleaning Brush Kit PCPBHD
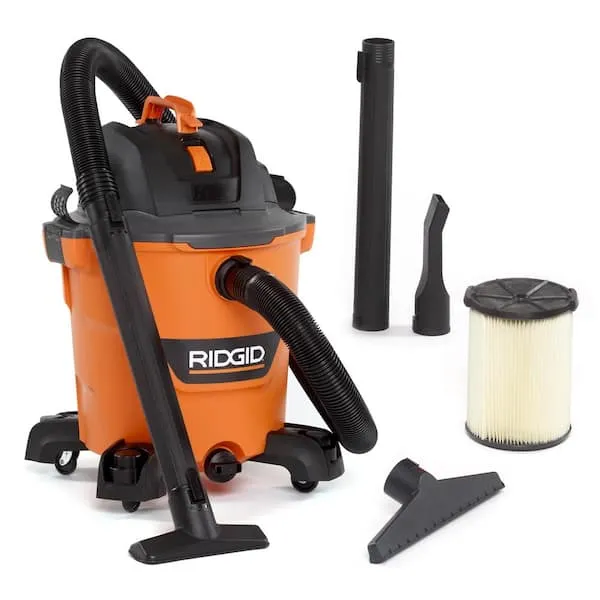
Shop Vacuum
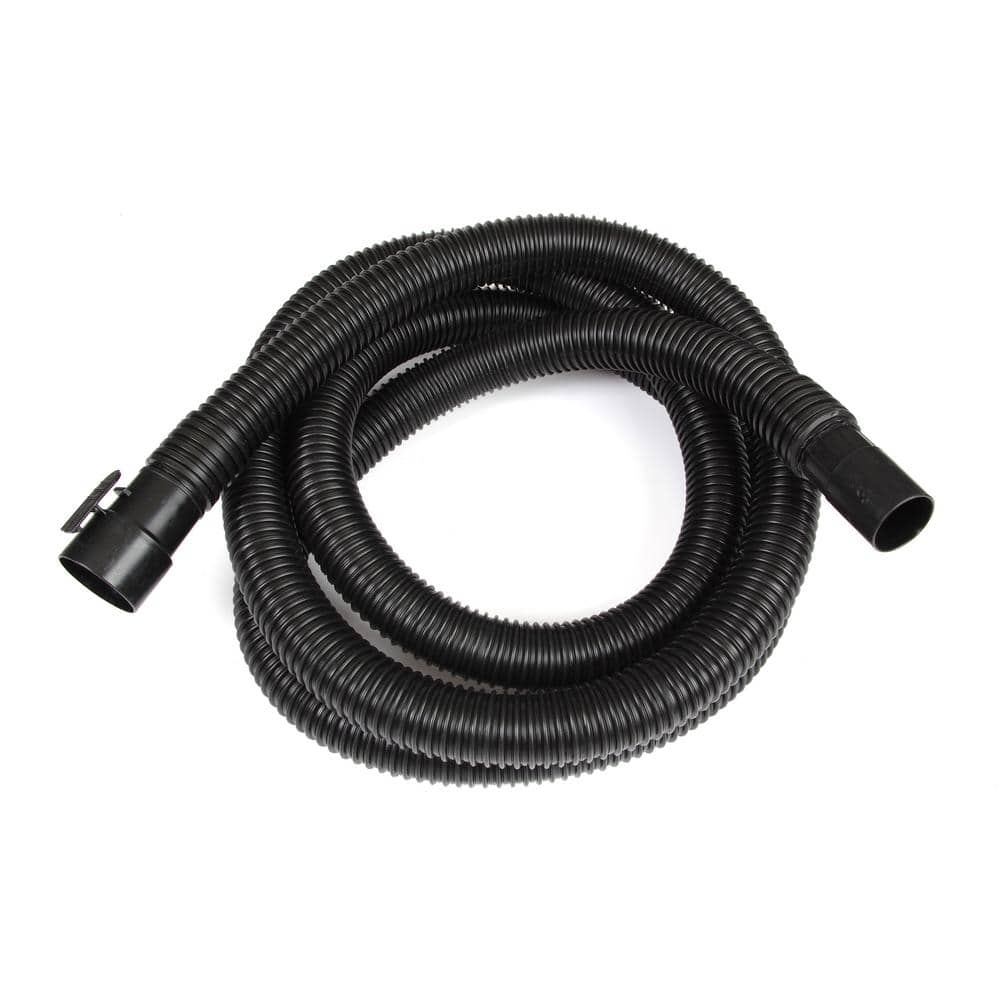
RIDGID 1-7/8 in. x 14 ft. Locking Vacuum Hose Accessory Shop Vac Attachment for RIDGID Wet Dry Vacuums VT1722
Deco 3 cu. ft Compact Electric Dryer with High Speed Turbo Fan and Automatic Wrinkle Guard DD 850
This super capacity 13 lbs. Deco dryer is packed with features to help save you time and get your laundry cleaner than ever. The dry option energy-saving option reduces dry temperatures on select cycles
Milwaukee 9-Piece Pliers and Screwdriver Set 48-22-6331-48-22-2706
Upgrade your professional hand tools with this Milwaukee 9-Piece Pliers and Screwdriver Set. This set includes three comfort grip pliers for various applications, including 10 in. ream and punch straight
Crescent Pro Cutting Scissors, Utility Scissors and Folding Utility Knife Tool Set (3-Piece) CW7T10TMKF2CMB
The Pro Cutting Scissor and Knife Tool Set includes the Quick Change Folding Utility Knife, the 7 in. Utility Shear and the 10 in. HD Tradesmen Shop Shears. The Crescent Wiss Quick-Change Utility Knife
Everbilt Drill Powered Dryer Vent Cleaning Brush Kit PCPBHD
The Drill Powered Duct Brush helps to remove lint build up and debris in your dryer duct as well as other general ducting. This brush can be used manually or attached to a drill for increased power. The
Shop Vacuum
Cleans workshop mess efficiently.
RIDGID 1-7/8 in. x 14 ft. Locking Vacuum Hose Accessory Shop Vac Attachment for RIDGID Wet Dry Vacuums VT1722
This RIDGID Tug-A-Long Replacement wet dry Vac Hose features a 1-7/8 in. diameter and 14 ft. length. This hose can be used to extend or replace your current wet dry vac hose. Another convenient feature
Steps
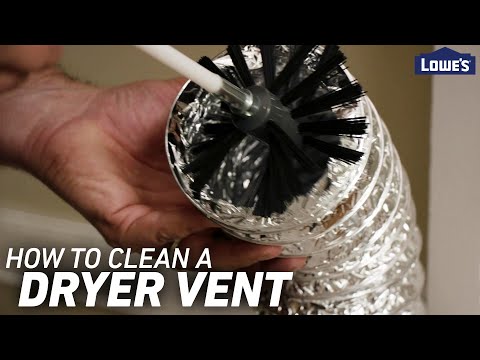
Disconnect Dryer Vent
10 minutesFirst, unplug the dryer from the electrical outlet to ensure no power is running to the appliance. Then, carefully pull the dryer away from the wall. Locate the dryer vent hose, which is typically a flexible or rigid metal pipe, and disconnect it from the back of the dryer. It might be secured with a clamp or tape, so gently pry it loose or cut any tape. Next, disconnect the other end of the vent hose from the wall outlet or exhaust hood.
Watch: Disconnecting the Dryer Vent
Clean Dryer Vent Duct
30 minutesInsert the dryer vent cleaning brush into the ductwork from either the dryer end or the wall outlet end. Extend the brush as far as possible into the vent. Rotate the brush manually or with a drill (if using a powered kit) to dislodge lint from the duct walls. Simultaneously, use a vacuum cleaner with a hose attachment to suck out the loosened lint as you work the brush through the duct. Repeat this process for the entire length of the vent, working from both ends if necessary to ensure all sections are cleaned.
Watch: Clean the Dryer DuctworkClean Dryer Exhaust Outlet
5 minutesUsing a damp cloth or a small brush, clean the dryer's exhaust port on the back of the appliance. Also, thoroughly clean the inside of the wall exhaust hood or vent cover. Remove any lint buildup that may have accumulated around these openings. This ensures a clear path for air to exit the dryer.
Watch: Clean Dryer and Wall Vent Openings
Reconnect Dryer Vent
10 minutesAlign the dryer vent hose with the exhaust port on the back of the dryer and the wall outlet. Secure the connection using a clamp or by applying strong duct tape to create an airtight seal. Ensure the hose is not kinked or crushed, as this can restrict airflow. Reconnect the other end of the vent hose to the wall exhaust hood, again ensuring a secure and sealed connection.
Watch: Connect New Hose and Position DryerRestore Dryer Power and Test
15 minutesOnce the vent is fully reconnected and secured, carefully push the dryer back into its original position. Plug the dryer back into the electrical outlet. Turn on the dryer and set it to a short air-only or low-heat cycle. Listen for the sound of air escaping from the exterior vent. You can also feel for airflow at the exterior vent hood. If the airflow is strong and consistent, the cleaning was successful. If airflow is weak, re-check connections and ensure the vent is not obstructed.
Watch: Clean Up and Reconnect DryerCommon Problems
The dryer accidentally powers on, or there's a gas leak (for gas dryers) while you're working.
Solution: Immediately turn off the circuit breaker that controls the dryer. For gas dryers, also turn off the gas supply valve located behind the dryer. If you smell gas (like rotten eggs), evacuate the area immediately and contact your gas provider.
Prevention: ALWAYS disconnect the dryer's power by flipping its dedicated circuit breaker to the 'OFF' position before starting any work. For gas dryers, also turn off the gas supply valve. Verify power is off by trying to start the dryer after disconnecting.
You strip screws, crack plastic vent connections, or crush flexible ducting while disconnecting or reconnecting parts.
Solution: If a screw is stripped, try using a slightly larger screw or reposition the clamp. If a plastic connection is cracked, you might need to replace that section. For crushed flexible duct, gently try to reshape it; if damaged too severely, replace the section with new UL-approved ducting.
Prevention: Use the correct size screwdriver for hose clamps, avoiding pliers which can damage the screw heads. Hand-tighten clamps until snug, but do not overtighten. Be gentle when manipulating vent sections.
After cleaning, the dryer still takes a long time to dry clothes, or the lint trap fills unusually fast, indicating incomplete lint removal.
Solution: Repeat the cleaning process, paying extra attention to all accessible sections of the duct. Use the drill-powered brush kit to reach as far as possible, working it back and forth several times. Thoroughly vacuum with the shop vac, ensuring all loosened lint is removed.
Prevention: Work slowly and systematically, ensuring the brush reaches all areas. Extend the brush kit rods sufficiently to cover the entire length of the vent duct. Perform a final vacuum pass after brushing to pick up any remaining loosened lint.
During cleaning, the flexible vent duct gets punctured or torn, leading to air leaks.
Solution: For small punctures, you can try patching them with high-temperature *aluminum foil tape* specifically designed for dryer vents. For larger tears or significant damage, the damaged section of the flexible vent duct must be replaced with new, UL-approved rigid or flexible metal ducting.
Prevention: Be gentle and avoid aggressive pushing or pulling with the brush, especially around bends or through constricted areas. Never force the brush if it feels stuck. Ensure the brush head is appropriate for the duct material.
Hot air and lint escape from the connections where the vent duct attaches to the dryer or the wall, creating a mess and fire hazard.
Solution: Disconnect the leaking sections, re-align them, ensuring they fit snugly. Re-secure with new hose clamps if the old ones are damaged, and then seal the connections using UL-listed *aluminum foil tape* (general-purpose duct tape is not suitable for dryer vents due to heat and fire safety).
Prevention: Ensure all vent sections are properly seated and overlapping before securing with hose clamps. Use the recommended *aluminum foil tape* designed for dryer vents to create an airtight and heat-resistant seal at all connections.
The drill-powered cleaning brush or one of its rods gets lodged inside the vent duct, making it difficult to remove.
Solution: First, try to gently rotate the drill in reverse (if the brush head is designed for it) while simultaneously pulling. If that doesn't work, try to access the duct from another point (e.g., the wall outlet) to push it out. As a last resort, if the duct is flexible, you might need to carefully cut the duct to retrieve the brush and then repair or replace that section.
Prevention: Go slowly when inserting the brush, especially around corners and bends. Do not force the brush. Ensure all brush rod sections are securely twisted together before starting to prevent them from detaching inside the vent.
Frequently Asked Questions
What are the most critical safety precautions I should take when cleaning my dryer vent, especially concerning electrical components and fire risk?
Always unplug your dryer or turn off its circuit breaker before you begin to eliminate electrical hazards. Wear appropriate gloves to protect your hands from sharp edges or debris within the vent. After cleaning, ensure all connections are tight and sealed with DEWALT Ultra-Tough Black Duct Tape to prevent lint leakage, which is a major fire hazard.
Do I really need specialized tools like the Everbilt Drill Powered Dryer Vent Cleaning Brush Kit, or can I just use a shop vacuum for this project?
While a shop vacuum is useful for removing loose lint and debris, the Everbilt Drill Powered Dryer Vent Cleaning Brush Kit is essential for this project. Its spinning brush dislodges stubborn, compacted lint from the duct walls that a vacuum alone cannot reach, ensuring a thorough and effective clean.
The project is labeled 'beginner' but has an estimated time of 4 hours. What contributes to this duration, and is it truly manageable for someone new to DIY?
The 4-hour estimate accounts for potential challenges like reaching difficult sections of ductwork, ensuring thorough cleaning, and careful disconnection/reconnection of the dryer. While the steps are straightforward for a beginner, taking your time with each stage, especially proper sealing with DEWALT duct tape, is crucial for safety and effectiveness.
What are common mistakes beginners make when cleaning a dryer vent, and how can I avoid them to ensure the project is successful?
A common mistake is not fully disconnecting the vent or not resealing connections properly, which can lead to lint leakage or continued inefficiency. Ensure all clamps are secure and use DEWALT Ultra-Tough Black Duct Tape for an airtight seal. Also, make sure to clean the exterior dryer exhaust outlet, as lint often accumulates there.
How often should I clean my dryer vent to maintain optimal dryer efficiency and prevent potential fire hazards?
It is generally recommended to clean your dryer vent at least once a year. However, if you use your dryer frequently, have a long vent run, or notice symptoms like clothes taking longer to dry or the dryer feeling excessively hot, consider cleaning it every 6-9 months for safety and efficiency.
What if my dryer vent duct is too long or has too many sharp bends for the cleaning brush kit to navigate? Are there alternative solutions or situations where I should call a professional?
For exceptionally long or complex duct runs with multiple tight turns, the drill-powered brush kit might not reach every section effectively. If you encounter such difficulties, or if you're uncomfortable performing the cleaning yourself, it's best to contact a professional dryer vent cleaning service. They possess specialized equipment for challenging installations.