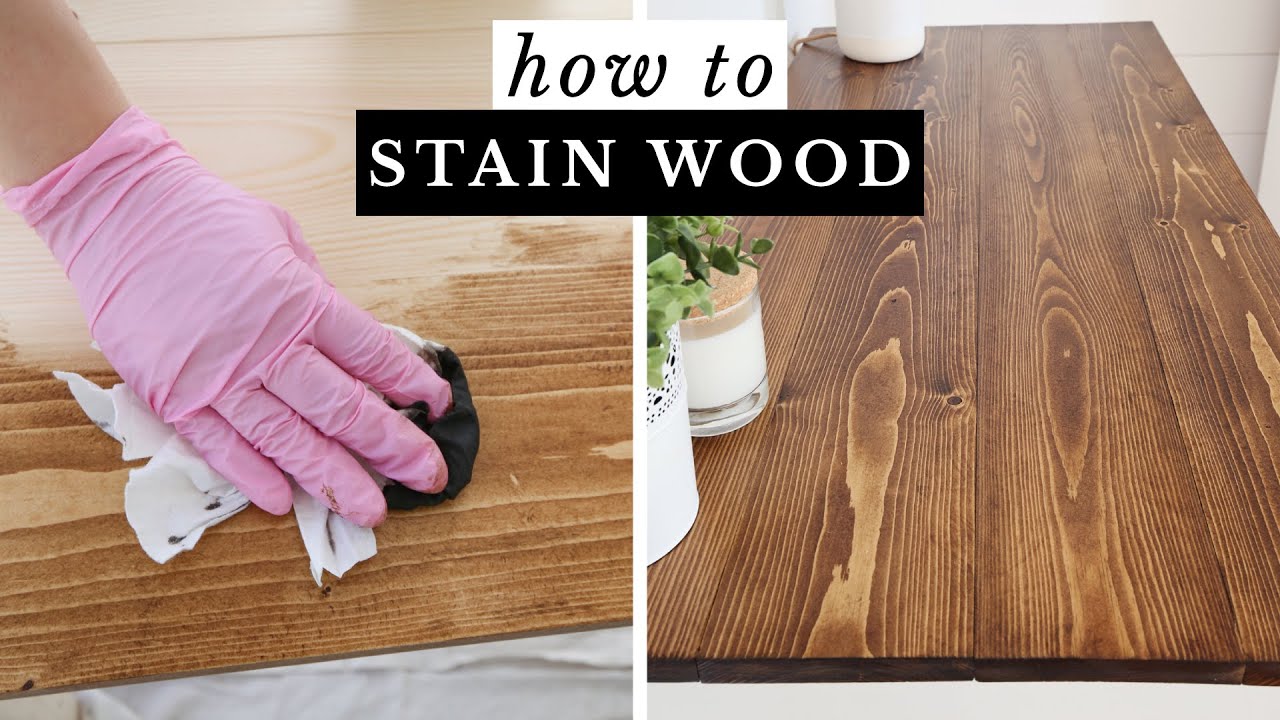
Wood Staining
About This Project
This project involves preparing and applying stain to a wooden surface to enhance its appearance and provide protection. The process includes cleaning, sanding, and applying the stain according to product instructions.
Tools & Materials
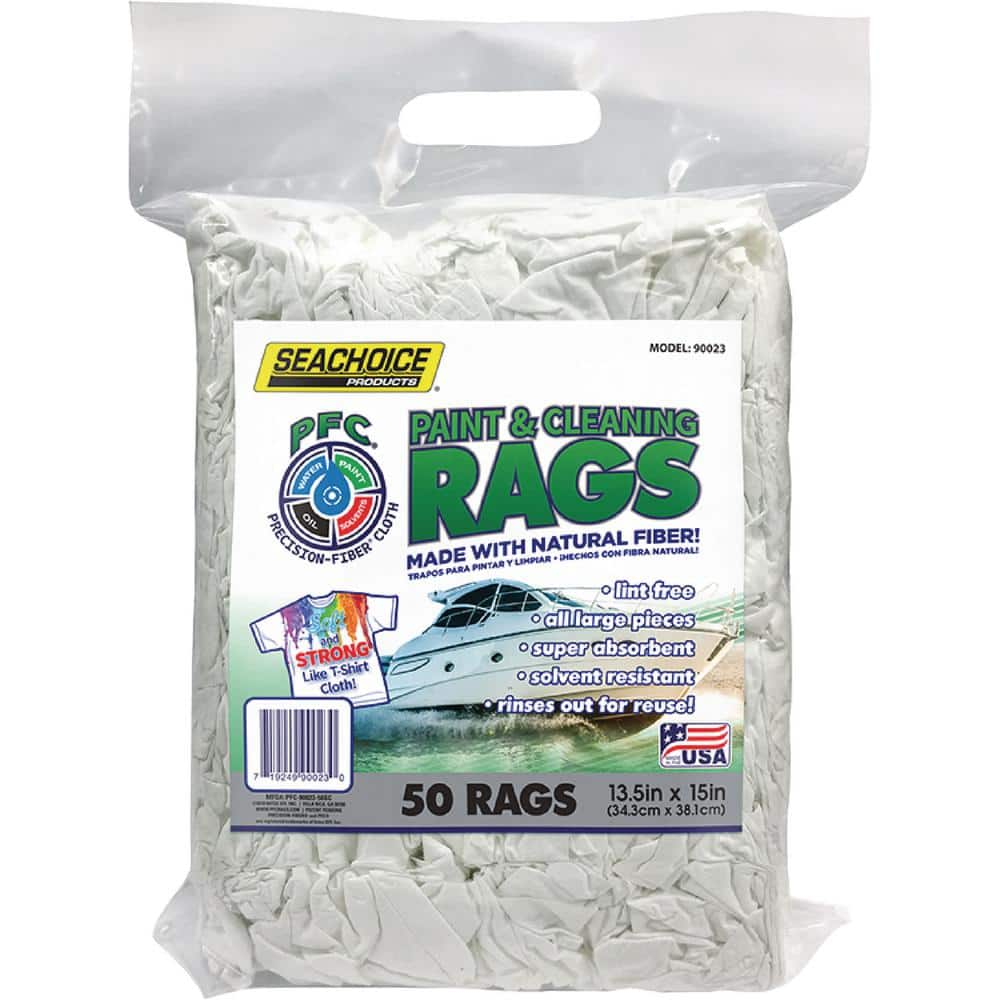
Seachoice Lint-Free Paint & Cleaning Rags, 50 per Bag 90023
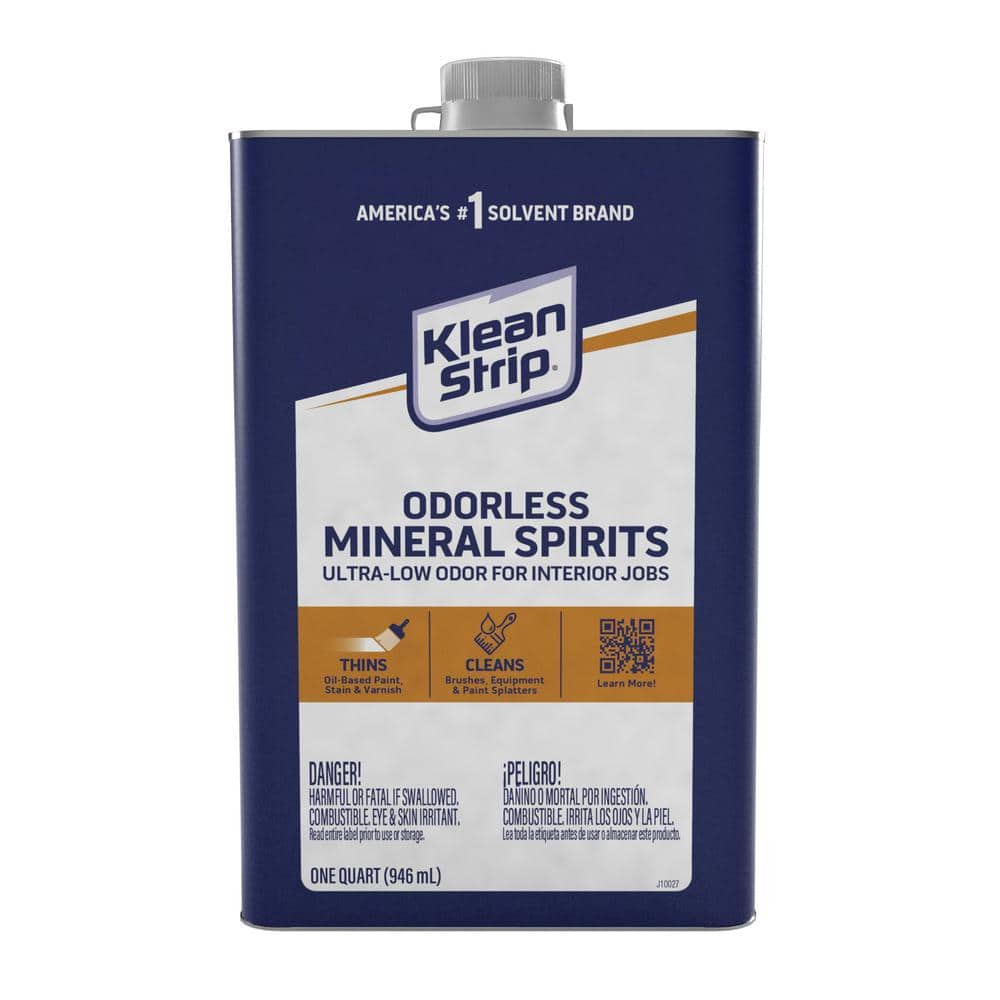
Klean-Strip 1 qt. Odorless Mineral Spirits QKSP94005
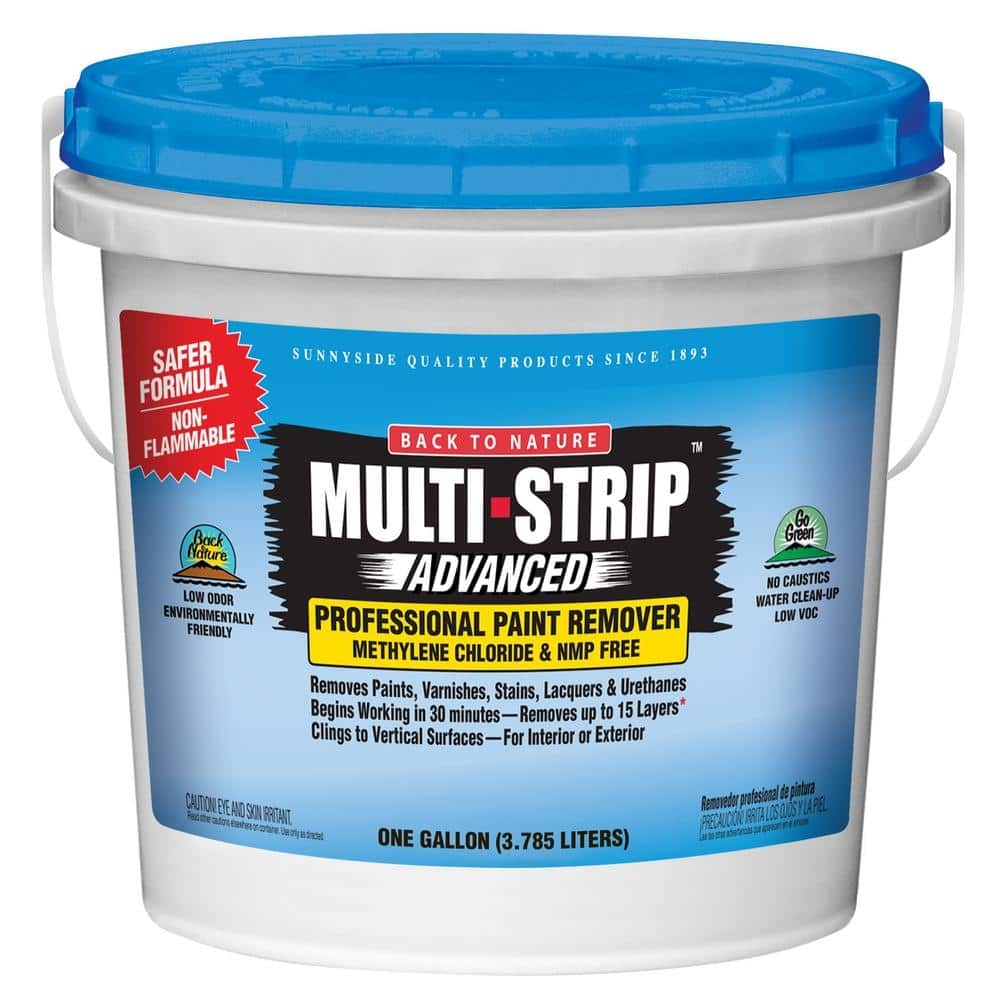
MULTI-STRIP Advanced Series 1 gal. Multiple Layer Paint and Varnish Remover 657G1A

Orbital Sander

Hand Sanding Block
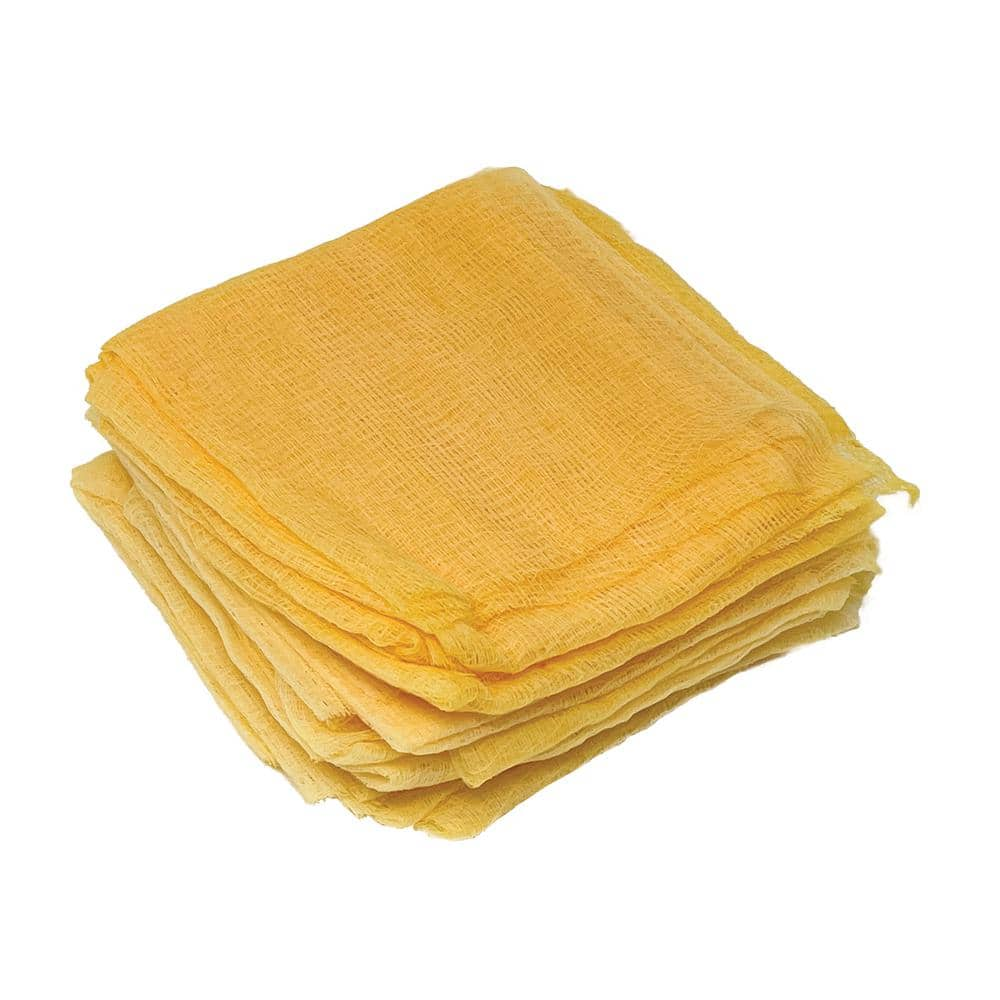
HDX (12-Pack) Cotton Tack Cloths 4.5 sq. ft. K-00647-12HDX
Seachoice Lint-Free Paint & Cleaning Rags, 50 per Bag 90023
Made with natural fiber. All large pieces. Super absorbent. Solvent resistant. Rinses out for reuse. During the warranty period, your Seachoice product will either be repaired or it will be replaced with
Klean-Strip 1 qt. Odorless Mineral Spirits QKSP94005
For Pro's and DIY'ers, Klean-Strip is the leading brand of solvents, thinners, removers, and cleaners that are dependable for reliable results. Klean-Strip Odorless Mineral Spirits effectively thin oil-based
MULTI-STRIP Advanced Series 1 gal. Multiple Layer Paint and Varnish Remover 657G1A
The MULTI-STRIP advanced paint remover is environmentally safe and designed to remover up to 15 layers in one application. It will remove paints, varnishes, stains, lacquers and urethanes, and more difficult
Orbital Sander
Employed for sanding the legs and tabletop, ensuring a smooth finish before applying varnish.
Hand Sanding Block
Manual sanding made comfortable.
HDX (12-Pack) Cotton Tack Cloths 4.5 sq. ft. K-00647-12HDX
Get a clean, smooth and dry surface every time with the exclusive Tack Cloths from HDX. Get into all the tight nooks and crannies to ensure a clean surface before painting or staining. Constructed of cotton, they remove fine dust and particles before and in between coats when painting, staining, varnishing and more.
Steps

Clean the Wooden Surface
60 minutesThoroughly clean the wooden surface to remove any dirt, dust, grease, or old finishes. For stubborn grime or old finishes, a degreaser or paint stripper may be necessary, followed by a wipe-down with mineral spirits or denatured alcohol to ensure a clean, receptive surface for staining.
Watch: Clean Wood Surface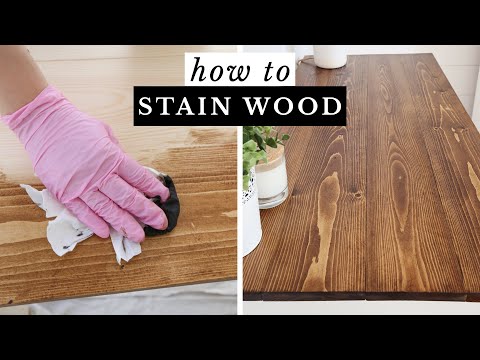
Sand the Wood Surface
120 minutesSand the entire wooden surface, starting with a medium-grit sandpaper (e.g., 120-grit) to remove any imperfections and level the wood. Progress to a finer grit (e.g., 180 or 220-grit) to achieve a smooth finish. Always sand in the direction of the wood grain. After sanding, wipe down the surface with a tack cloth or a slightly damp rag to remove all dust.
Watch: Sand the Wood
Apply Pre-Stain Wood Conditioner
30 minutesApply a pre-stain wood conditioner to all surfaces that will be stained. This product helps to equalize the porosity of the wood, preventing blotchiness and ensuring a more uniform color. Allow the conditioner to penetrate the wood for the time specified on the product label, typically 15-30 minutes. Wipe off any excess conditioner that has not been absorbed by the wood.
Watch: Apply Pre-stain Conditioner (for Softwoods)
Apply the Wood Stain
90 minutesStir the wood stain thoroughly before and during use. Apply the stain evenly with an applicator brush, foam brush, or clean rag, working in the direction of the wood grain. Avoid applying too much at once. For oil-based stains, allow it to penetrate for 5-15 minutes (check product instructions). For water-based stains, apply and wipe off almost immediately. Wipe off the excess stain with a clean rag, again following the grain, to achieve the desired color depth.
Watch: Apply the Wood Stain
Allow Stain to Dry
1440 minutesAllow the stained wood surface to dry thoroughly according to the manufacturer's recommended drying time. This typically ranges from 24 to 72 hours, depending on the type of stain, humidity, and temperature. Ensure good ventilation in the drying area.
Watch: Allow Stain to DryApply Protective Topcoat (Optional)
180 minutesOnce the stain is completely dry, apply one or more coats of a protective topcoat like polyurethane, varnish, or lacquer. Stir the topcoat gently to avoid introducing air bubbles. Apply thin, even coats using a high-quality brush or applicator, working in the direction of the grain. Allow each coat to dry thoroughly according to the product instructions before applying the next. Lightly sand with very fine-grit sandpaper (e.g., 320-grit or higher) between coats for a smoother finish, and wipe with a tack cloth.
Watch: Apply a Top Coat (Optional but Recommended)Common Problems
The stain looks blotchy or uneven, with some areas appearing much darker or lighter than others.
Solution: If the blotchiness is minor and the stain is still wet, try wiping gently with a rag dampened with mineral spirits to blend the uneven areas. For more severe or dried blotches, you will likely need to sand the affected area (or the entire piece) back to bare wood using your orbital sander or hand sanding block with appropriate sandpaper, then clean thoroughly and re-apply the pre-stain conditioner and stain following the prevention steps.
Prevention: Always apply a pre-stain wood conditioner (like Varathane 8 oz. Wood Conditioner 342085) to the wood surface before staining. This helps the wood absorb the stain more evenly. Ensure the conditioner is applied uniformly and allowed to penetrate according to its instructions. Also, apply the stain in small sections, wiping off excess within the recommended time (usually 5-15 minutes) before it dries too much.
After applying the stain, the wood feels rough or 'fuzzy' to the touch, even though it was smooth after sanding.
Solution: This is called 'raised grain.' Allow the stain to dry completely. Then, very lightly sand the affected areas with a fine-grit sandpaper (220-320 grit) or a fine sanding pad. Be extremely gentle to avoid sanding through the stain, especially on edges. Once smooth, you can proceed with applying your topcoat. If you accidentally sand through the stain, you may need to touch up that area or re-stain it.
Prevention: Before applying any conditioner or stain, after your final sanding with 180-grit sandpaper, lightly dampen the wood surface with a clean, lint-free rag (like Seachoice Lint-Free Paint & Cleaning Rags) and plain water. Allow it to dry completely. This will 'raise' the grain. Once dry, lightly sand the surface again with your fine-grit sandpaper (220 grit) to knock down the raised fibers. Clean off all dust with a tack cloth before proceeding with conditioner and stain.
The stain remains tacky or sticky for much longer than the drying time indicated on the product label.
Solution: Ensure good ventilation in your workspace by opening windows and using fans. If the stain is still very tacky after 24-48 hours, it's likely due to excess stain that wasn't wiped off. Try wiping the surface vigorously with a clean, lint-free rag (Seachoice Lint-Free Paint & Cleaning Rags) dampened lightly with mineral spirits (Klean-Strip 1 qt. Odorless Mineral Spirits QKSP94005). This will help remove the sticky residue. Allow it to dry completely before considering a topcoat. In severe cases, you might have to remove the stain and start over.
Prevention: Always apply stain in thin, even coats and, most importantly, thoroughly wipe off *all* excess stain with clean rags within the time frame specified by the product manufacturer (e.g., Varathane 8 oz. Special Walnut Classic Wood Interior Stain 339732). Applying too thick a coat or not wiping enough excess will prevent it from drying properly. Avoid staining in high humidity conditions.
The clear protective topcoat has tiny bubbles, streaks, or visible brush marks.
Solution: If the topcoat is still wet, you might gently 'tip off' (lightly brush over with the foam brush) the affected area to pop bubbles and smooth streaks, but avoid overworking it. If the topcoat has dried with imperfections, allow it to cure completely (check product instructions, e.g., Modern Masters MasterClear 1 qt.). Then, lightly sand the affected area with very fine-grit sandpaper (320-400 grit) until smooth. Clean off all dust with a tack cloth (HDX Tack Cloths) and apply another thin, even coat of the topcoat.
Prevention: When preparing the topcoat, stir it gently instead of shaking, as shaking introduces air bubbles. Use a high-quality foam paintbrush (Foam Paintbrush) and apply thin, even coats, brushing in one direction with light, consistent pressure. Avoid going back over areas that have already started to dry. Ensure your workspace is clean and dust-free to prevent particles from settling in the wet finish.
The old paint or varnish is difficult to remove completely, leaving patchy areas that won't take new stain evenly.
Solution: You need to be more aggressive with your removal process. For stubborn areas, apply MULTI-STRIP Advanced Series 1 gal. Multiple Layer Paint and Varnish Remover 657G1A according to its instructions. Allow it sufficient time to work, then scrape off the softened finish. After chemical stripping, always follow up with thorough sanding using your orbital sander and hand sanding block, starting with a coarser grit and progressing to finer grits (like the 180-grade 3M Stikit Blue Sandpaper Sheetroll) until all traces of the old finish are gone and the wood is uniform and smooth. Clean the surface meticulously with tack cloths after each sanding stage.
Prevention: Before starting, carefully assess if the existing finish is fully removed. It's often better to err on the side of caution and use a chemical stripper if there's any doubt about complete removal, rather than just sanding. Ensure your initial sanding is thorough and even across the entire surface, paying extra attention to edges and corners.
Accidental exposure to chemical products (stripper, stain, mineral spirits) causes skin irritation or eye discomfort.
Solution: Immediately stop work. For skin contact, wash the affected area thoroughly with soap and plenty of water. If irritation persists, seek medical advice. For eye contact, flush eyes continuously with clean water for at least 15 minutes and seek immediate medical attention. If you inhale fumes and feel dizzy or unwell, move to fresh air immediately. Read the 'First Aid' section on all product labels for specific instructions.
Prevention: Always wear appropriate personal protective equipment (PPE) when handling chemical products. This includes chemical-resistant gloves, safety glasses or goggles, and a respirator if working with strong fumes or in poorly ventilated areas. Ensure good ventilation in your work area by opening windows and using fans to circulate air. Read all product labels (e.g., Klean-Strip 1 qt. Odorless Mineral Spirits QKSP94005, MULTI-STRIP Advanced Series 1 gal. Multiple Layer Paint and Varnish Remover 657G1A, Varathane 8 oz. Special Walnut Classic Wood Interior Stain 339732) and follow their safety guidelines before starting.
Small fibers, dust, or other debris get stuck in the wet stain or topcoat, leaving a bumpy or visible imperfection.
Solution: If the debris is in the stain layer and it's already dry, you can very gently sand the area with fine-grit sandpaper (220-320 grit) to remove the particle and smooth the surface. You might need to lightly touch up with stain. If the debris is in the dried topcoat, allow the topcoat to fully cure, then lightly sand the affected area with very fine-grit sandpaper (320-400 grit) until the debris is gone and the surface is smooth. Clean thoroughly with a tack cloth and apply another thin coat of topcoat.
Prevention: Preparation is key. Thoroughly clean your workspace to minimize airborne dust. Before applying any coat (conditioner, stain, topcoat), use a vacuum to remove dust from the project piece, then wipe it down meticulously with a tack cloth (HDX Cotton Tack Cloths or HDX Tack Cloths). Avoid wearing fuzzy clothing that can shed fibers. Work in an area with minimal air movement to prevent dust from settling on your wet finish.
Frequently Asked Questions
What essential safety precautions should I take when working with wood stain, mineral spirits, and paint stripper?
Always work in a well-ventilated area, preferably outdoors or with open windows and fans. Wear chemical-resistant gloves and eye protection to prevent skin and eye irritation. Keep these products away from open flames and dispose of rags soaked in stain or mineral spirits properly to prevent spontaneous combustion.
Why is thorough sanding and applying pre-stain conditioner so important for a good finish?
Sanding creates a smooth, even surface that allows the stain to penetrate uniformly, preventing blotchiness. Pre-stain conditioner further helps by sealing porous areas, ensuring the stain absorbs more evenly, especially on softwoods or wood with varying grain patterns. Skipping these steps often leads to an uneven or splotchy appearance.
How can I avoid common issues like streaks or uneven color when applying wood stain?
To avoid streaks, apply the stain in the direction of the wood grain, using long, even strokes. Work in small sections, applying and then wiping off excess stain promptly with a clean, lint-free rag before it dries. Ensure you maintain a wet edge as you move across the surface for a seamless look.
The project estimates 4 hours; does this include all drying times, or will it take longer?
The 4-hour estimate typically refers to active working time. The actual project duration will be significantly longer due to necessary drying times between steps. Allow several hours for conditioner to dry, 8-24 hours for stain to dry completely, and additional time for any protective topcoat to cure, which can extend the project over multiple days.
Is the protective topcoat really optional, and what benefits does it provide?
While technically optional, applying a protective topcoat is highly recommended for durability. It creates a barrier that protects the stained wood from scratches, moisture, UV damage, and general wear and tear, significantly extending the life and beauty of your finish, especially for frequently used items.
What kind of sandpaper grits should I use, and how do I know when I've sanded enough?
Start with a medium grit (e.g., 120-150) to remove imperfections, then progressively move to finer grits (e.g., 180-220) for a smooth finish. Sand until the wood feels uniformly smooth to the touch, and all scratches from coarser grits are removed. Always sand in the direction of the wood grain.