How to Build a Simple Wooden Box Step
About This Project
This project outlines the steps to build a basic, sturdy wooden box suitable for storage or as a foundational element for other projects. It covers material selection, cutting, assembly, and finishing.
Tools & Materials

Miter Saw
Measuring Tape

Pencil
Clamps
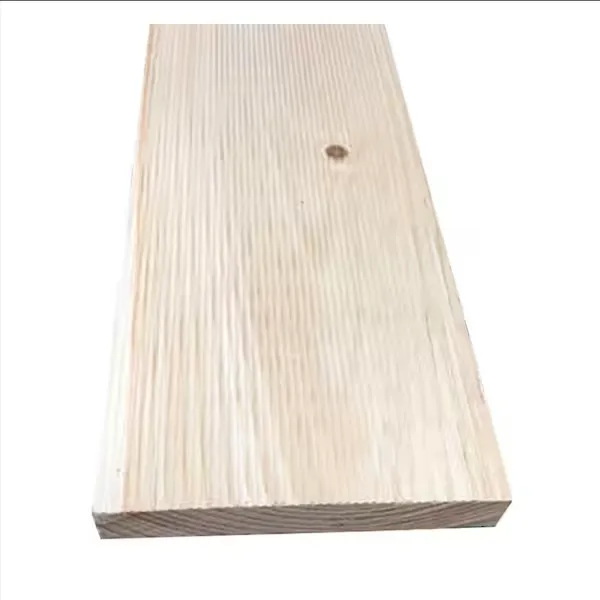
Pine Wood

Safety Glasses
Miter Saw
A saw designed for making precise crosscuts and miters in a workpiece.
Measuring Tape
For accurate measurements of plywood and components, ensuring proper assembly.
Pencil
Marks and draws with ease.
Clamps
Used to secure plywood pieces during drilling and assembly, maintaining alignment.
Pine Wood
Softwood used for the cabinet carcass and other components.
Safety Glasses
Keeps eyes safe from potential hazards.
Steps

Cut Wood Pieces
60 minutesMeasure and mark the lumber according to the project plan's dimensions. Use a miter saw or circular saw to make clean, straight cuts for all sides, the bottom, and the lid of the box. Ensure all cuts are square to create a well-fitting box.
Watch: Prepare and Cut Wood Components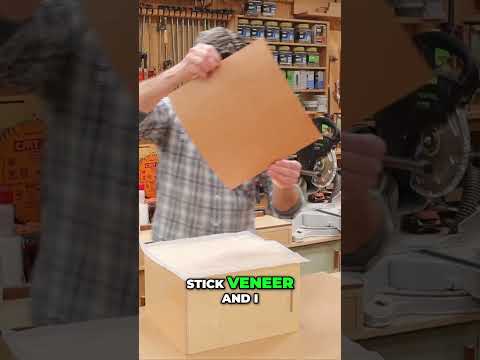

Attach the Bottom
25 minutesApply wood glue to the bottom edges of the assembled sides. Carefully place the bottom piece onto the glued edges, ensuring it is flush with the outer edges of the sides. Secure the bottom by driving wood screws or finishing nails through the sides into the bottom piece.
Watch: Attach Box Bottom

Attach Lid (Optional)
20 minutesDepending on whether you want a fixed or hinged lid: For a fixed lid, apply wood glue to the top edges of the box and place the lid on top, securing with screws or nails. For a hinged lid, attach hinges to the back edge of the lid and box according to the hinge manufacturer's instructions.
Watch: Attach Lid Bottom to Box
Sand and Finish
90 minutesSand all exterior and interior surfaces of the box, starting with a coarser grit sandpaper and progressing to finer grits for a smooth finish. Wipe away all dust. Apply your chosen finish, such as paint, stain, or a clear sealant, following the manufacturer's instructions for application and drying times.
Watch: Sand and Apply FinishFrequently Asked Questions
Which tools are absolutely essential for a beginner, and are multiple hammers necessary for this project?
For a simple box, a measuring tape, pencil, miter saw (or hand saw with miter box), square, sandpaper, and a single hammer are essential. The specialized drywall hammer and hinge bit are useful if you're installing a hinged lid, but not strictly required for the basic box structure itself.
Why is pine wood recommended for this project, and can I use other types of wood?
Pine is a great choice for beginners due to its affordability, widespread availability, and ease of cutting and sanding. You can certainly use other woods like poplar or plywood for different aesthetics or increased durability; just be aware they might be harder to work with or more expensive.
What are the most important safety precautions I should take when cutting and assembling the box?
Always wear eye and ear protection when using a miter saw or other power tools. Ensure your workpiece is securely clamped before making cuts, and keep hands clear of the blade. When assembling, be mindful of hammer swings and pre-drill pilot holes to prevent wood splitting.
What are common mistakes beginners make building a wooden box, and how can I avoid them?
Common mistakes include inaccurate measurements leading to uneven cuts, and rushing assembly resulting in a crooked box. Always 'measure twice, cut once,' use a speed square to mark precise lines, and dry-fit your pieces before final assembly to check for fit.
Is the 4-hour estimated time realistic for someone new to woodworking, and how difficult is this project?
The 4-hour estimate is for someone with basic familiarity. As a beginner, it's realistic to expect it might take a bit longer, perhaps 6-8 hours, especially if you take your time with measuring, cutting, and finishing. The project difficulty is genuinely beginner-friendly, focusing on fundamental skills.
Is it necessary to seal the wooden box with Latex Sealer, and are there other finishing options?
Sealing protects the wood from moisture, dirt, and wear, extending the box's life, especially if it will be used in damp environments or frequently handled. It's highly recommended for durability. Other finishing options include wood stain to change its color while showing the grain, or paint for a solid color finish; always apply a topcoat for protection after staining or painting.
Can I use only wood glue or only screws to assemble the box, or is a combination required?
While screws alone can hold the box, wood glue creates a much stronger, more rigid bond by filling gaps and adhering wood fibers. Combining both glue and screws provides the best long-term durability and structural integrity, preventing joints from loosening over time and ensuring a robust final product.