Window Screen Repair
About This Project
This project involves removing an old, damaged window screen and installing a new one. The process includes measuring the window frame, cutting new screen material to size, and securing it to the frame with spline and spline roller. Finally, any excess screen material is trimmed.
Tools & Materials
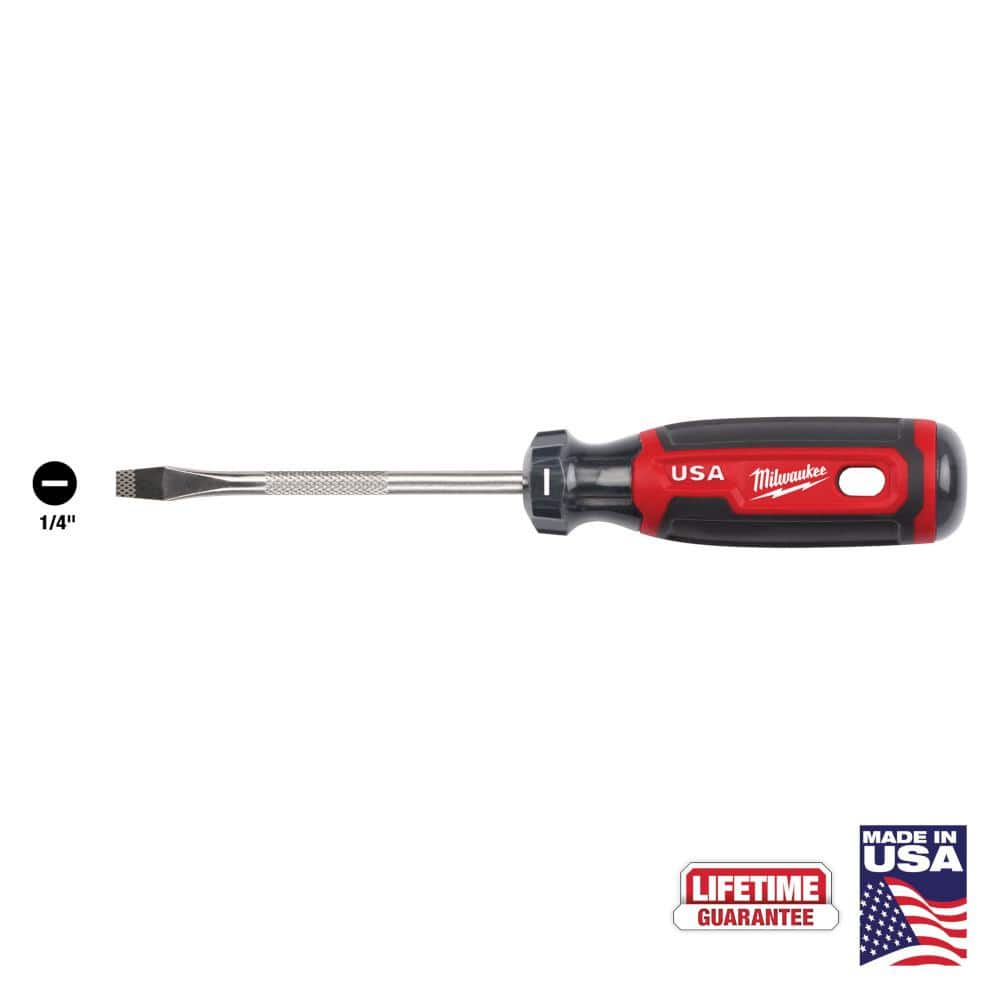
Milwaukee 4 in. x 1/4 in. Slotted Flat Head Screwdriver with Cushion Grip MT206
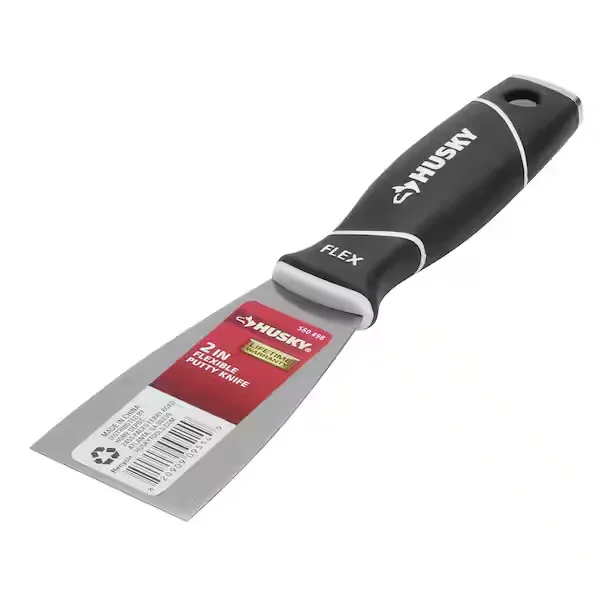
Putty knife

Work Gloves
Measuring Tape
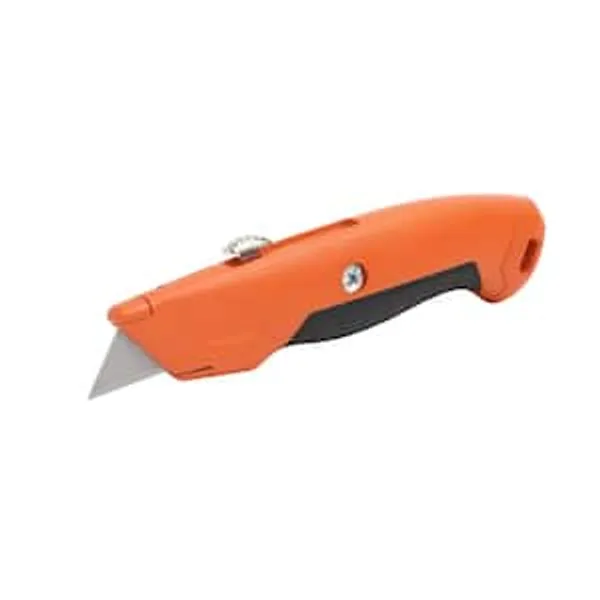
Box Cutter
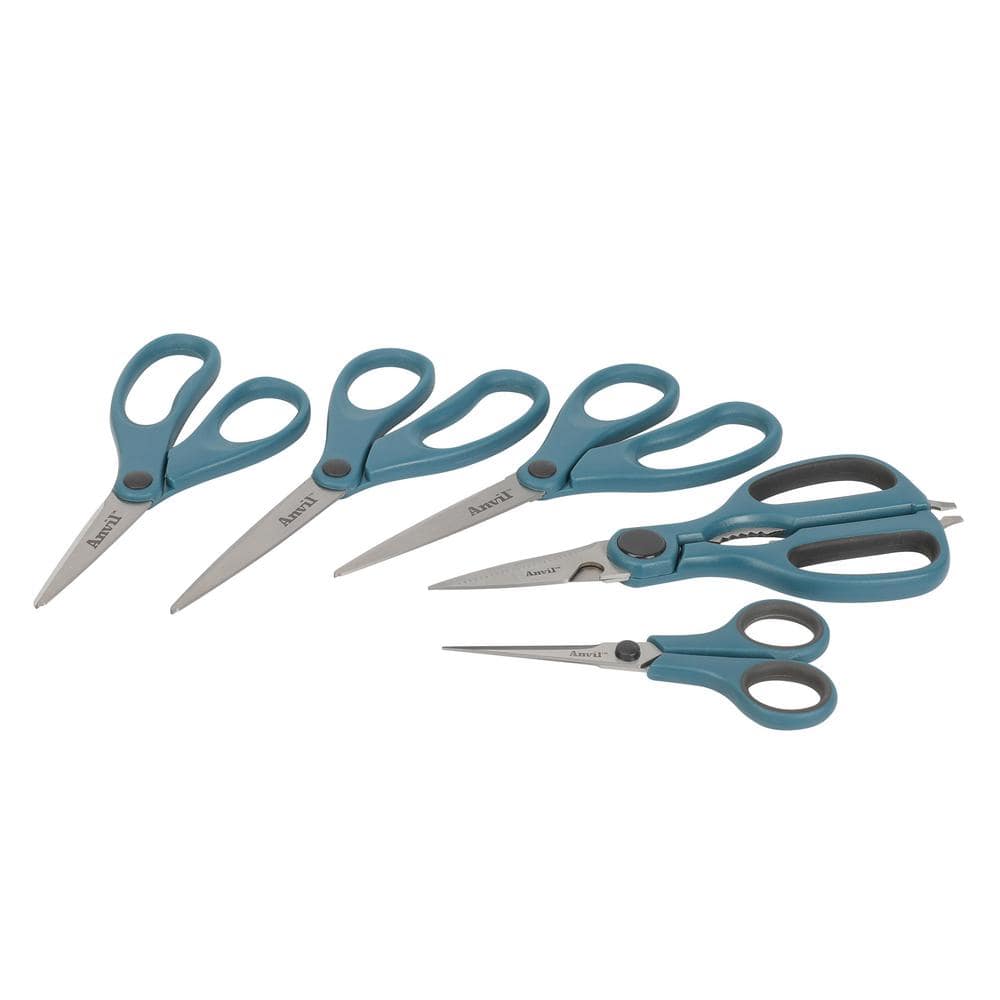
Anvil Straight Scissors 5-Piece 90841
Milwaukee 4 in. x 1/4 in. Slotted Flat Head Screwdriver with Cushion Grip MT206
The Milwaukee® 1/4" Slotted 4" Cushion Grip Screwdrivers (USA) are manufactured to give the professional the best-fitting screwdriver with max grip. These screwdriver tips are custom machined to deliver
Putty knife
Spreads putty with its flat blade.
Work Gloves
Protects hands during tasks.
Measuring Tape
For accurate measurements of plywood and components, ensuring proper assembly.
Box Cutter
Sharp and handy for precise cuts.
Anvil Straight Scissors 5-Piece 90841
This 5-Piece Scissors Set is ideal for all your household tasks or projects. The lightweight design and comfort-grip handles offer easy handling while cutting. This comprehensive set includes: (2) 8-in.
Steps

Remove Old Screen
5 minutesUsing a flathead screwdriver or a putty knife, gently pry out the old screen material from the frame. Work your way around the perimeter, loosening the spline that holds the screen in place. Once the spline is loose, the old screen should come out easily. Remove any remaining pieces of spline from the groove.
Watch: Remove Old Screen Material
Measure and Cut New Screen
10 minutesMeasure the height and width of the interior of the window frame where the screen will sit. It's best to measure in a few places and use the largest measurement for each dimension. Cut a piece of new screen material that is approximately 2-3 inches larger in both height and width than your frame measurements. This overlap will allow for proper attachment.
Watch: Measure and Cut New Screen Material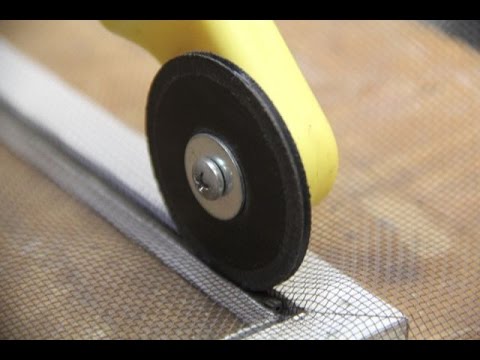
Install New Screen
15 minutesLay the cut screen material over the window frame, ensuring it is centered and has an even overlap on all sides. Start in one corner and use the concave wheel of the spline roller to press the edge of the screen material into the groove of the frame. Then, press the spline (a rubber cord) into the groove on top of the screen material, using the roller to push it down firmly. Work your way around the entire perimeter, maintaining tension on the screen material to keep it taut.
Watch: Insert Spline into Grooved Screen and Channel
Trim Excess Screen
5 minutesOnce the spline is fully seated and the screen is secure, use a sharp utility knife or a rotary cutter to trim the excess screen material. Cut along the edge of the frame, just outside the spline, to create a clean finish. Be careful not to cut into the spline or the frame itself.
Watch: Trim Excess ScreenCommon Problems
The screen material rips or tears while pushing the spline into the groove, especially when going around corners or applying tension.
Solution: Carefully remove the spline from the torn section. If the rip is small and at the edge, you might be able to slightly adjust the screen and re-attempt. For larger tears or those in the main body of the screen, you will likely need to cut a new piece of screen material and restart the installation for that frame.
Prevention: Ensure the screen material is laid flat and centered over the frame's groove. Use steady, even pressure with the spline roller, avoiding excessive force. Apply consistent outward tension on the screen with one hand while rolling the spline in with the other. Do not pull too hard on the screen when installing.
After installation, the new screen material looks loose, saggy, or has visible ripples instead of being taut and flat.
Solution: Gently remove the spline from one or two adjacent sides where the rippling is most prominent. While holding the un-splined section of the screen taut (but without overstretching to avoid tearing), re-install the spline, ensuring you maintain consistent tension as you roll it in. Work your way around the frame, re-tensioning and re-installing sections as needed until the screen is uniformly tight.
Prevention: When installing the spline, stretch the screen material slightly across the frame as you roll the spline into the groove. For best results, install the spline on one long side, then the opposite long side, then the two short sides. This method helps distribute tension more evenly across the screen.
The spline keeps popping out of the frame's groove while you're trying to install it, or it won't seat properly.
Solution: First, verify that the spline you are using is the correct diameter for your window frame's groove (the project suggests 0.140 in.). If the spline is too small, it won't stay; if it's too large, it won't go in. If the size is correct, ensure that the screen material is not bunched up in the groove. Use the concave (rounded) wheel of the spline roller and apply firm, consistent downward pressure to fully seat the spline.
Prevention: Before starting, measure the width of your window frame's spline groove to ensure you purchase the correct spline diameter. Lay the screen material as flat as possible over the groove before beginning to insert the spline to prevent excess material from preventing a proper fit.
You accidentally cut yourself with the box cutter while trimming the excess screen material.
Solution: Immediately stop cutting. Apply firm, direct pressure to the wound with a clean cloth. Clean the cut thoroughly with soap and water, apply an antiseptic, and cover it with a sterile bandage. If the cut is deep, bleeds excessively, or does not stop bleeding, seek medical attention.
Prevention: Always wear work gloves when handling sharp tools like a box cutter. Always cut away from your body. Use the cutting mat for a stable surface. Ensure the box cutter blade is sharp for clean cuts and extends only enough to cut the screen. Use a controlled, steady motion rather than quick, jerky movements.
The screws holding the old window screen frame are stripped, rusted, or too tight, making them impossible to remove with a standard screwdriver.
Solution: If the screw head is only slightly damaged, try using a slightly larger flat head screwdriver (like the Milwaukee 4 in. x 1/4 in. Slotted Flat Head Screwdriver) or a screw extractor kit. For severely stripped screws, you might be able to grip the screw head with pliers if it's raised, or as a last resort, carefully drill out the screw head (this requires caution and specific drill bits). You will likely need to replace any removed screws.
Prevention: Before applying full force, ensure you are using the correct size and type of screwdriver for the screw head. Apply firm, consistent downward pressure while turning counter-clockwise to prevent the screwdriver from slipping and stripping the screw head. If a screw feels stuck, apply a penetrating oil (like WD-40) and allow it to soak for a few minutes before attempting to unscrew it again.
After cutting the new screen material to size, the edges begin to fray or unravel, making the finished screen look untidy.
Solution: For minor fraying, carefully trim any stray strands with a sharp pair of scissors (like the Anvil Straight Scissors). If fraying is extensive, you may need to recut the affected edge using a sharper blade or try applying a thin bead of clear silicone adhesive along the very edge after installation to prevent further unraveling, though this should be a last resort.
Prevention: Use a very sharp box cutter or a dedicated screen cutting tool for all cuts. When trimming excess material, aim for a single, clean, consistent stroke rather than a sawing motion. Ensure your blade is sharp and replaced if it becomes dull, as a dull blade is more likely to cause fraying.
You run out of screen material or spline before you've finished repairing all the planned windows.
Solution: Immediately stop the project. Accurately measure the remaining window frames that need repair to determine the exact amount of screen material and/or spline you still require. Purchase the additional materials before attempting to continue the project.
Prevention: Before starting, carefully measure the length and width of all window frames you intend to repair. Calculate the total linear feet of spline needed (perimeter of all frames plus 10-20% extra) and the total square footage of screen material needed (length x width of each window, plus a few inches extra on each side for trimming). Always purchase slightly more material than your initial calculation to account for mistakes or future small repairs.
Frequently Asked Questions
Are all the listed tools absolutely necessary for a window screen repair?
While essential tools like a measuring tape, spline roller, and a box cutter are critical, some items have alternatives. For example, a standard flat-head screwdriver can substitute for a putty knife for old spline removal, and any sturdy cutting surface can replace a specific cutting mat. The key is to have tools that safely and effectively seat the new spline and cut the screen material.
What are the most important safety precautions to take during this screen repair project?
Always exercise extreme caution when using sharp tools like the box cutter and scissors to prevent cuts. Ensure your cutting surface is stable and clear. Be mindful of potential sharp edges on the old screen material, and wear gloves if you prefer. When handling the frame, watch for any sharp corners or edges.
Is this project truly suitable for a beginner, and can it be completed in two hours?
Yes, window screen repair is considered a beginner-friendly project, involving straightforward steps and basic tool use. The estimated two hours is generally achievable for one standard-sized screen. However, your first attempt might take a bit longer as you get the hang of seating the spline and stretching the screen evenly.
My spline keeps popping out when I try to install the new screen. What should I do?
This often happens if the screen isn't taut enough, if the spline size is incorrect for your frame's channel, or if you're not applying consistent pressure. Try to work slowly, pulling the screen firmly before pressing the spline into the groove with the spline roller. Start by securing the corners first, then work along the sides in small sections.
Are there different types of screen material, and how do I choose the best one?
Yes, common types include fiberglass (like the one listed, durable and easy to work with), aluminum (stronger but can dent), and specialty screens like pet-resistant, solar-blocking, or no-see-um mesh. Fiberglass is a versatile and cost-effective choice for most standard window applications due to its flexibility and resistance to creasing.
How do I ensure I get the correct measurements for my new screen material and spline?
For the screen material, measure the outside dimensions of your window screen frame and add 2-3 inches on all sides for overlap, ensuring you have enough to stretch and trim. For the spline, measure the width of the channel (groove) in your screen frame very accurately using a ruler or even an old piece of spline. Common spline diameters range from 0.125 to 0.180 inches; choosing the right size is crucial for a tight fit.