Tub Fixture Replacement: A Step-by-Step DIY Guide
About This Project
This DIY guide provides step-by-step instructions for replacing bathtub fixtures, including turning off the water supply, removing the old faucet and showerhead, installing new fixtures, and testing for leaks and functionality. Safety precautions are emphasized throughout the process.
Best for experienced DIYers and homeowners with some experience with basic plumbing knowledge.
Tools & Materials
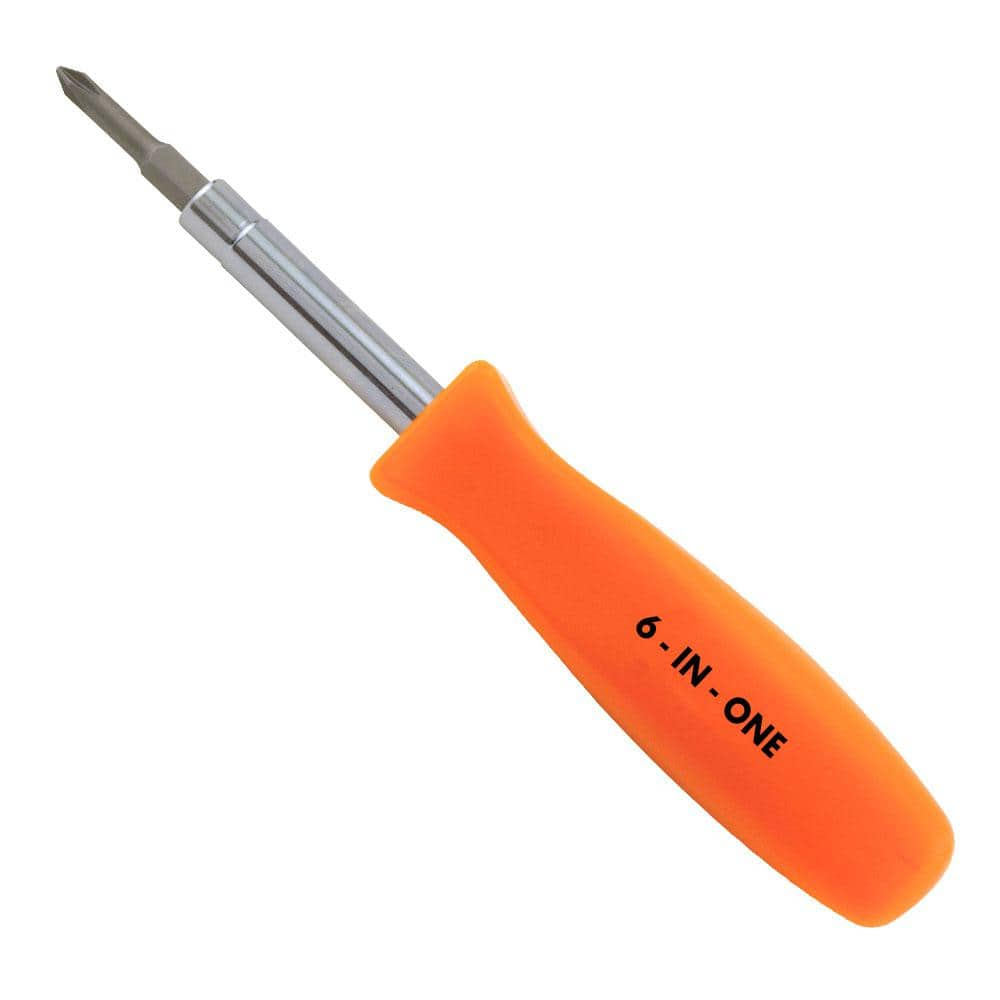
HDX 3-1/4 in. 6-in-1 Screwdriver 120SD12D
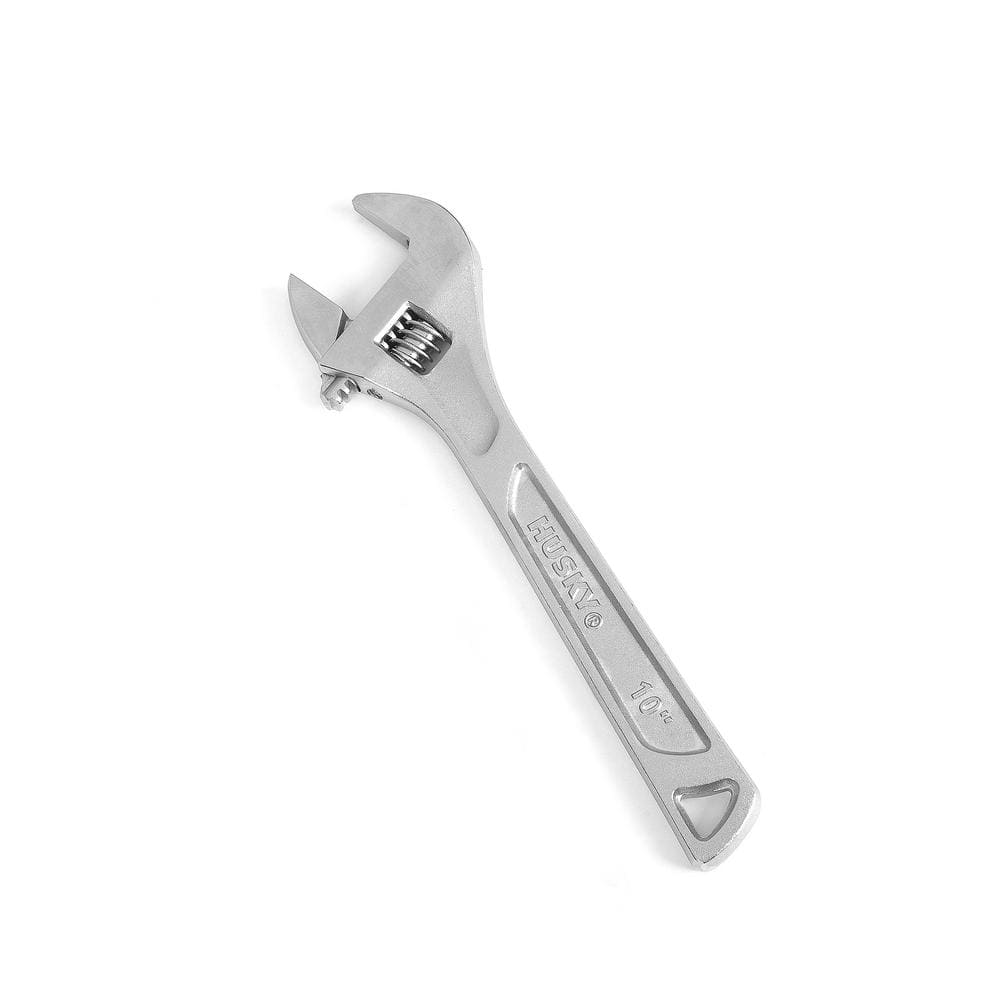
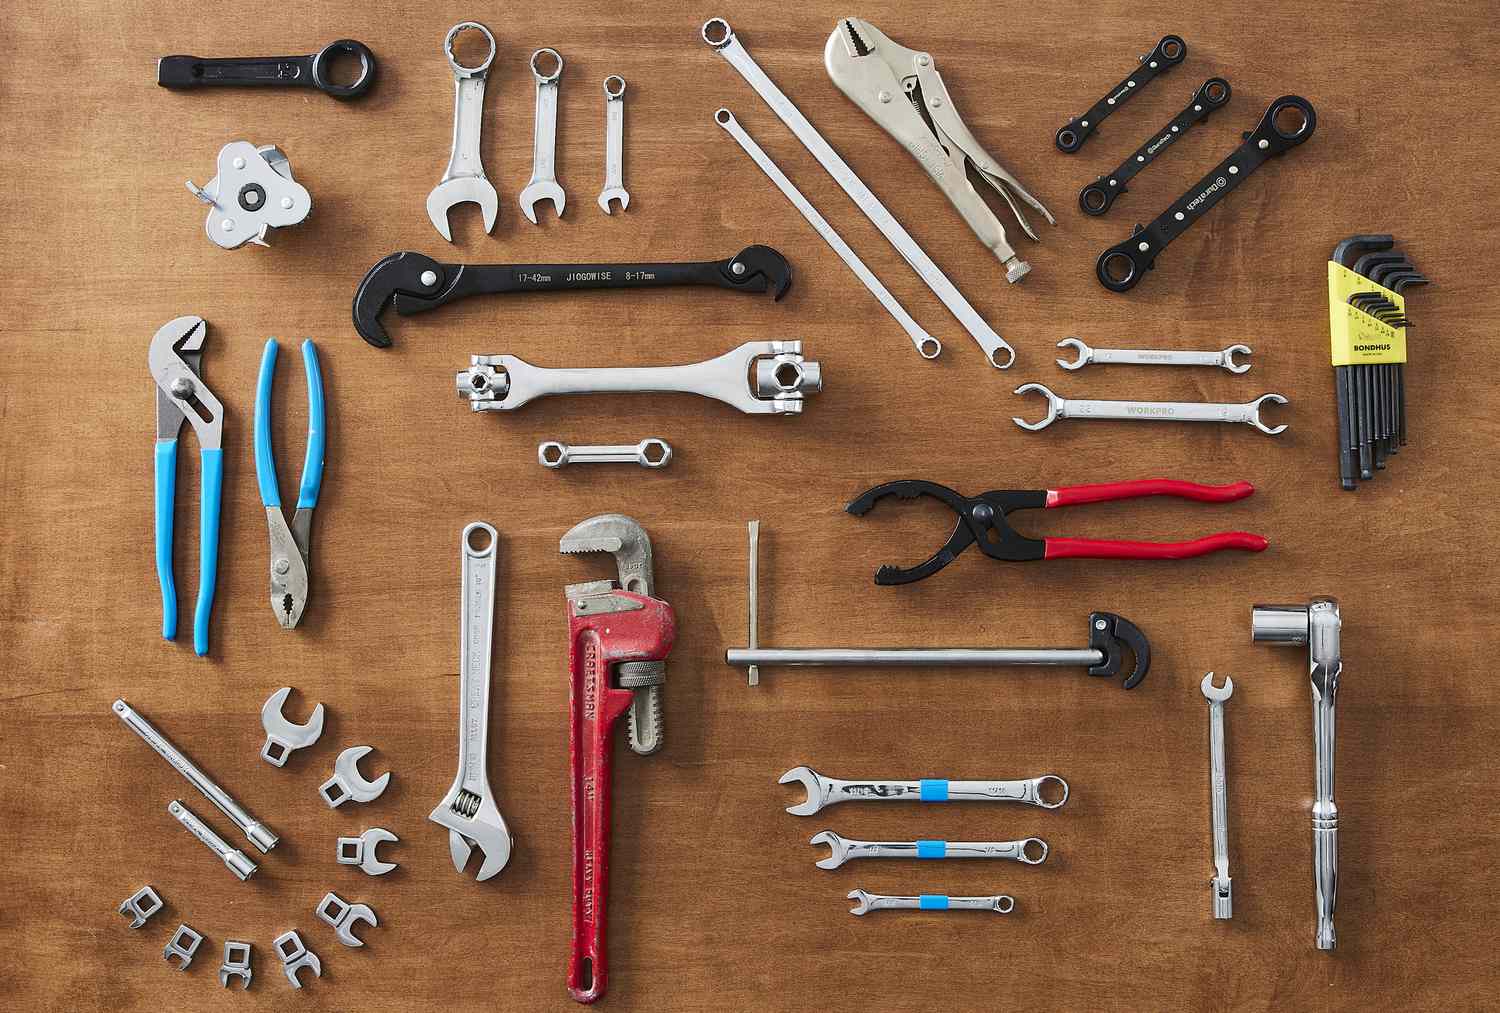
Husky 10 in. Adjustable Wrench 90932

Adjustable Wrench
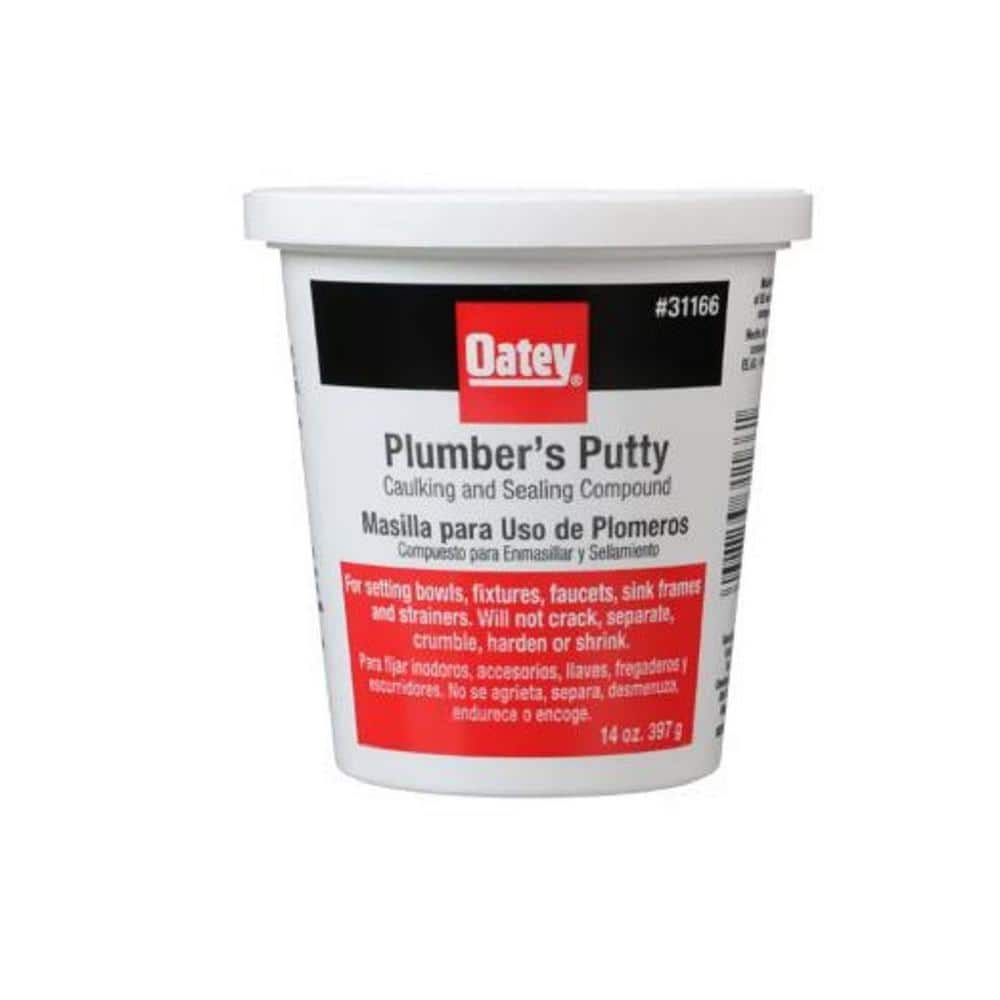
Oatey 14 oz. Plumber's Putty 311662
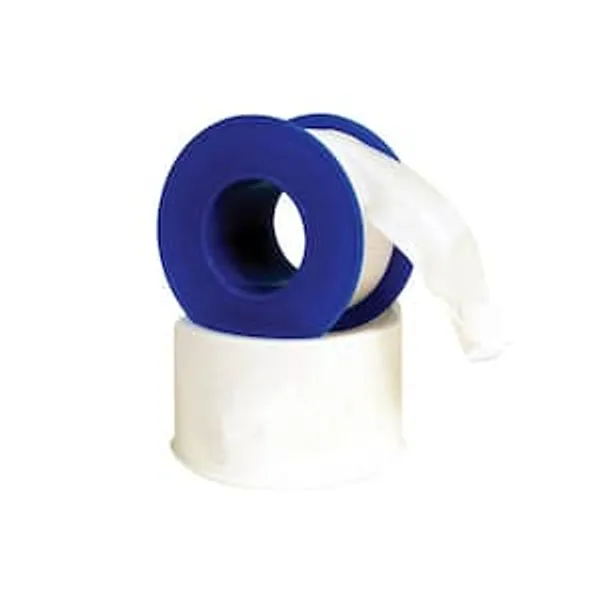
Plumbers Tape
HDX 3-1/4 in. 6-in-1 Screwdriver 120SD12D
The HDX 3-1/4 in. 6-in-1 Screwdriver features double-sided bits with the four most common screwdriver tip styles, including a #1 Phillips bit, a #2 Phillips bit, a 3/16 in. flathead bit and a 1/4 in. flathead bit. Both ends of the shaft can be used as 1/4 in. nut drivers when the bits are removed, offering convenient, versatile use. The high-visibility orange handle makes the handy tool easy to find on a job site or in a toolbox.
Husky 10 in. Adjustable Wrench 90932
The Husky 10 in. Adjustable Wrench features a durable, comfortable handle. A large knurl allows for easy adjustment and a tight-fitting hex jaw design reduces slippage and tightly grips the fastener for
Adjustable Wrench
Fits various nut and bolt sizes with its adjustable jaw.
Oatey 14 oz. Plumber's Putty 311662
The Oatey 14 oz. Plumber's Putty is an easy-to-mold setting compound designed for use with stainless-steel sealing applications such as frames, faucets and strainer baskets. Not for use on plastic, marble,
Plumbers Tape
Ensures leak-proof pipe joints.
Steps

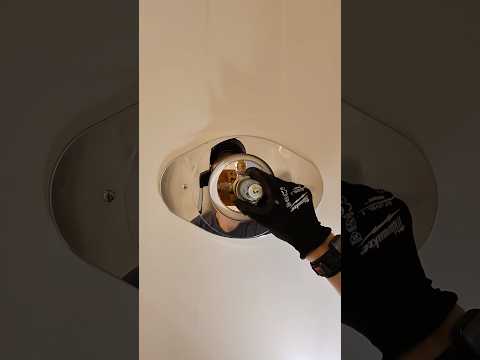
Remove Old Tub Faucet and Showerhead
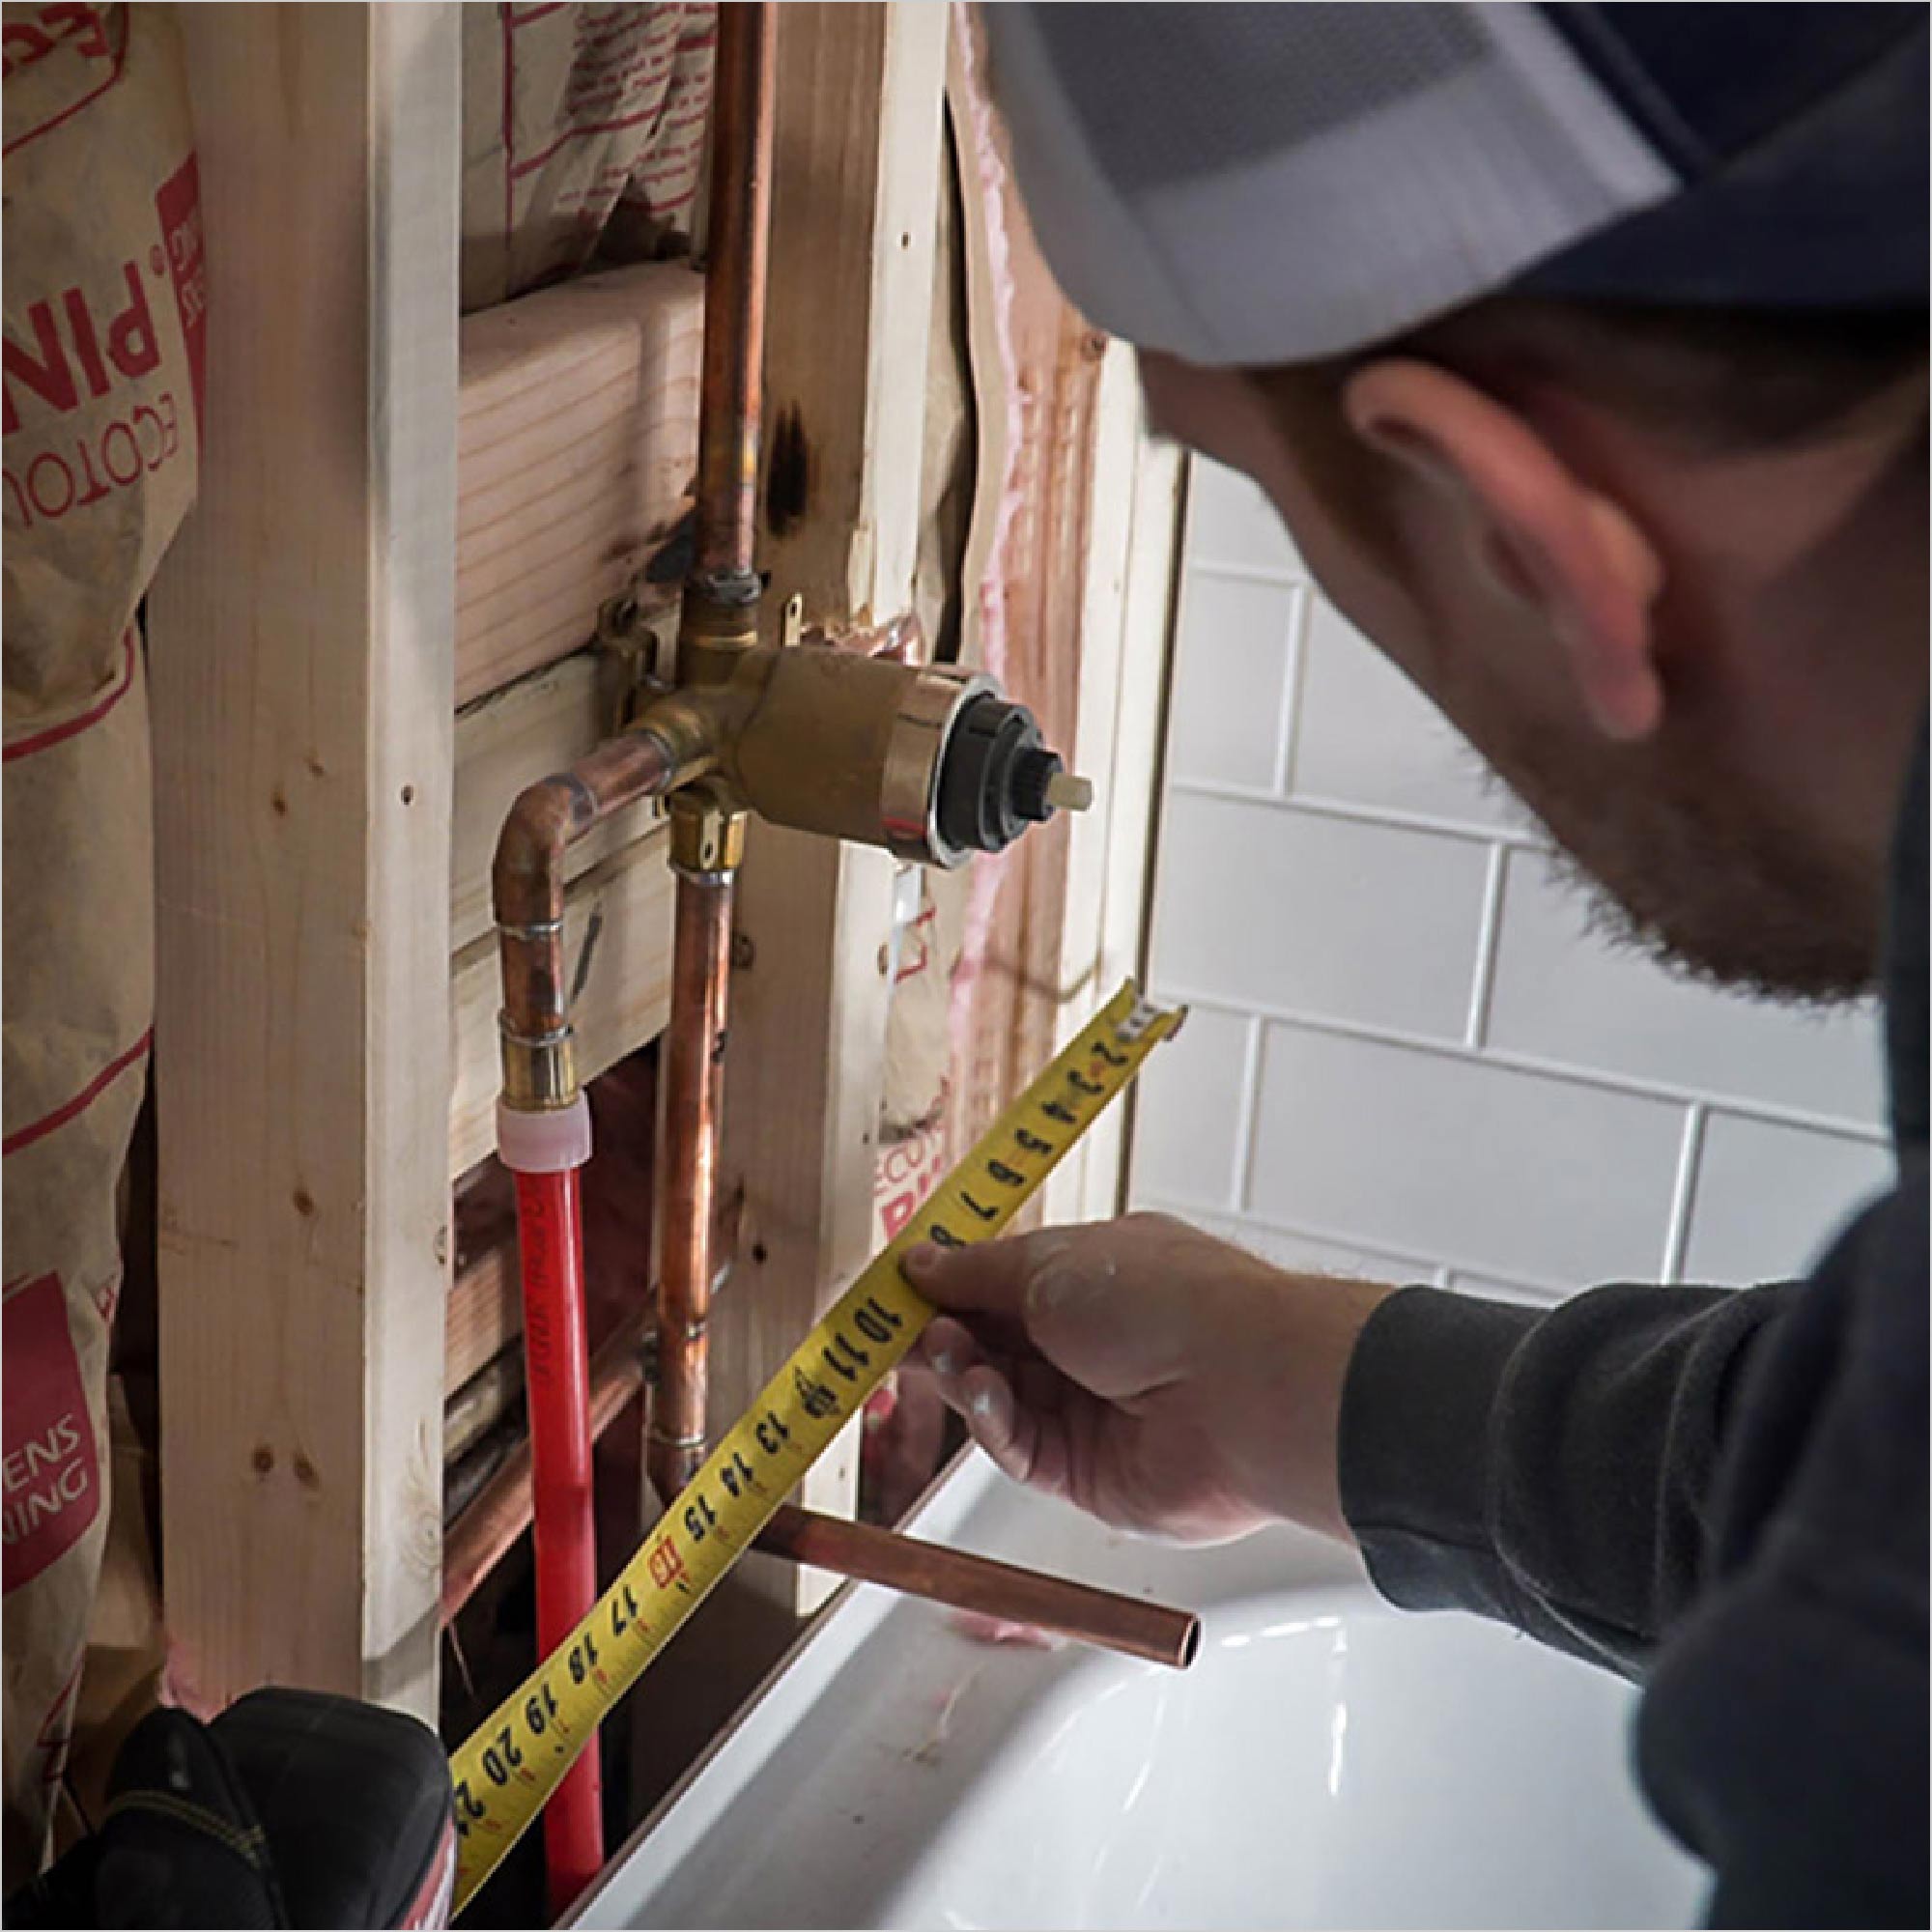
30 minsCarefully remove the old faucet handles using a screwdriver or Allen wrench, depending on their type. Once removed, take off the escutcheon plate and faucet trim. Then, unscrew the old showerhead by turning it counterclockwise. An adjustable wrench may be needed; be gentle to protect the shower arm.
Watch: Remove Old Fixtures
Install New Tub Fixtures
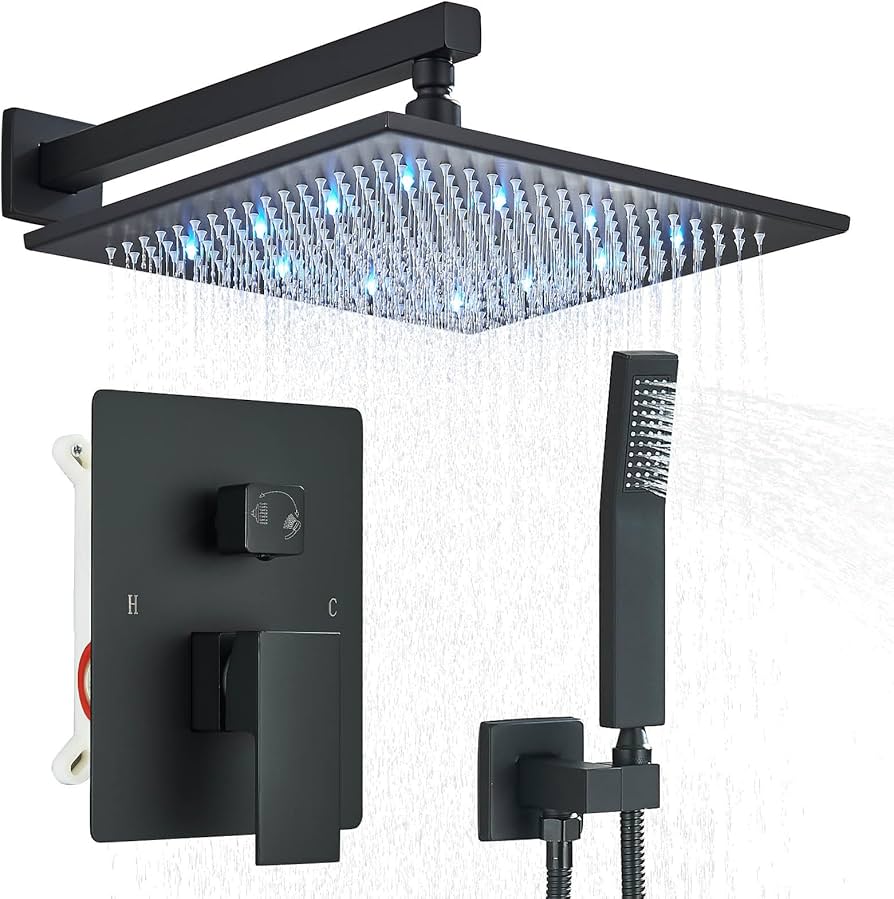
15 minsInstall the new fixtures following the manufacturer's instructions. This usually involves applying plumber's putty or Teflon tape to threaded connections and tightening securely. Take care not to over-tighten the showerhead to avoid damaging the shower arm. Remember to carefully align everything for a neat, professional look.
Watch: Install the New Showerhead

Common Problems
If you see leaking, turn off the water supply, reconnect the filter, and ensure all connections are snug.
Solution: To avoid this issue: Be mindful of this warning and take appropriate precautions.
Ensure both hot and cold water valves are fully closed before proceeding.
Solution: To avoid this issue: Be mindful of this warning and take appropriate precautions.
Confirm that the water is completely shut off before attempting to disconnect any pipes.
Solution: To avoid this issue: Be mindful of this warning and take appropriate precautions.
Ensure both hot and cold water lines are completely shut off before proceeding with disassembly.
Solution: To avoid this issue: Be mindful of this warning and take appropriate precautions.
Leaking pipes due to improperly sealed threads.
Solution: Wrap Teflon tape 3-4 times in a clockwise direction. Wrapping it this way prevents the tape from unwrapping as you tighten the pipe.
Do not overtighten the showerhead, as this can cause damage.
Solution: To avoid this issue: Be mindful of this warning and take appropriate precautions.
Cross-threading the fixture when installing the tub spout.
Solution: Start by hand-tightening to avoid cross-threading the fixture.
Frequently Asked Questions
What's the absolute first and most critical safety step I need to take before replacing my tub fixtures?
The most critical step is to turn off the main water supply to your house or, if available, the specific shut-off valves for the bathroom. This prevents flooding and ensures you can work safely without unexpected water bursts. Always verify the water is off by turning on the old fixtures before starting removal.
Besides an adjustable wrench and a screwdriver, are there any other tools I might unexpectedly need for this project?
While an adjustable wrench and screwdriver are core tools, you'll also need plumber's tape (Teflon tape) or pipe thread sealant for leak prevention. A utility knife can be useful for cutting old caulk if your escutcheon plates are sealed, and a headlamp can improve visibility in tight spaces.
As a beginner, is the 'beginner' difficulty rating accurate for this project, and is 3 hours a realistic time estimate?
Yes, this project is generally beginner-friendly if you follow instructions carefully and prepare properly. The 3-hour estimate is realistic for a straightforward replacement without major complications like seized pipes or unexpected plumbing issues. Allocate extra time if you're new to DIY or encounter unforeseen challenges.
What's the most common mistake beginners make that causes leaks after installing new tub fixtures?
The most common mistake is not applying plumber's tape or thread sealant correctly, or over/under-tightening connections. Always wrap plumber's tape clockwise around threaded connections 2-3 times, and tighten fittings snugly but avoid excessive force which can strip threads or damage components.
Are all tub faucets and showerheads universally compatible, or do I need to check specific measurements and types before purchasing new ones?
No, tub fixtures are not universally compatible; you absolutely need to check measurements and valve types. Specifically, note the valve type (e.g., single handle, two-handle, diverter style), hole spacing, and whether it's a spout-only or full faucet replacement. Taking photos and measurements of your existing setup can help ensure you buy the correct replacement.
I've installed everything, but my new fixtures are still leaking during the final test. What should I do?
First, re-check all threaded connections where the leak is originating, ensuring plumber's tape/sealant was applied correctly and they are hand-tightened, then a quarter to half-turn more with a wrench. If it's a showerhead, check for a missing or improperly seated rubber washer inside the connection. If leaks persist, a component might be faulty, requiring a replacement part.