Bathroom Fixture Replacement: A Step-by-Step DIY Guide
About This Project
This DIY guide demonstrates how to replace bathroom fixtures. It begins by turning off the water supply to prevent leaks. Next, disconnect the old supply lines from the faucet and remove the old faucet. Then, install the new faucet in the mounting hole, secure it with hardware, and attach the supply lines. Finally, turn the water back on and check for leaks.
Best for experienced DIYers and homeowners with some experience with basic plumbing knowledge.
Tools & Materials
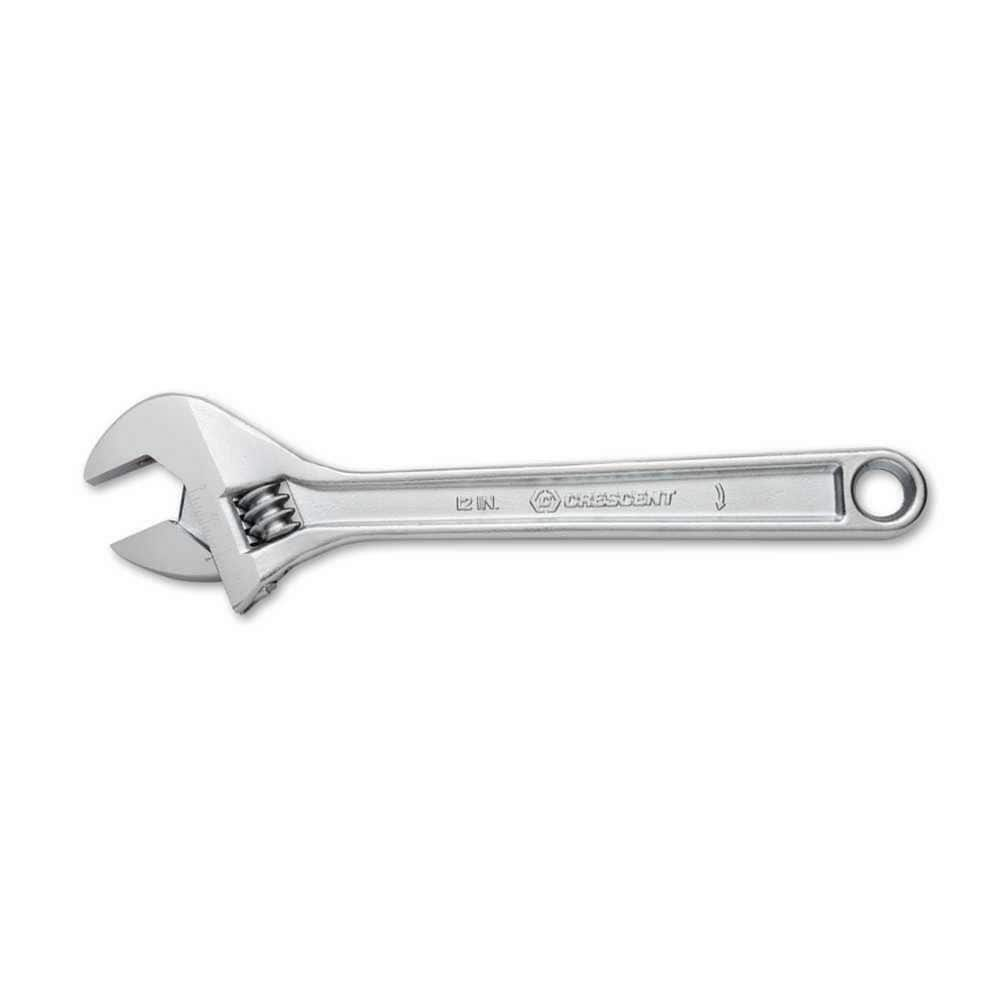
Crescent 12 in. Chrome Adjustable Wrench AC212VS

Towel

Adjustable Wrench
Crescent 12 in. Chrome Adjustable Wrench AC212VS
Since the introduction of the original Crescent wrench in the early 1900s, the Crescent brand has become synonymous with adjustable wrenches. Crescent Adjustable Wrenches feature a large knurl for easy
Towel
Absorbs moisture and dries surfaces.
Adjustable Wrench
Fits various nut and bolt sizes with its adjustable jaw.
Steps

Turn Off the Bathroom Water Supply
5 minsBefore starting any plumbing work, it's crucial to turn off the water supply to the fixture. Locate the shut-off valves under the sink or behind the toilet. Completely close these valves. Then, turn on the faucet to release any residual water pressure. This prevents leaks and potential water damage.
Watch: Shut Off Water and Empty Tank
Disconnect the Old Supply Lines
15 minsCarefully disconnect the supply lines from the old faucet using an adjustable wrench. Place a bucket or towel beneath to catch any remaining water. If the nuts are difficult to loosen, use a penetrating oil like WD-40 and wait for 30 minutes before attempting again. Remember to work slowly and methodically.
Watch: Disconnect Supply Lines from Faucet
Install the New Bathroom Faucet
20 minsFollow the manufacturer's instructions carefully for installing your new faucet. Securely connect the supply lines, ensuring they're tightened properly to prevent leaks. Slowly turn the water supply back on and meticulously check all connections for any leaks. Tighten fittings as needed.
Watch: Faucet InstallationCommon Problems
Stuck Allen screws make fixture removal impossible.
Solution: Use WD-40 or other penetrating oil to loosen the Allen screw if it's stuck.
Faucets are hard to remove/install due to inaccessible mounting nuts.
Solution: A basin wrench can be very helpful for reaching faucet mounting nuts in tight spaces.
Incorrectly connecting hot and cold water lines results in reversed water temperature at fixtures.
Solution: Ensure the hot line from the wall connects to the 'Hot In' port and the cold line from the wall connects to the 'Cold In' port.
Failure to turn off the water supply will result in water spraying out of the valve once the cartridge is removed.
Solution: To avoid this issue: Be mindful of this warning and take appropriate precautions.
Lost a screw or washer down the drain?
Solution: Plugging the drain is a simple step that can save you the major headache of losing a small part.
Difficulty reassembling plumbing after fixture replacement due to forgotten connections.
Solution: Taking a photo of the plumbing setup before you start is a great way to remember how everything connects.
Before removing the existing valve, shut off the main water supply.
Solution: To avoid this issue: Be mindful of this warning and take appropriate precautions.
Frequently Asked Questions
How do I ensure I've completely turned off the water before starting, especially if the shut-off valves are old or stuck?
Locate the hot and cold shut-off valves under the sink and turn both clockwise until they stop. If they feel stuck or don't fully stop the water flow, you may need to shut off the main water supply to your entire house for safety. Always have a towel ready for any residual drips or leaks.
Do I need any special tools beyond an adjustable wrench to remove or install a faucet, particularly in tight spaces under the sink?
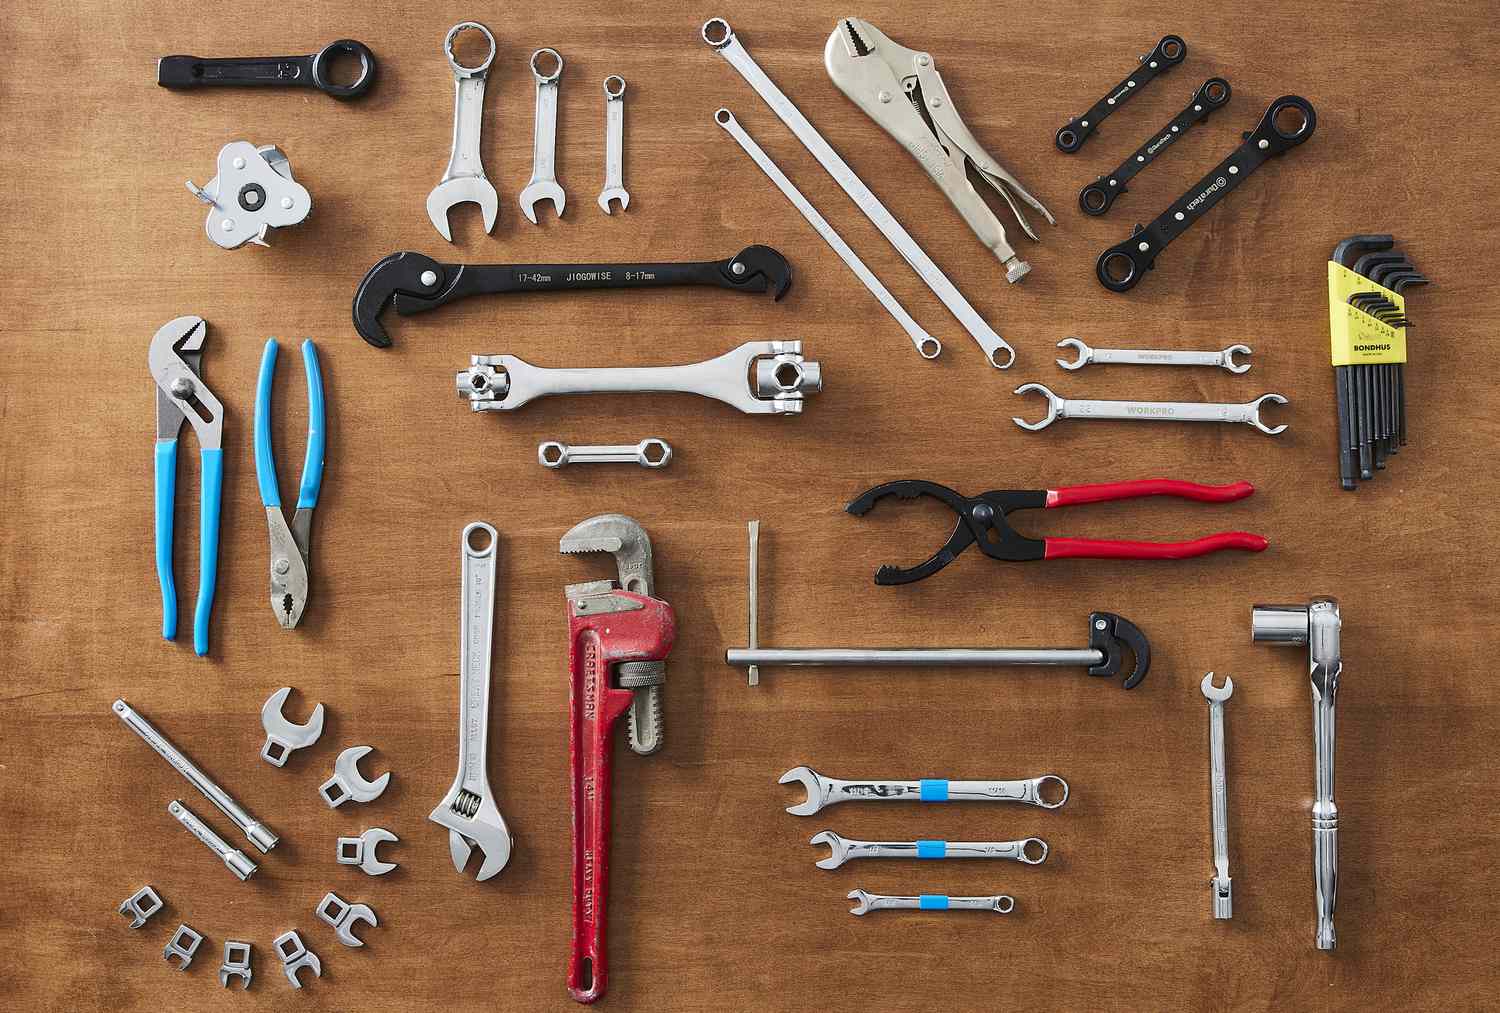
While an adjustable wrench is crucial, a basin wrench is highly recommended for reaching and loosening the mounting nuts that secure the faucet from underneath the sink, especially in cramped areas. A small flashlight or headlamp can also significantly improve visibility. Pliers might also be helpful for stubborn connections.
What should I do if my new faucet leaks immediately after installation and turning the water back on?
Immediately turn the water back off at the supply valves under the sink. Most leaks occur at the supply line connections or where the faucet body meets the sink. Ensure all nuts are hand-tightened, then give them an additional quarter to half-turn with your wrench, being careful not to overtighten. Verify that all washers and O-rings are correctly seated.
Is 3 hours a realistic estimate for a beginner, or are there common issues that could significantly extend the project time?
Three hours is a good estimate for a beginner if the existing setup is relatively clean and accessible. However, severely corroded nuts, rusted supply lines, or very limited working space under the sink can easily double or triple the time needed. Patience and having the right tools on hand are key to managing these challenges.
The old faucet's mounting nuts are corroded and won't budge. What's the best way to remove them without damaging the sink?
First, apply a generous amount of penetrating oil to the corroded nuts and let it sit for at least 15-30 minutes to help break down the rust. If they still won't turn with a basin wrench, you may need to carefully cut through the nuts. Use a hacksaw blade or a Dremel tool with a cut-off wheel, exercising extreme caution to avoid damaging the sink basin.
When attaching the new supply lines, how tight should I make the connections to prevent leaks without causing damage?
First, hand-tighten the connections to the faucet and the water supply valves until snug. Then, use your adjustable wrench to give each connection an additional quarter to half-turn. Overtightening can strip threads or crack plastic components, so aim for firm and secure, not wrench-locked.