Bathroom Plumbing Installation: A Complete DIY Guide
About This Project
This project outlines the process of installing plumbing in a bathroom. It begins with planning the layout, considering fixture placement, water supply, and drain lines. Next, it covers installing the water supply lines, using PEX or copper pipes and ensuring tight connections. The drain lines are then installed, making sure there's a proper slope for drainage and adhering to local plumbing codes for venting and trap arm distances. Following this, bathroom fixtures such as the toilet, sink, and shower are installed and connected to the water supply and drain lines. Finally, the project concludes with testing all connections and fixtures for leaks and proper operation.
Best for advanced DIYers and professionals with basic plumbing knowledge.
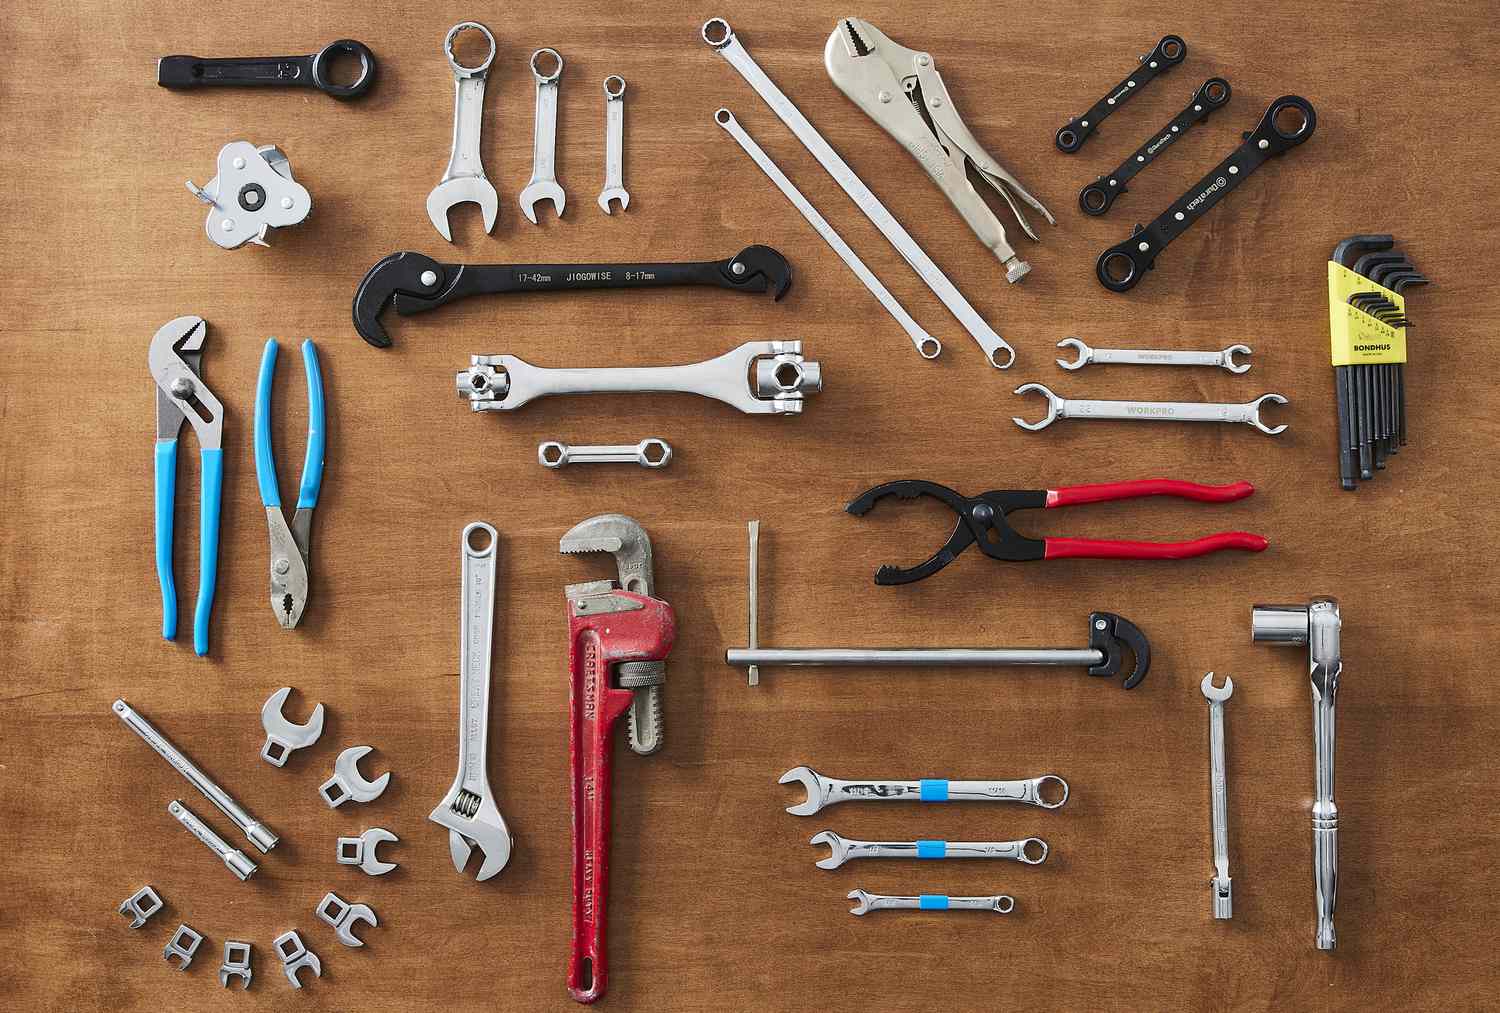
Tools & Materials
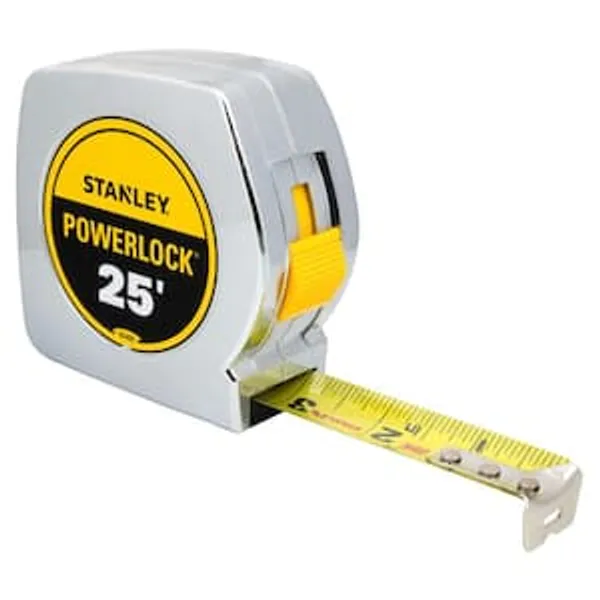
Measuring Tape
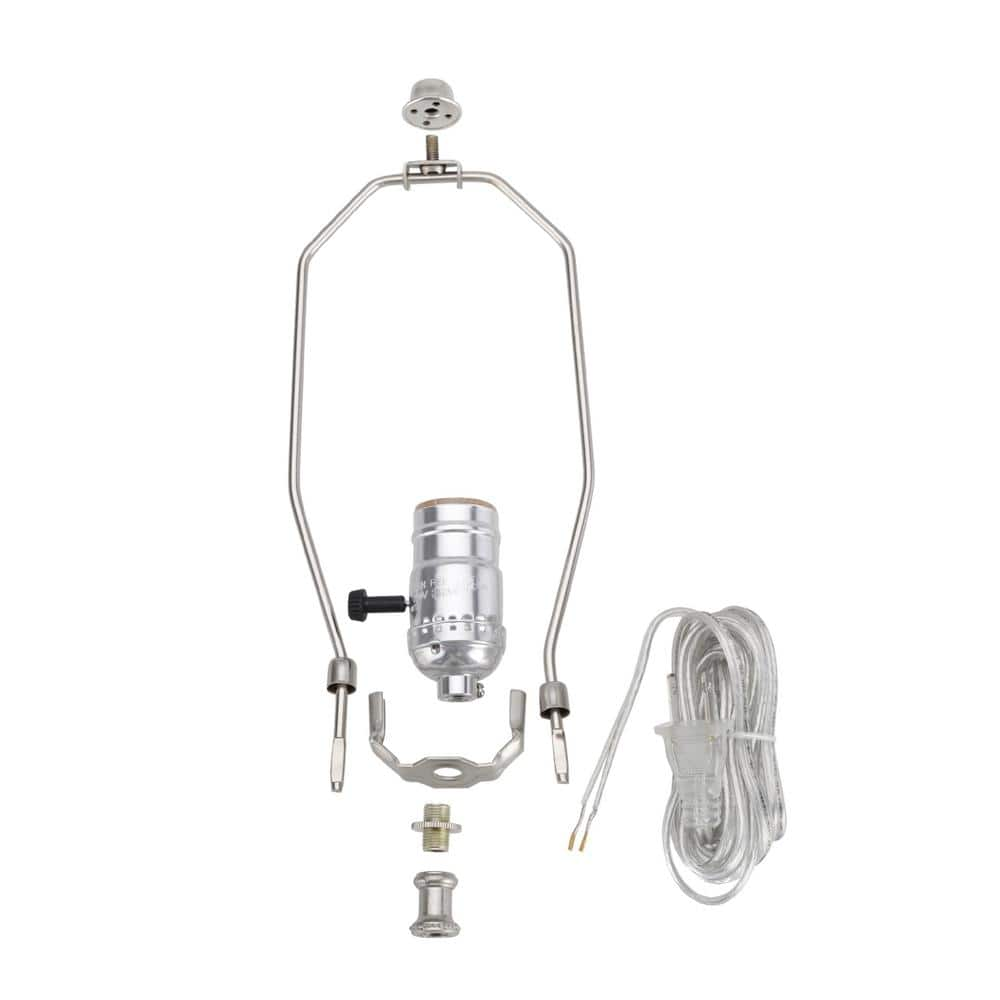
Aspen Creative Corporation Brushed Nickel Make-A-Lamp 3-Way Socket Kit (1-Pack) 21014
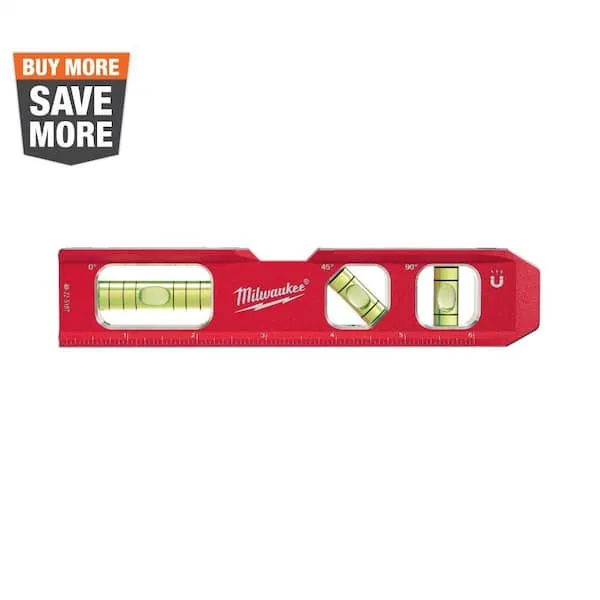
Level
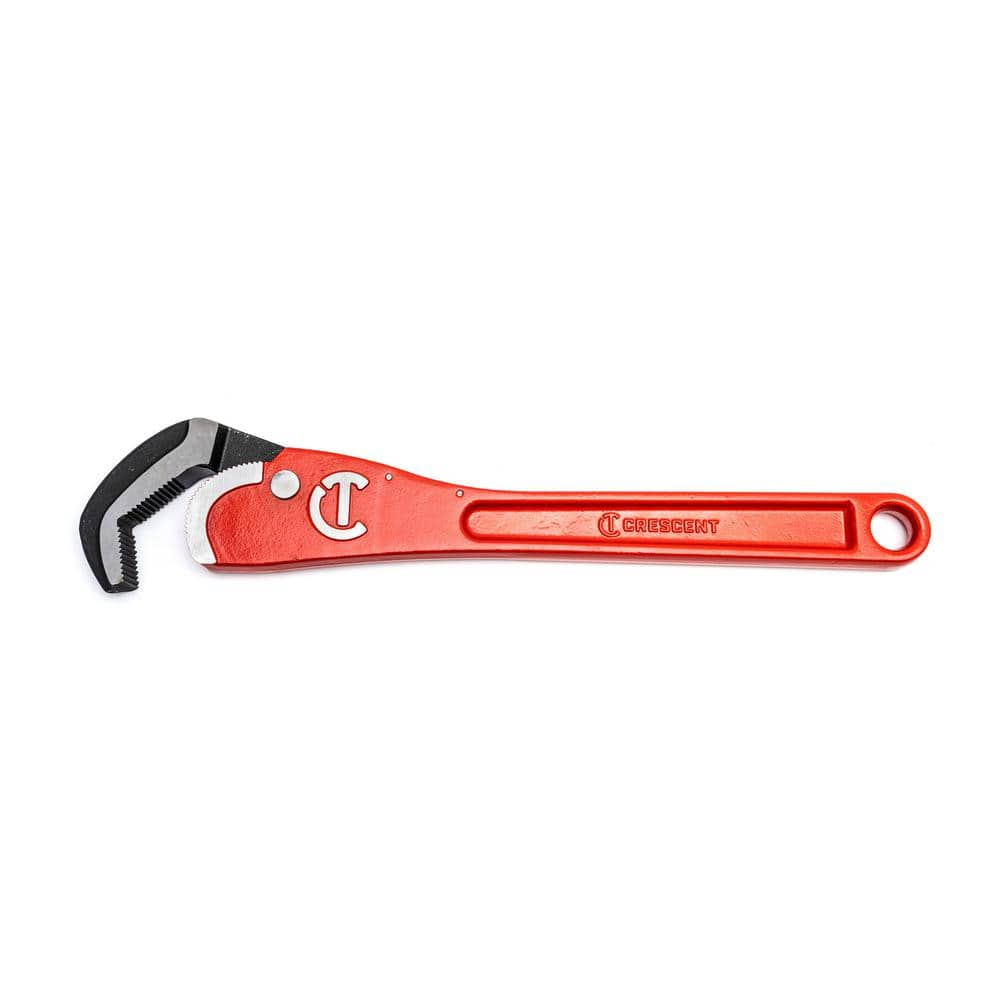
Crescent 16 in. Self Adjusting Pipe Wrench CPW16S
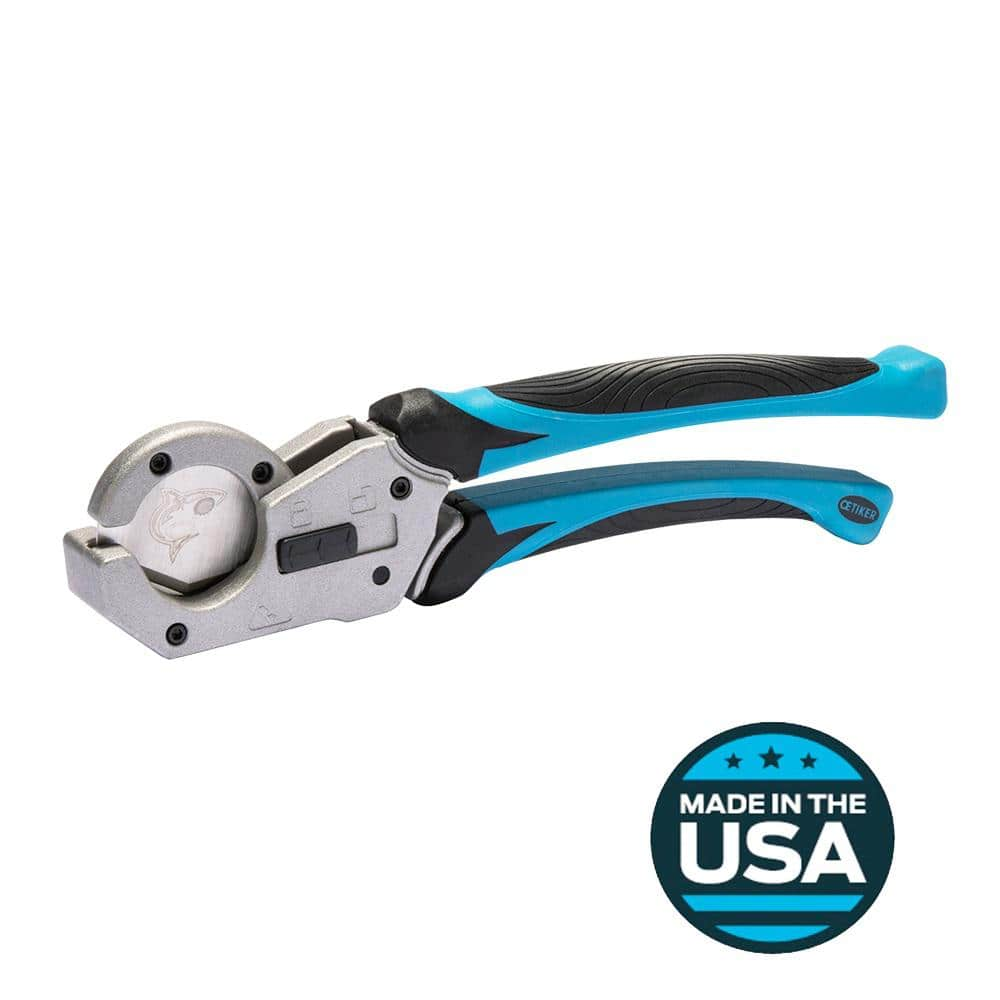
SharkBite 1/4 in. to 1 in. PEX Pipe and Tubing Cutter with Replaceable Blade 25880A
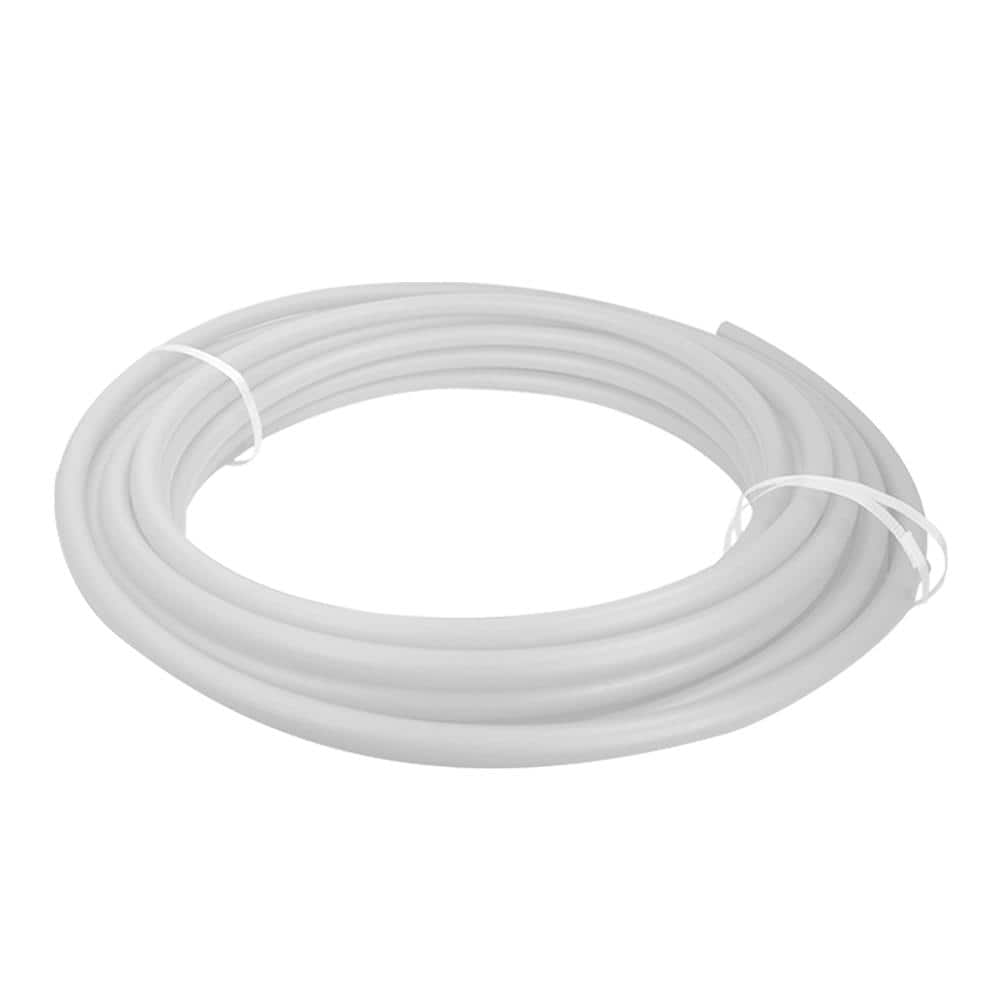
PLUMBFLEX Oxygen Barrier 1-1/2 in. x 300 ft. White Polyethylene PEX-A Tubing for Hydronic Radiant Floor Heating, Flexible W112300-A-PFW
Measuring Tape
Accurate measurements in a snap.
Aspen Creative Corporation Brushed Nickel Make-A-Lamp 3-Way Socket Kit (1-Pack) 21014
Aspen Creative is dedicated to offering a wide assortment of attractive and well-priced portable lamps, kitchen pendants, vanity wall fixtures, outdoor lighting fixtures, lamp shades, and lamp accessories.
Level
Ensures surfaces are just right.
Crescent 16 in. Self Adjusting Pipe Wrench CPW16S
The Crescent Self-Adjusting Pipe Wrench features a unique head design that instantly grips and releases pipes and other types of fasteners with a fast ratcheting action. It is ideal for most surfaces including black iron, galvanized, PVC, and copper pipes, as well as nuts, bolts, and couplings. The spring-loaded head features a quick-grip and quick-release function that allows the wrench to be used with one hand.
SharkBite 1/4 in. to 1 in. PEX Pipe and Tubing Cutter with Replaceable Blade 25880A
SharkBite pro-grade PEX cutter is designed to safely cut PEX pipe straight and flat. Replaceable V-shaped blade easily cuts PEX pipe and maintains roundness of the pipe. Specially designed flats on the
PLUMBFLEX Oxygen Barrier 1-1/2 in. x 300 ft. White Polyethylene PEX-A Tubing for Hydronic Radiant Floor Heating, Flexible W112300-A-PFW
Expansion PEX pipe provides superior durability, corrosion resistance and flexibility for the most demanding environments. It is available in red, white and blue for easy and simple identification of hot, cold and main water lines. It is manufactured by crosslinking during the manufacturing proccess. It is compatible with both expansion and crimp, clamp or sleeve methods of joining. Meets or exceeds all neccesary and applicable standards: ASTM F876, F877, F1807, F1960, F2080 and F2174.
Steps

Planning Your Bathroom Plumbing Layout
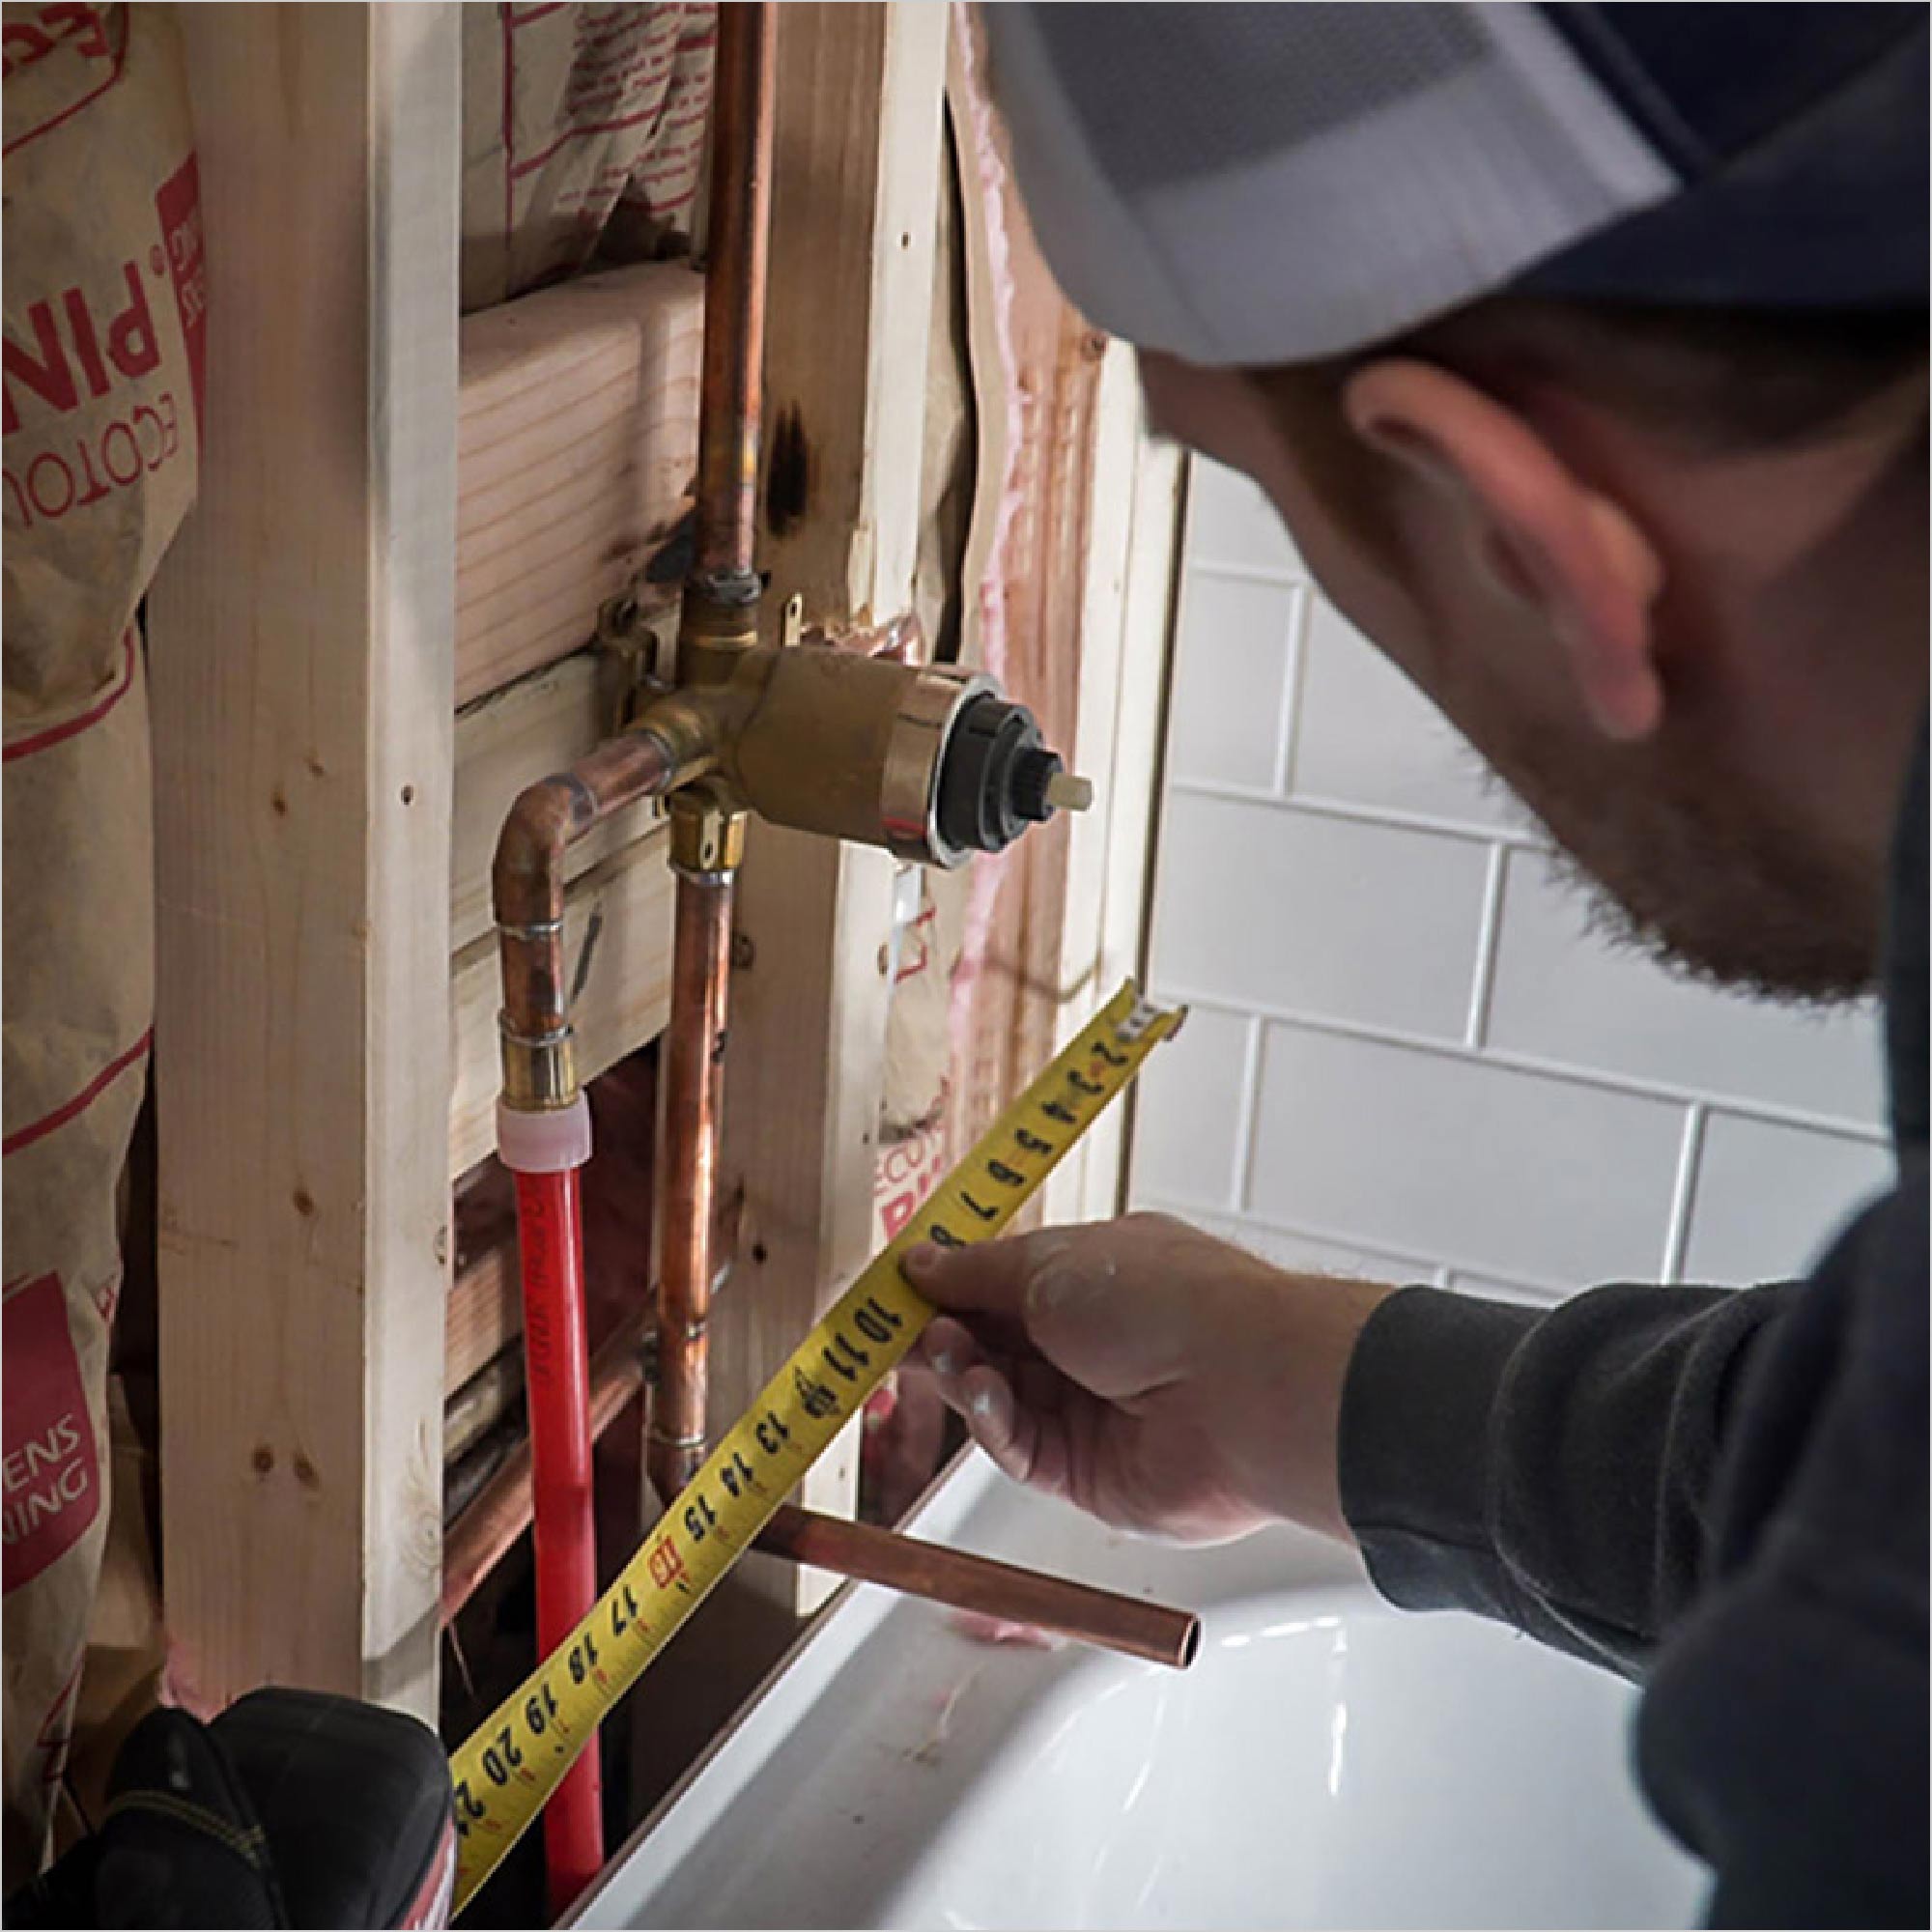
2 minsBefore you begin, meticulously plan your bathroom's fixture layout and pipe routing. Consider the location of main water supply and drain lines. Accurately mark fixture locations on walls and floor using a measuring tape. This crucial step prevents costly mistakes later.
Watch: Planning and Measurement
Installing the Bathroom's Water Supply Lines
4 minsBegin installing water supply lines from the main water supply. Use appropriate pipe materials (e.g., PEX or copper) and fittings. Pay close attention to connection tightness to avoid leaks. Use a pipe cutter for precise cuts and ensure proper support for all pipes.
Watch: Connect Water Lines
Installing Bathroom Drain Lines: Ensuring Proper Slope
4 minsConnect drain lines to each fixture, ensuring a consistent slope for efficient drainage. Use appropriate pipes and fittings for your drain system. Remember to check local plumbing codes regarding venting and trap arm distances.
Watch: Vertical Vent
Installing Bathroom Fixtures: Toilet, Sink, and Shower
4 minsInstall your chosen fixtures (toilet, sink, shower). Carefully connect water supply and drain lines to each, ensuring tight seals to prevent leaks. Test each fixture immediately after installation.
Watch: Final Connections and Leak Testing
Final Connections, Testing, and Leak Detection
2 minsConnect all water supply and drain lines to the main lines. Carefully turn on the water supply, checking all connections and fixtures for leaks. Thoroughly test each fixture for proper operation. If leaks are found, address them promptly before proceeding.
Watch: Check for LeaksCommon Problems
Uneven drain slope leads to standing water and poor drainage.
Solution: Use a laser level or string line to ensure a consistent and accurate slope along the entire length of the trench.
Toilet placement is too close or too far from the wall.
Solution: The standard toilet rough-in from the finished wall is 12 inches. Adjust your measurement based on your specific toilet and bathroom layout.
All measurements for plumbing and tub placement must be finalized before the floor tile is installed. Having to move plumbing after tiling is a major and costly mistake.
Solution: To avoid this issue: Be mindful of this warning and take appropriate precautions.
Tub installation is hindered by incorrect shower curb clearance due to tub shape.
Solution: Consider the shape of your tub. A tub with straight sides may require more clearance from a shower curb than one that tapers at the bottom.
Deep cuts can crack or damage pipes.
Solution: It's better to make shallow cuts and rotate repeatedly than to try to cut too deep at once.
Water damage from unexpected drips.
Solution: Place a bucket below the pipes to catch any dripping water.
Ensure the main water supply to the house is shut off before cutting into any existing pipes.
Solution: To avoid this issue: Be mindful of this warning and take appropriate precautions.
Frequently Asked Questions
Given the 'intermediate' difficulty and '30 hours' estimated time, is this project suitable for someone with limited plumbing experience?
This project is challenging and requires careful attention to detail and local codes. While an intermediate rating means it's not for total beginners, someone with strong DIY skills can succeed by researching thoroughly and starting with smaller plumbing repairs first. Be prepared for potential time overruns, as unforeseen issues can extend the project timeline significantly.
Are the specialized tools like the SharkBite PEX cutter and Crescent pipe wrench absolutely necessary, or can I use more common tools?
While you might be able to use a hacksaw for PEX or standard adjustable wrenches, the specialized tools are highly recommended for efficiency, accuracy, and ease of use. The PEX cutter ensures clean, straight cuts crucial for leak-free connections, and a self-adjusting pipe wrench simplifies working in tight spaces and applying correct torque. Investing in these tools will save frustration and potential rework.
The materials list mentions PEX. Is PEX the best choice for a DIYer compared to traditional copper or CPVC, and why?
PEX is generally an excellent choice for DIYers due to its flexibility, ease of installation, and fewer connection points compared to rigid copper or CPVC. It requires fewer specialized soldering skills (unlike copper) and is more forgiving than CPVC for mistakes. The ability to run long, continuous lines reduces the risk of leaks associated with multiple fittings.
What are the most critical plumbing codes or safety precautions I need to be aware of when installing bathroom plumbing?
Always shut off the main water supply before starting any work and drain the lines. Crucially, familiarize yourself with your local plumbing codes regarding drain line slope, venting, trap arm distances, and pipe sizing, as non-compliance can lead to failed inspections, health hazards, or costly rework. Proper ventilation prevents sewer gases from entering your home and ensures proper drainage.
What are the most common mistakes DIYers make during bathroom plumbing installation, especially regarding leaks or drainage issues?
Common mistakes include not adequately tightening connections, forgetting to use thread sealant on threaded joints, and improper drain line slope which causes clogs. Another frequent error is failing to fully test the system under pressure before sealing walls, leading to hidden leaks. Always double-check all connections and perform a thorough water test.
The guide mentions ensuring a proper slope for drain lines. How critical is this, and what's the best way to achieve it correctly?
A proper drain slope is absolutely critical for preventing clogs and ensuring wastewater flows efficiently. Without it, solid waste can accumulate, leading to blockages and unsanitary conditions. Aim for a slope of 1/4 inch per foot for all horizontal drain pipes; use a level and make sure your pipe supports maintain this consistent grade.
How detailed should my initial plumbing layout plan be, and what key elements should I prioritize to avoid problems later?
Your plan should be highly detailed, including exact measurements for fixture placement, pipe runs, and fitting locations. Prioritize marking existing wall studs, joists, and any obstructions, and precisely diagram where supply and drain lines will pass. This foresight helps avoid conflicts, minimizes material waste, and ensures compliance with code and proper function.