Tub Faucet Valve Replacement: A Step-by-Step DIY Guide
About This Project
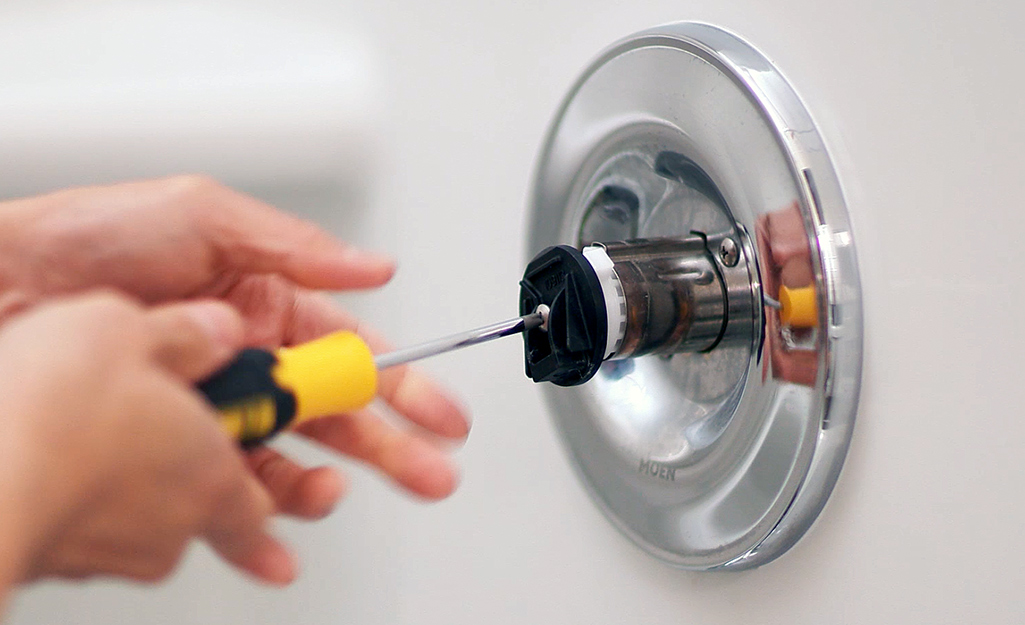
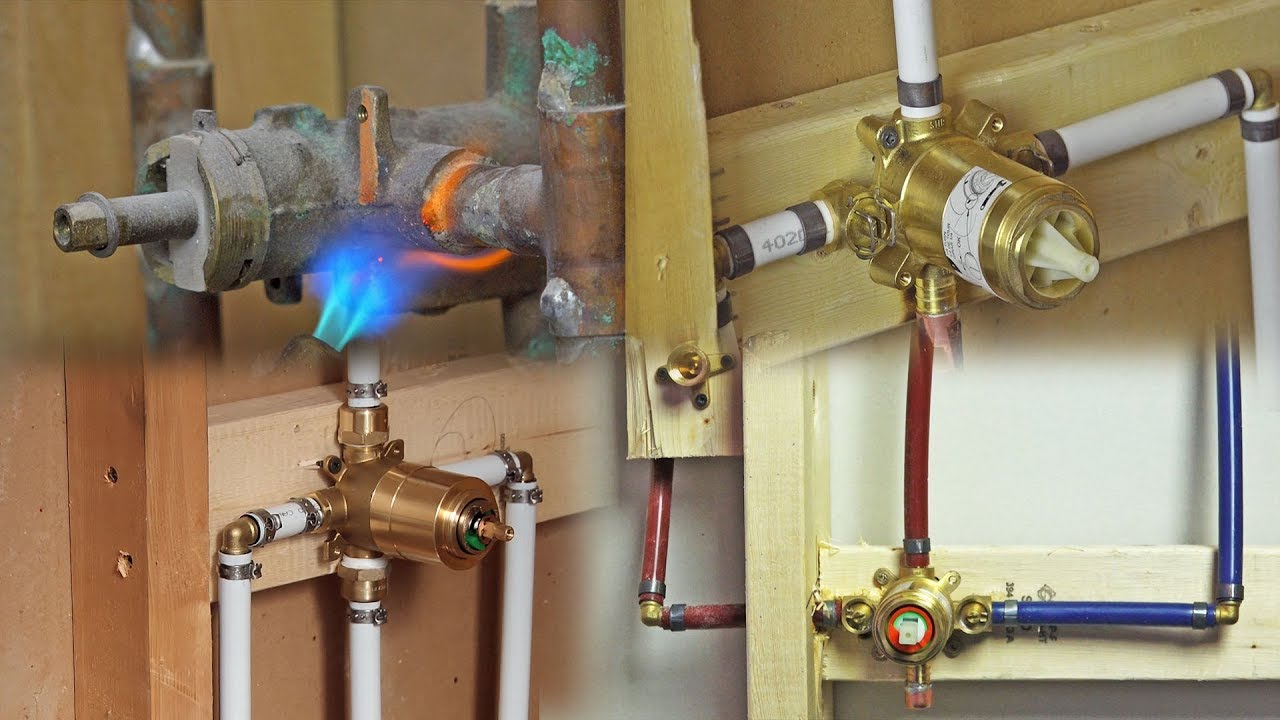
This DIY guide details the steps to replace a tub faucet valve. First, turn off the main water supply to prevent flooding. Second, access the valve, often behind an access panel. Third, remove the old valve by taking off the handles, escutcheons, and stems, potentially using penetrating oil for corroded parts. Fourth, install the new valve according to the manufacturer's instructions, making sure to tighten and seal all connections with plumber's putty or Teflon tape. Finally, turn the water back on, check thoroughly for leaks, and tighten any loose fittings.
Best for experienced DIYers and homeowners with some experience.
Tools & Materials
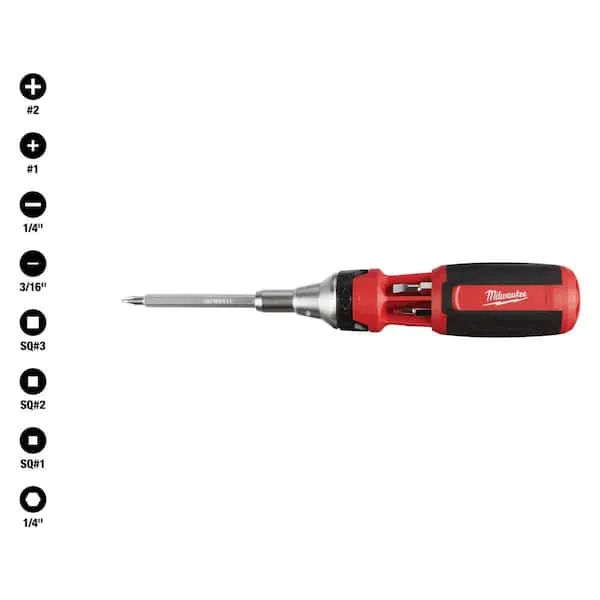
Screwdriver (Multi)
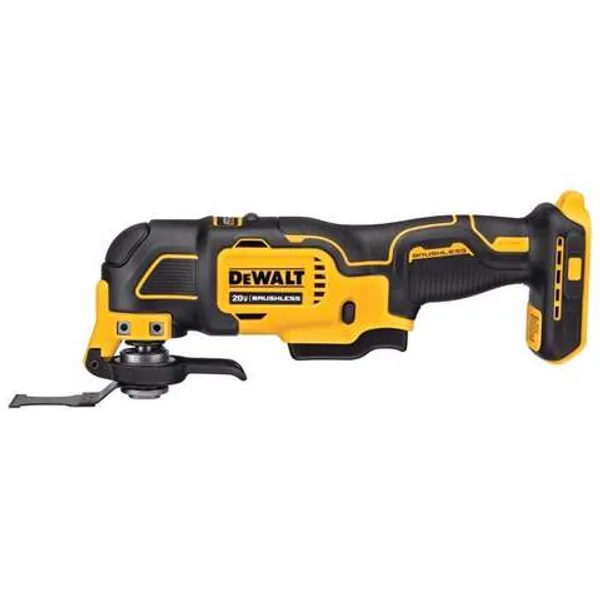
Multi-tool
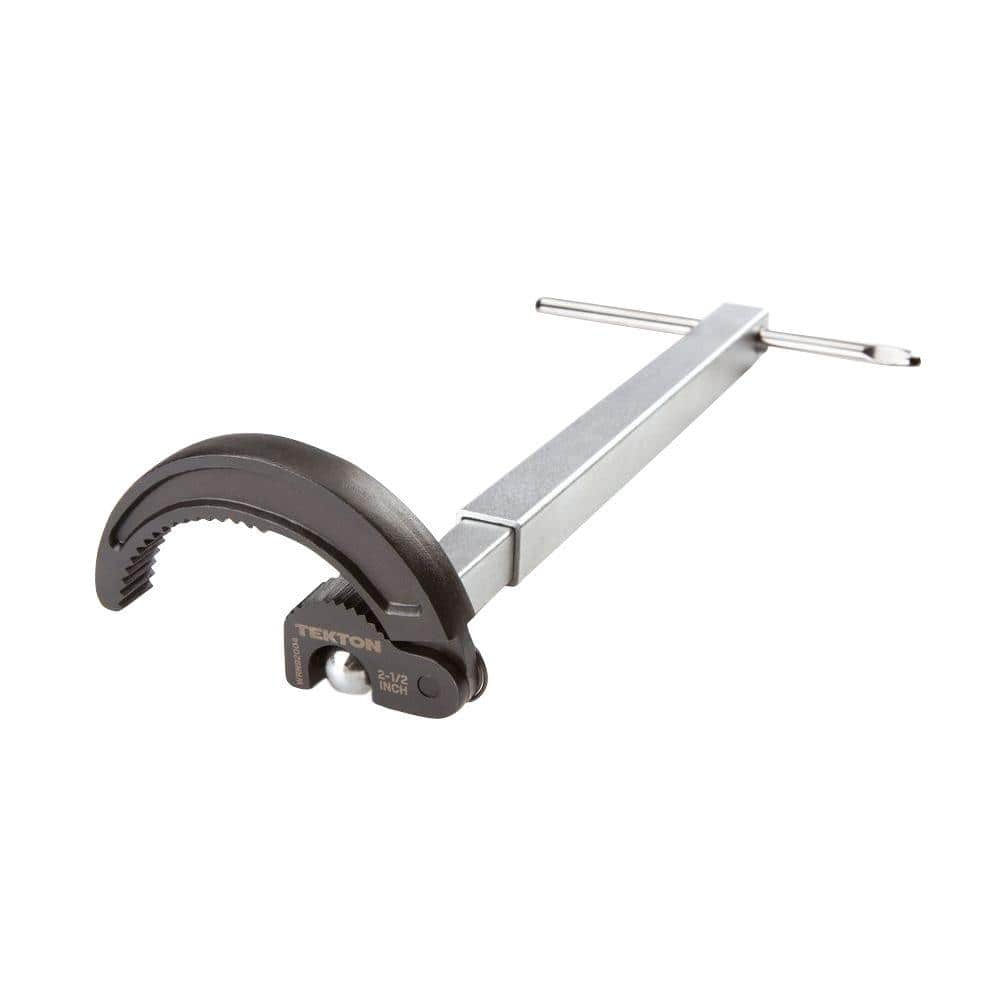
TEKTON 10 in. to 17 in. Telescoping 7/8 - 2-1/2 in. Basin Wrench WRN92004
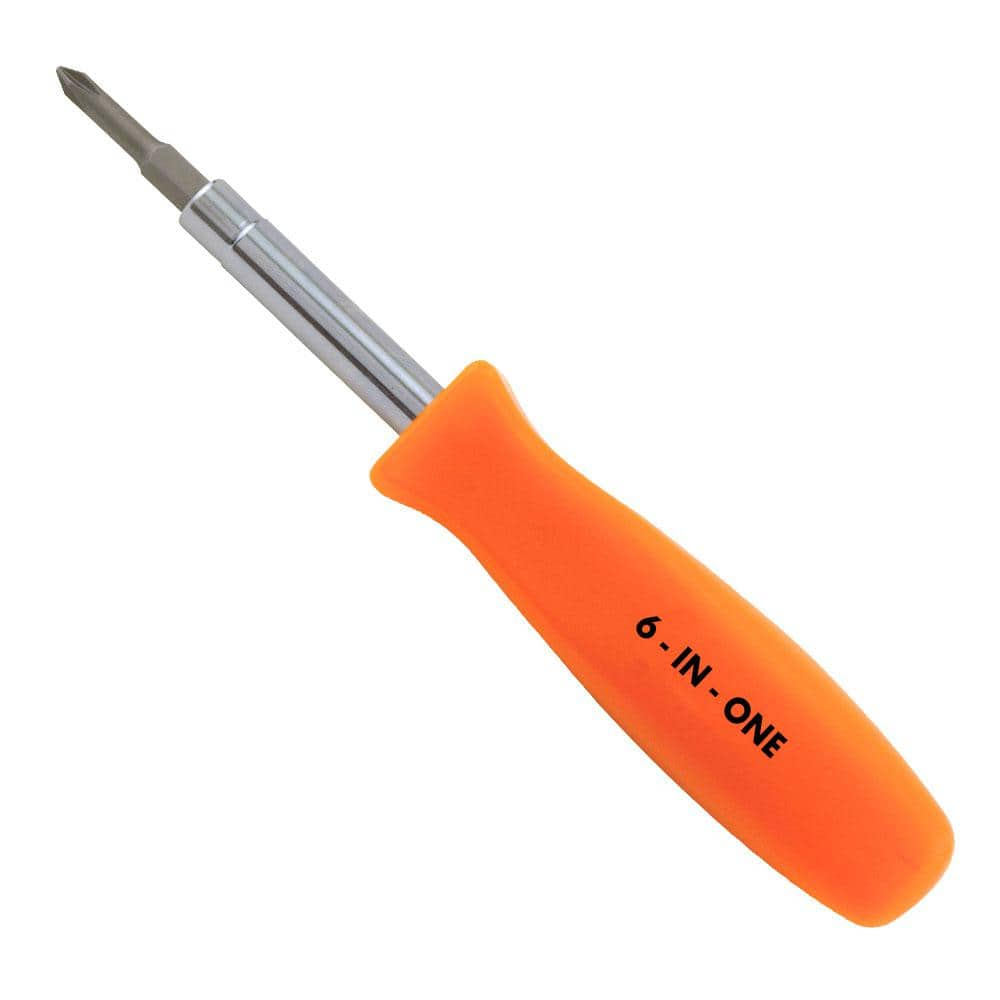
HDX 3-1/4 in. 6-in-1 Screwdriver 120SD12D
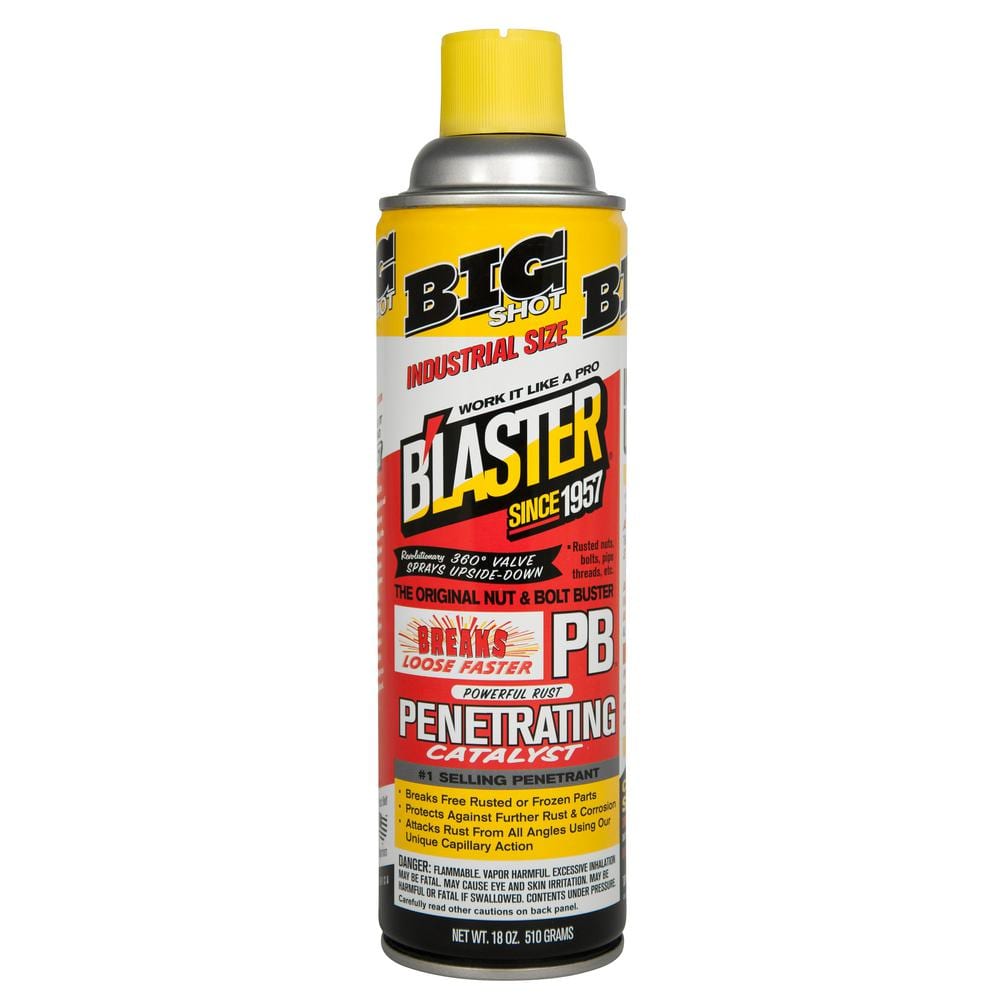
Blaster 18 oz. PB Penetrating Oil 26-PB

Husky 12 in. Adjustable Wrench 90933
Screwdriver (Multi)
Multiple bits for versatile use.
Multi-tool
A versatile power tool used for various cutting, sanding, and scraping tasks.
TEKTON 10 in. to 17 in. Telescoping 7/8 - 2-1/2 in. Basin Wrench WRN92004
Uniquely designed for easy, one-handed operation in confined areas, the TEKTON Telescoping Basin Wrench takes the frustration out of under-sink work. Ideal for larger nuts and retaining collars on faucets,
HDX 3-1/4 in. 6-in-1 Screwdriver 120SD12D
The HDX 3-1/4 in. 6-in-1 Screwdriver features double-sided bits with the four most common screwdriver tip styles, including a #1 Phillips bit, a #2 Phillips bit, a 3/16 in. flathead bit and a 1/4 in. flathead bit. Both ends of the shaft can be used as 1/4 in. nut drivers when the bits are removed, offering convenient, versatile use. The high-visibility orange handle makes the handy tool easy to find on a job site or in a toolbox.
Blaster 18 oz. PB Penetrating Oil 26-PB
The #1-selling penetrant since 1957, PB Blaster quickly busts loose rusted or frozen parts caused by rust and corrosion. PB Blaster penetrant also contains a non-evaporating lubricant that protects against
Husky 12 in. Adjustable Wrench 90933
The Husky 12 in. Adjustable Wrench features a durable, comfortable handle. A large knurl allows for easy adjustment and a tight-fitting hex jaw design reduces slippage and tightly grips the fastener for
Steps


Common Problems
Moisture on connections can lead to leaks.
Solution: Use a dry paper towel to wipe the connections; any moisture will be easy to spot.
New valve connections can fail under sudden water pressure.
Solution: Turn the water on slowly to avoid a sudden surge of pressure that could stress the new connections.
Ensure that both the hot and cold water supply lines to the shower are turned off completely.
Solution: To avoid this issue: Be mindful of this warning and take appropriate precautions.
Water sprays uncontrollably when replacing the valve if only one water line is shut off.
Solution: If you have a manifold system, turn off both hot and cold water for the specific shower fixture.
Future faucet repairs will be difficult and time-consuming without an access panel.
Solution: Installing an access door with a removable panel is a good idea for easier future maintenance.
Wear protective clothing, gloves, and a headlamp when entering a crawlspace.
Solution: To avoid this issue: Be mindful of this warning and take appropriate precautions.
Difficulty accessing and replacing the tub faucet valve.
Solution: Having an access panel simplifies the removal of the old valve and installation of the new one immensely.
Frequently Asked Questions
How difficult is a tub faucet valve replacement for a beginner, and how long should I expect it to take?
This project is rated as beginner-friendly, but can be challenging if parts are severely corroded or access is difficult. Expect it to take 2-4 hours, assuming good access and no major complications, plus additional time for final leak checks. The duration can extend significantly if you encounter stubborn old components or need to create an access point.
What are the most important safety precautions I need to take before starting this tub faucet valve replacement?
Absolutely always start by shutting off the main water supply to your home to prevent any accidental flooding. Wear appropriate eye protection to guard against debris and ensure you have plenty of towels and a bucket ready for residual water in the pipes. If your tub has an electric shower or jets, verify the power is off as well.
Besides the listed tools, what other essential supplies or materials might I need for a successful tub faucet valve replacement?
You will definitely need plumber's putty or Teflon tape to properly seal all threaded connections and prevent leaks in your new valve. Keep penetrating oil handy for loosening corroded parts, and have a flashlight, a bucket, and plenty of rags or towels for any residual water. New escutcheons and handles might also be required if they don't come with the new valve.
What are the most common mistakes beginners make during installation, especially regarding leaks after turning the water back on?
A common mistake is not applying enough (or improperly applying) Teflon tape or plumber's putty to all threaded connections, leading to immediate leaks. Another error is over-tightening plastic fittings, which can crack them, or under-tightening metal ones. Always double-check every connection and slowly turn the water back on, observing carefully for any drips or moisture.
My tub doesn't have an obvious access panel; how can I reach the faucet valve for replacement?
If there's no existing access panel, you'll typically need to create one in the wall directly behind the tub, or sometimes in the ceiling directly below it if applicable. Carefully measure and cut a section of drywall large enough to comfortably work through. For a cleaner finish, consider installing a pre-made access panel cover afterwards.
What's the best approach if I encounter severely corroded or stuck parts when trying to remove the old valve?
Apply penetrating oil generously to any corroded nuts, bolts, or connections and let it sit for at least 15-30 minutes to work its way in. Use the correct sized adjustable wrench or basin wrench, applying steady, firm pressure rather than sudden force to avoid stripping parts. Patience is key; reapply oil and wait again if necessary before trying to loosen them.