

Bathtub Spout & Diverter Replacement: A Complete DIY Guide
About This Project
This DIY guide demonstrates how to replace a bathtub spout and diverter. First, turn off the water supply to the bathtub. Next, remove the old spout, which may involve loosening a set screw and pulling the spout off or unscrewing it counterclockwise. Clean the threads of the copper pipe with a wire brush or sandpaper. Install the new spout and diverter, typically by applying plumber's putty or Teflon tape to the spout base, sliding the spout onto the copper pipe, and tightening the set screw or screwing on the spout clockwise. Finally, turn the water back on slowly to test for leaks around the spout and diverter connection, and confirm the diverter switches correctly between tub and shower.
Best for homeowners and DIY enthusiasts.
Tools & Materials
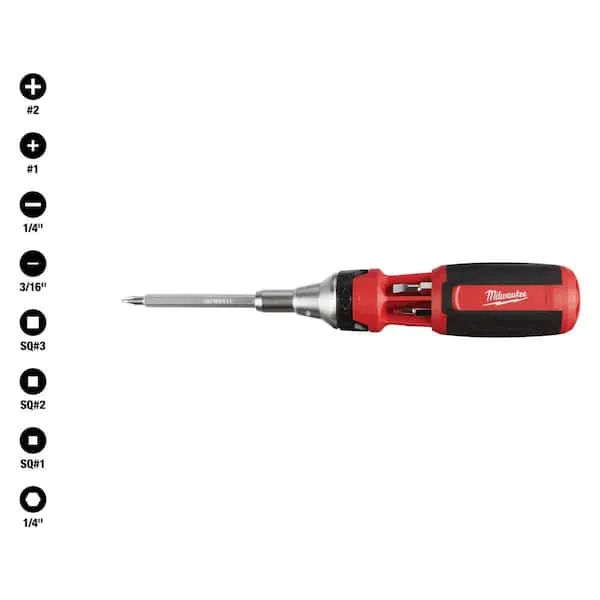
Screwdriver (Multi)
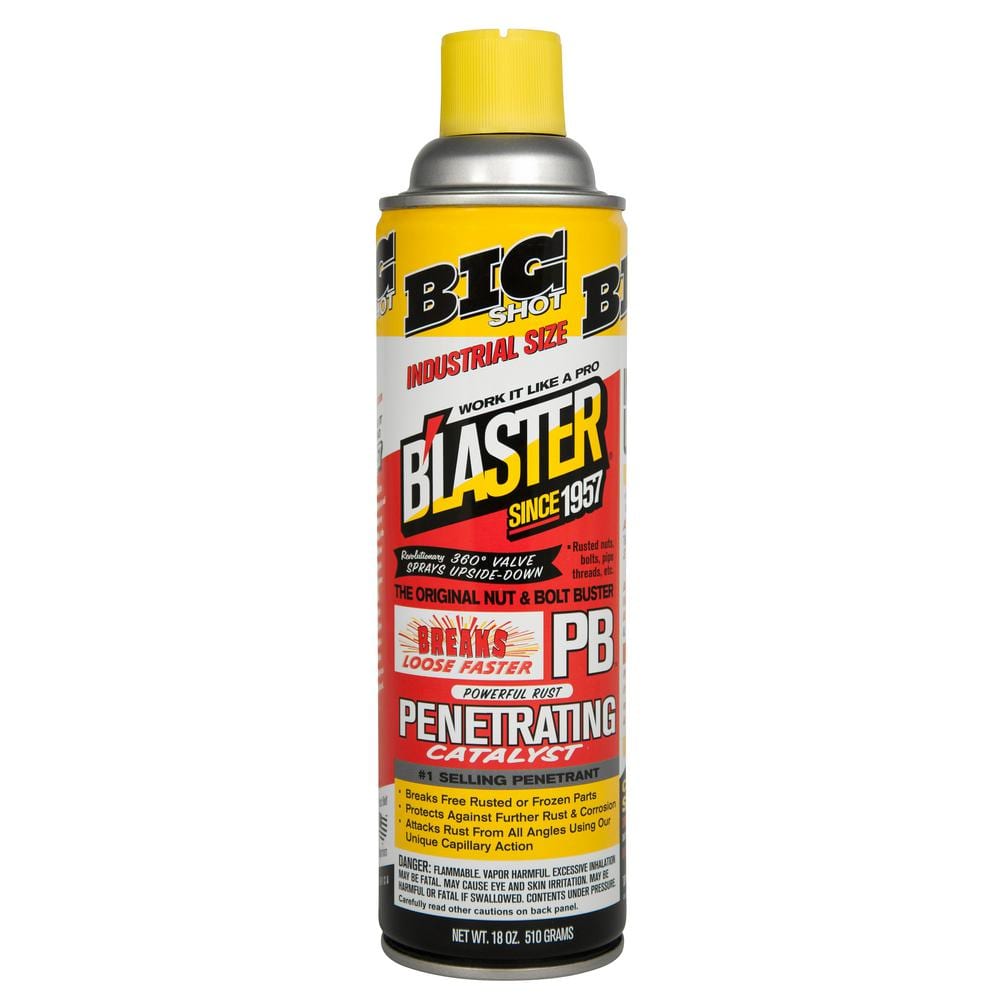
Blaster 18 oz. PB Penetrating Oil 26-PB
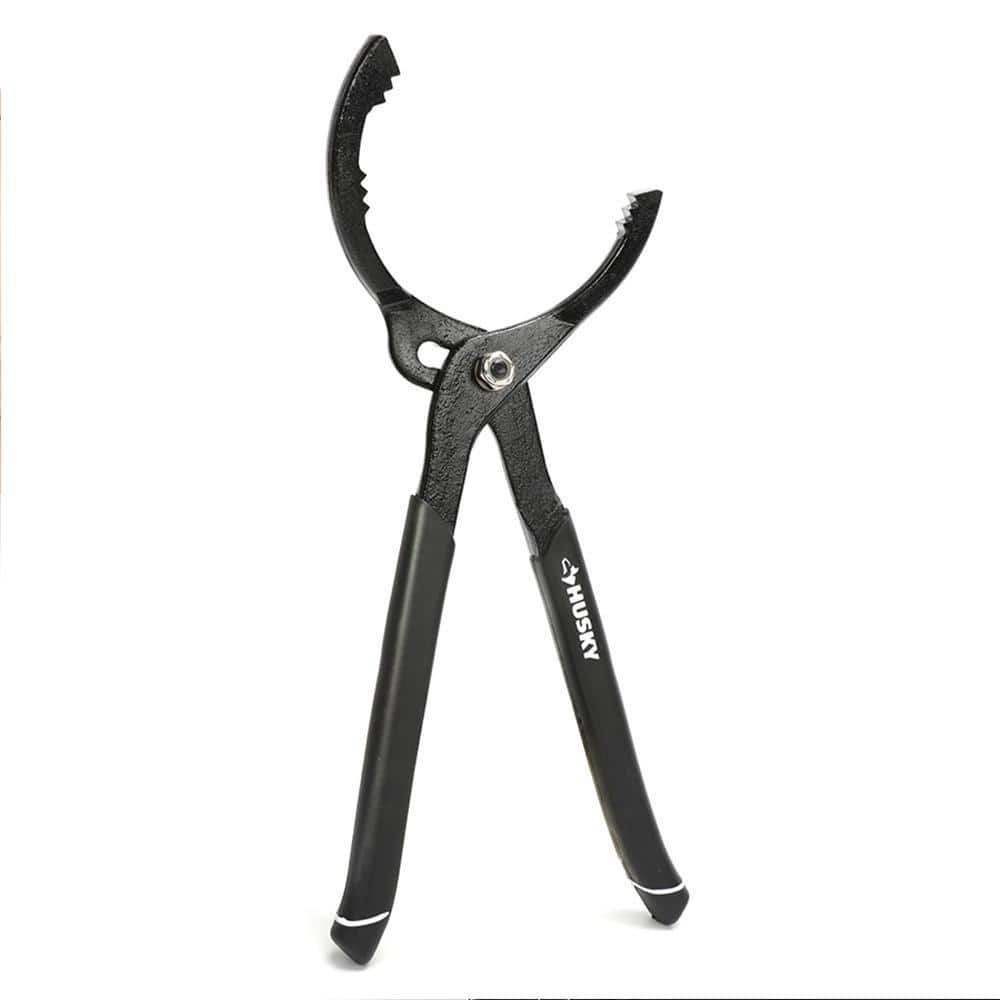
Husky 12 in. PVC Pliers 17PL0309
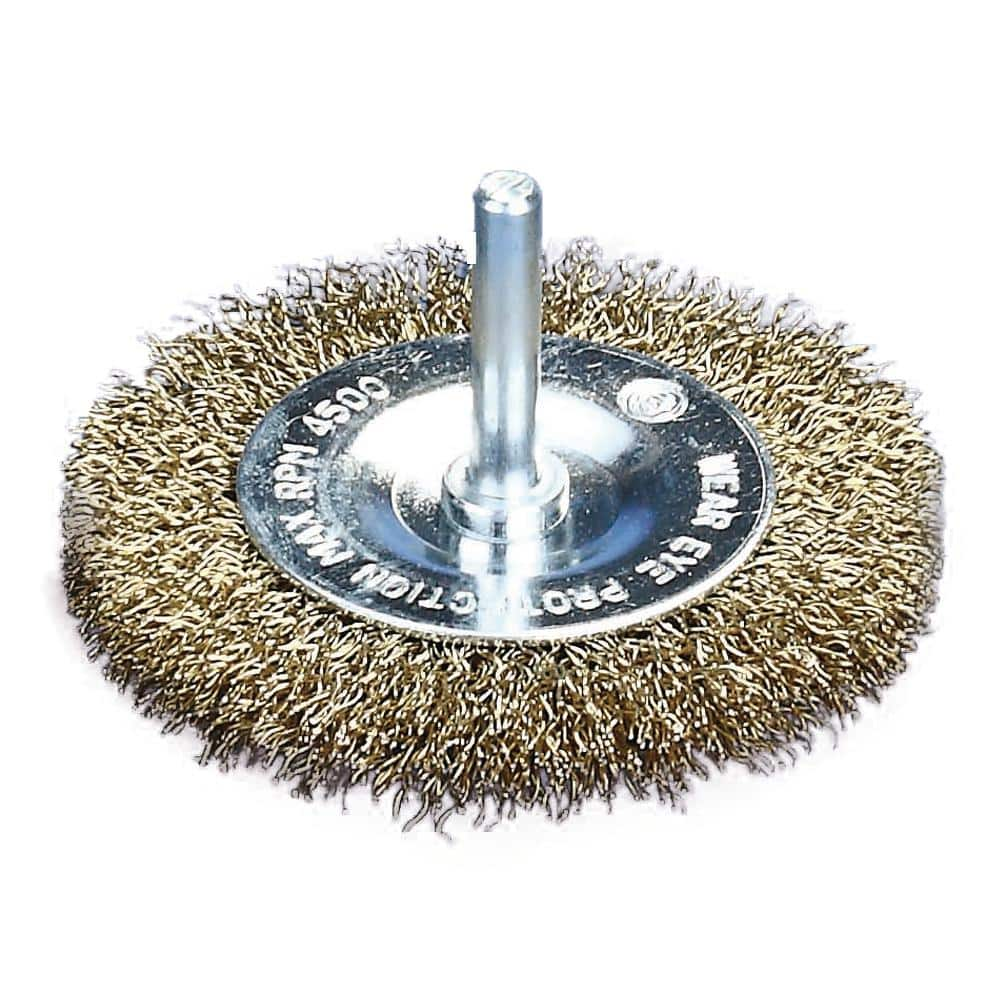
Robtec 3 in. x 1/4 in. Shank Crimped Brass Coated Steel Wire Wheel Brush 300WRCS12
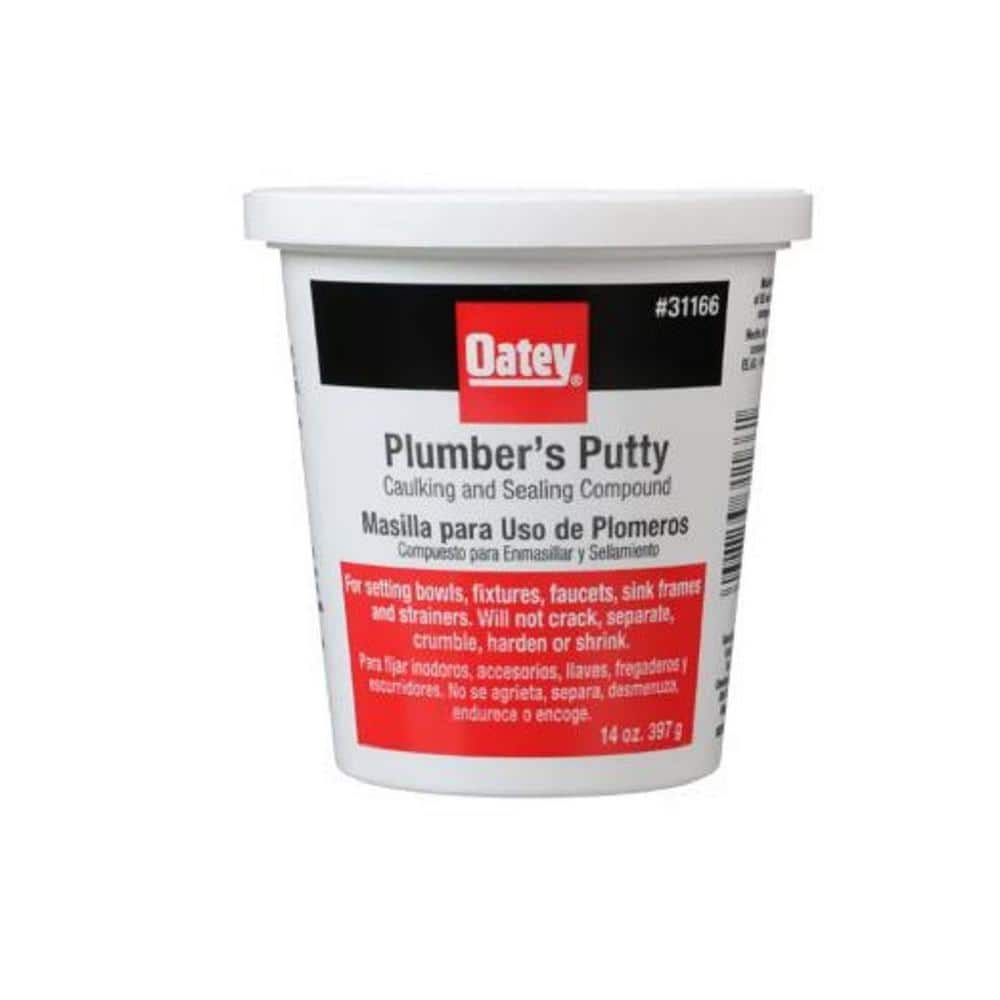
Oatey 14 oz. Plumber's Putty 311662
DANCO Diverter Spout in Chrome 88434
Screwdriver (Multi)
Multiple bits for versatile use.
Blaster 18 oz. PB Penetrating Oil 26-PB
The #1-selling penetrant since 1957, PB Blaster quickly busts loose rusted or frozen parts caused by rust and corrosion. PB Blaster penetrant also contains a non-evaporating lubricant that protects against
Husky 12 in. PVC Pliers 17PL0309
Husky's 12 in. PVC Pliers work in tight spaces with optimal compression. They are ideal for unfastening or tightening large diameter PVC pipe, conduit and fittings. 3 sets of right-angle teeth provide
Robtec 3 in. x 1/4 in. Shank Crimped Brass Coated Steel Wire Wheel Brush 300WRCS12
Robtec 3 in. crimped brass coated steel wire wheel brush is a great tool for fast light duty cleaning and polishing. Excellent for deburring and removing paint, rust and scale from steel surfaces. For
Oatey 14 oz. Plumber's Putty 311662
The Oatey 14 oz. Plumber's Putty is an easy-to-mold setting compound designed for use with stainless-steel sealing applications such as frames, faucets and strainer baskets. Not for use on plastic, marble,
DANCO Diverter Spout in Chrome 88434
Update your bathroom with the Danco Tub Spout with Diverter in Chrome. This simple DIY project will allow you to add a new style to your bath or replace an older tub spout that no longer works. Eliminate
Steps


Remove the Old Bathtub Spout
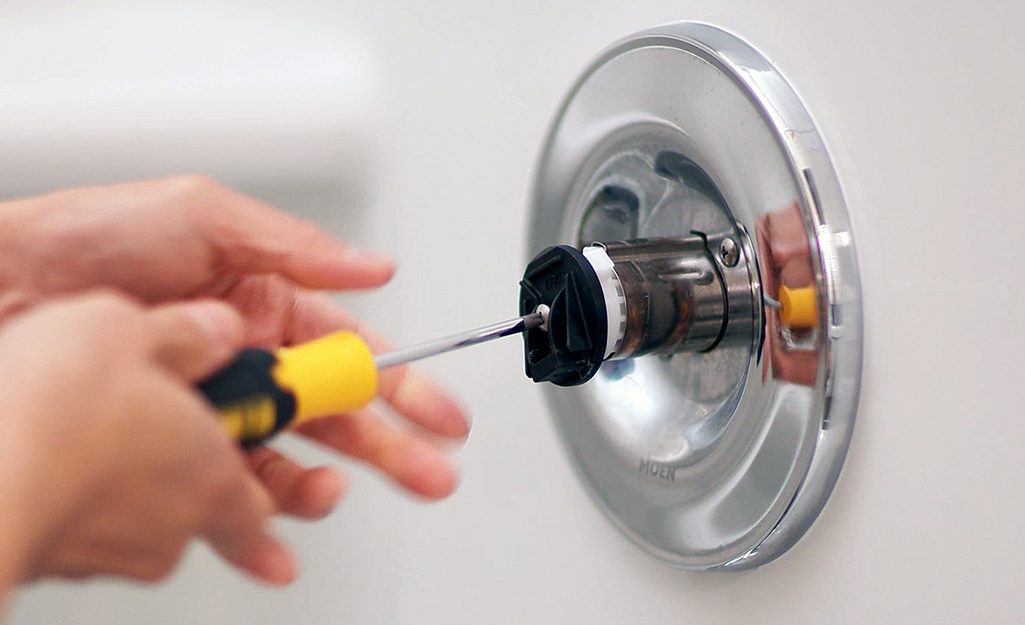
15 minsCarefully remove the old spout. For slip-on spouts, first loosen any set screws (using an Allen wrench if needed) before gently pulling the spout away from the pipe. If it’s stuck, try applying penetrating oil and letting it sit for a few minutes. For threaded spouts, unscrew them counterclockwise.


Install the New Bathtub Spout and Diverter
15 minsFollow the manufacturer's instructions for installing your new diverter spout. This typically involves applying plumber's putty (or Teflon tape) to the spout base, carefully sliding the spout onto the copper pipe, and then tightening the set screw or screwing on the spout clockwise. If your showerhead lacks a shut-off valve, connect the diverter pipe accordingly.

Common Problems
Confirm that both water and electricity are completely shut off before proceeding to the next steps.
Solution: To avoid this issue: Be mindful of this warning and take appropriate precautions.
Failure to shut off the gas supply can lead to a dangerous gas leak.
Solution: To avoid this issue: Be mindful of this warning and take appropriate precautions.
Failure to shut off the main water supply will result in significant water damage.
Solution: To avoid this issue: Be mindful of this warning and take appropriate precautions.
Confirm that the water is completely shut off before attempting to disconnect any pipes.
Solution: To avoid this issue: Be mindful of this warning and take appropriate precautions.
Ignoring small leaks after repair can lead to water damage.
Solution: Turn the water on slowly to pressurize the system gradually, which can help identify small leaks before they become major problems.
Small leaks go unnoticed, causing water damage.
Solution: Place a dry paper towel under each connection; it will make even the smallest drip immediately visible.
Turn the water supply on slowly to avoid a sudden surge of pressure that could damage connections.
Solution: To avoid this issue: Be mindful of this warning and take appropriate precautions.
Frequently Asked Questions
How difficult is replacing a bathtub spout and diverter for a DIY beginner, and how long does it usually take?
This is a beginner-friendly project, often taking only 30-60 minutes. The most challenging part can be removing a stubborn old spout or ensuring a leak-free seal on the new one. No specialized skills beyond basic tool use are typically required.
Besides the listed tools and materials, are there any other essentials or helpful items I should have on hand?
It's highly recommended to have Teflon tape (pipe thread tape) for screw-on spouts, even if using plumber's putty for the base. A small bucket, rags, or a towel can also be useful for catching any residual water when the old spout is removed from the pipe. Having a flashlight can also help inspect the pipe.
What critical safety steps should I follow, especially regarding water and potential leaks?
Always ensure the main water supply to the bathtub is completely shut off before starting to prevent flooding. After installation, turn the water back on slowly and carefully inspect for any leaks around the spout connection immediately. Have towels ready to quickly address any drips or leaks.
What are the most common mistakes beginners make when replacing a bathtub spout, and how can I avoid them?
A common mistake is not thoroughly cleaning the copper pipe threads, which can lead to leaks. Another is overtightening the new spout, potentially damaging the pipe or spout itself; tighten firmly but not excessively. Ensure you use the correct type of sealant (Teflon tape or plumber's putty) for your specific spout type.
How do I determine if my old spout is a screw-on or slip-on type before I buy a replacement?
Check the underside or back of your existing spout for a small set screw; if present, it's likely a slip-on/diverter style. If no set screw is visible, try unscrewing it counter-clockwise from the pipe, indicating a screw-on type. Knowing this ensures you purchase the correct replacement spout.
What should I do if my new bathtub spout still leaks after installation?
If leaks occur, first re-check that the pipe threads are clean and that enough Teflon tape or plumber's putty was applied and correctly sealed. Ensure the spout is fully tightened (without overtightening) and properly aligned on the pipe. You may need to remove and re-install, paying close attention to the sealing steps.
:max_bytes(150000):strip_icc()/how-to-replace-a-bathtub-faucet-5210836-hero-dbea72550ab646829a3fb289eb4e9a65.jpg)