:max_bytes(150000):strip_icc()/how-to-replace-a-bathtub-faucet-5210836-hero-dbea72550ab646829a3fb289eb4e9a65.jpg)
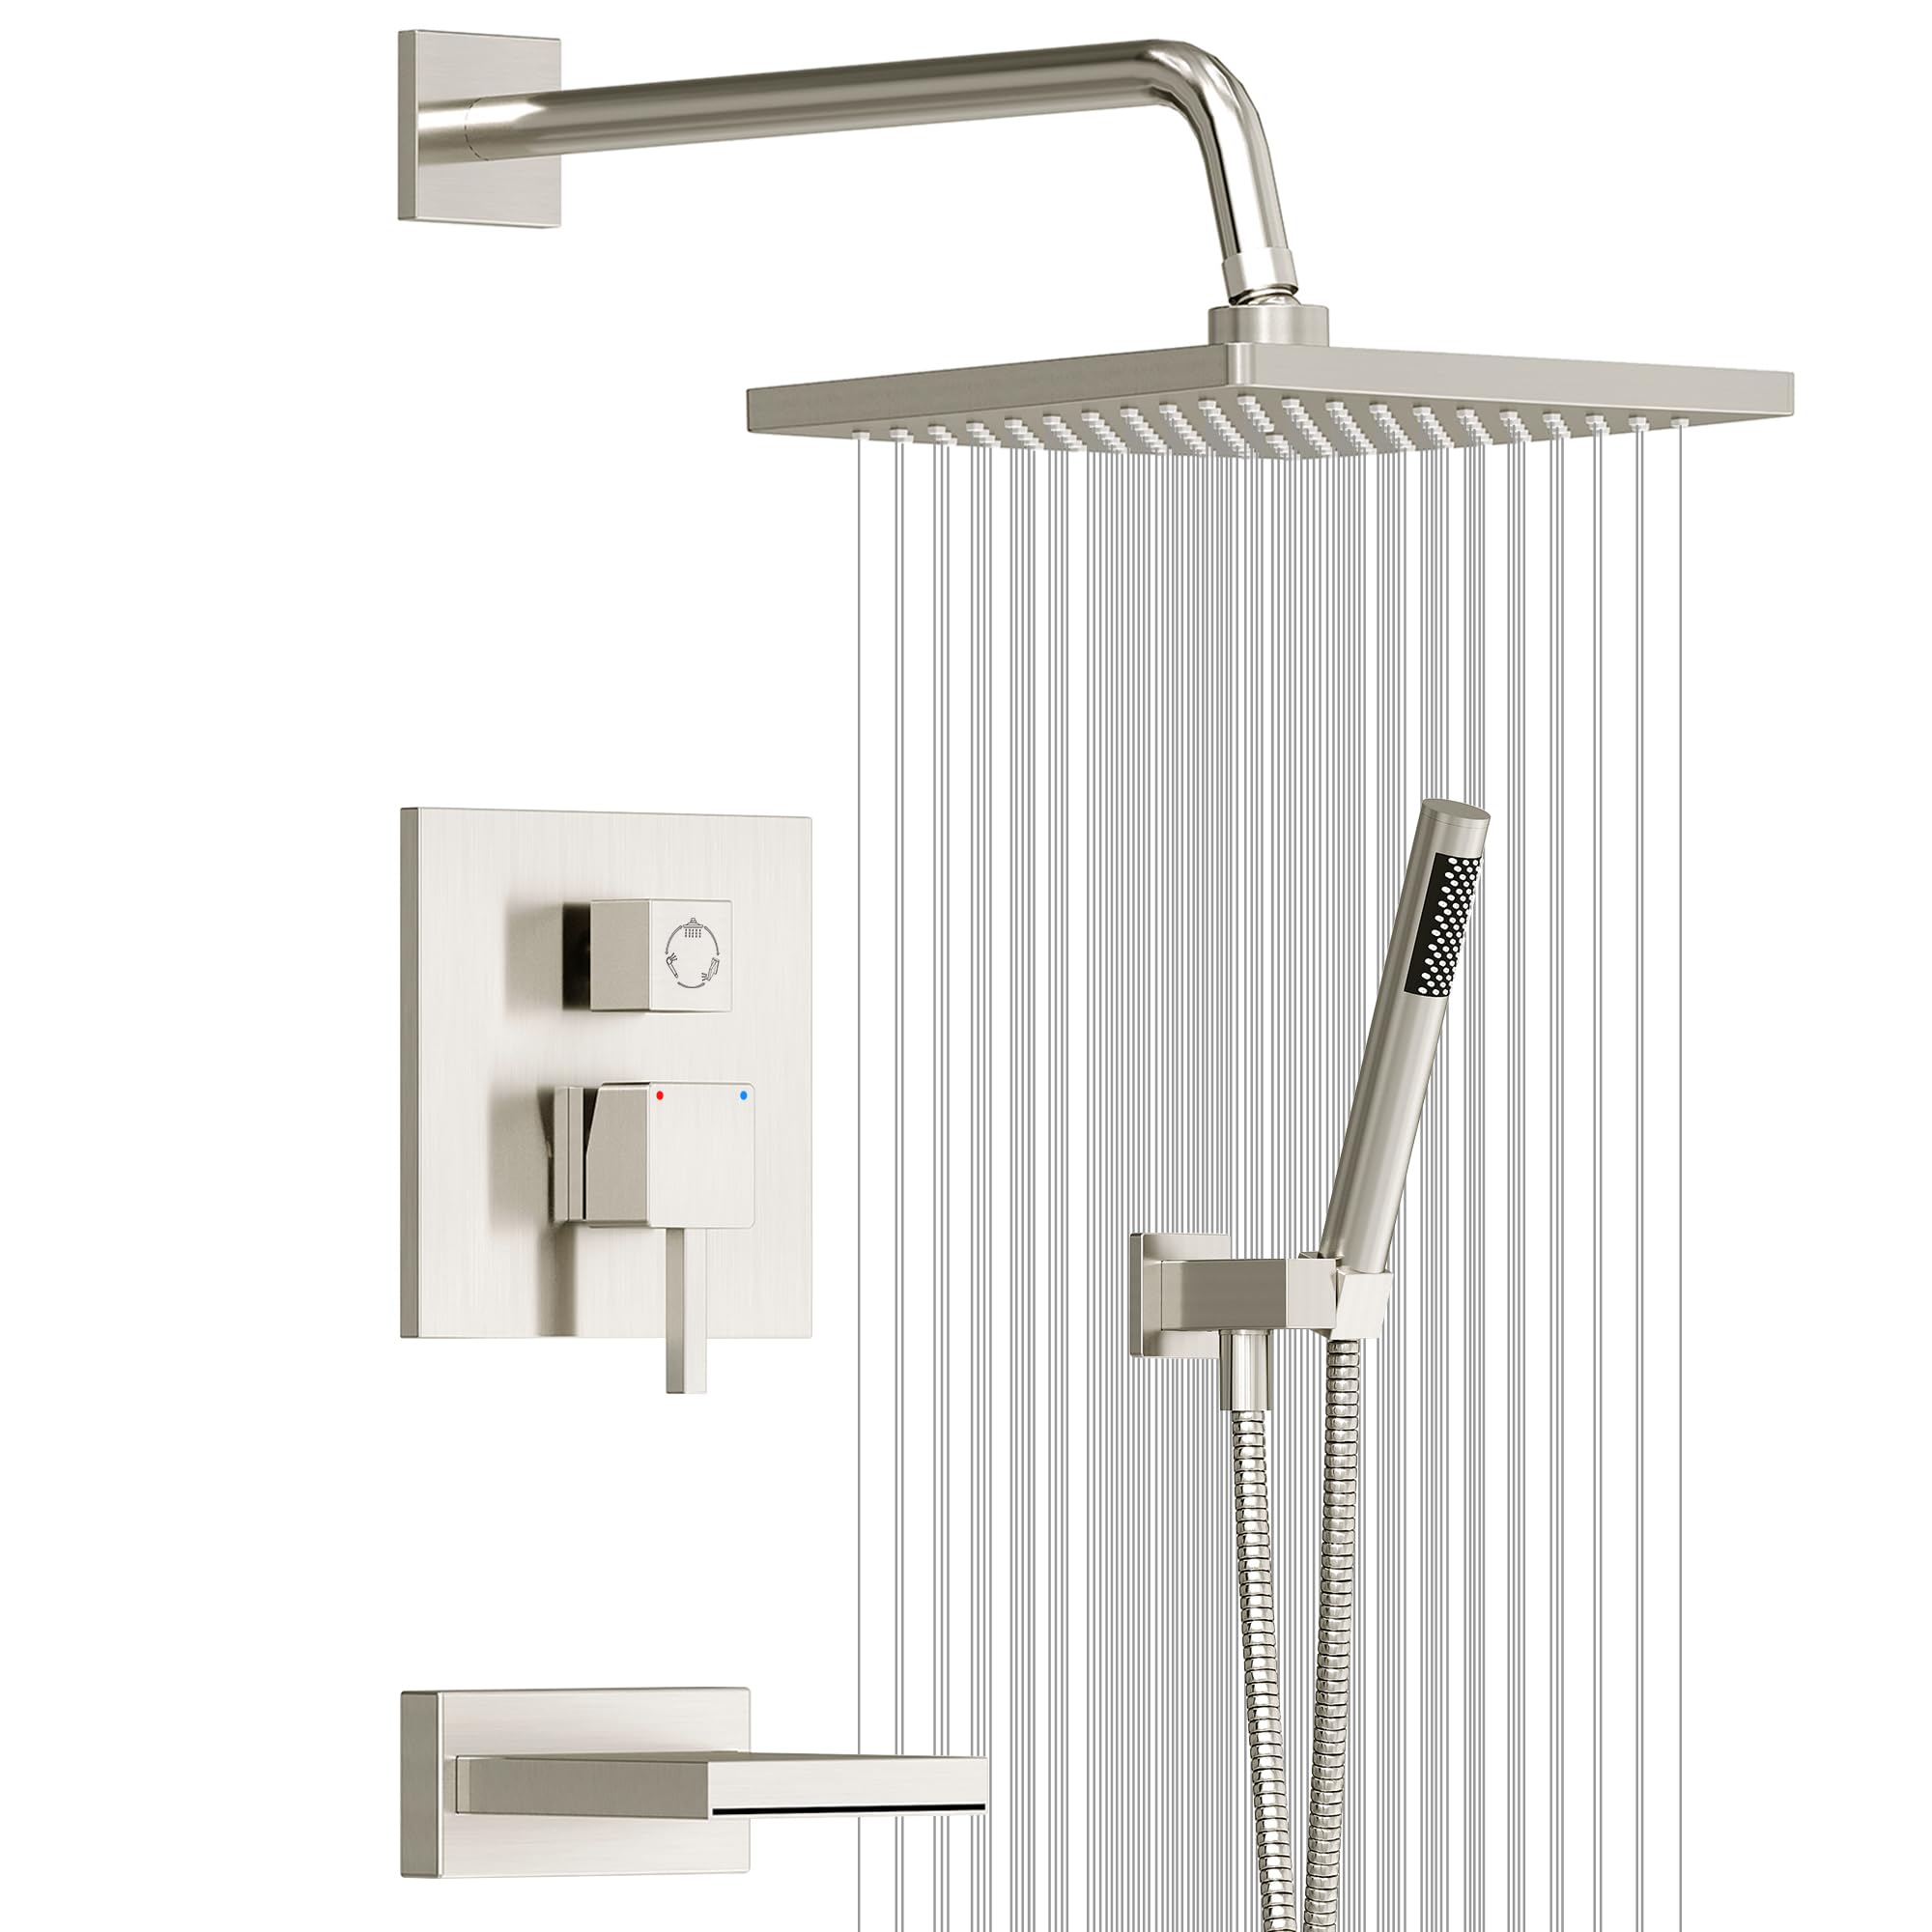
How to Replace a Bathtub Faucet: A Step-by-Step DIY Guide
About This Project
This DIY guide provides step-by-step instructions for replacing a bathtub faucet. The project begins by removing the faucet handles, often by unscrewing a cap or using an Allen wrench. Next, turn off the water supply by locating the shut-off valves under the sink and turning them clockwise. If there are no shut-off valves under the sink, you'll need to turn off the main water supply to your house. After the water is off, remove the escutcheon plate, the decorative cover surrounding the faucet, typically held in place by screws. With the escutcheon plate removed, the old faucet body can then be carefully removed, usually secured with nuts that can be loosened with an adjustable wrench. Once the old faucet body is out, the new faucet body can be installed following the manufacturer's instructions. This step usually involves applying plumber's putty to the base, inserting the faucet body, and tightening the nuts from below. Finally, reinstall the escutcheon plate, handles, and any decorative trim. Turn the water supply back on slowly and check all connections for leaks. Tighten any loose connections and retest for leaks to ensure a proper seal.
Best for experienced DIYers and homeowners with some experience.
Tools & Materials
Husky Pocket Screwdriver (4 in 1) 632360012
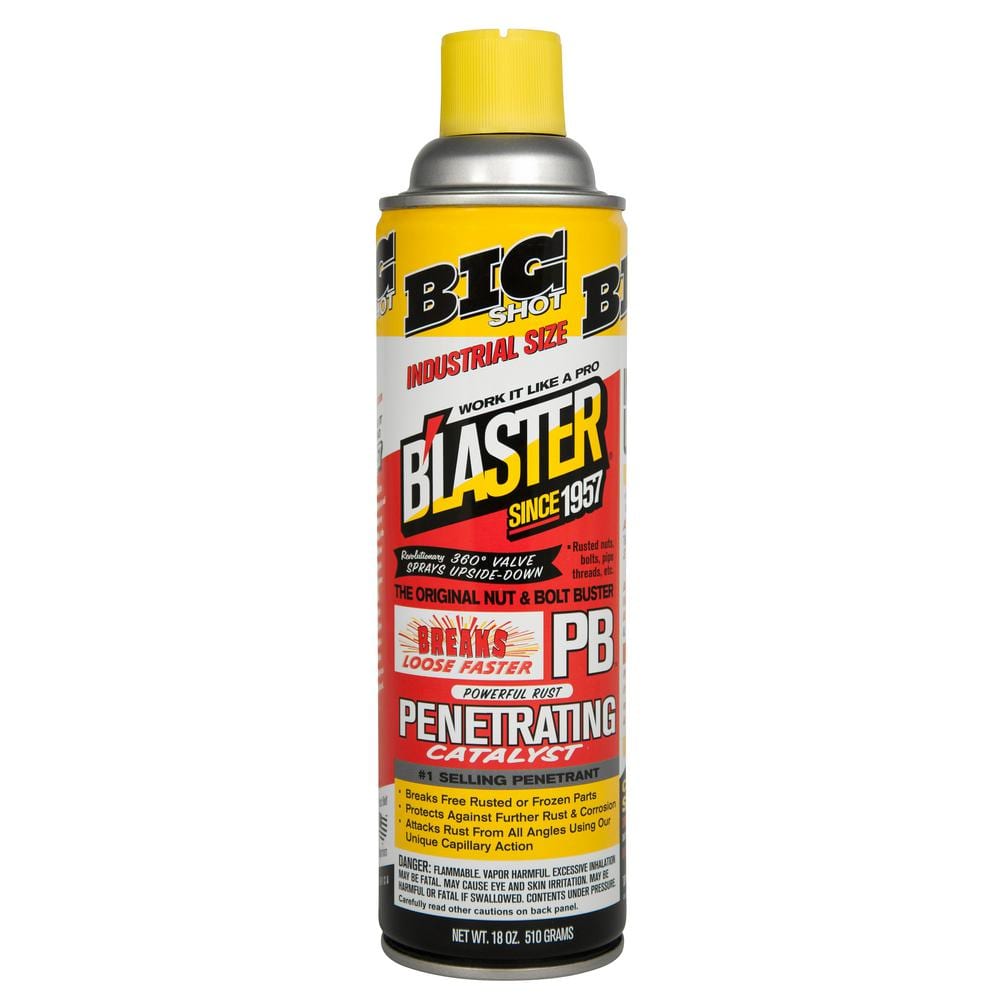
Blaster 18 oz. PB Penetrating Oil 26-PB
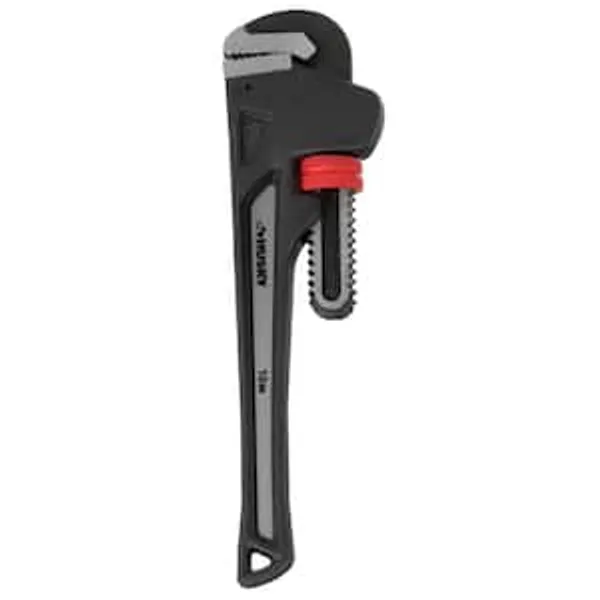
Wrench
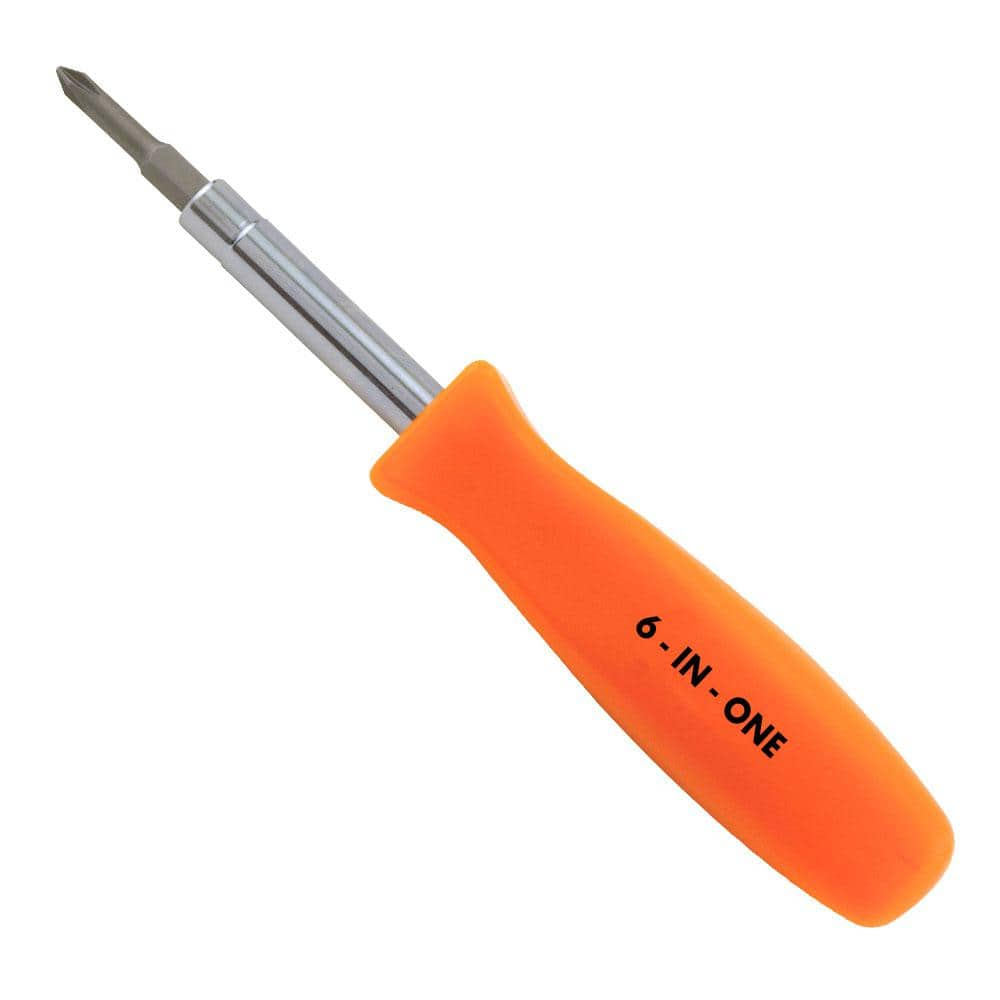
HDX 3-1/4 in. 6-in-1 Screwdriver 120SD12D
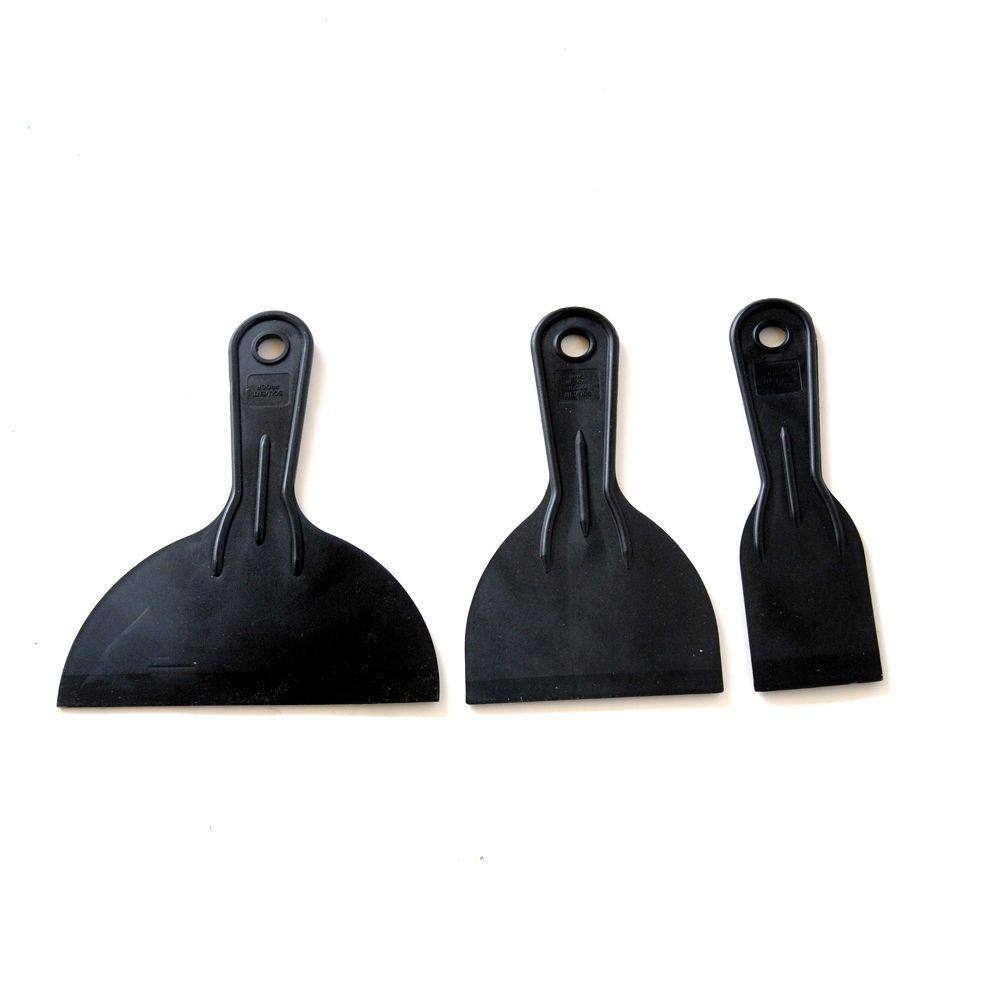
PRIVATE BRAND UNBRANDED Putty Knife Set DS-3PKL

Adjustable Wrench
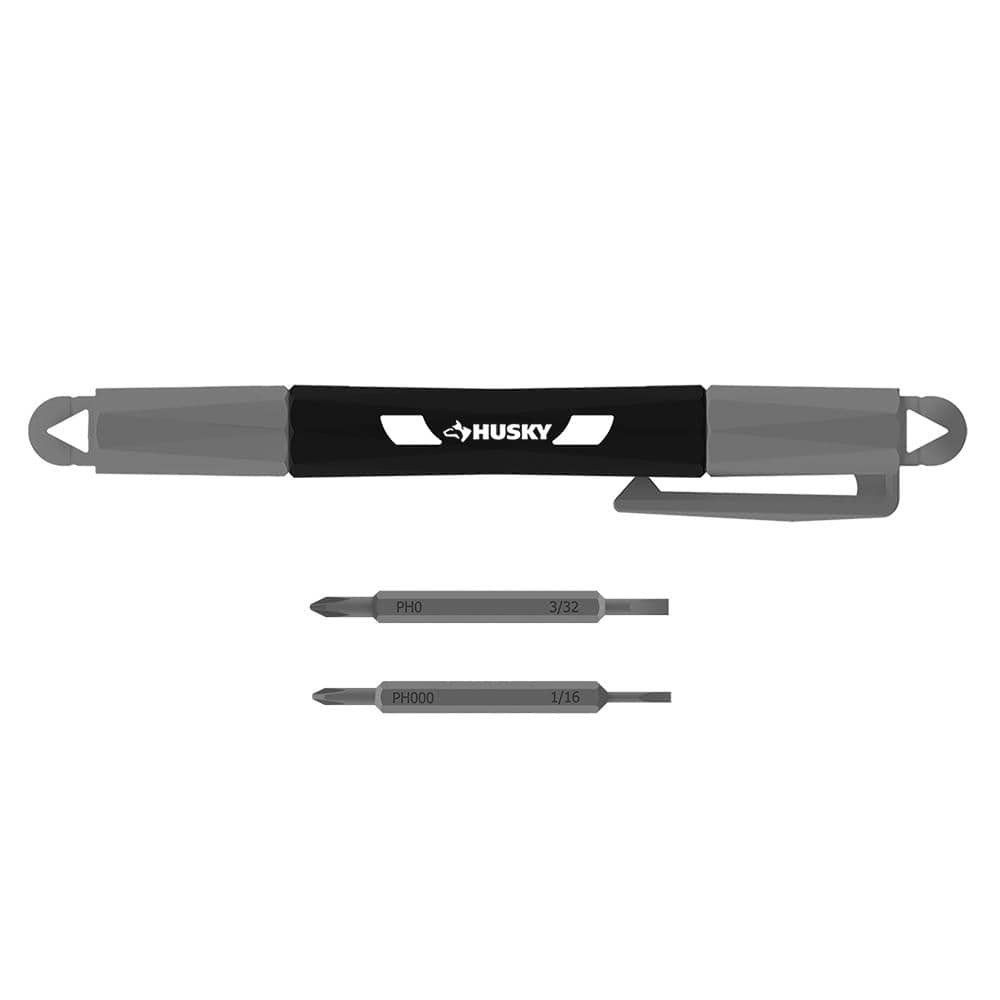
Husky Pocket Screwdriver (4 in 1) 632360012
The Husky 4-in-1 Pocket Screwdriver features 4 different tips (2 double ended bits) in 1 tool, includes #0 and #000 Phillips plus 1/16 in. and 3/32 in. Slotted tips. This tools is designed for precision
Blaster 18 oz. PB Penetrating Oil 26-PB
The #1-selling penetrant since 1957, PB Blaster quickly busts loose rusted or frozen parts caused by rust and corrosion. PB Blaster penetrant also contains a non-evaporating lubricant that protects against
Wrench
Turns objects with grip and leverage.
HDX 3-1/4 in. 6-in-1 Screwdriver 120SD12D
The HDX 3-1/4 in. 6-in-1 Screwdriver features double-sided bits with the four most common screwdriver tip styles, including a #1 Phillips bit, a #2 Phillips bit, a 3/16 in. flathead bit and a 1/4 in. flathead bit. Both ends of the shaft can be used as 1/4 in. nut drivers when the bits are removed, offering convenient, versatile use. The high-visibility orange handle makes the handy tool easy to find on a job site or in a toolbox.
PRIVATE BRAND UNBRANDED Putty Knife Set DS-3PKL
The Economy Putty Knife Set includes 2 in., 4 in. and 6 in. polypropylene putty knives. This multi-purpose set allows you to complete all of your jobs and dispose of the tools when done.
Adjustable Wrench
Fits various nut and bolt sizes with its adjustable jaw.
Steps

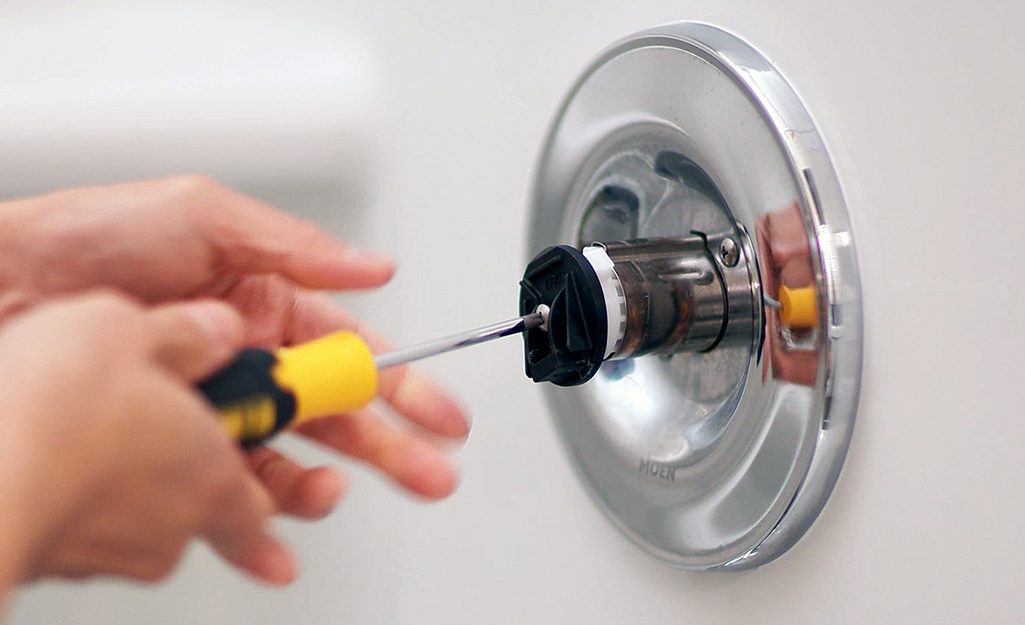
Remove the Faucet Handles
15 minsCarefully remove the handles of your old faucet. This often involves unscrewing a cap or using an Allen wrench to remove a screw beneath the handle. Gently pull the handle off once the screw is removed. Refer to your faucet's instructions or online videos for model-specific details.


Common Problems
Scratched faucet finish during installation.
Solution: Using a soft cloth between the wrench and the nut is essential to prevent scratching the faucet's finish.
Faucet won't tighten or leaks due to incorrect threading direction.
Solution: Note the color of your packing nut. In the video, white nuts are right-hand threaded and tan nuts may be left-hand threaded.
Use care with the wrench to avoid scratching or damaging the faucet body. You can wrap the jaws in tape for protection.
Solution: To avoid this issue: Be mindful of this warning and take appropriate precautions.
Ensure the water is shut off and lines are drained before fully disconnecting the faucet to avoid water spills.
Solution: To avoid this issue: Be mindful of this warning and take appropriate precautions.
The faucet handle becomes difficult to turn or strips the screw if overtightened.
Solution: Don't overtighten the handle screw.
Water leaks and water damage can occur if the faucet isn't tested for leaks before full pressure.
Solution: Turn the water on slowly at first to check for any leaks before fully pressurizing the system.
Ensure the water is completely shut off before proceeding.
Solution: To avoid this issue: Be mindful of this warning and take appropriate precautions.
Frequently Asked Questions
Is replacing a bathtub faucet truly a beginner-friendly DIY project, and what's a realistic time frame for completion?
Yes, it's generally considered beginner-friendly, especially with clear instructions. While estimated at 3 hours, allow for extra time if you encounter rusted parts or need to locate the main water shut-off. Patience is key for a successful first-time installation.
Beyond basic screwdrivers, what are the most crucial tools for this bathtub faucet replacement that I might not already own?
An adjustable wrench is essential for loosening and tightening nuts, while plumber's putty is critical for creating a waterproof seal. You might also find a basin wrench helpful if working in very tight spaces, though not always strictly required for all faucet types.
What should I do if I can't find individual shut-off valves for my bathtub faucet, or if they don't work?
If local shut-off valves are absent or faulty, you must turn off the main water supply to your entire house. After turning off the main supply, open a faucet on the lowest level of your home to drain any remaining water from the pipes before proceeding with the replacement.
What is the most common mistake that leads to leaks after installing a new bathtub faucet, and how can I prevent it?
The most common mistake is not fully tightening all connections or improperly applying plumber's putty. Ensure all nuts are snug (but don't overtighten) and that plumber's putty forms a complete, even seal around the faucet base. Always test slowly after turning water back on and inspect thoroughly for drips.
Is plumber's putty always the best option for sealing, or are there alternative materials I should consider for the new faucet?
Plumber's putty is traditional and effective for sealing under the faucet base, but some manufacturers recommend silicone caulk for better long-term adhesion and flexibility, especially with certain finishes. Always check your new faucet's manufacturer instructions for their preferred sealing method.
What's the best way to handle corroded or stubbornly stuck nuts when trying to remove the old bathtub faucet?
Apply a penetrating oil, like WD-40, to the stuck nuts and let it sit for 15-30 minutes before trying again with your adjustable wrench. For extreme cases, you might need a larger wrench for better leverage, or carefully use a Dremel with a cut-off wheel as a last resort, exercising extreme caution.