Toilet Won't Flush? Troubleshooting & Repair Guide
About This Project
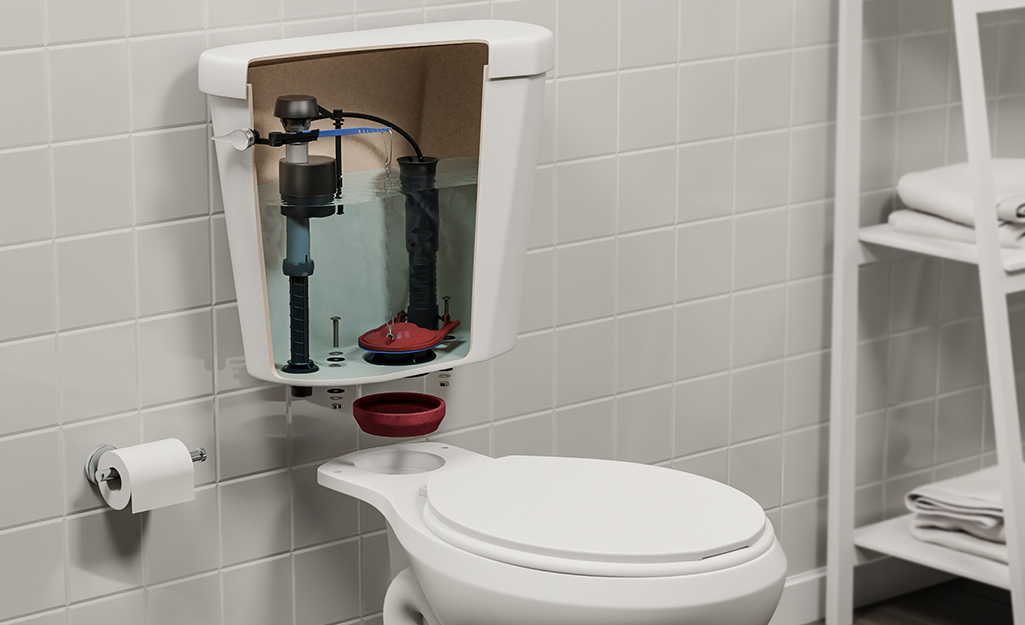
This guide helps you fix a toilet that won't flush. First, check the tank's water level. It should be about an inch below the overflow tube. If it's low, adjust or replace the fill valve. If too high, the fill valve might need replacing. Next, check the flapper. Replace if damaged, warped, or poorly sealed. After turning off the water, detach the chain from the flush lever and remove the old flapper from the overflow tube. Install the new one, ensuring a tight seal.
Best for experienced DIYers and homeowners with some experience.
Tools & Materials
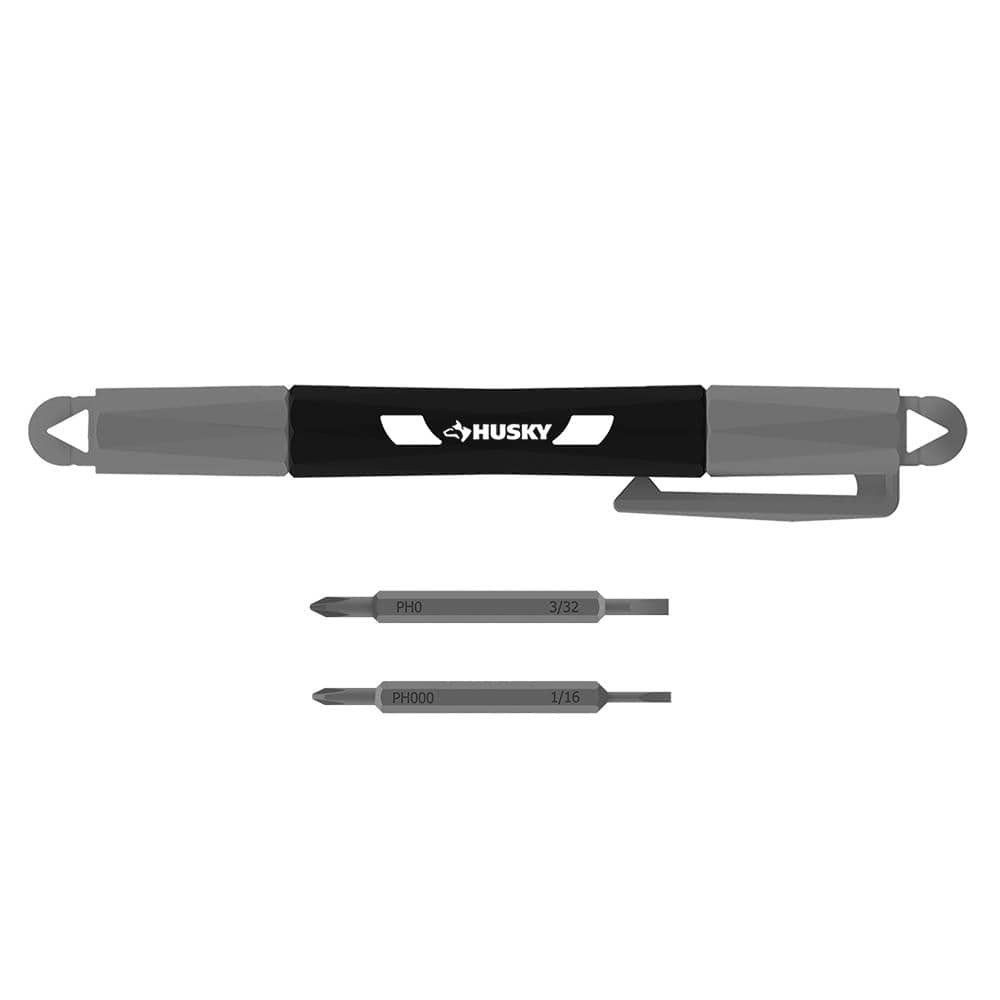
Husky Pocket Screwdriver (4 in 1) 632360012
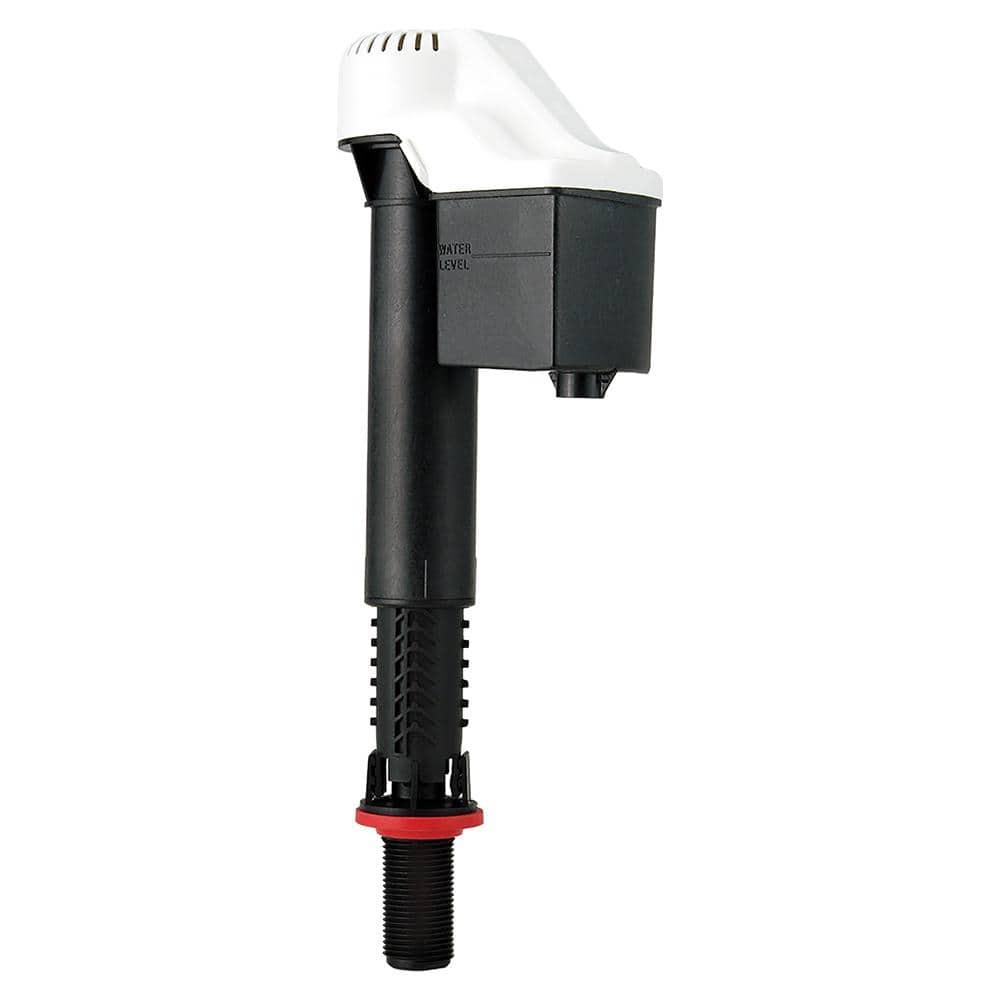
Korky QuietFill Toilet Fill Valve 528
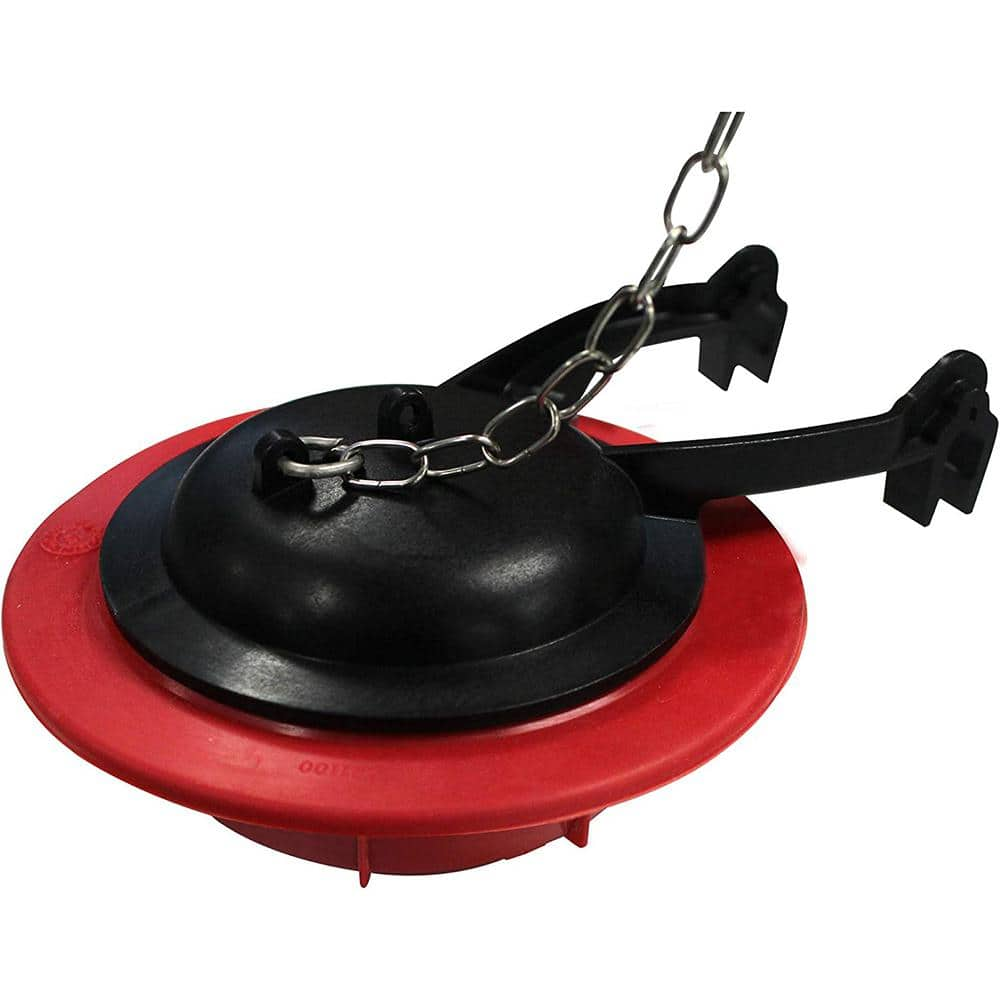
TOTO 3 in. Replacement Toilet Tank Flapper THU500S
Husky Pocket Screwdriver (4 in 1) 632360012
The Husky 4-in-1 Pocket Screwdriver features 4 different tips (2 double ended bits) in 1 tool, includes #0 and #000 Phillips plus 1/16 in. and 3/32 in. Slotted tips. This tools is designed for precision
Korky QuietFill Toilet Fill Valve 528
Designed to fix no/slow refilling, running, and noisy toilets, the Korky QuietFILL Toilet Fill Valve is quieter than other fill valves. It has a universal design to fit all brands and features a wide range of adjustability to fit most 2-piece and 1-piece toilets. The QuietFILL Fill Valve is very easy to install and adjust; no tools are required. Simply remove your old fill valve or ballcock, insert your new Korky fill valve, and adjust. The innovative twist-lock adjustment makes installation easy. Designed to fit more toilets, the QuietFILL toilet fill valve adjusts to fit both large and compact toilet tanks. Easy to install, the 528 includes: Toilet Fill Valve, Refill Tube and Clip, Tamper Proof Key and Instructions.
TOTO 3 in. Replacement Toilet Tank Flapper THU500S
Keep your toilet working with this Toto replacement flapper. Made for 3-in. valve tanks, it comes with a chain. The plastic body with a rubber sealing surface ensures lasting use.
Steps

Check Toilet Tank Water Level
5 minsBegin by checking the water level in your toilet tank. The water should be about an inch below the top of the overflow tube. A low water level often causes weak flushes. If the level is low, proceed to adjusting or replacing the fill valve (Step 2). If it's too high, the fill valve might need replacing.
Watch: Test Flush Power
Adjust or Replace the Toilet Fill Valve
30 minsIf the water level is low, locate the fill valve's adjustment screw and carefully turn it to raise the water level. If the problem persists or the water level is too high, the fill valve is likely faulty and needs replacing. Turn off the water supply before replacing it. Follow the manufacturer's instructions for your specific model. Typical installation involves inserting the valve into the tank and securing it with a locknut.
Watch: Adjust the Fill Valve
Inspect and Replace the Toilet Flapper
15 minsCarefully inspect the flapper for any signs of damage, warping, or a poor seal. If it’s damaged, replace it. Turn off the water supply before beginning this step. To remove the old flapper, detach the chain from the flush lever arm and gently remove the flapper from the overflow tube. Install the new flapper according to the manufacturer’s instructions ensuring a tight seal.
Watch: Remove the Old FlapperCommon Problems
Uncertainty about damaged toilet parts leads to incorrect repairs and continued flushing issues.
Solution: If you are unsure whether a component is damaged or worn, consult a plumber.
Toilet runs continuously due to improper chain length.
Solution: If the chain is too long or too short, it can also cause the toilet to run. Adjust the chain length as needed.
Toilet won't flush or leaks due to improper chain slack.
Solution: When attaching the new chain, ensure there are only one or two links of slack. Too much slack will prevent the flapper from lifting, and too little will prevent it from sealing.
Make sure the water supply is completely turned off before removing the flapper to avoid a mess.
Solution: To avoid this issue: Be mindful of this warning and take appropriate precautions.
Buying the wrong flapper will prevent your toilet from flushing.
Solution: Take a picture of your old flapper or bring it with you to the hardware store to ensure you buy the correct replacement model.
Toilet leaks constantly and won't fill properly due to a high water level.
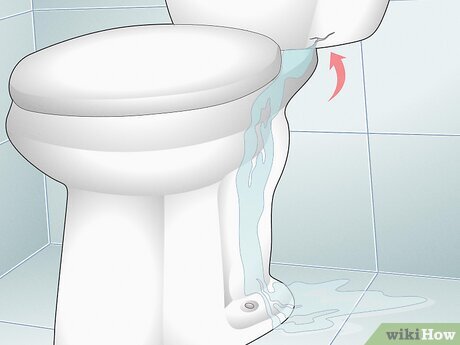
Solution: A water level that is too high will cause a silent, constant leak down the overflow tube.
Toilet has weak flush, not clearing bowl effectively.
Solution: Adding a flush valve overflow extension tube will increase the flushing power.
Frequently Asked Questions
Is this project genuinely suitable for beginners, and can I realistically complete it within the estimated 2 hours?
Yes, this project is rated as beginner-friendly, primarily involving basic hand tools and simple component replacement. Most common issues, like a low water level or a faulty flapper, can often be resolved within 30-60 minutes. Replacing a fill valve might take slightly longer, but the 2-hour estimate provides ample time for troubleshooting and completion.
What crucial safety precautions should I take before starting any work inside my toilet tank?
Always turn off the water supply to the toilet using the shut-off valve located at the wall behind or beneath the toilet. After turning off the water, flush the toilet to empty the tank and bowl as much as possible, which prevents spills and allows you to work in a dry environment. Consider laying down towels around the base to catch any residual drips.
How can I determine if the problem lies with my toilet's flapper or the fill valve?
If your toilet is constantly running or 'ghost flushing' (refilling itself without being flushed), the flapper is usually the issue, as it's not sealing correctly. If the toilet flushes but takes an excessively long time to refill, or doesn't refill at all, the fill valve is more likely the problem. A simple dye test (adding food coloring to the tank) can confirm a leaking flapper if color appears in the bowl without flushing.
How do I ensure I purchase the correct replacement flapper or fill valve for my specific toilet model?
Before purchasing, open your toilet tank and measure your existing flapper; they are commonly 2-inch or 3-inch, like the TOTO 3 in. model mentioned. For the fill valve, most are universal, but checking your toilet's brand and model number (often inside the tank or on the underside of the tank lid) can help ensure compatibility and a perfect fit for optimal performance.
What should I do if I've replaced the flapper and adjusted the water level, but my toilet still won't flush correctly?
If these initial steps don't resolve the issue, the next most likely culprit is a faulty fill valve, which controls water entry into the tank. Also, check if the flush handle mechanism is broken or if the chain connected to the flapper is too loose or too tight, preventing proper operation. Ensure the overflow tube isn't obstructed, as this can also impede flushing.
What is the approximate cost for the materials needed for this repair, such as a new flapper or fill valve?
The materials for this project are relatively inexpensive. A replacement flapper like the TOTO 3 in. THU500S typically costs between $10-$20, and a new fill valve such as the Korky QuietFill 528 usually ranges from $15-$25. So, you can expect to spend around $25-$45 for parts, depending on your specific needs and chosen brands.
Are there any other tools I might need besides the Husky Pocket Screwdriver, or any good alternatives for that specific tool?
While the Husky Pocket Screwdriver is versatile for adjusting screws, a pair of adjustable pliers can be very helpful for tightening nuts on the fill valve or making fine adjustments to the flapper chain. A sponge and small bucket are also useful for cleaning the tank and removing any residual water before starting work. For basic tasks, these few items are usually sufficient.