

Stair Treads
About This Project
Ready to transform your staircase from the ground up? Installing new solid wood treads is a rewarding, high-impact DIY project that creates a beautiful, durable foundation for your home. This guide will walk you through the entire process, from precise measurements to a flawless finish, empowering you to create a staircase you can be proud of. Once complete, you'll have the perfect canvas to add the finishing touch of safety and style with our non-slip carpet treads.
Tools & Materials
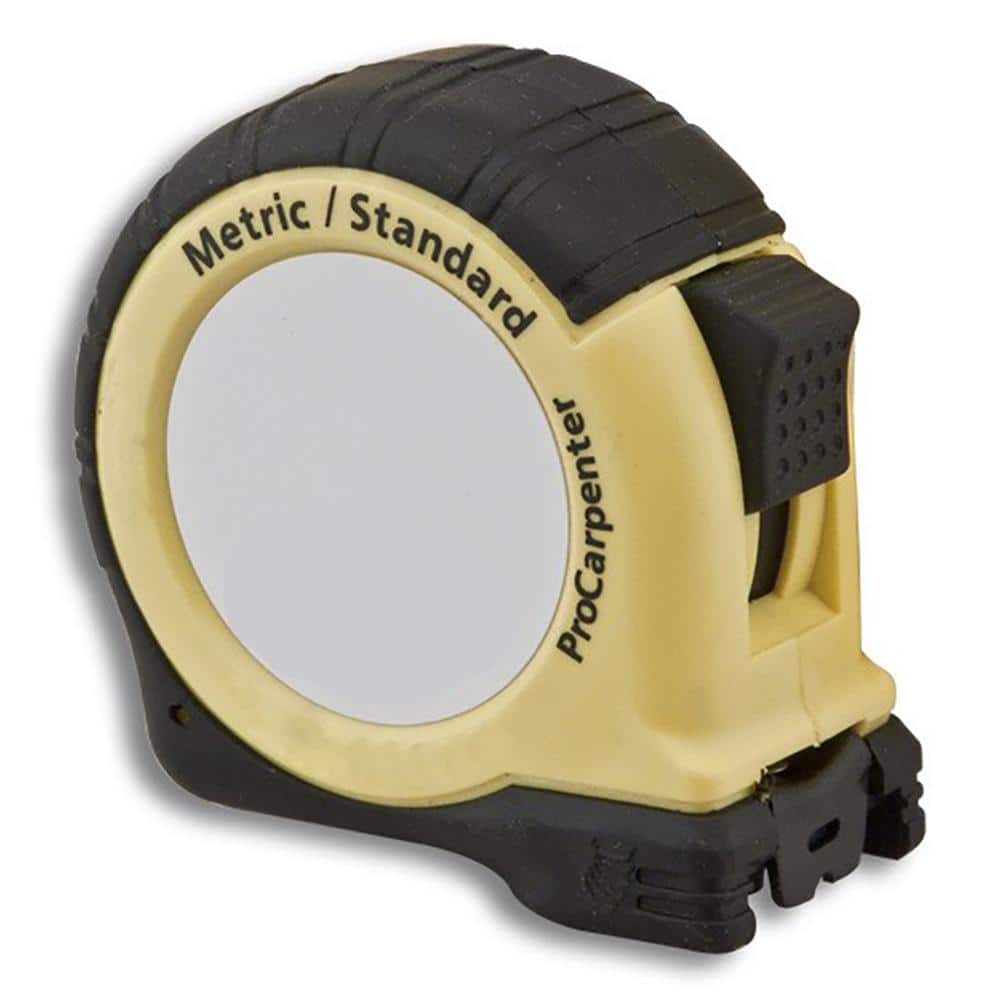
FASTCAP 16 ft. Metric/Standard Measure Tape FC.PMS.16

Kapro Sharpener and 3 Pencil Set 275S
maocao hoom 35 in. W Retangular White Wood Writing Desk Computer Desk MZHACME-92604
Amerimax Home Products 6 in. White Aluminum K-Style Inside Gutter Miter 47001
Clamps

Oak Valley Tailored Square
FASTCAP 16 ft. Metric/Standard Measure Tape FC.PMS.16
The Fastcap ProCarpenter Tape Measures are developed with 7 innovative features that are helpful in building fine furniture or cabinets. Exclusively available on the Metric/Standard 16 ft. tape measures
Kapro Sharpener and 3 Pencil Set 275S
The Kapro 275S Carpenter Set includes 3 quality carpenter pencils and 1 carpenter sharpener. A reliable staple for carpentry work, this pencil sharpener has a built-in emery board for fine sharpening and a durable plastic body. These construction pencils resist crumbling while sharpening. The carpenter sharpener fits most carpenter pencils and can be used in carpentry and construction projects. At Kapro, we reimagine precision tools and accessories for professional craftsmen to weekend warriors while setting high standards by driving innovation in our designs.
maocao hoom 35 in. W Retangular White Wood Writing Desk Computer Desk MZHACME-92604
This stylish, minimalist desk is perfect for work, study or home work. It can be used as a computer desk, writing desk or study desk. 35 in.L long desktop provide ample storage space. Made from quality
Amerimax Home Products 6 in. White Aluminum K-Style Inside Gutter Miter 47001
The Amerimax Home Products 6 in. Aluminum Inside Gutter Mitre features rust-free aluminum construction for durability and a baked-on white enamel finish for low maintenance. To install, snip the back of the gutter, overlap the pieces, and rivet them together. Sealant is required for installation (not included). This product attaches with screws or pop rivets (not included)
Clamps
Used to secure plywood pieces during drilling and assembly, maintaining alignment.
Oak Valley Tailored Square
Treads
Steps

Step 1: Measure for a Perfect Fit
15 minutesGrab your measuring tape. For each step, you'll need two key measurements: the depth (from the front edge, or 'nosing,' to the riser at the back) and the width (from side to side). Write down the measurements for every single step—small variations are common in homes! Be sure to note any existing trim or molding that could affect how the new tread sits.
Watch: Measure Treads and Mark Laminate
Step 2: Cut Your New Treads
30 minutesUsing your notes, transfer the dimensions for each step onto your new wood planks. A circular saw or miter saw will give you the best results. Take your time and focus on making your cuts straight and square. This attention to detail is key for achieving that professional, gap-free look.
Watch: Measure and Cut Treads
Step 3: Dry-Fit Each Tread
20 minutesPosition each cut wood tread onto its corresponding stair base. Look closely for any gaps or rocking; the goal is a tread that sits perfectly flush and level. Don't worry if minor adjustments are needed—that's what this step is for! A hand plane or sander can help you shave down edges for that perfect, custom-made fit.
Watch: Test Fit and Adjust Treads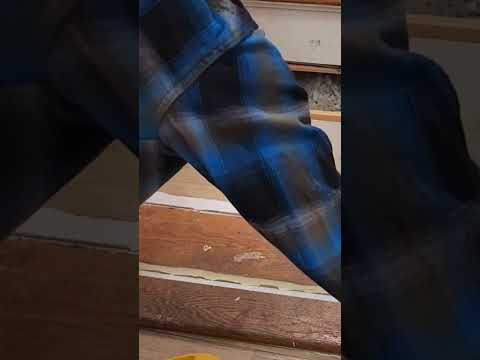
Step 4: Apply Wood Glue
10 minutesOnce you're happy with the fit, remove the tread. Apply a generous, even layer of high-quality wood glue to the surface of the existing stair structure or the back of the new wood tread. Be sure to cover the entire surface that will make contact to create a solid, quiet staircase.
Watch: Apply Wood Glue
Step 5: Secure the Treads
25 minutesCarefully place the glued tread back onto the stair. To prevent splitting the wood, always drill pilot holes first. You can drill up from underneath the staircase for a hidden finish, or from the top down if the screw heads will be covered later. Drive wood screws into the pilot holes to pull the tread down tight. For a clean look, countersink the screw heads so they sit just below the wood surface.
Watch: Secure New Treads with Screws
Step 6: Clean Up Squeeze-Out
5 minutesAs you tighten the screws, a little glue will likely 'squeeze out' from the edges. This is normal! Use a damp cloth to wipe it away immediately. Cleaning it up now is much easier than trying to scrape off hardened glue later and is essential for a flawless look.
Watch: Clean Up Excess Glue
Step 7: Let it Cure
12 minutesThis step is all about waiting. Check the manufacturer's instructions on your wood glue for the recommended curing time, which is often between several hours and a full 24 hours. For the strongest possible bond, avoid walking on or placing any weight on the new treads during this critical period.
Watch: Cure and Remove Tape
Step 8: Fill for a Flawless Finish (Optional)
15 minutesFor any screw holes on the tread surface, choose a wood filler that closely matches your wood tone. Use a putty knife to press the filler firmly into the hole, then smooth it so it's flush with the tread. Let the filler dry completely as directed by the product instructions.
Watch: Fill and Sand Wood Surfaces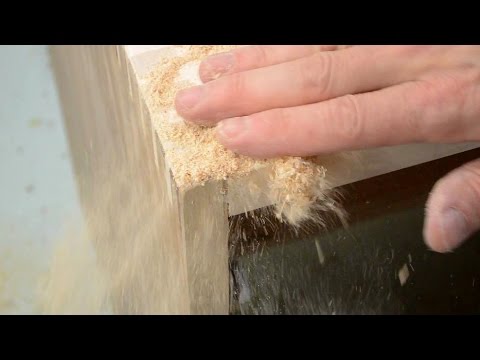
Step 9: Sand for a Smooth Surface
45 minutesOnce all glue and filler are fully cured, it's time to sand. Begin with a medium-grit sandpaper (around 100-120 grit) to smooth out any imperfections. Then, switch to a fine-grit paper (180-220 grit) for a silky-smooth surface ready for finishing. Always sand in the direction of the wood grain to avoid scratches.
Watch: Sand the Filled Joint Smooth
Step 10: Apply Your Protective Finish
60 minutesFirst, wipe away every speck of sanding dust with a clean cloth. Now, apply your chosen finish—whether it's a rich stain, a durable polyurethane sealant, or paint. Follow the manufacturer's directions closely, applying several thin, even coats. Be sure to allow proper drying time between each coat for the most durable and beautiful result. Your hard work has paid off!
Watch: Apply Protective Finish