Shower Cartridge Replacement: A Step-by-Step DIY Guide
About This Project
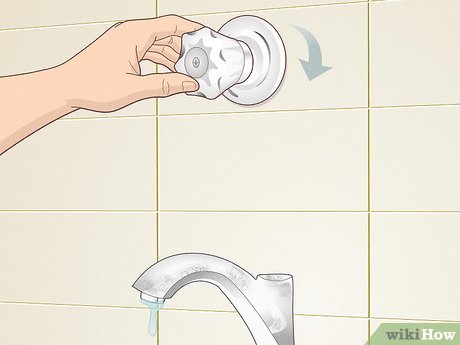
1. **Shut Off the Water Supply:** Turn off the water supply to the shower by locating the shut-off valves and turning them clockwise until they stop. 2. **Remove the Valve Trim:** Remove the decorative cover surrounding the cartridge by unscrewing screws or releasing clips. If stuck, use a utility knife to break the caulking seal. 3. **Remove the Shower Handle:** Remove the shower handle by removing the screw or setscrew, often with an Allen wrench, and gently pulling the handle away. 4. **Extract the Old Cartridge:** Remove the old cartridge using a cartridge puller tool or pliers. Be careful not to damage the valve body. 5. **Install the New Shower Cartridge:** Insert the new cartridge into the valve body, ensuring proper alignment and a firm push until fully inserted. Apply plumber's grease to the O-rings. 6. **Reassemble the Shower Faucet:** Reassemble all components in reverse order of disassembly, tightening securely. Apply silicone caulk around the valve body for a watertight seal. 7. **Test for Leaks and Functionality:** Turn the water supply back on slowly and check for leaks. Test the shower for hot and cold water functionality and desired temperature.
Best for experienced DIYers and homeowners with some experience.
Tools & Materials
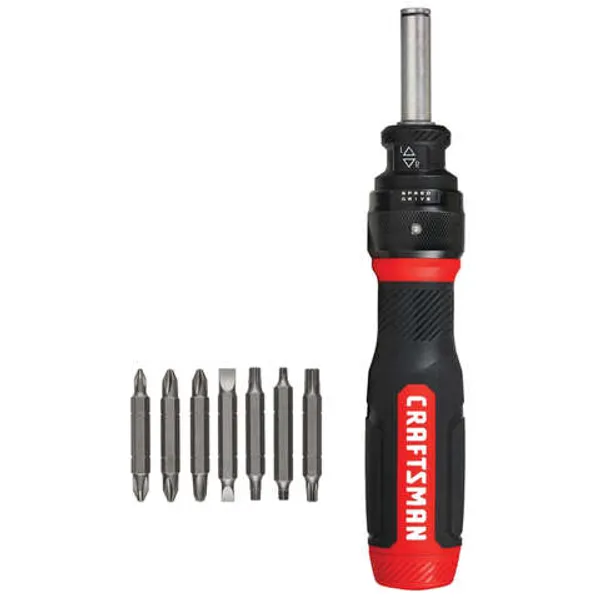
Screwdriver
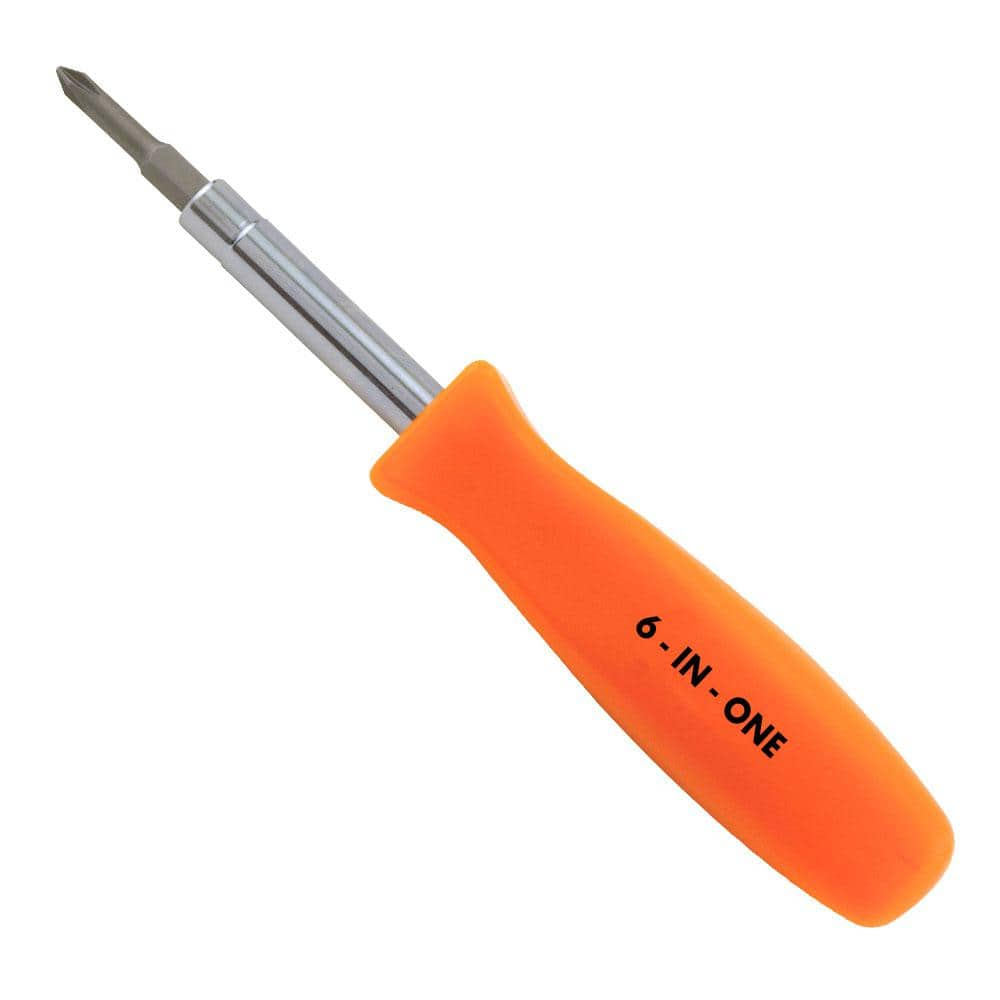
HDX 3-1/4 in. 6-in-1 Screwdriver 120SD12D
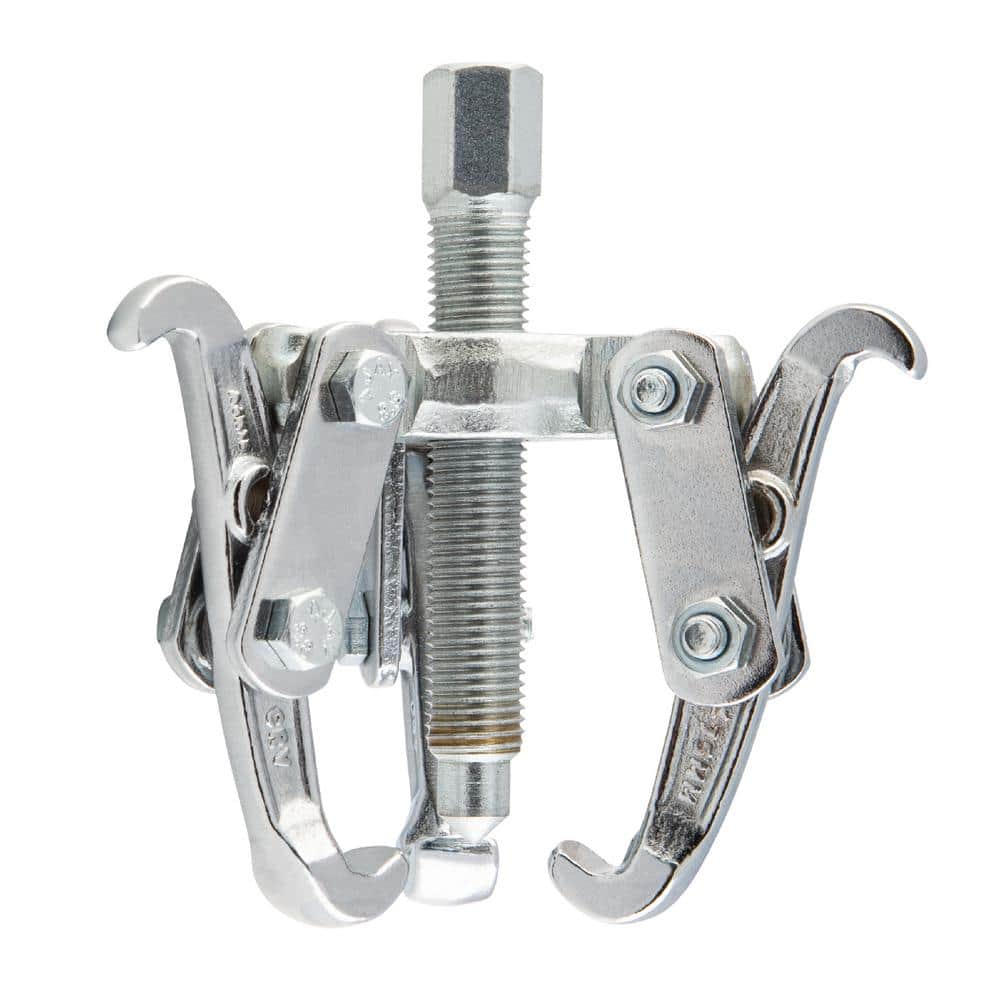
Arcan Hardened 3 in. Gear Puller AS3GP
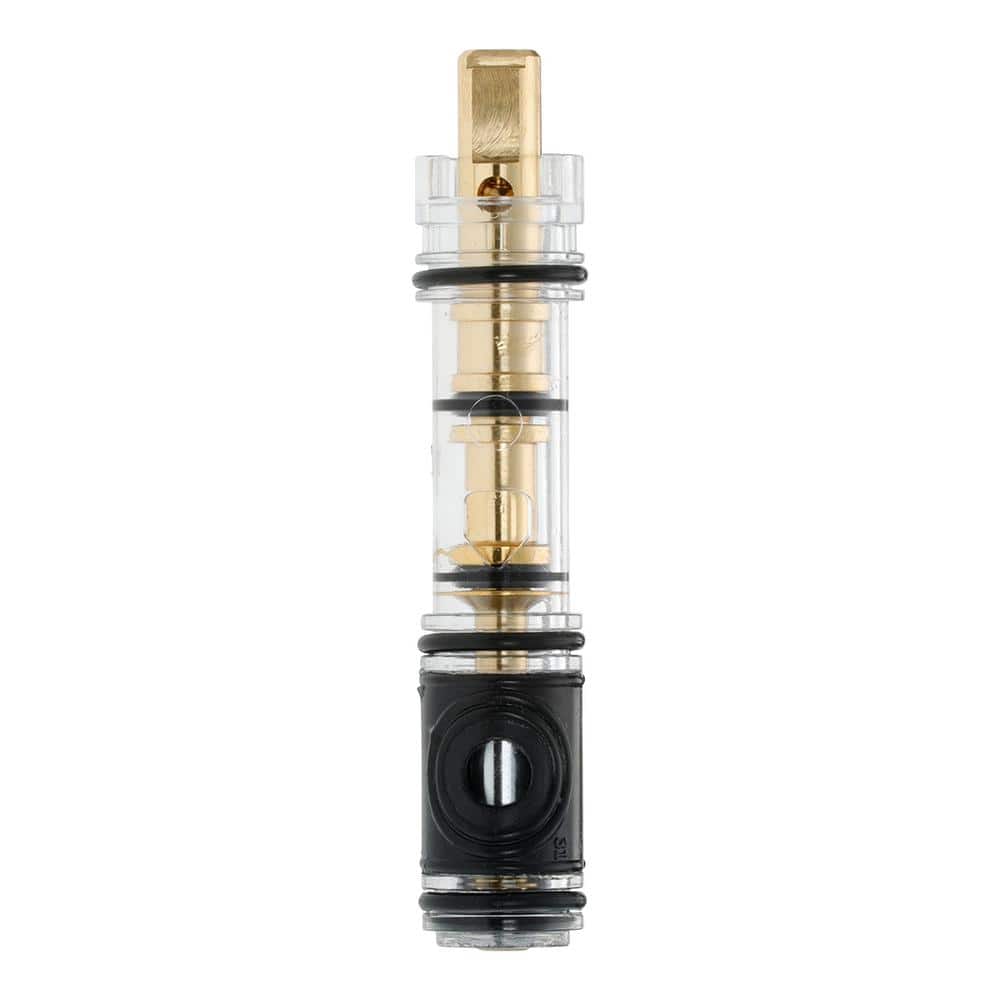
Everbilt Plastic Shower Cartridge for Moen Replaces 1225 11360
Screwdriver
A tool used to turn screws.
HDX 3-1/4 in. 6-in-1 Screwdriver 120SD12D
The HDX 3-1/4 in. 6-in-1 Screwdriver features double-sided bits with the four most common screwdriver tip styles, including a #1 Phillips bit, a #2 Phillips bit, a 3/16 in. flathead bit and a 1/4 in. flathead bit. Both ends of the shaft can be used as 1/4 in. nut drivers when the bits are removed, offering convenient, versatile use. The high-visibility orange handle makes the handy tool easy to find on a job site or in a toolbox.
Arcan Hardened 3 in. Gear Puller AS3GP
The Arcan AS3GP Hardened 3 in. Gear Puller has reversible jaws with 8-adjustable positions that allow for inside and outside grip. Made from heat treated chrome vanadium steel, these gear pullers have
Everbilt Plastic Shower Cartridge for Moen Replaces 1225 11360
Complete kit makes it easy to replace. Makes your current faucet work like new. No need to replace the entire faucet.
Steps


Install the New Shower Cartridge
10 minsInstall the new cartridge. Ensure it's properly aligned and seated in the valve body. Push it firmly until fully inserted. Applying a small amount of plumber's grease to the O-rings will help prevent leaks and ensure a smooth installation.
Watch: Install the Cartridge
Reassemble the Shower Faucet
15 minsReassemble all components (trim, handle, etc.) in the reverse order of disassembly. Ensure everything is tightened securely. Applying a bead of silicone caulk around the valve body before reinstalling the trim will help create a watertight seal and prevent future leaks.
Watch: Reassemble and Seal the Shower Fixture
Common Problems
Stuck chrome sleeve and faceplate can't be removed.
Solution: The chrome sleeve and faceplate may be held on by old caulk. A utility knife or putty knife can be used to carefully break the seal if they are stuck.
Overtightening screws can strip threads or crack the faucet housing.
Solution: Don't overtighten the screws, as this could damage the faucet.
Do not over-tighten the aerator, as this can damage the threads or the gasket. Hand-tight is usually sufficient.
Solution: To avoid this issue: Be mindful of this warning and take appropriate precautions.
Failure to properly tighten the packing nuts with a wrench will result in a leak from around the handle stem.
Solution: To avoid this issue: Be mindful of this warning and take appropriate precautions.
Ensure both hot and cold valves are fully closed. If they don't shut off completely, you may need to shut off the main water supply to the house.
Solution: To avoid this issue: Be mindful of this warning and take appropriate precautions.
Double-check that the water is completely off by briefly turning on the shower controls.
Solution: To avoid this issue: Be mindful of this warning and take appropriate precautions.
Forgetting this step may result in getting soaked.
Solution: To avoid this issue: Be mindful of this warning and take appropriate precautions.
Frequently Asked Questions
What if my old shower cartridge is really stuck and won't come out, even with pliers?
A cartridge puller tool specifically designed for your faucet brand (e.g., Moen, Delta) is highly recommended for stubborn cartridges. Using the correct tool prevents damage to the valve body, which is a much more complex repair. Applying penetrating oil and letting it sit for a bit can also help loosen corrosion.
Why is shutting off the water supply so crucial, and what happens if I forget?
Shutting off the water supply, either at the main or the specific shower valve, is the most critical safety step to prevent flooding. Forgetting this will result in a high-pressure stream of water when you remove the cartridge, potentially causing significant water damage and a very messy situation. Always double-check by briefly turning on another faucet after shutting off the main supply.
Is the estimated 2-hour time frame realistic for someone with no DIY experience?
The 2-hour estimate is achievable for someone with basic DIY skills and the right tools readily available. For a complete beginner, it's wise to budget 3-4 hours, especially if you encounter stubborn parts, need to read instructions carefully, or have to make a trip to the store for a specific tool. Take your time to avoid mistakes.
Do I need a special 'cartridge puller' tool, or can I just use regular pliers for extraction?
While some cartridges might come out with regular pliers, many, especially older or corroded ones, require a specialized cartridge puller tool. This tool grips the cartridge more effectively and minimizes the risk of breaking internal plastic components or damaging the valve body, which would lead to a much more expensive repair. It's a worthwhile investment if your cartridge is stuck.
After installing the new cartridge, my hot and cold water are reversed. What did I do wrong?
This common issue typically means the new cartridge was inserted incorrectly. Many cartridges have a specific orientation for hot and cold, sometimes indicated by small 'H' and 'C' markings or arrows. Carefully remove the handle and trim again, rotate the cartridge 180 degrees, and then reassemble and retest.
What should I do if my shower still drips after replacing the cartridge?
A persistent drip usually indicates that the new cartridge isn't fully seated or properly aligned within the valve body, or its O-rings are compromised. First, ensure the cartridge is pushed all the way in and aligned correctly. If the drip continues, re-examine the O-rings on the cartridge for any nicks, and confirm you applied plumber's grease to them before installation for a proper seal.
The project mentions using a utility knife to break a caulk seal. How do I do this safely without damaging the shower surround?
To safely break a caulk seal with a utility knife, hold the blade at a very shallow angle, almost parallel to the surface of the shower surround or trim. Apply light, consistent pressure to slice only through the caulk line, being careful not to gouge the wall or fixture. Always cut away from your body to prevent injury.