Turn the water supply back on slowly. Check thoroughly for leaks around all connections. Test the shower to ensure hot and cold water are working correctly and at the desired temperature.
Step 1
⏱ 2 min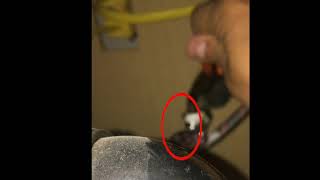
Shut Off the Water Supply
Completely shut off the water supply to your shower. Locate the shut-off valves—typically near the shower or on the main water line—and turn them clockwise until they stop. Double-check that the water is off before proceeding.
Step 2
⏱ 2 min
Remove the Shower Handle
Carefully remove the shower handle. This often involves removing a screw or setscrew (often using an Allen wrench) and then gently pulling the handle away from the valve stem. Take photos during disassembly for easier reassembly.
Step 3
⏱ 2 min
Remove the Valve Trim
Remove the valve trim or decorative cover surrounding the cartridge. This may involve unscrewing screws or carefully releasing clips. If the trim is stuck, a utility knife might help to break any caulking seal.
Step 4
⏱ 2 min
Extract the Old Cartridge
Remove the old cartridge. A cartridge puller tool is highly recommended for this step, but pliers may also be used carefully to grip and pull the cartridge straight out of the valve body. Be mindful not to damage the valve body.
Step 5
⏱ 2 min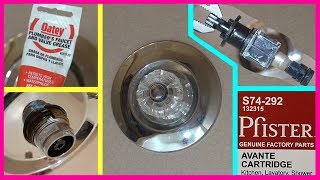
Install the New Shower Cartridge
Install the new cartridge. Ensure it's properly aligned and seated in the valve body. Push it firmly until fully inserted. Applying a small amount of plumber's grease to the O-rings will help prevent leaks and ensure a smooth installation.
Step 6
⏱ 2 min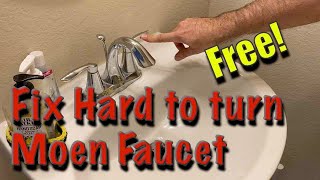
Reassemble the Shower Faucet
Reassemble all components (trim, handle, etc.) in the reverse order of disassembly. Ensure everything is tightened securely. Applying a bead of silicone caulk around the valve body before reinstalling the trim will help create a watertight seal and prevent future leaks.
Step 7
⏱ 2 minTest for Leaks and Functionality
Step 7 of 7
Test for Leaks and Functionality2 min