Replace Your Bathroom Faucet: Easy Guide
About This Project
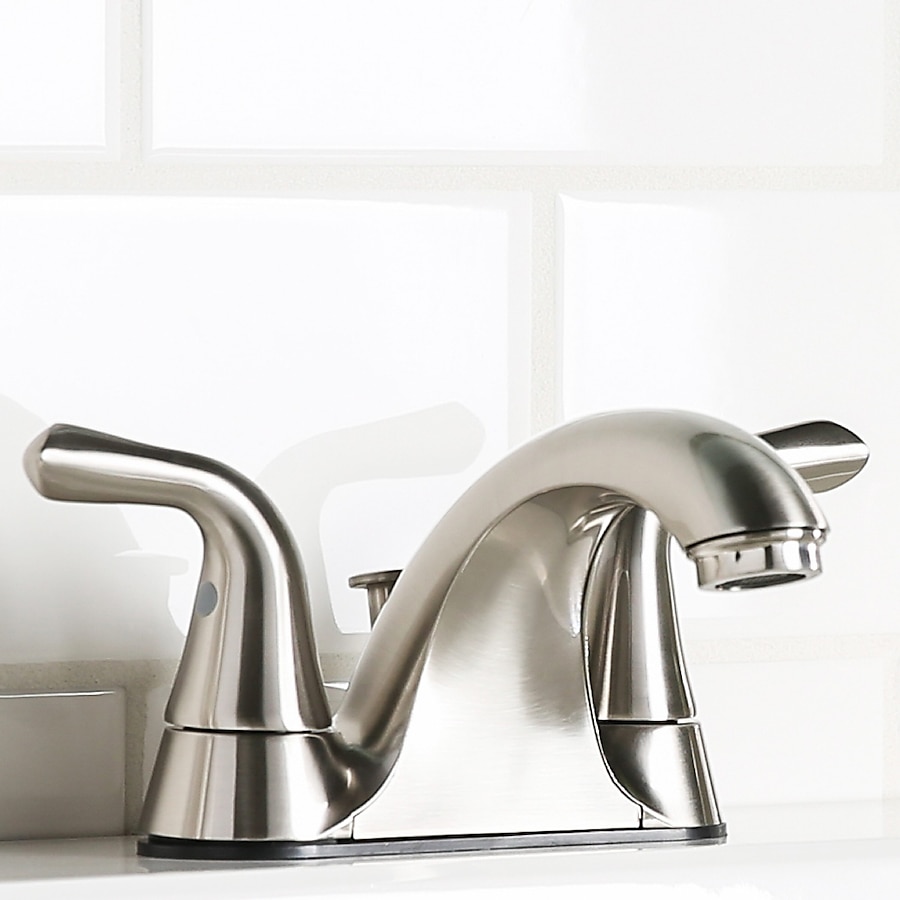
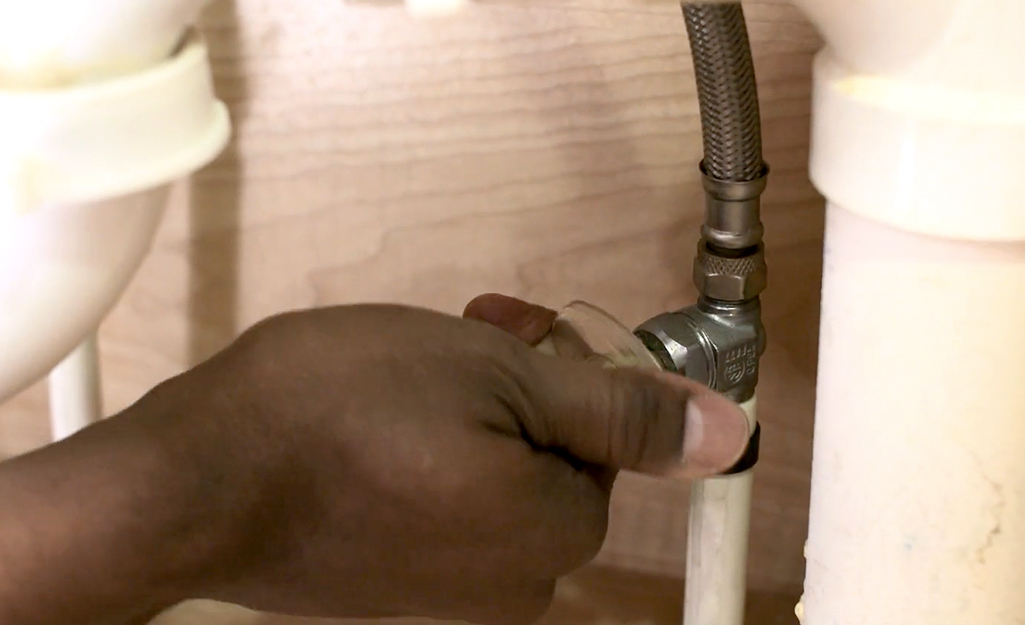
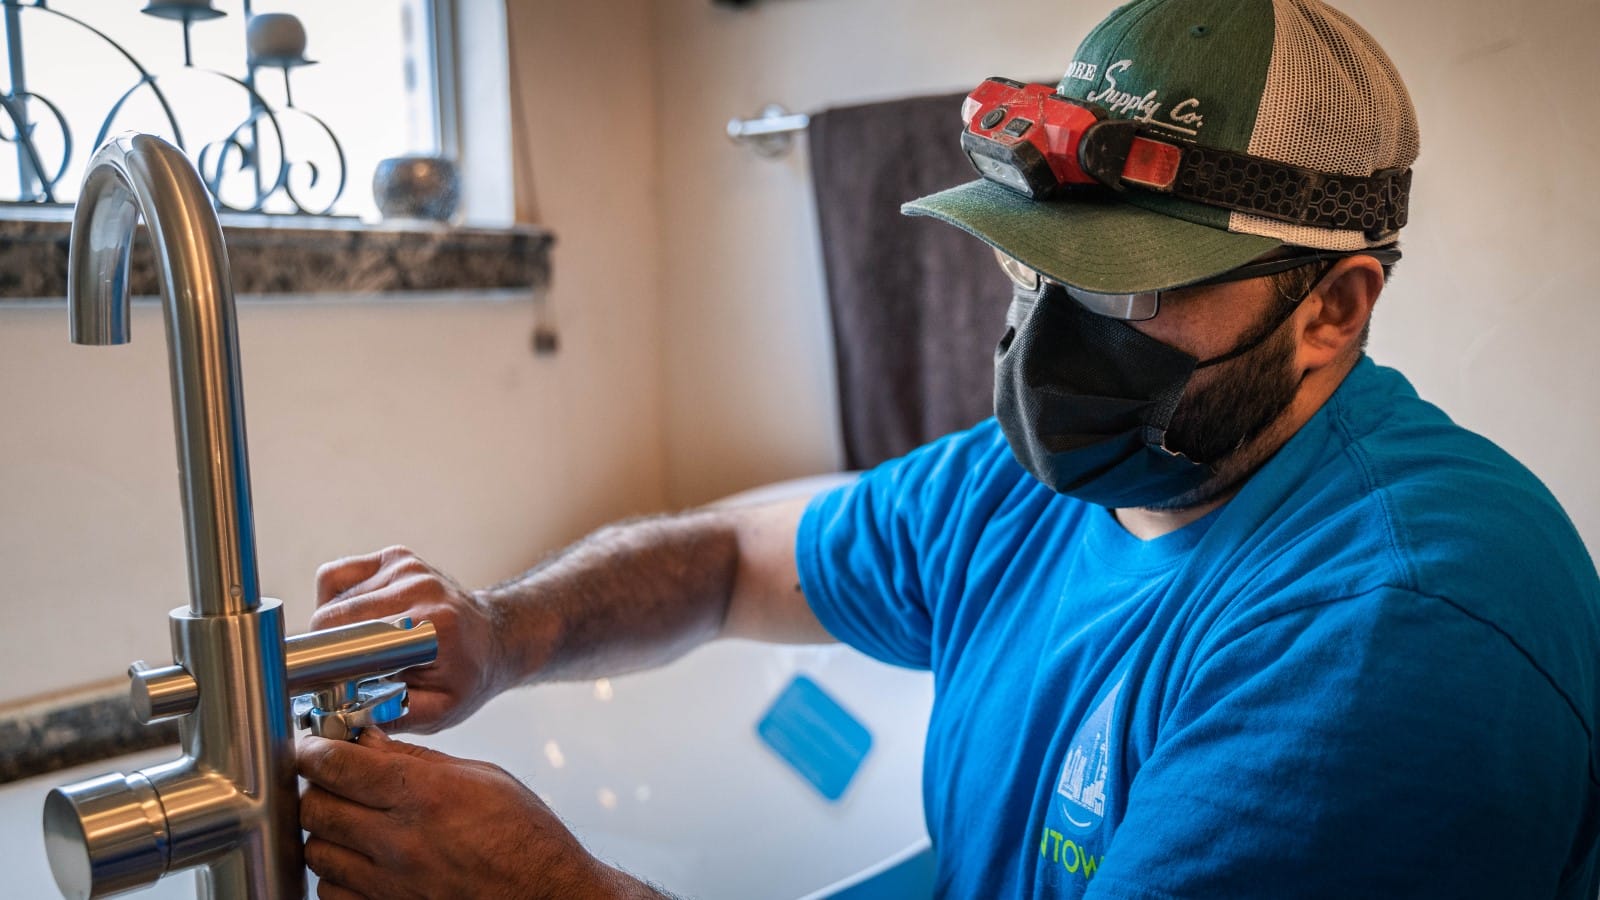
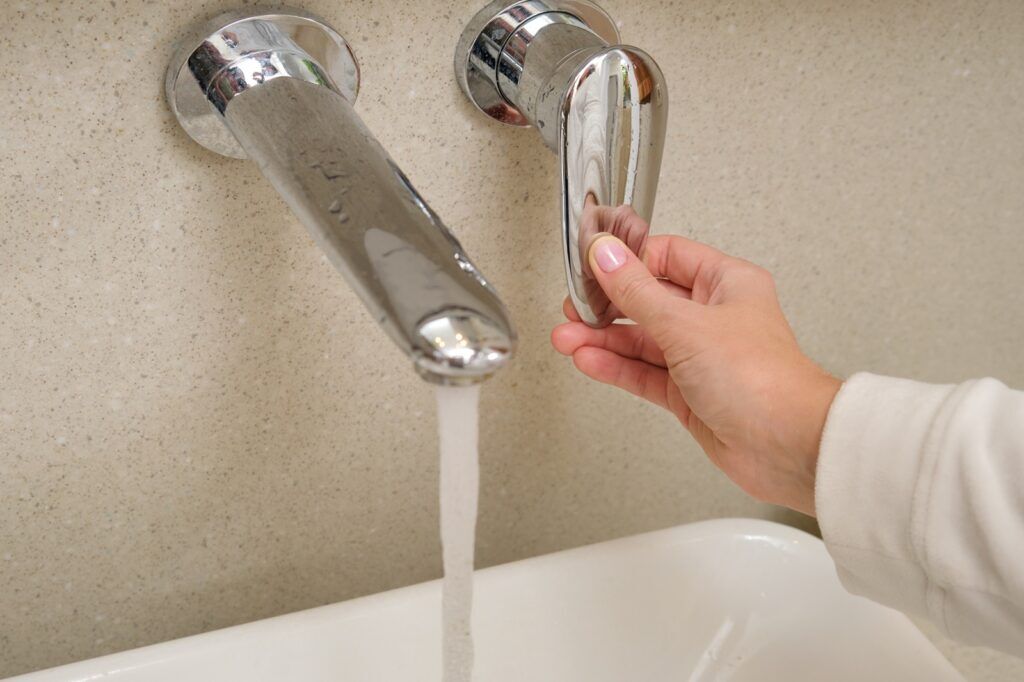
This guide demonstrates how to replace a bathroom faucet. Begin by turning off the water supply using the shut-off valves under the sink and relieving any remaining water pressure. Disconnect the old faucet's supply lines with an adjustable wrench, catching any dripping water. Remove the faucet's mounting nuts, likely requiring a basin wrench, to detach the faucet from the sink. Install the new faucet, following the manufacturer's instructions, which typically involve positioning the faucet base, connecting supply lines, and securing it with mounting hardware. Finally, turn the water supply back on and check all connections for leaks, running both hot and cold water to verify proper function.
Best for experienced DIYers and homeowners with some experience.
Tools & Materials
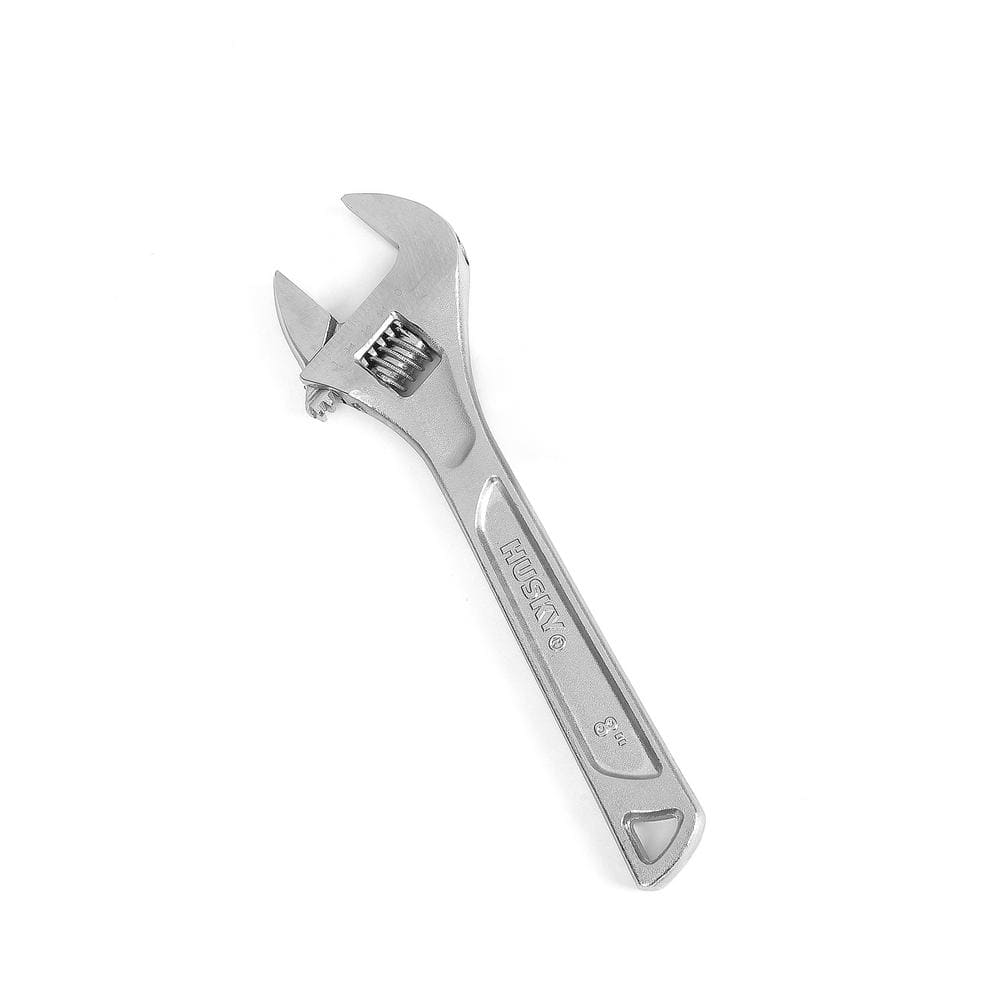
Husky 8 in. Adjustable Wrench 90931

Unger 6 Gal. Heavy-Duty Plastic Bucket DB02
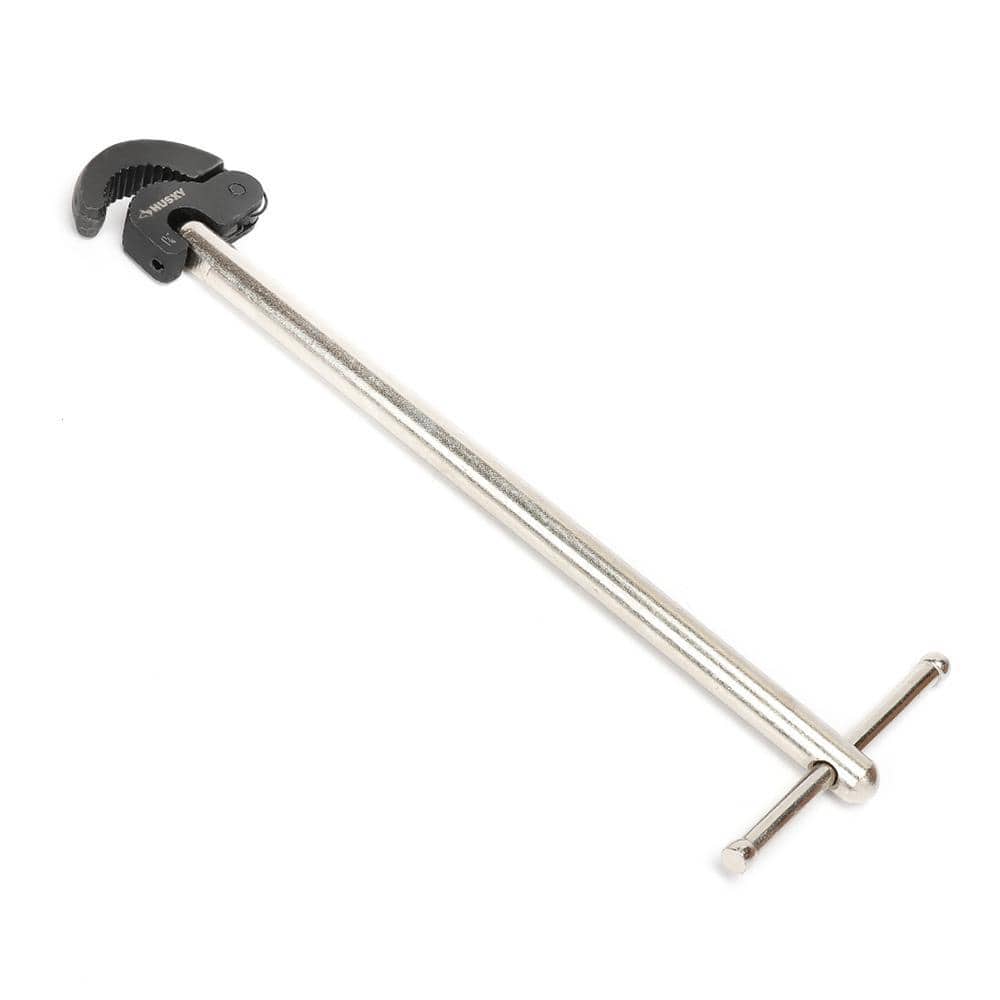
Husky Basin Wrench 16PL0127

Blaster 18 oz. PB Penetrating Oil 26-PB

Adjustable Wrench
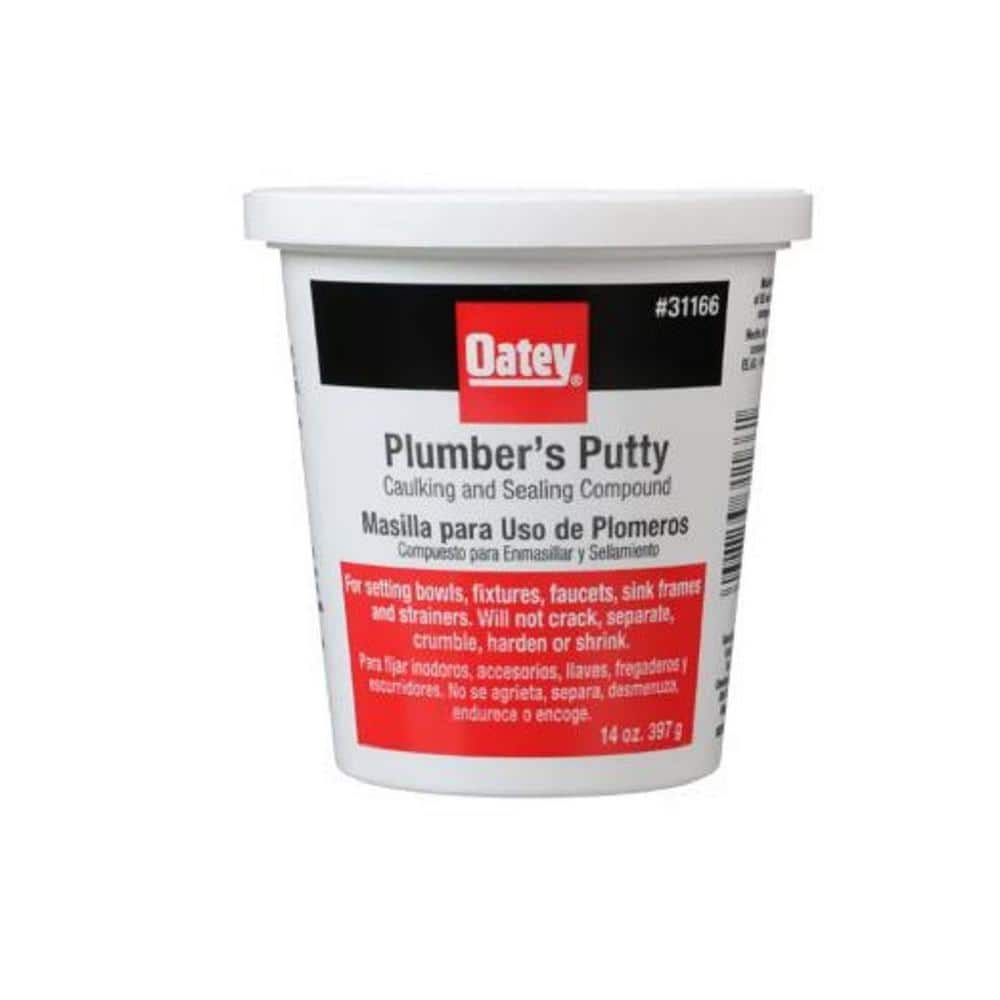
Oatey 14 oz. Plumber's Putty 311662
Husky 8 in. Adjustable Wrench 90931
The Husky 8 in. Adjustable Wrench features a durable, comfortable handle. A large knurl allows for easy adjustment and a tight-fitting hex jaw design reduces slippage and tightly grips the fastener for
Unger 6 Gal. Heavy-Duty Plastic Bucket DB02
The Unger 6-Gallon Heavy-Duty Professional Cleaning Bucket holds more than 6 Gal. of liquid. The bucket can accommodate a scrubber up to 14 in. L. This bucket features measurement marks and 2-pour spouts
Husky Basin Wrench 16PL0127
Husky's 11 in. Basin Wrench is made from heavy-duty steel and has a reversible head for accessing faucet nuts in tight spaces. The 180 pivoting head holds its position at any angle to access hard-to-reach
Blaster 18 oz. PB Penetrating Oil 26-PB
The #1-selling penetrant since 1957, PB Blaster quickly busts loose rusted or frozen parts caused by rust and corrosion. PB Blaster penetrant also contains a non-evaporating lubricant that protects against
Adjustable Wrench
Fits various nut and bolt sizes with its adjustable jaw.
Oatey 14 oz. Plumber's Putty 311662
The Oatey 14 oz. Plumber's Putty is an easy-to-mold setting compound designed for use with stainless-steel sealing applications such as frames, faucets and strainer baskets. Not for use on plastic, marble,
Steps

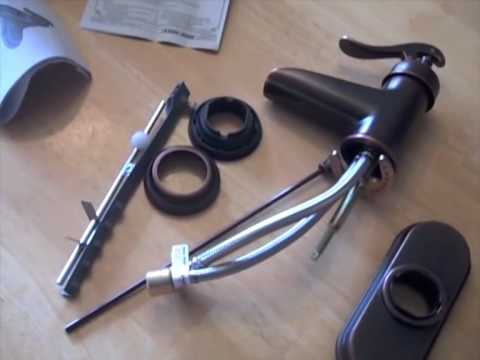
Disconnect the Old Faucet's Supply Lines
10 minsUsing an adjustable wrench, carefully disconnect the supply lines from the old faucet. Position a bucket or towels underneath to catch any remaining water. Loosen the connections slowly to avoid sudden water bursts.
Watch: Disconnect Old Faucet Supply Lines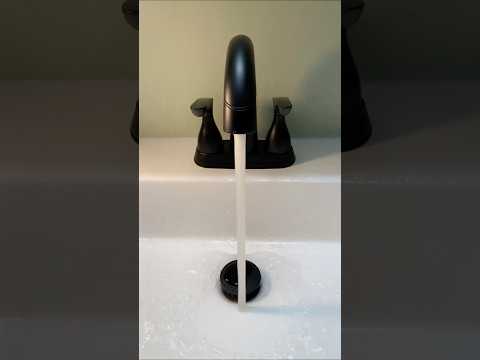


Common Problems
Faucet tubing twists and breaks without a backup wrench.
Solution: Using a backup wrench is crucial to prevent the faucet's copper tubing from twisting and breaking.
If the connection is stuck, treat it with an oil penetrant and wait 30 minutes and try again.
Solution: To avoid this issue: Be mindful of this warning and take appropriate precautions.
The pipe can twist and break when loosening or tightening the faucet nut.
Solution: Use another wrench to stabilize the pipe by placing it on the fixture on the other side of the nut.
Water spills onto the cabinet floor when removing the old faucet.
Solution: Place a towel under the sink to catch any residual water.
Wear eye protection as dust and debris are likely to fall while working in this area.
Solution: To avoid this issue: Be mindful of this warning and take appropriate precautions.
Faucet nuts are too tight to reach with a standard screwdriver.
Solution: A stubby screwdriver or a small ratchet with a screwdriver bit is ideal for this task.
Be careful not to over-tighten the nut, especially on a porcelain or ceramic sink, to avoid cracking it.
Solution: To avoid this issue: Be mindful of this warning and take appropriate precautions.
Frequently Asked Questions
The project states 'beginner' and '2 hours'. Is this realistic for someone with no plumbing experience?
Yes, replacing a bathroom faucet is generally beginner-friendly if you follow instructions carefully. The 2-hour estimate is for a smooth installation; seized nuts or tight spaces can extend this, so allocate a bit of extra time. Take your time and don't rush the steps.
Is a basin wrench truly necessary for this project, or can I just use my adjustable wrench?
A basin wrench is highly recommended, as it's designed to reach and grip the often-tight mounting nuts in the confined space under a sink. While an adjustable wrench might work for accessible nuts, the basin wrench significantly simplifies this often frustrating step, especially for older faucets.
What's the most common mistake beginners make that leads to leaks after installing a new faucet?
Not properly tightening the supply line connections is a common cause of leaks. Ensure they are hand-tight, then use a wrench for an additional quarter to half turn, being careful not to overtighten and strip the threads. Always use new supply lines, often included with your new faucet.
What should I do if the old faucet's mounting nuts are corroded or stuck and won't loosen?
First, apply a penetrating oil (like WD-40) to the nuts and let it sit for 15-30 minutes. If they still won't budge, you might need to carefully use a hacksaw or oscillating tool with a metal blade to cut through the nuts or bolts, but exercise extreme caution to avoid damaging the sink or surrounding plumbing.
My shut-off valves under the sink look old. What if they don't work or start leaking when I turn them off?
If the shut-off valves don't fully stop the water or start leaking, you'll need to turn off the main water supply to your entire house before proceeding. This is also a good opportunity to consider replacing those old, unreliable shut-off valves, which is a separate but often worthwhile task.
Do I need plumber's putty or silicone caulk when installing the new faucet base?
Many modern faucets come with a rubber gasket that seals the faucet base to the sink, making plumber's putty or caulk optional. If no gasket is provided, or if your sink surface is uneven, a thin bead of plumber's putty or silicone caulk (specifically designed for kitchen/bath) under the faucet base will create a watertight seal.