Replace a Bathroom Faucet: Easy Guide
About This Project
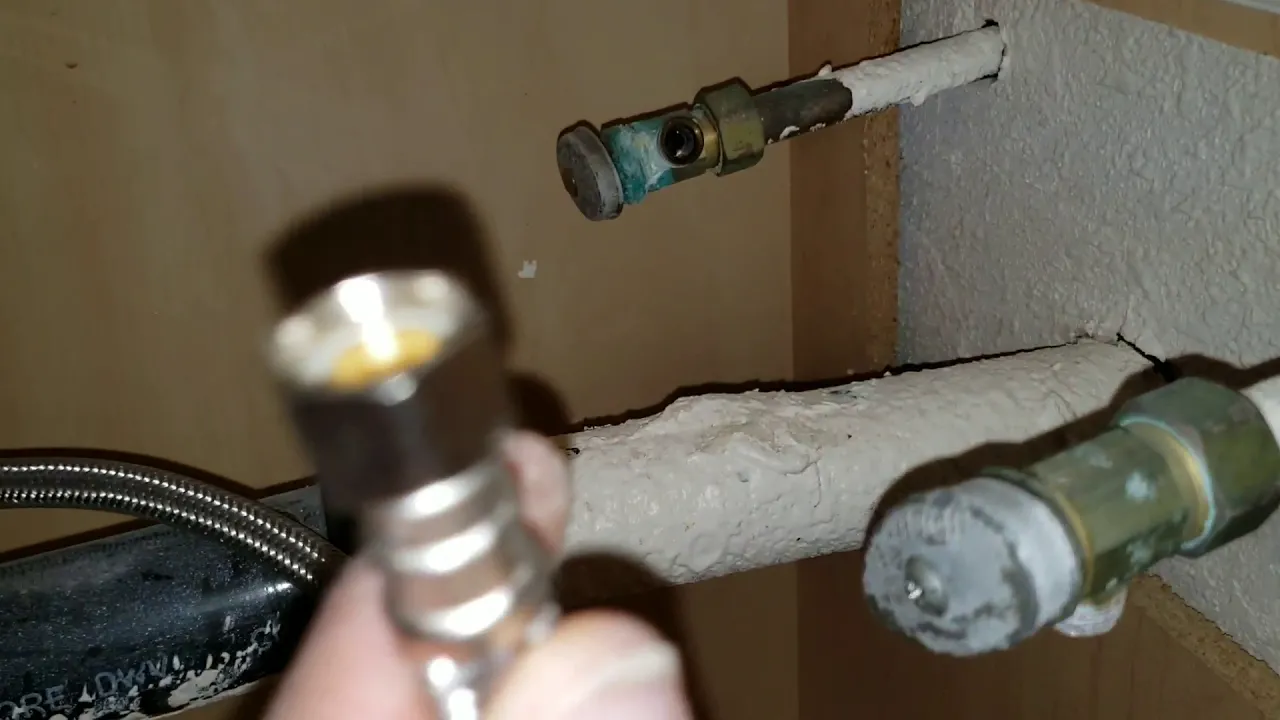
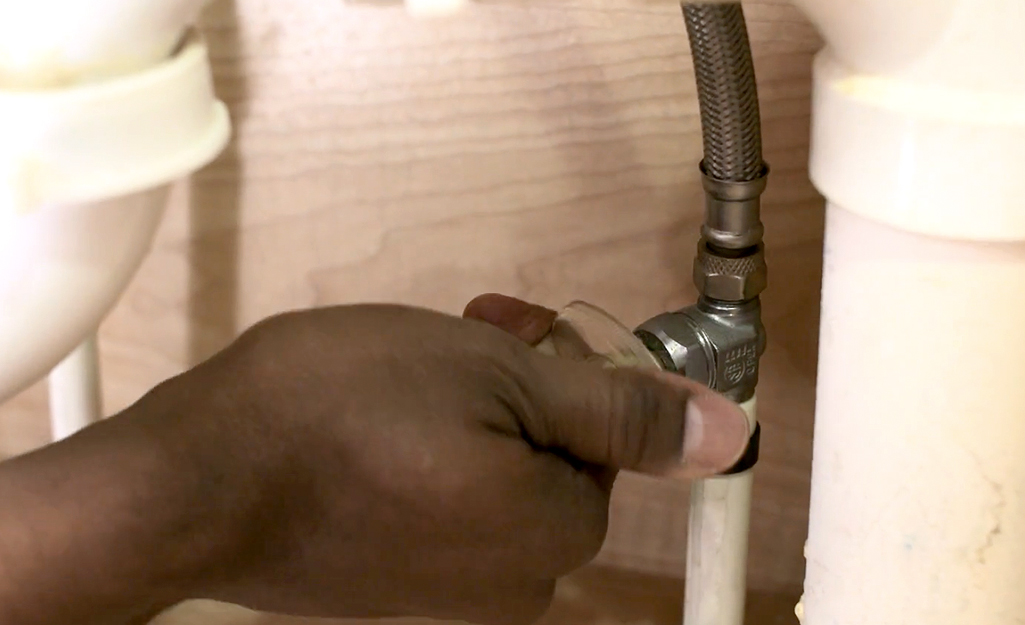
1. **Shut Off the Water Supply:** Turn off the water supply valves under the sink, and briefly turn on the faucet to release residual pressure. 2. **Disconnect the Water Supply Lines:** Use an adjustable wrench to disconnect the water supply lines from the old faucet, catching any water with a bucket. 3. **Remove the Old Faucet:** Loosen the mounting nuts under the sink with a wrench or pliers to remove the old faucet, then clean the sink surface. 4. **Install the New Faucet, Drain, and P-trap:** Follow the manufacturer's instructions to install the new faucet, connect the water supply lines, install the drain assembly with gaskets, and install the P-trap. 5. **Check for Leaks and Test Functionality:** Turn the water supply back on slowly, checking all connections for leaks. Run hot and cold water to test the new faucet.
Best for experienced DIYers and homeowners with some experience.
Tools & Materials
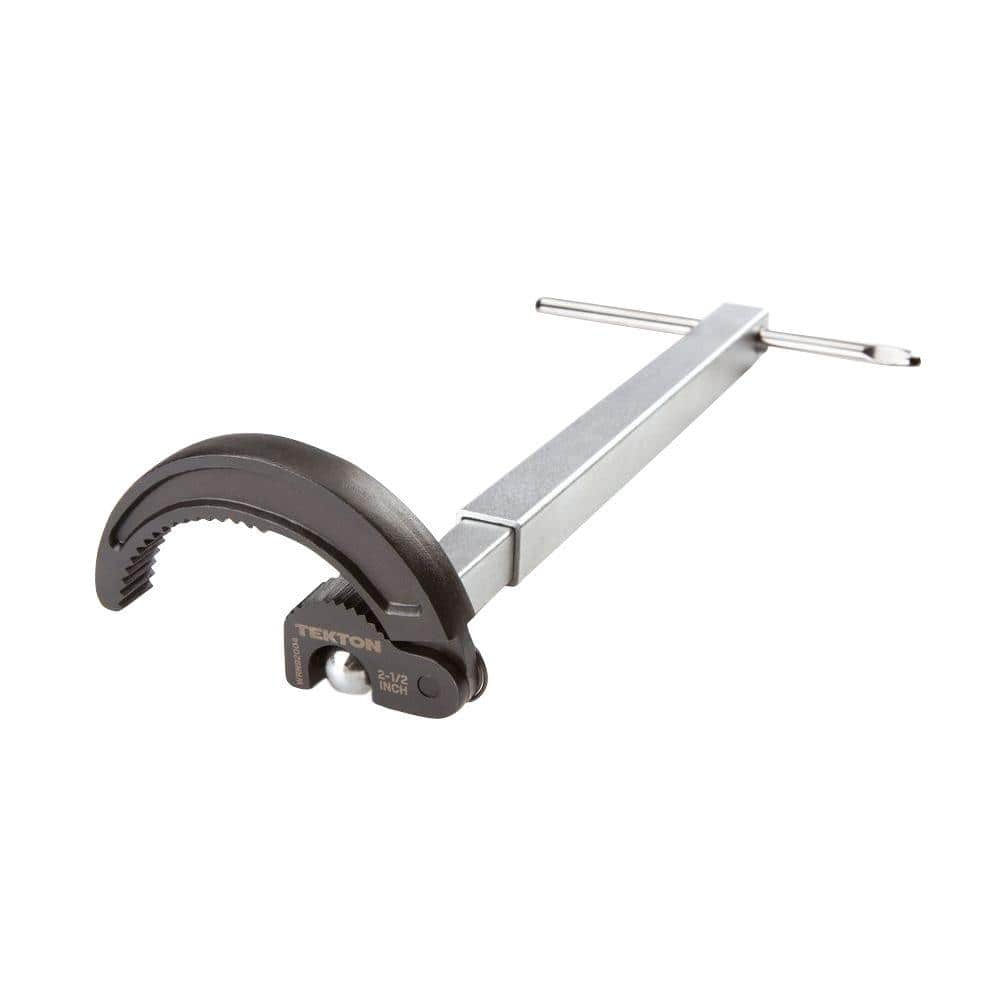
TEKTON 10 in. to 17 in. Telescoping 7/8 - 2-1/2 in. Basin Wrench WRN92004

Adjustable Wrench

Unger 6 Gal. Heavy-Duty Plastic Bucket DB02
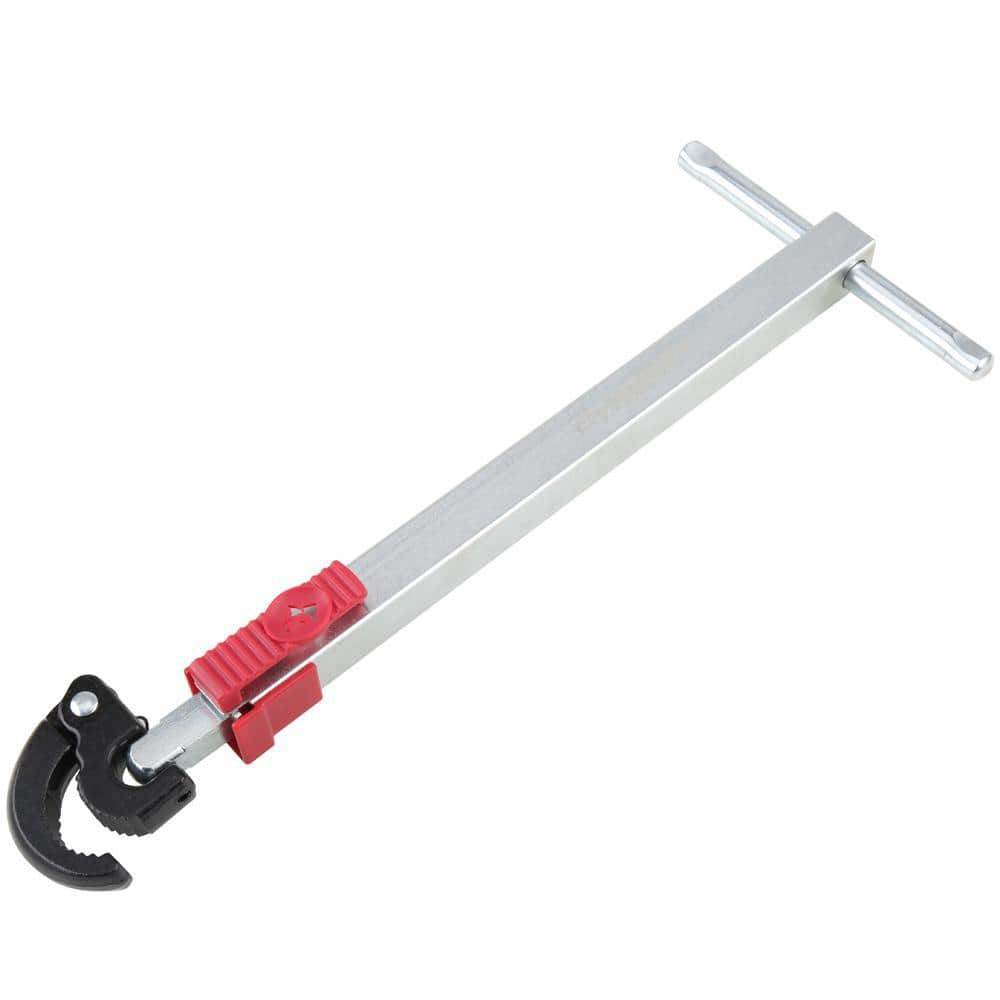
Husky 1-1/2 in. Quick-Release Telescoping Basin Wrench 80-546-111
Anvil Plastic Putty Knife Set 18PT0826
Blaster 4 oz. PB Penetrating Oil PB-TS-B
TEKTON 10 in. to 17 in. Telescoping 7/8 - 2-1/2 in. Basin Wrench WRN92004
Uniquely designed for easy, one-handed operation in confined areas, the TEKTON Telescoping Basin Wrench takes the frustration out of under-sink work. Ideal for larger nuts and retaining collars on faucets,
Adjustable Wrench
Fits various nut and bolt sizes with its adjustable jaw.
Unger 6 Gal. Heavy-Duty Plastic Bucket DB02
The Unger 6-Gallon Heavy-Duty Professional Cleaning Bucket holds more than 6 Gal. of liquid. The bucket can accommodate a scrubber up to 14 in. L. This bucket features measurement marks and 2-pour spouts
Husky 1-1/2 in. Quick-Release Telescoping Basin Wrench 80-546-111
Husky's Quick Release Telescoping Plumbing Basin Wrench is ideal for tightening and removing faucet and fill valve nuts. It features a versatile, multi-position telescoping range of 12-1/2 in. up to 19
Anvil Plastic Putty Knife Set 18PT0826
The Anvil plastic putty knife set includes 1.5 in., 3 in., and 6 in. plastic putty knives. Use these putty knives to spread joint compound, spackle, or adhesive to repair cracks, holes, and scratches prior to painting. The multi-purpose set allows you to complete all of your jobs and dispose of the tools when done.
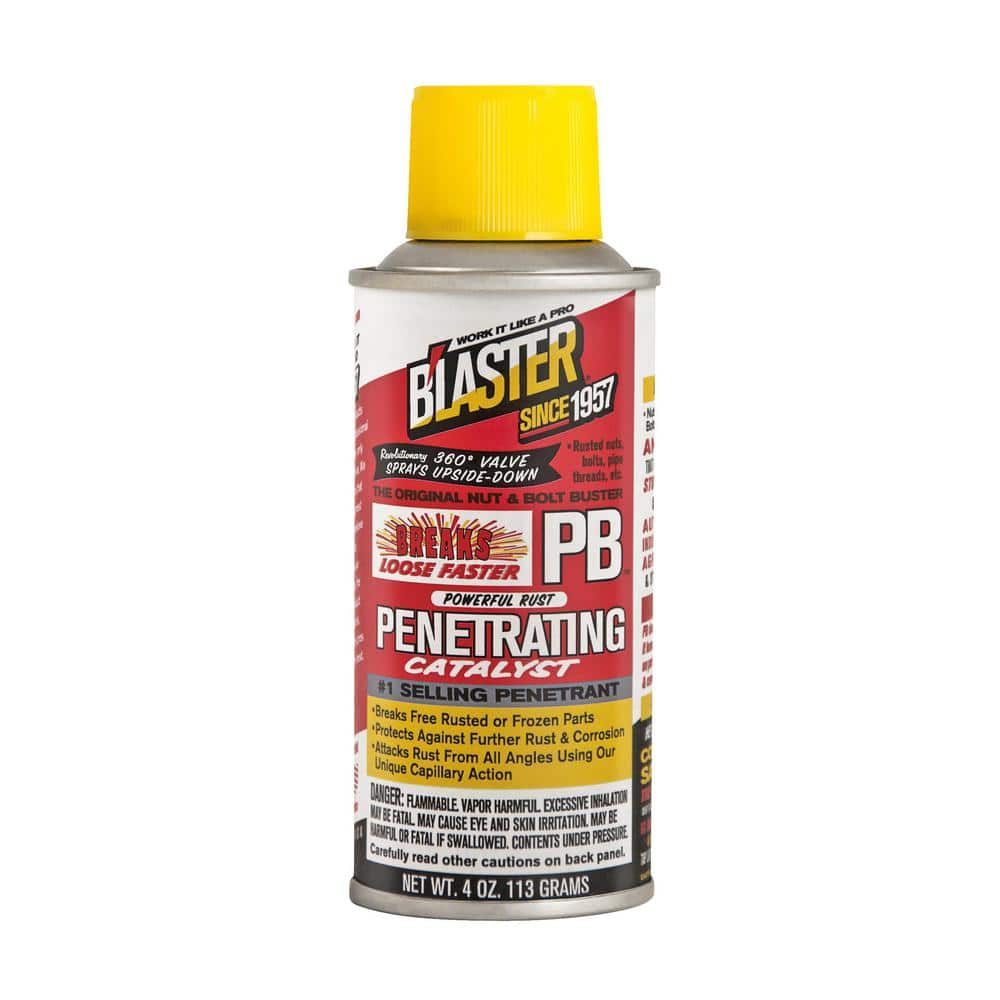
Blaster 4 oz. PB Penetrating Oil PB-TS-B
PB Blaster is the #1-selling penetrant since 1957. The same legacy formula that quickly loosens rusted or frozen parts. PB Blaster penetrant also contains a non-evaporating lubricant that protects against
Steps

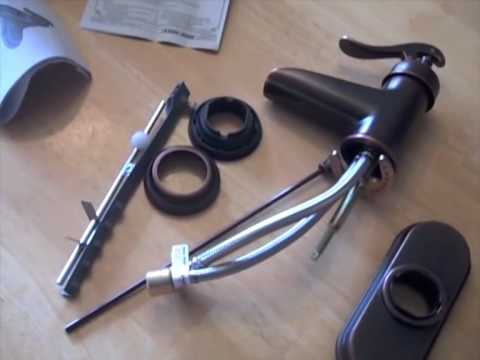


Install the New Faucet, Drain, and P-trap
30 minsFollowing the manufacturer’s instructions, install the new faucet. This typically involves applying plumber's putty to the faucet base, inserting it into the sink holes, and tightening the mounting nuts from below. Connect the water supply lines, install the new drain assembly (ensuring proper gasket placement), and finally install the P-trap, tightening slip nuts by hand.

Common Problems
Cracking porcelain
Solution: Don't overtighten connections to avoid cracking porcelain or stripping threads.
Prevention: Don't overtighten connections to avoid cracking porcelain or stripping threads.
Frequently Asked Questions
Do I really need specialized tools like a basin wrench to replace my bathroom faucet?
While an adjustable wrench can sometimes work, a basin wrench (like the Husky or TEKTON models mentioned) is highly recommended. It's specifically designed to reach and loosen/tighten mounting nuts in the tight, awkward spaces under your sink, making the job significantly easier and less frustrating for beginners.
What should I do if the water shut-off valves under my sink are stuck or won't turn off completely?
If the under-sink valves are stuck or faulty, you'll need to locate and turn off the main water supply to your entire house before proceeding. If you're uncomfortable doing this or if the main valve is also problematic, it's best to call a professional plumber to avoid potential water damage.
How can I ensure I don't have any leaks after installing my new faucet and drain?
To prevent leaks, make sure all threaded connections are hand-tightened first, then snugged with a wrench, avoiding overtightening which can crack parts. Always use plumber's tape (Teflon tape) on threaded supply line connections and plumber's putty or the provided gasket for the drain assembly to create a watertight seal.
Is it okay to reuse my old water supply lines with the new faucet, or should I replace them?
It is strongly recommended to replace old water supply lines with new ones when installing a new faucet. Old lines can degrade, become brittle, or leak after being disturbed, even if they look fine. Many new faucets come with fresh supply lines, or they are inexpensive to purchase separately.
What are the most common mistakes beginners make when replacing a bathroom faucet, and how can I avoid them?
Common mistakes include overtightening plastic nuts (which can crack them), cross-threading supply lines (leading to leaks), and forgetting to use plumber's putty or gaskets where needed for the drain. Always hand-start threads to prevent cross-threading, follow manufacturer instructions for torque, and ensure all seals are properly seated.
The project estimates 3 hours; is this realistic for a beginner, and what might make it take longer?
The 3-hour estimate is realistic for a beginner, assuming you have all tools and parts ready and don't encounter major snags. It can take longer if old nuts are corroded and difficult to remove, if working in a very cramped space, or if you need to troubleshoot unexpected issues like incompatible parts or persistent small leaks.