Moen Shower Trim Kit Installation: A Step-by-Step DIY Guide
About This Project
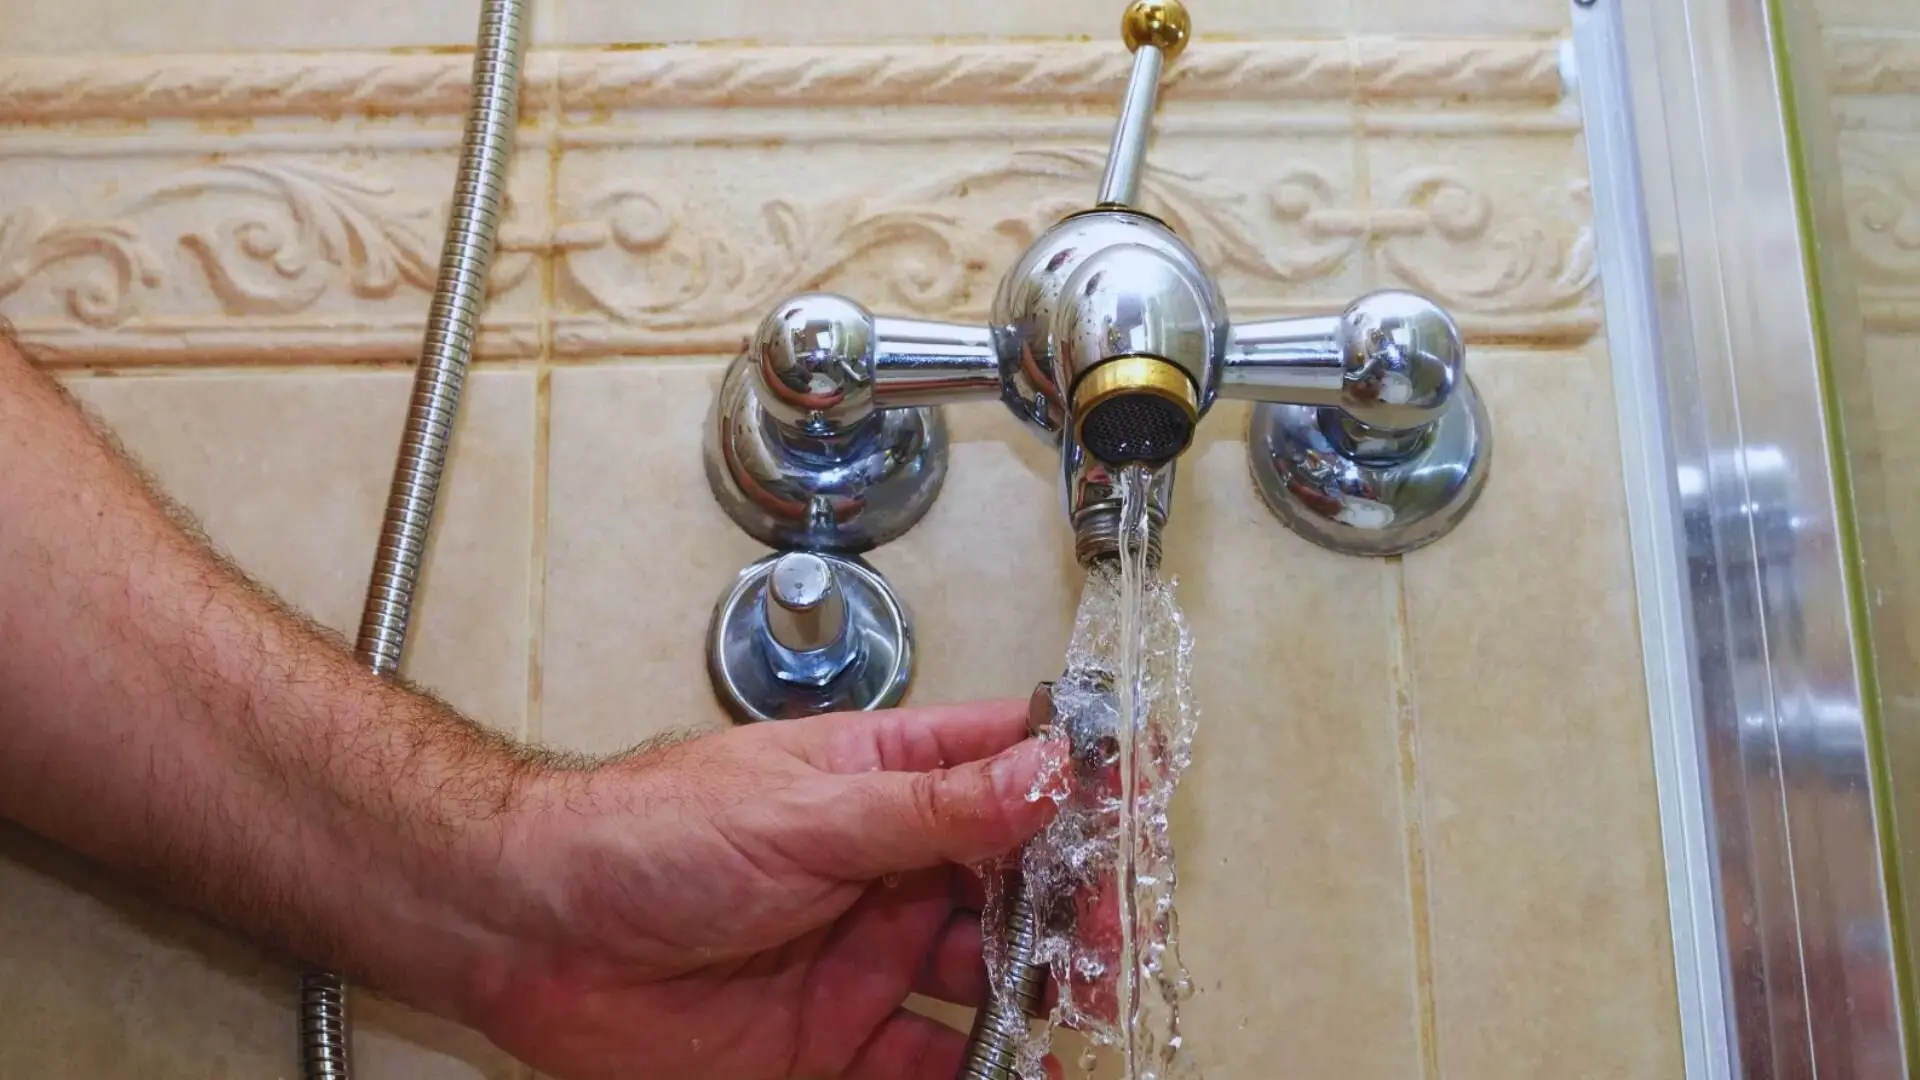
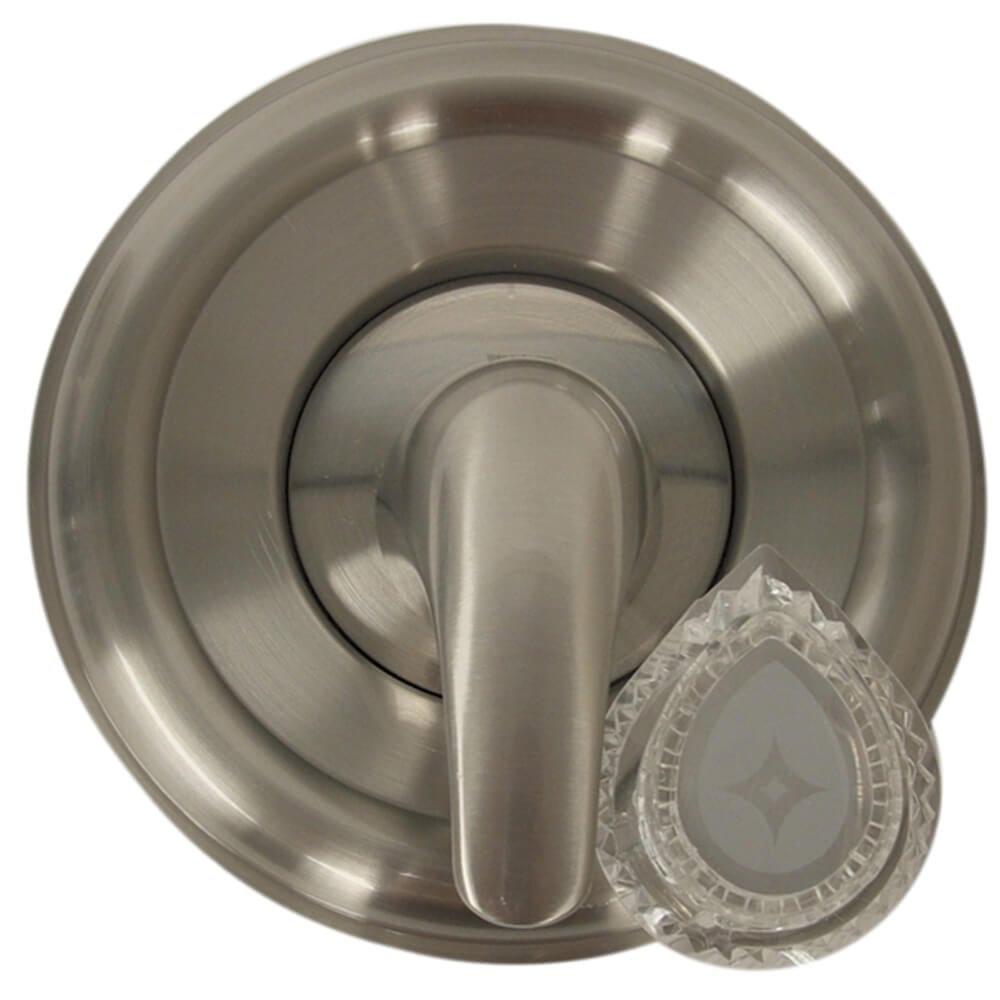
This project details the steps involved in replacing an existing shower trim kit with a new Moen trim kit. The first step involves shutting off the water supply to the shower to prevent water damage. This is usually done by turning the shut-off valves clockwise. Next, the old shower trim kit needs to be removed. This is done by unscrewing the handles and escutcheon plate. Photos should be taken before disassembly to make reassembly easier. After this, the new Moen trim kit should be installed following the manufacturer's provided instructions. Generally, this process will include installing the handle, escutcheon plate, and showerhead. Make sure everything is tightened securely to avoid any leaks. Finally, it is important to turn the water back on slowly and check all the connections to make sure there are no leaks. If you see any leaking water, tighten the connections and reinstall components as needed. Run the shower for a few minutes to test the new trim kit's hot water flow and water pressure.
Best for homeowners and DIY enthusiasts.
Tools & Materials
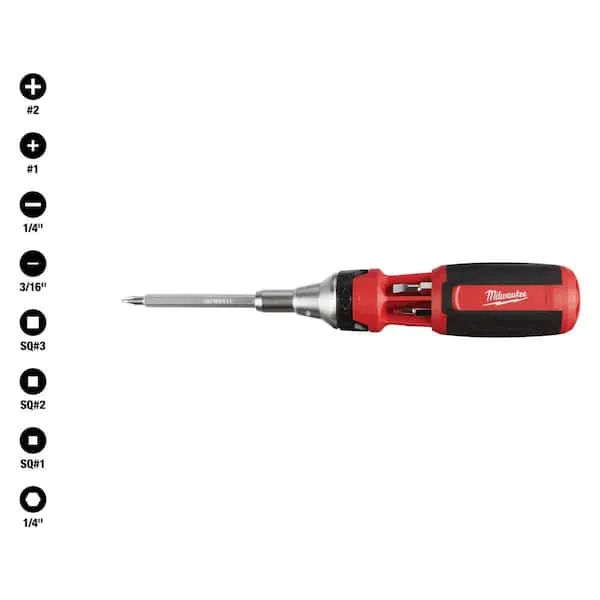
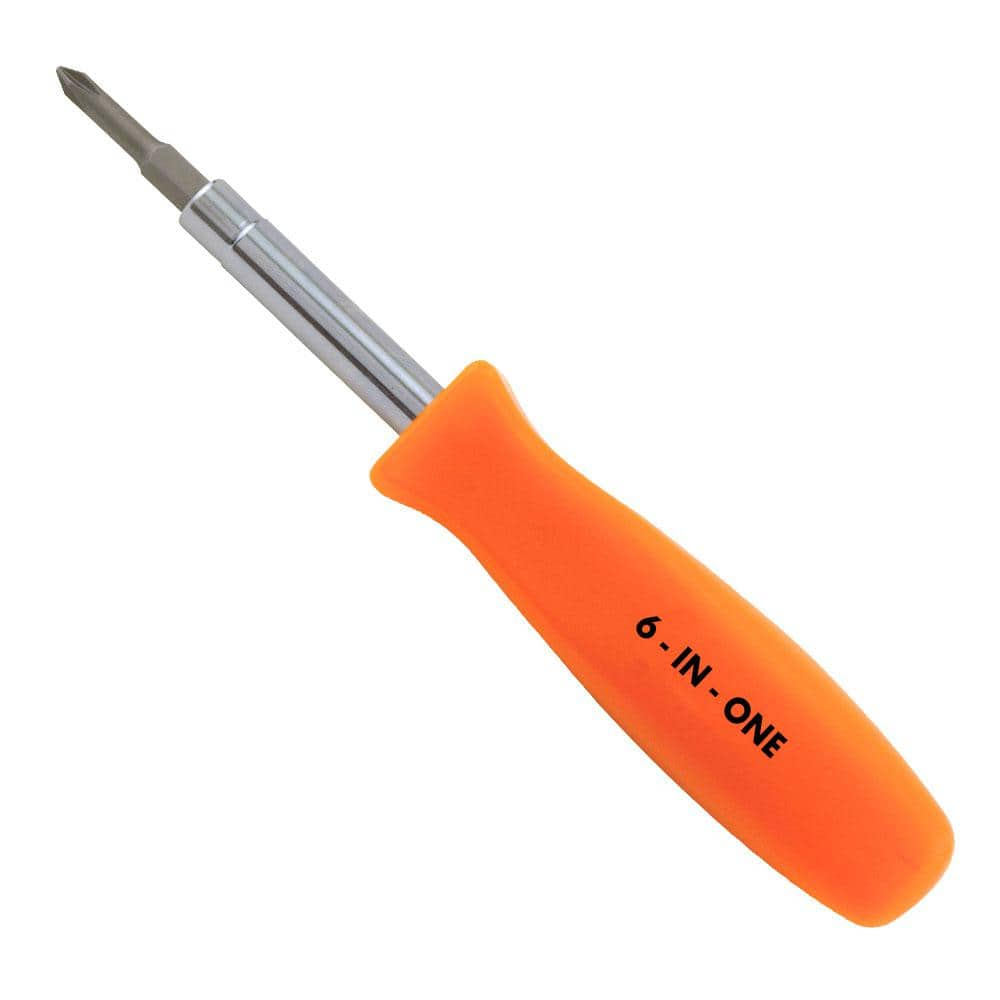
Screwdriver (Multi)
HDX 3-1/4 in. 6-in-1 Screwdriver 120SD12D
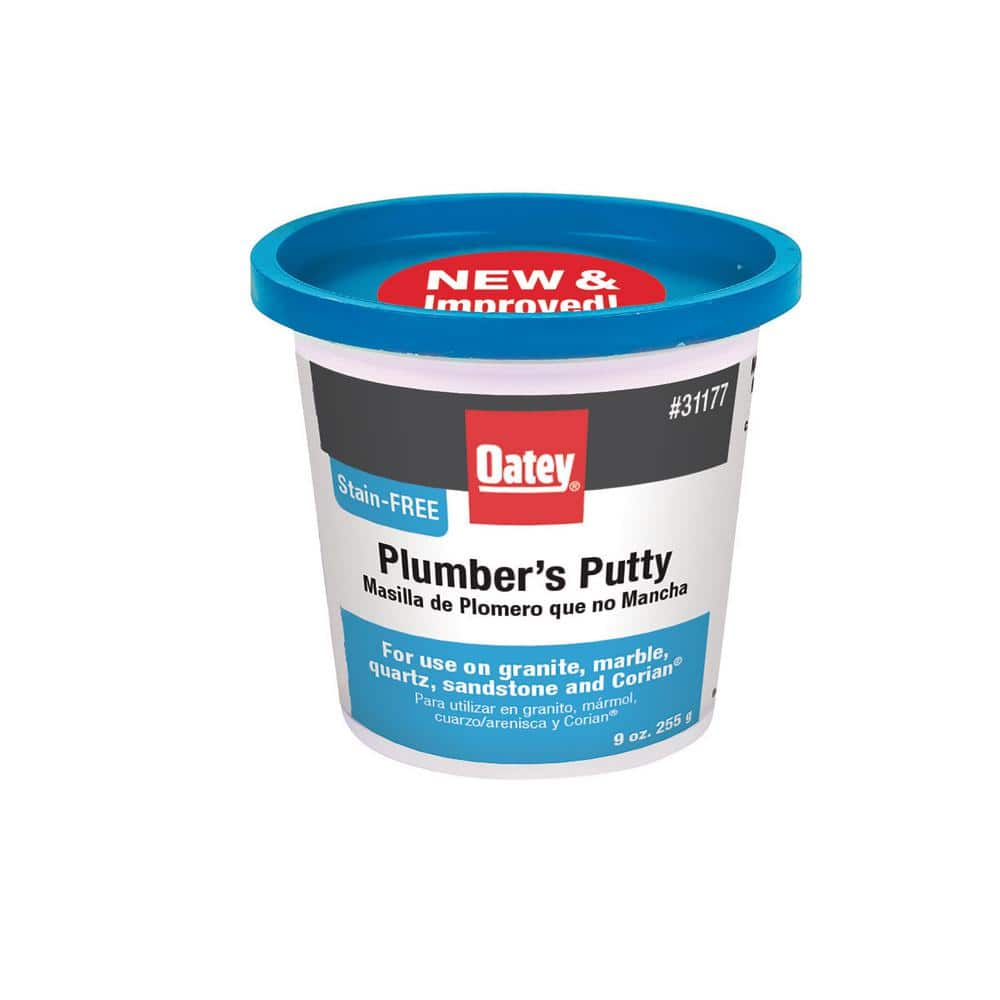
Oatey 9 oz. Stain-Free Plumber's Putty 31177
Screwdriver (Multi)
Multiple bits for versatile use.
HDX 3-1/4 in. 6-in-1 Screwdriver 120SD12D
The HDX 3-1/4 in. 6-in-1 Screwdriver features double-sided bits with the four most common screwdriver tip styles, including a #1 Phillips bit, a #2 Phillips bit, a 3/16 in. flathead bit and a 1/4 in. flathead bit. Both ends of the shaft can be used as 1/4 in. nut drivers when the bits are removed, offering convenient, versatile use. The high-visibility orange handle makes the handy tool easy to find on a job site or in a toolbox.
Oatey 9 oz. Stain-Free Plumber's Putty 31177
For setting frames, faucets and basket strainers, use this Oatey 9 oz. Stain-Free Plumber's Putty on granite, marble, quartz, sandstone and other natural, porous materials. Will not crack or shrink. Cleans
Steps


Common Problems
Failing to turn off the water can lead to flooding when the valve is disassembled.
Solution: To avoid this issue: Be mindful of this warning and take appropriate precautions.
Confirm power is off using a voltage tester before touching any wires.
Solution: To avoid this issue: Be mindful of this warning and take appropriate precautions.
Make sure to turn off the water before disassembly.
Solution: To avoid this issue: Be mindful of this warning and take appropriate precautions.
Lost screws and bolts during disassembly lead to an incomplete reassembly and a non-functional shower.
Solution: Keep track of the screws and bolts as you take things apart.
Always ensure the water is completely shut off before disconnecting any pipes.
Solution: To avoid this issue: Be mindful of this warning and take appropriate precautions.
Dropped tools can scratch the tub.
Solution: Place a towel in the bottom of the tub to prevent dropped tools or parts from scratching the surface.
Be careful not to scratch the shower surround or the faceplate when prying.
Solution: To avoid this issue: Be mindful of this warning and take appropriate precautions.
Frequently Asked Questions
What is the most important first step for safety when starting this project?
The most critical first step is to shut off the water supply to the shower to prevent accidental flooding or leaks during the installation. Locate the main shut-off valve for your home or, if available, the specific shut-off valves for the shower. Turn them clockwise until the water flow stops completely.
What should I do if I notice leaks after installing the new Moen trim kit?
If you observe any leaks, immediately shut off the water supply again. Carefully re-examine all connections and ensure they are tightened securely, but do not overtighten. Check that any rubber gaskets or O-rings are properly seated and not pinched or damaged. Refer to your Moen kit's specific instructions for any unique component seating.
Are there any other tools or supplies besides a screwdriver that would be helpful for this project?
While a screwdriver is essential, a few additional items can be very helpful. Keep a bucket and towels handy for any residual drips or spills. Plumber's tape (PTFE tape) can be useful for showerhead threads to ensure a watertight seal, though it's often not needed for Moen trim connections. A utility knife might be useful if you need to remove old caulk around the escutcheon.
Is replacing a shower trim kit truly a beginner-friendly project, and can it actually be done in 2 hours?
Yes, replacing a shower trim kit is generally considered beginner-friendly as it involves basic tools and straightforward steps like unscrewing and re-screwing. The 2-hour estimate is realistic for most installations, assuming no unexpected complications such as heavily corroded screws or an unusually stubborn old trim kit. Taking photos during disassembly can help streamline reassembly and keep you on track.
Can I use this guide if I'm replacing a shower trim kit that isn't Moen?
While the general steps like shutting off water and removing the old trim are similar for most brands, this guide is specifically for Moen trim kits. The internal components of Moen kits are designed to work with Moen valve bodies. If you are replacing a non-Moen trim, ensure your new trim kit is compatible with your existing valve body, or you may need to replace the entire valve.
Why is it important to take photos before and during the disassembly of the old trim kit?
Taking photos serves as a visual reference guide, which is incredibly helpful during reassembly. They can remind you of the exact orientation of specific parts, the order of washers or gaskets, and how handles were originally positioned. This helps prevent errors and ensures a smoother, more efficient installation of your new Moen trim kit.
/how-to-replace-a-shower-valve-5197461-10_reattach_23668-86d35b214a3849a796f94e0b38fab900.jpg)