Low Water Pressure Rainfall Shower Head: Installation Guide
About This Project
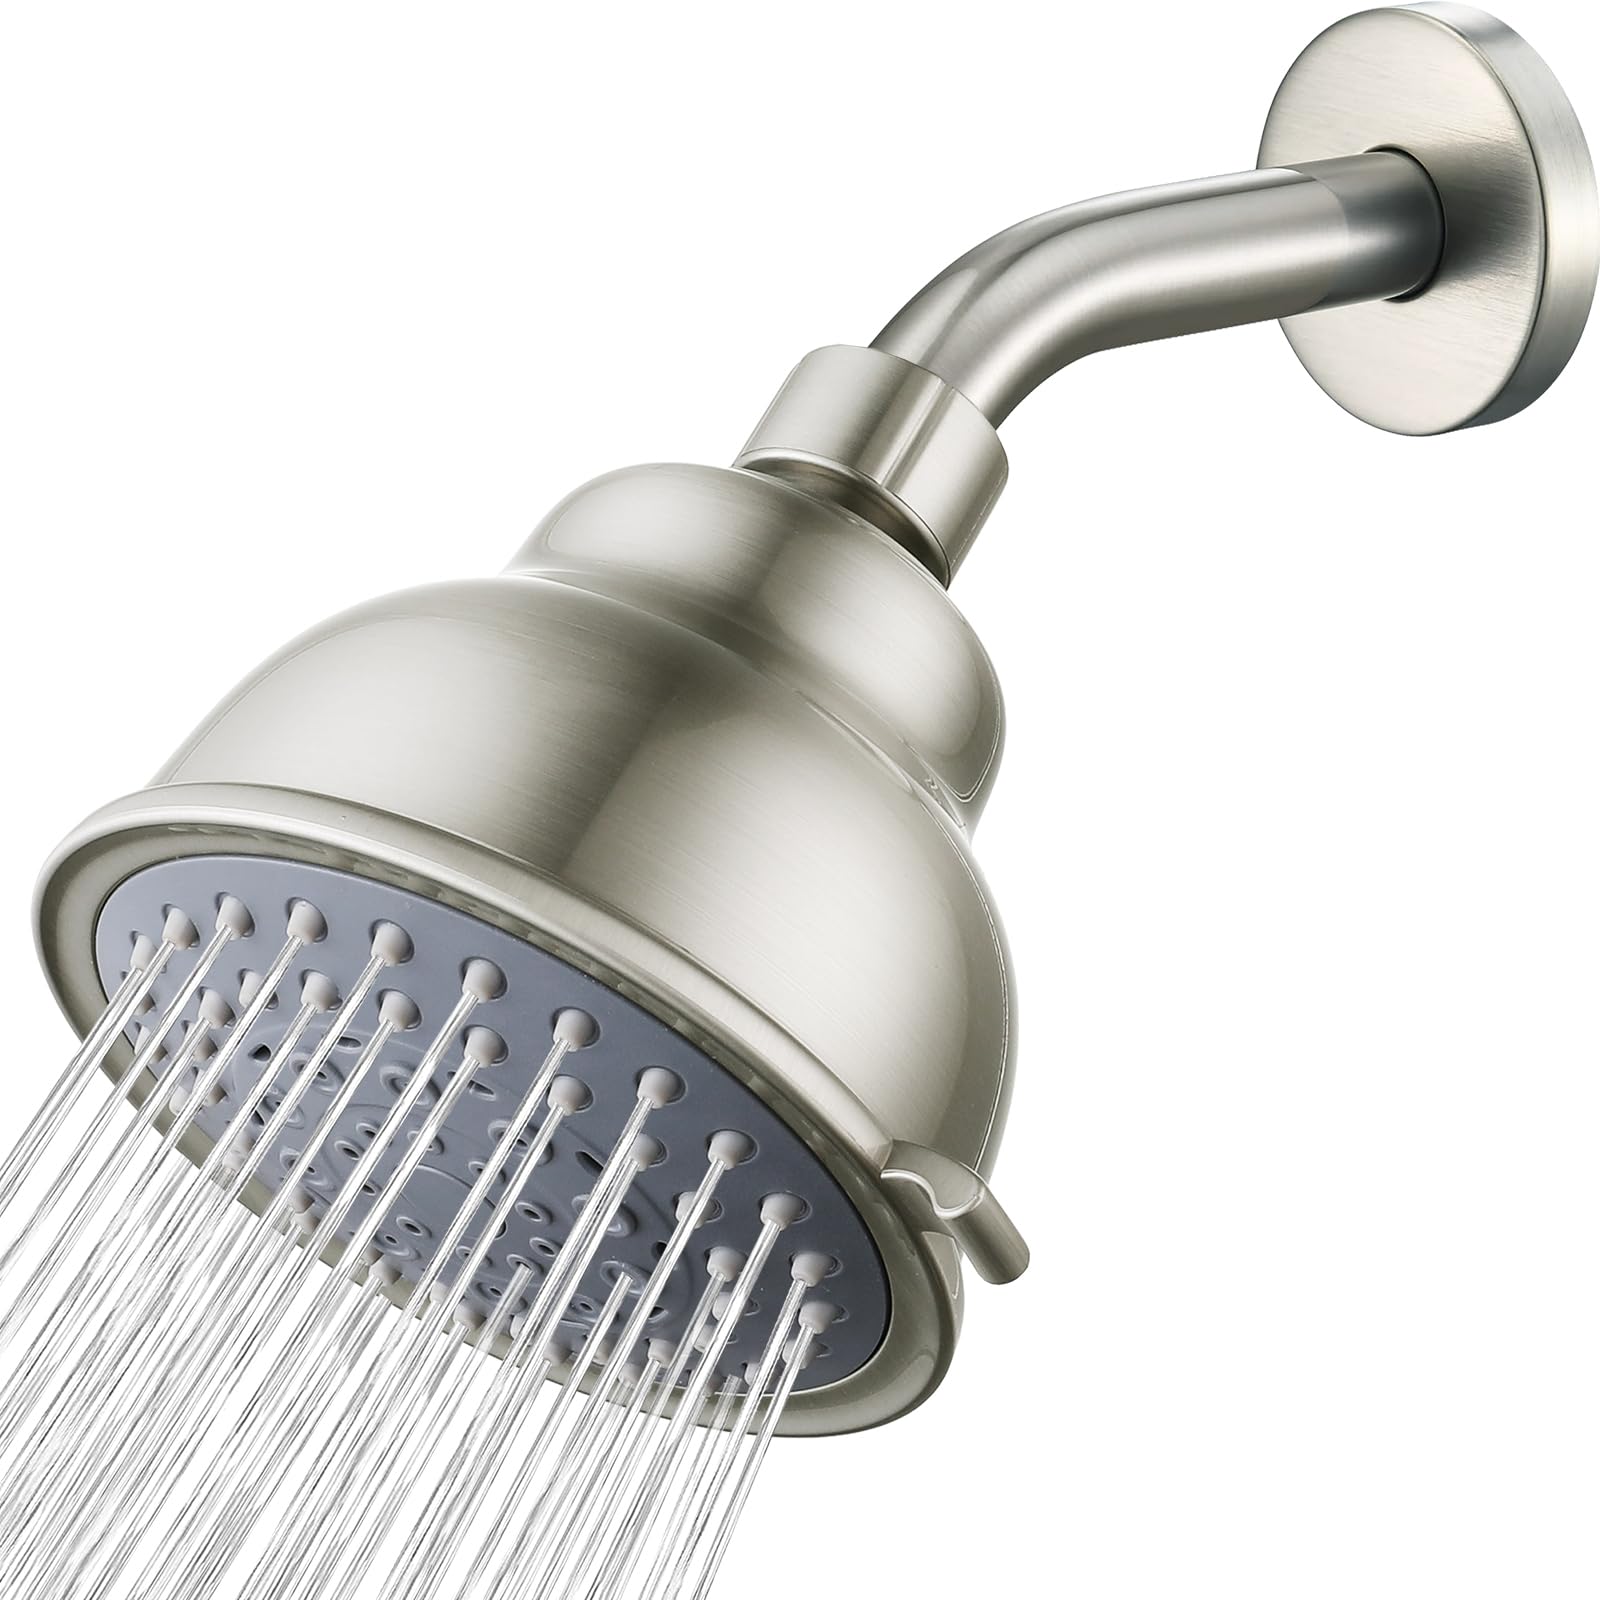
This guide outlines the steps to install a rainfall shower head suitable for homes with low water pressure. It begins with turning off the water supply, both at the shower valve and the main house valve if needed. Next, the old shower head is removed using an adjustable wrench, protecting the shower arm with a cloth. Following this, the shower arm is prepared by cleaning the threads and wrapping them with Teflon tape for a watertight seal. The new rainfall shower head is then attached, tightening it first by hand and then with a wrench. Finally, the water supply is turned back on, and all connections are inspected for leaks. If leaks are present, further tightening or reapplication of Teflon tape might be necessary.
Best for homeowners and DIY enthusiasts.
Tools & Materials
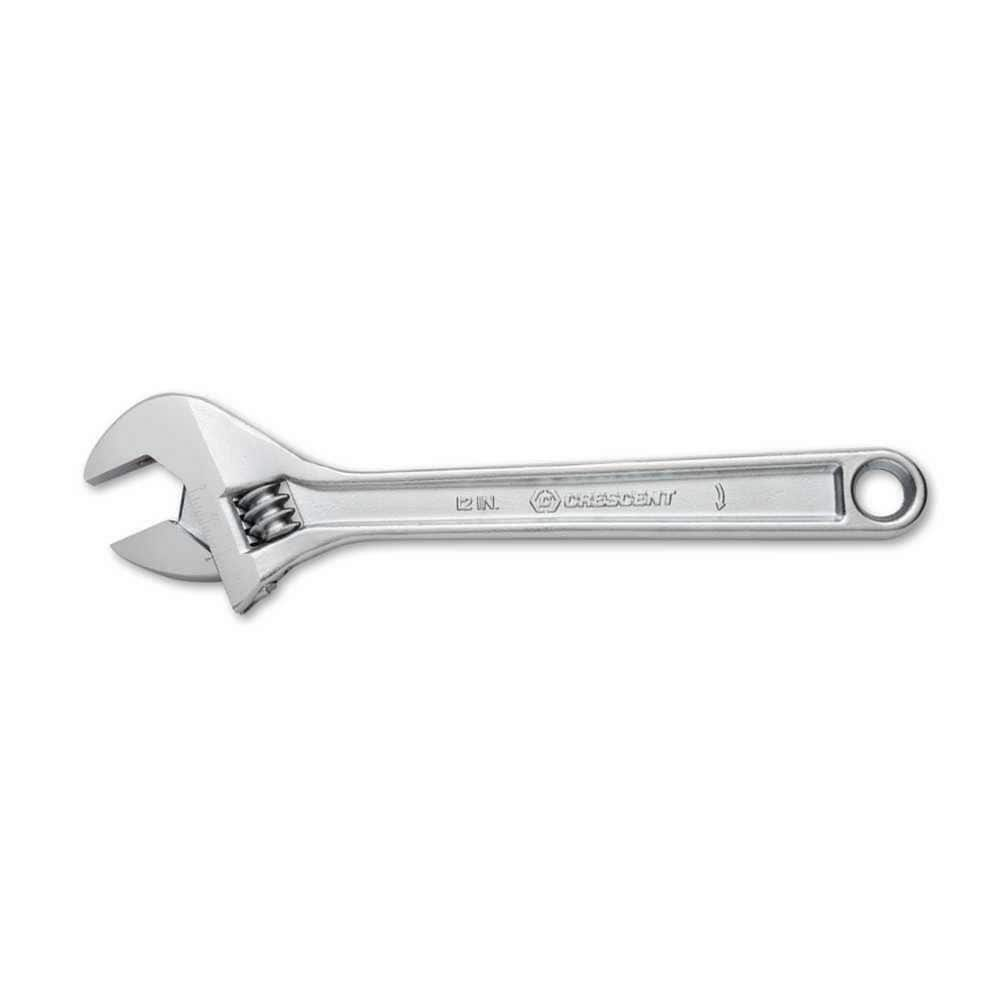
Crescent 12 in. Chrome Adjustable Wrench AC212VS
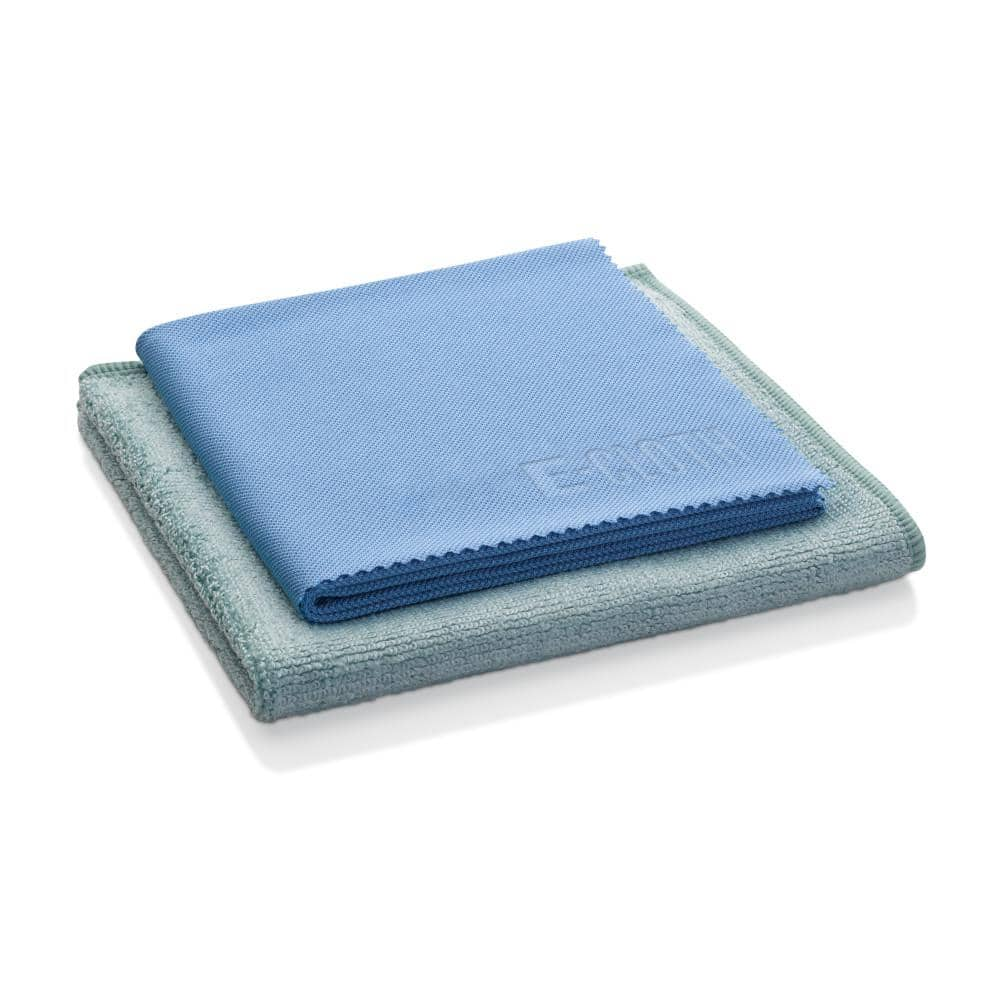
E-Cloth 20 in. x 16 in. Microfiber Kitchen Cleaning Kit 2 Cloth Set 10601M
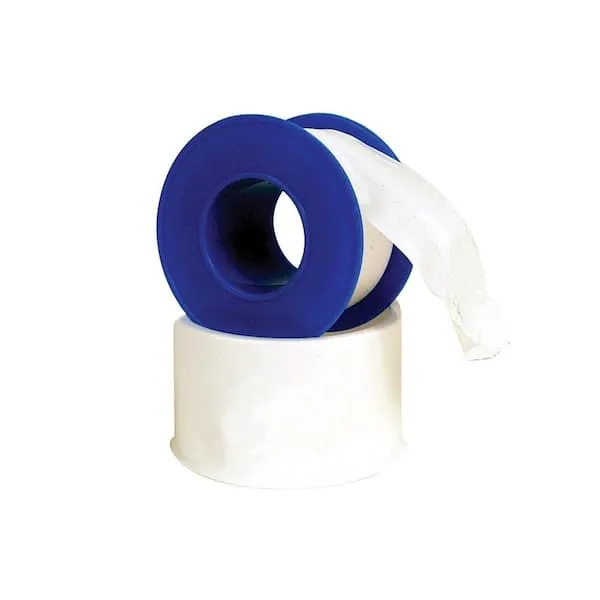
Teflon Tape

Adjustable Wrench
Crescent 12 in. Chrome Adjustable Wrench AC212VS
Since the introduction of the original Crescent wrench in the early 1900s, the Crescent brand has become synonymous with adjustable wrenches. Crescent Adjustable Wrenches feature a large knurl for easy
E-Cloth 20 in. x 16 in. Microfiber Kitchen Cleaning Kit 2 Cloth Set 10601M
The 2-piece E-Cloth Kitchen Cleaning Kit effortlessly keeps your kitchen looking like new from sink to stove, with premium microfiber that's appropriate for all surfaces. Use the Cleaning Cloth to wipe
Teflon Tape
Seals pipe threads without leaks.
Adjustable Wrench
Fits various nut and bolt sizes with its adjustable jaw.
Steps

Turn Off Water Supply
5 minsBegin by turning off the water supply to your shower. Locate the shower's individual shut-off valve (if available) and turn it clockwise to stop the water flow. If no individual valve exists, locate your home's main water shut-off valve and turn it off to prevent leaks and water damage. This is a crucial safety precaution.
Watch: Shut Off Water Main
Remove Old Shower Head
10 minsCarefully remove your existing shower head. Protect your shower arm's finish by wrapping it with a cloth. Use an adjustable wrench, turning counter-clockwise, to loosen and remove the old shower head. If it's particularly stubborn, try using penetrating oil to loosen the threads.
Watch: Remove Old Showerhead and Clean Threads
Prepare Shower Arm for New Shower Head
5 minsClean the shower arm threads thoroughly with a cloth to remove any debris or old Teflon tape. Apply 2-3 wraps of new Teflon tape clockwise to the threads. This creates a watertight seal and prevents leaks during installation.
Watch: Prepare Shower Arm Threads
Install New Rainfall Shower Head
5 minsCarefully thread the new rainfall shower head onto the shower arm. Hand-tighten the connection first to prevent cross-threading, then use your adjustable wrench to tighten it another half to a full turn. Avoid over-tightening, which could damage the shower head or arm.
Watch: Install New Showerhead
Common Problems
Leaking shower head due to tape unraveling during installation.
Solution: Wrapping the tape clockwise ensures it tightens as you screw on the fitting, rather than unraveling.
Showerhead leaks due to Teflon tape unraveling.
Solution: Ensure the Teflon tape is applied in the correct direction to prevent unraveling when tightening the showerhead.
Teflon tape bunches or unravels, causing leaks.
Solution: Always wrap Teflon tape in the same direction that you will tighten the fitting (clockwise) to prevent it from bunching up or unraveling.
Shower arm connection is loose or leaks due to insufficient threading.
Solution: Using a longer shower arm can provide more threads for a secure connection inside the wall, especially if the fitting is recessed.
Cracked plastic fittings from over-tightening.
Solution: Do not over-tighten, especially with plastic fittings, as this can cause them to crack.
Scratched chrome finish on shower arm from pliers.
Solution: Use a cloth between the pliers and the shower arm to prevent scratching the chrome finish.
Shower arm won't budge, risking damage if forced.
Solution: If the shower arm is stuck, a pipe wrench can be used for extra leverage, but be aware it will damage the finish of the pipe.
Frequently Asked Questions
How long does this rainfall shower head installation typically take for a beginner, and how difficult is it?
This project is generally considered beginner-friendly and usually takes about 30-60 minutes to complete. The most time-consuming parts involve ensuring the water is completely off and troubleshooting any leaks that might occur on the first attempt. With proper preparation, it's a straightforward upgrade.
What specific features should I look for in a rainfall shower head if my home has low water pressure?
Look for shower heads explicitly marketed as 'high-pressure,' 'low-flow,' or 'pressure-optimizing' for low-pressure systems. These models often incorporate larger nozzles, internal restrictor plates, or air-injection technology designed to increase water velocity and improve the feel of the spray. Avoid generic rainfall heads that might worsen the low-pressure experience, as they can spread a low volume of water too thin.
What are the most important safety precautions to take during this installation?
The primary safety precaution is ensuring the water supply is completely turned off before you start work, both at the shower valve and potentially the main house valve, to prevent unexpected sprays or flooding. Additionally, be mindful not to overtighten connections, as this can strip the threads on pipes or damage the new shower head, leading to more costly repairs.
What should I do if the new rainfall shower head leaks after installation?
If a leak occurs, first try gently tightening the connection a quarter turn more with your wrench. If it persists, turn off the water supply, remove the shower head, and reapply fresh Teflon tape to the shower arm threads, ensuring 3-5 wraps are applied clockwise. Then, reattach the shower head, tightening hand-tight before a final snug turn with the wrench.
What is a common mistake beginners make when applying Teflon tape, and how can I avoid it?
A common mistake is applying Teflon tape incorrectly, either not enough, too much, or in the wrong direction. To avoid this, wrap the tape clockwise around the threads (as you look at the end of the pipe), ensuring it overlaps slightly with each turn. Aim for 3-5 wraps to create a secure, watertight seal without over-bulking the threads, which can prevent proper tightening.
Do I need any special tools besides the adjustable wrench and cloth listed in the project for this installation?
For a basic installation, the listed adjustable wrench and a cloth (for protection) are usually sufficient. While not strictly required, a small amount of plumber's grease can sometimes help with sealing or an old toothbrush can help clean existing threads more thoroughly. However, the core tools provided will get the job done effectively.